tutorial · 2026-04-27
Adding Your Own Heightmaps to a Blueprint Stamp Tool in UE5
Drop a grayscale heightmap into the custom stamp blueprint and morph your World Partition landscape with no C++.
Why a custom stamp blueprint matters
The geological stamps that ship with the Landscape Stamp Tool cover the obvious landforms: mountains, canyons, rivers, craters, hills, volcanoes and directional paths. Sooner or later, though, you will want a shape they do not contain, a specific ridgeline, a sculpted set-piece valley, or a heightmap you exported from Gaea or World Machine. The good news is that the tool is built for exactly that, and you never have to leave Blueprint to do it.
If you want to use a custom heightmap as a landscape stamp in a Blueprint stamp tool in Unreal, the Landscape Stamp Tool handles it through two dedicated blueprints: 'BP_CustomStampTool' and 'BP_CustomStamp'. Like every other tool in the pack, the custom stamp tool drives the engine's Landscape Patch system, so it morphs the terrain in place inside a World Partition level. There is no C++ involved at any point, which is the whole point of this Blueprint-only pack.
Importing your grayscale heightmap
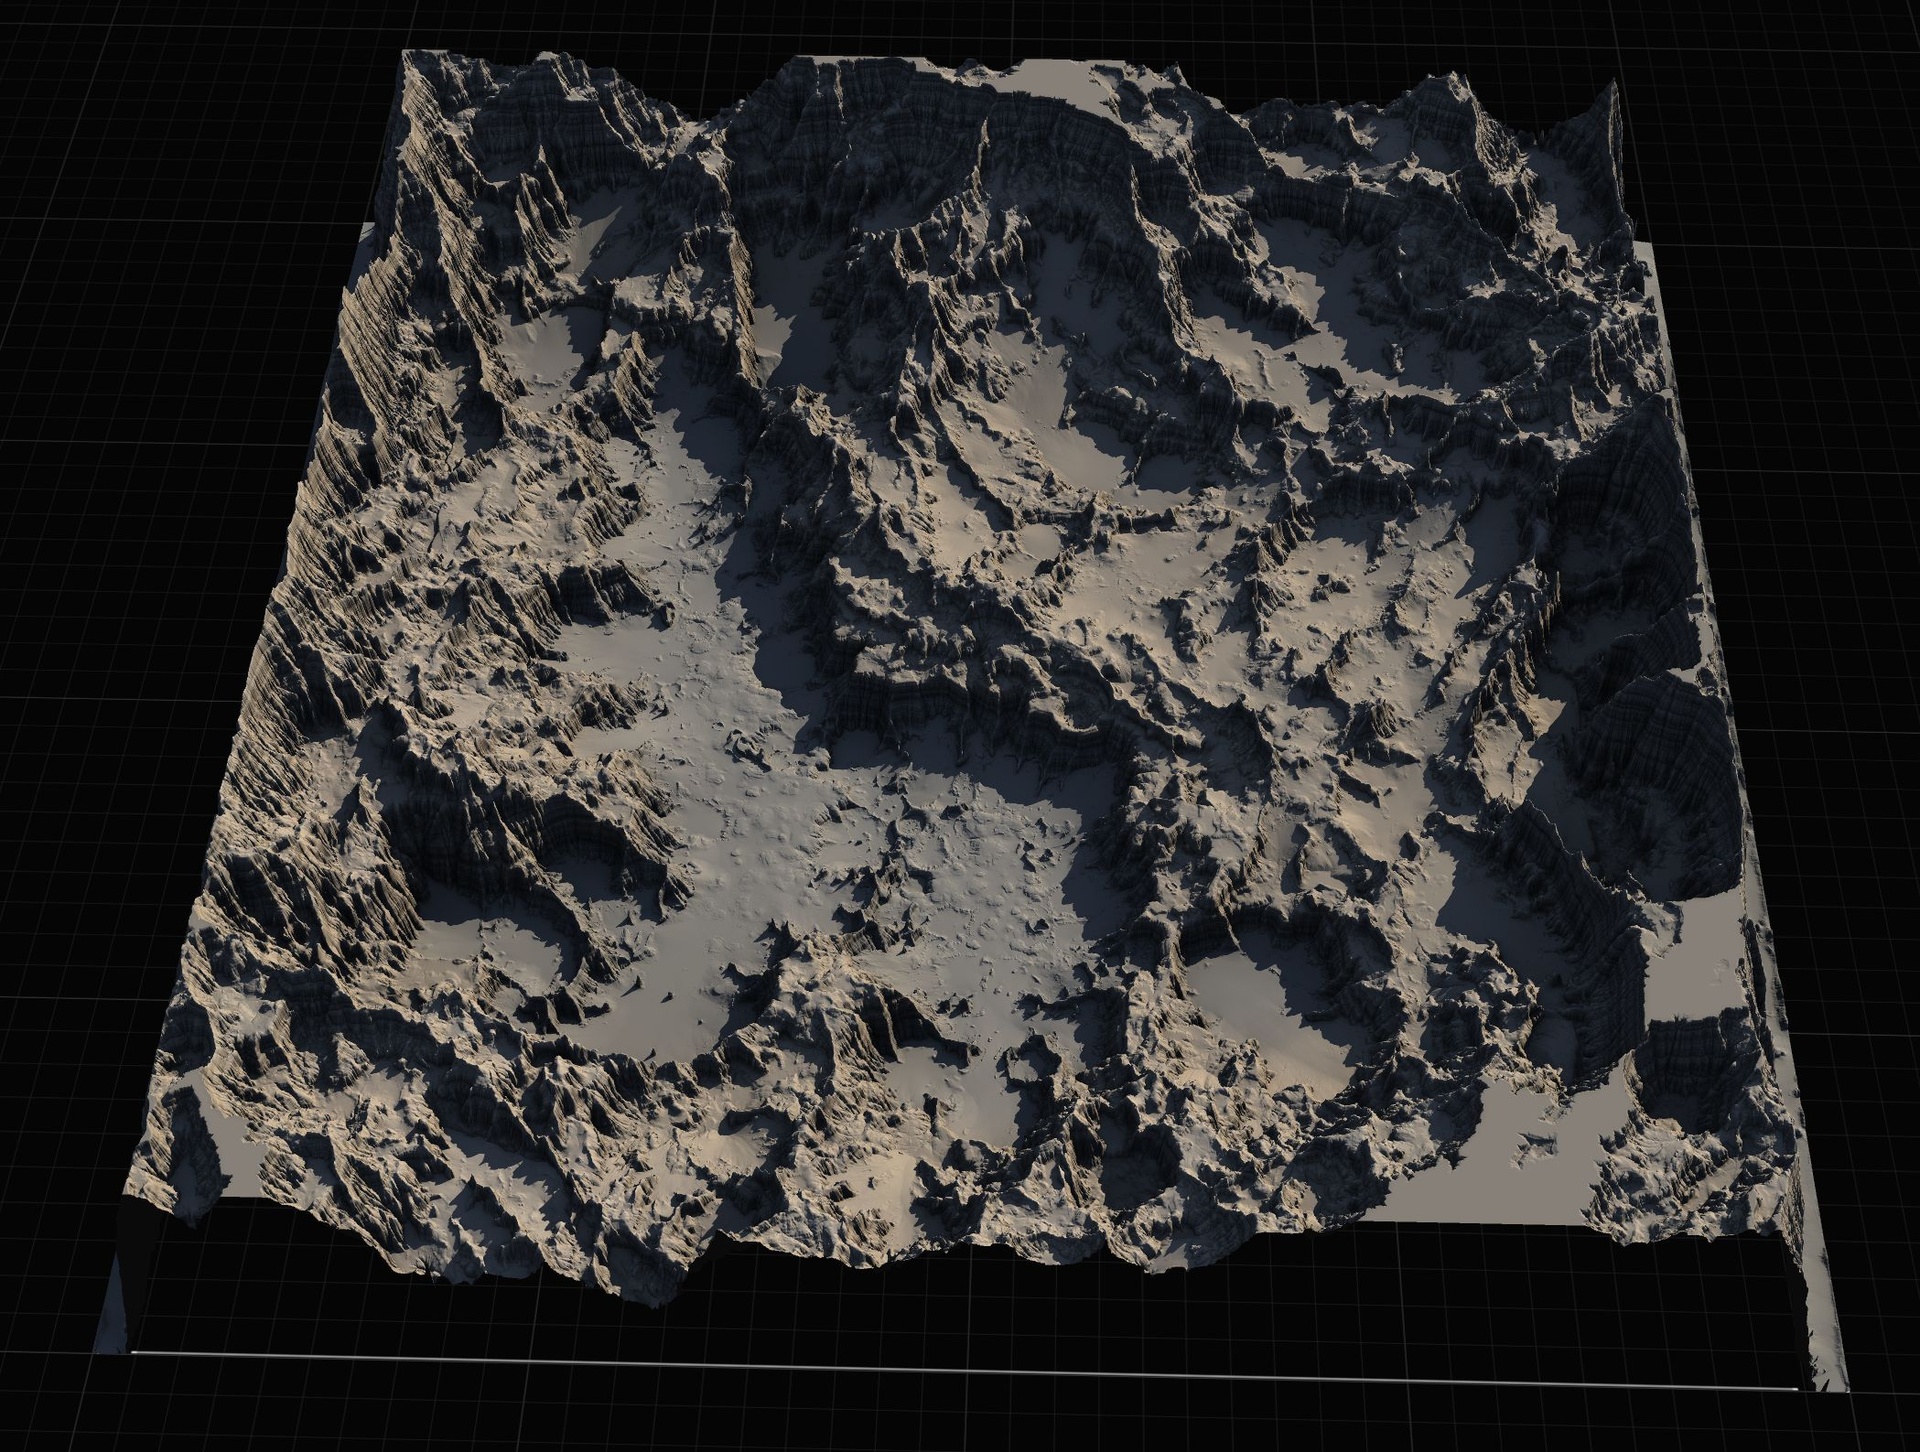
Start with the right kind of texture. The stamp library is made of grayscale heightmaps, where brighter pixels read as higher elevation and darker pixels as lower. Whatever tool you authored the terrain in, export it as a grayscale image before you bring it into Unreal.
1. Drag your heightmap image into the Content Browser to import it as a Texture asset, ideally somewhere alongside the pack's own textures under 'Content/LandscapeStampTool/Textures' so it sits next to the 109 heightmaps the tool already ships with.
2. Open the new texture and check that it reads as grayscale; a clean single-channel height image gives the cleanest displacement. Pick a working resolution that suits your stamp, the pack itself supplies its stamps at 512, 1K, 2K and 4K, so match that range rather than feeding in something enormous you do not need.
3. Place a 'BP_CustomStampTool' blueprint into your level near the landscape, then assign your imported heightmap texture to the custom stamp it drives. Because the tool uses the same Landscape Patch approach as every other stamp, the terrain underneath updates in place.
Sizing and placing the stamp
Once your heightmap is feeding the custom stamp, treat it like any other stamp tool. Move the blueprint over the area you want to reshape and the displacement follows it across the landscape, so position is simply where you drop it in the World Partition level.
Scale governs how much ground your shape covers and how tall the displacement reads. A stamp authored as a tight ridge will look very different stretched across a kilometre of terrain than it does at a few hundred metres, so adjust the size until the proportions of your imported shape look right against the surrounding landscape. Where the pack exposes priority and falloff settings, use them the same way you would on the built-in tools, priority decides who wins when stamps overlap, and falloff softens the edge so your custom shape eases into the existing terrain instead of cutting a hard seam.
Keep your project set up the way the tool expects. The Landscape Stamp Tool is built for World Partition and the project enables the engine's Landscape Patch and Water plugins, so work inside a project that has those in place. If you are migrating the content into an existing project rather than opening the supplied one, make sure those plugins are enabled first.
Blending with the built-in stamps
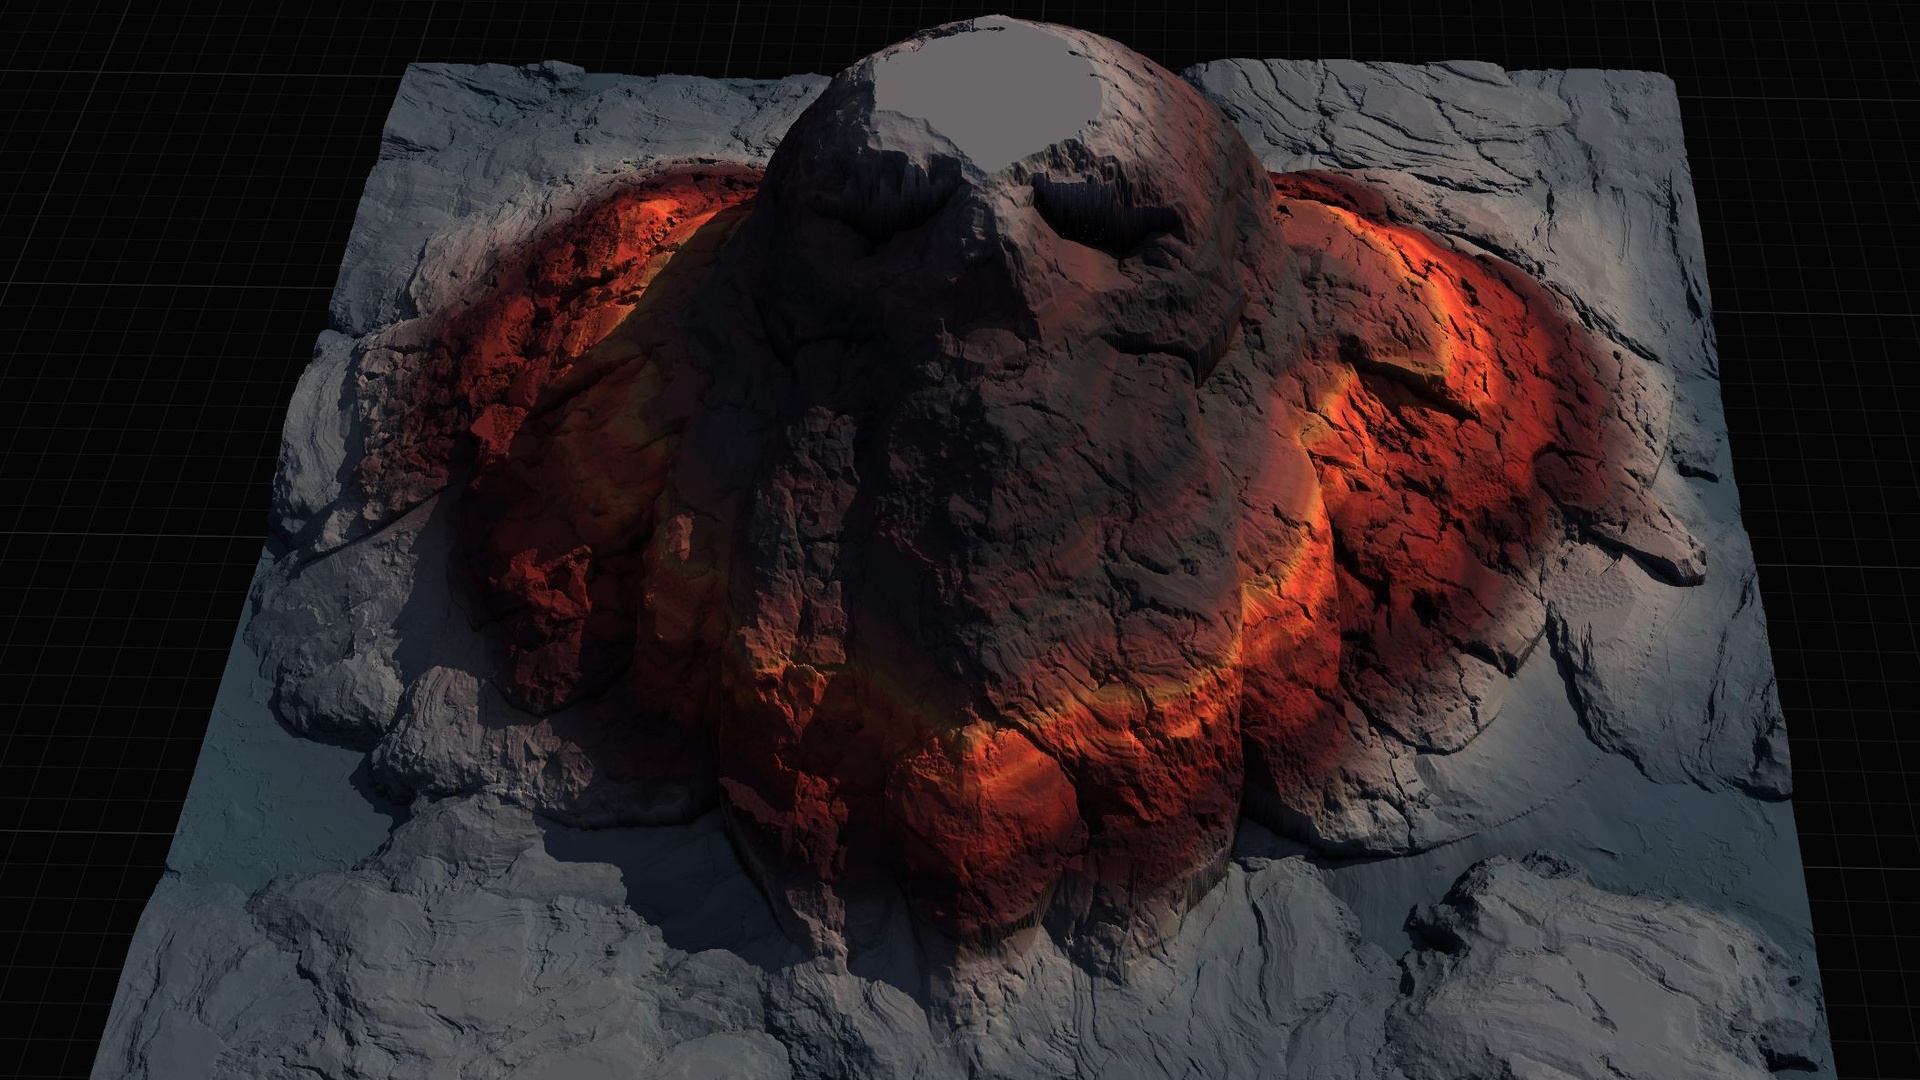
The real strength of the custom stamp is that it is just another blendable stamp. Multiple tools combine to shape the terrain, so your imported heightmap stacks with the pack's mountains, canyons and rivers rather than replacing them. You can punch a hand-authored valley through a generated mountain range, or lay a custom plateau under a river stamp, and the displacements morph together where they overlap.
Build up complexity the same way you would prototype any biome: drop a few base landforms with the built-in tools, add your custom stamp for the bespoke feature the library cannot give you, then tune priority and falloff so the pieces read as one continuous landscape. The included 'L_Demo.umap' shows all the stamp tools working together and is the fastest way to see how blended stamps behave before you commit to a layout.
When you outgrow the Blueprint workflow, the next step up is Landstamp Pro, the C++ sibling that uses the same underlying Landscape Patch approach. It keeps every stamp non-destructive and editable after placement, adds a Stamp Browser, blend modes and a deeper priority system, and includes a mesh-to-heightmap extractor that turns any static mesh into a custom stamp. If your custom shapes start coming from existing meshes, that is the tool to graduate to.
FAQ
How do I use a custom heightmap as a landscape stamp in a Blueprint stamp tool in Unreal?
Import your grayscale heightmap as a Texture in the Content Browser, place a 'BP_CustomStampTool' blueprint into your World Partition level, and assign your heightmap to the custom stamp it drives. The tool uses the engine's Landscape Patch system to morph the terrain in place, with no C++ required.
What format does my custom heightmap need to be?
A grayscale image where brighter pixels are higher elevation and darker pixels are lower. The pack's own stamps are supplied at 512, 1K, 2K and 4K, so match that range rather than importing an unnecessarily large texture.
Will my custom stamp blend with the built-in mountain, canyon and river tools?
Yes. The custom stamp is just another blendable stamp, so multiple tools combine to shape the terrain. Use the priority and falloff settings to control overlaps and ease your shape into the surrounding landscape.
Do I need any plugins enabled for the stamp tool to work?
The Landscape Stamp Tool is built for World Partition and the project enables the engine's Landscape Patch and Water plugins. If you migrate the content into your own project, enable those plugins first.
When should I move up to Landstamp Pro instead?
Landstamp Pro is the C++ plugin that uses the same Landscape Patch approach but keeps every stamp non-destructive and editable after placement, adds a Stamp Browser and blend modes, and can extract a heightmap from any static mesh. If you want mesh-driven custom stamps or fully editable patches, that is the upgrade.
Landscape Stamp Tool
Sculpt terrain by dragging blueprint tools into a World Partition level — seven geological stamp types (mountains, canyons, rivers, volcanoes and more) that blend together to morph the landscape in place. 8 tool blueprints, no code.