tutorial · 2026-04-07
Building Cyberpunk Neon Signage and Holograms in UE5 with Niagara
Compose readable megacity signage and flickering ramen-shop type from spawnable Niagara glyphs, then recolour the whole script from one asset.
The problem with most cyberpunk signage
If you have tried to build a cyberpunk neon sign or hologram in Unreal Engine 5, you have probably hit the same wall everyone does. A flat emissive plane reads as a poster, not a sign. A single animated decal can flicker, but it is one frozen word that you cannot rearrange, react to, or light a scene with. The moment the camera moves close, the illusion collapses because there is no depth and no life in the strokes themselves.
The fix is to stop thinking of a sign as one texture and start thinking of it as text you can actually spell. That is what the Niagara SciFi Glyphs Bundle gives you. Its Cyberpunk script is an Audiowide-styled neon-signage alphabet of roughly 37 glyphs, and every single glyph ships twice: as an independently spawnable CPU Niagara System and as a matching static mesh. You compose a sign character by character, exactly the way a real sign maker would, and each letter is a live particle effect you can recolour, re-time and react to.
This tutorial walks through composing readable signage from those glyphs, driving the neon glow correctly with HDR colour and bloom, layering megacity holograms and small ramen-shop type, and finally recolouring an entire script from a single Parameter Collection so a whole sign changes hue from one asset edit.
What is actually in the pack
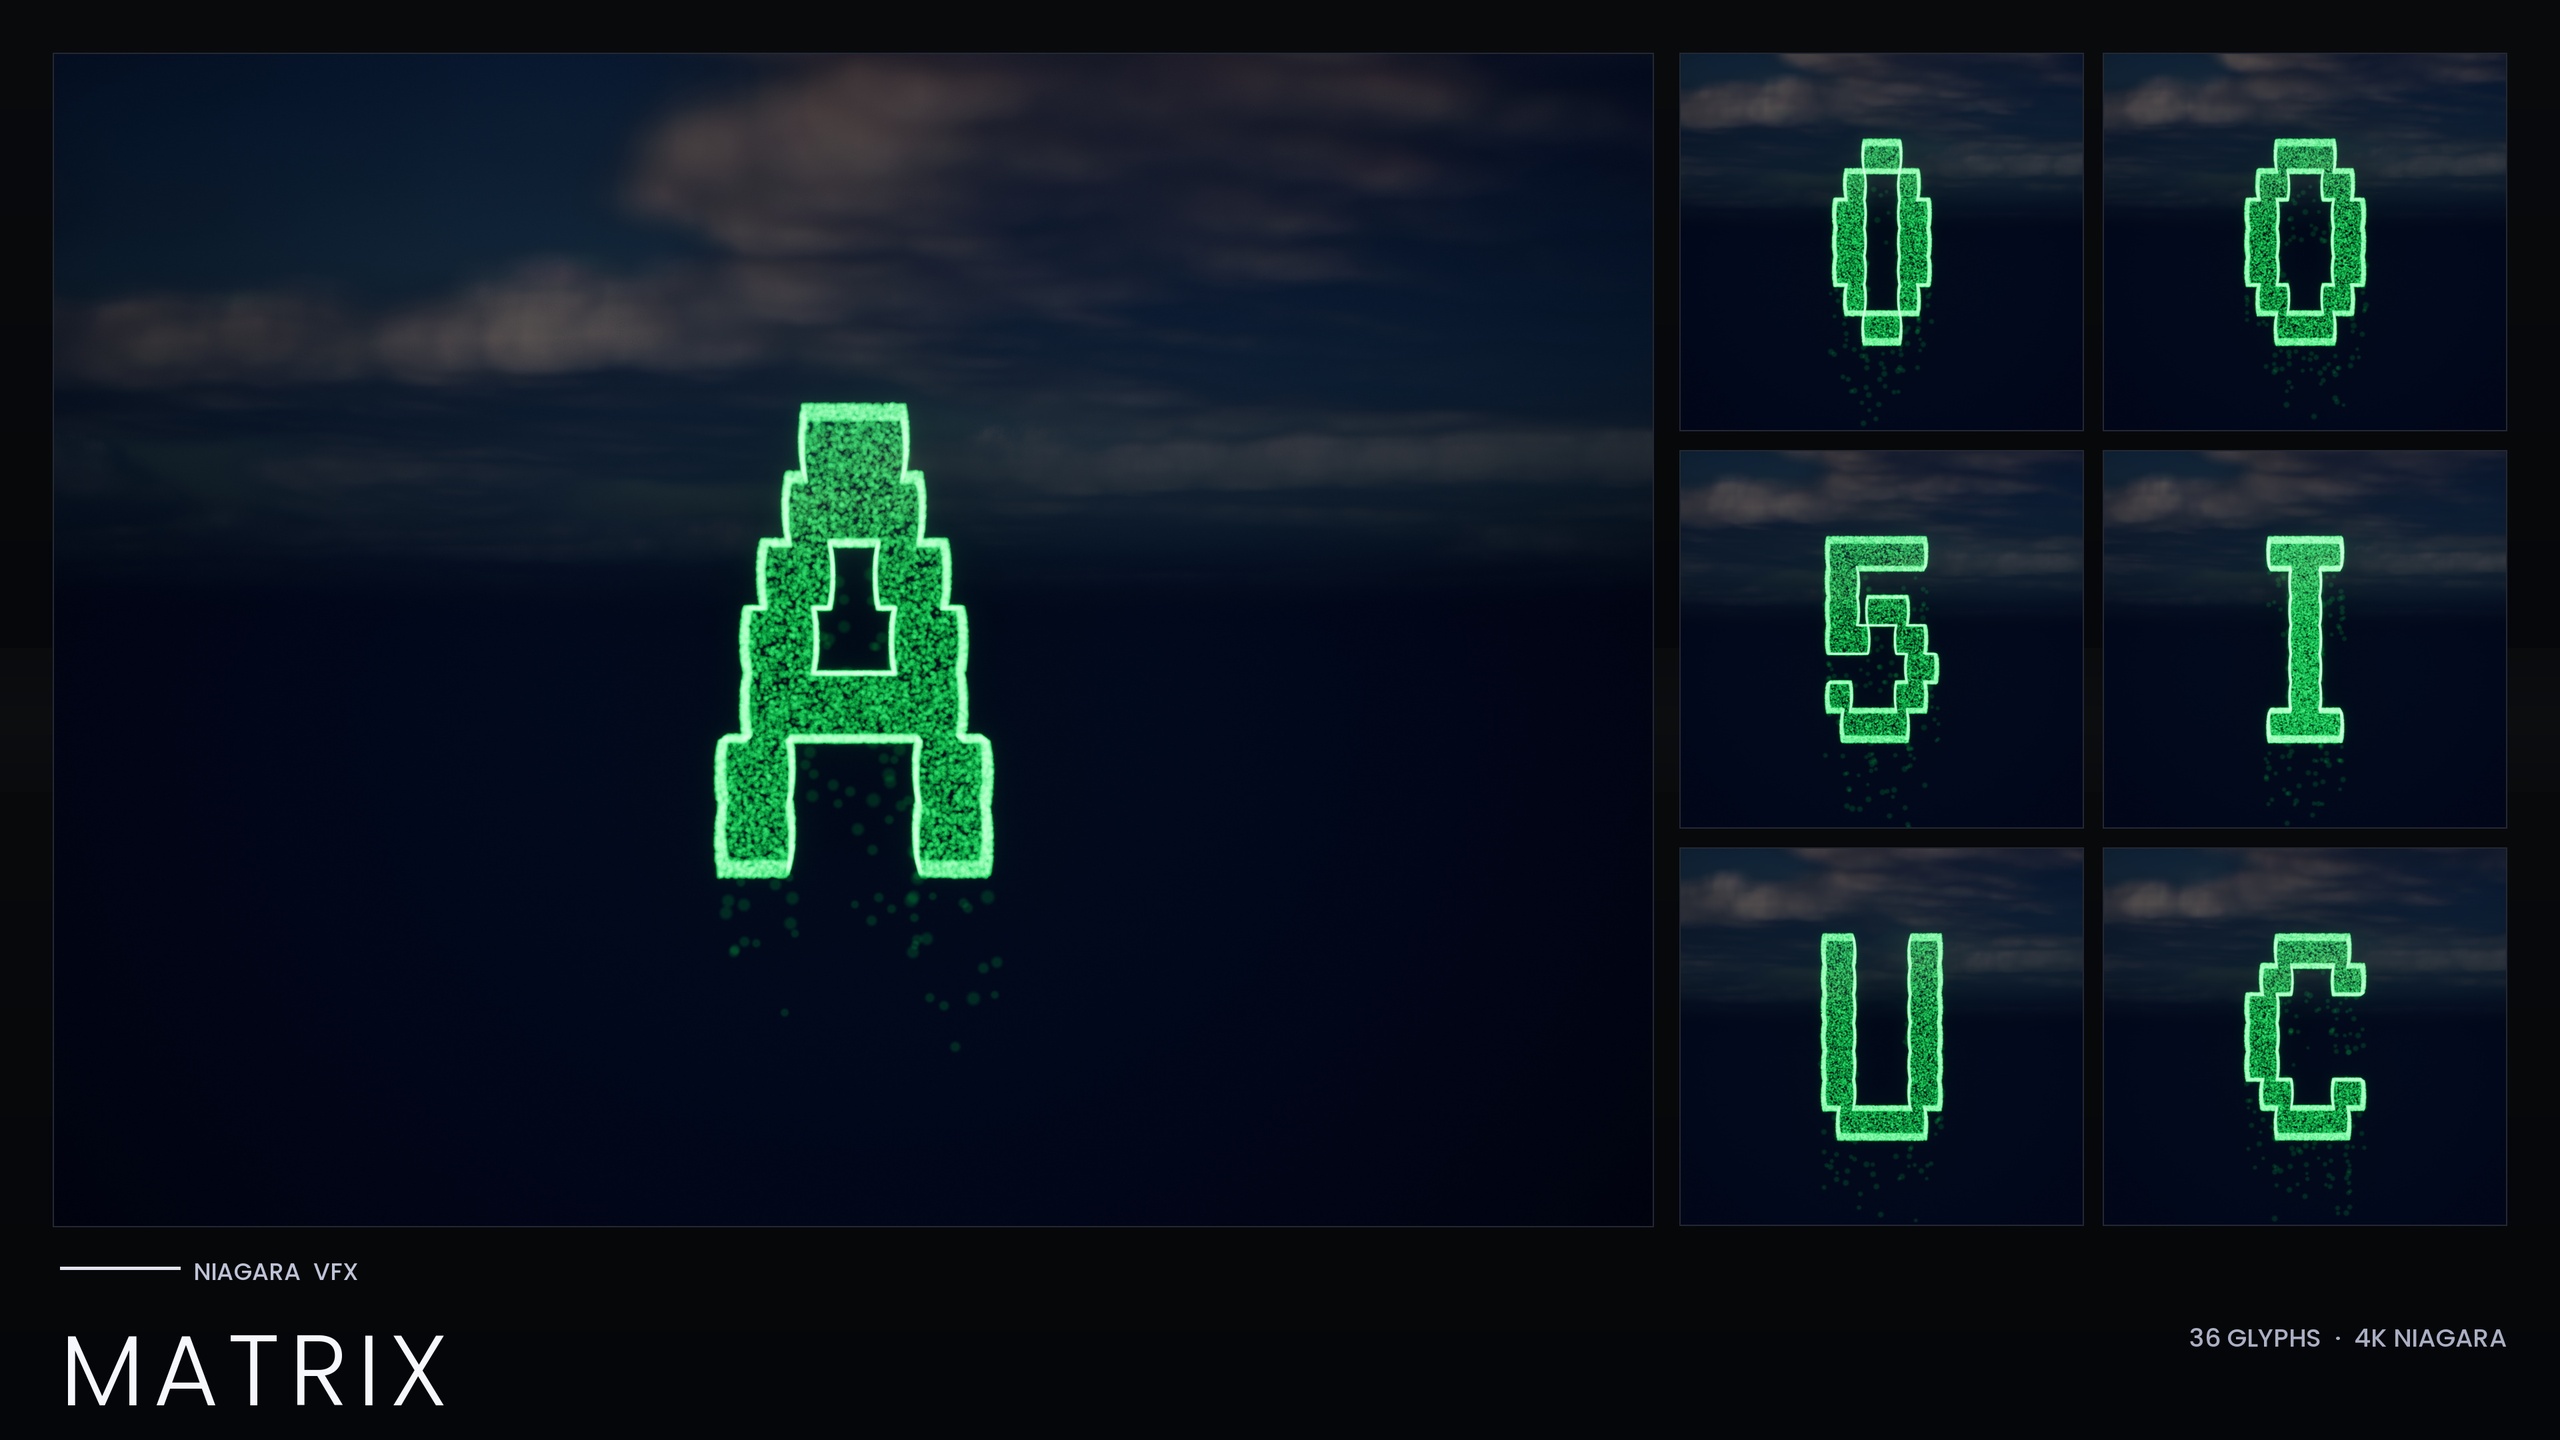
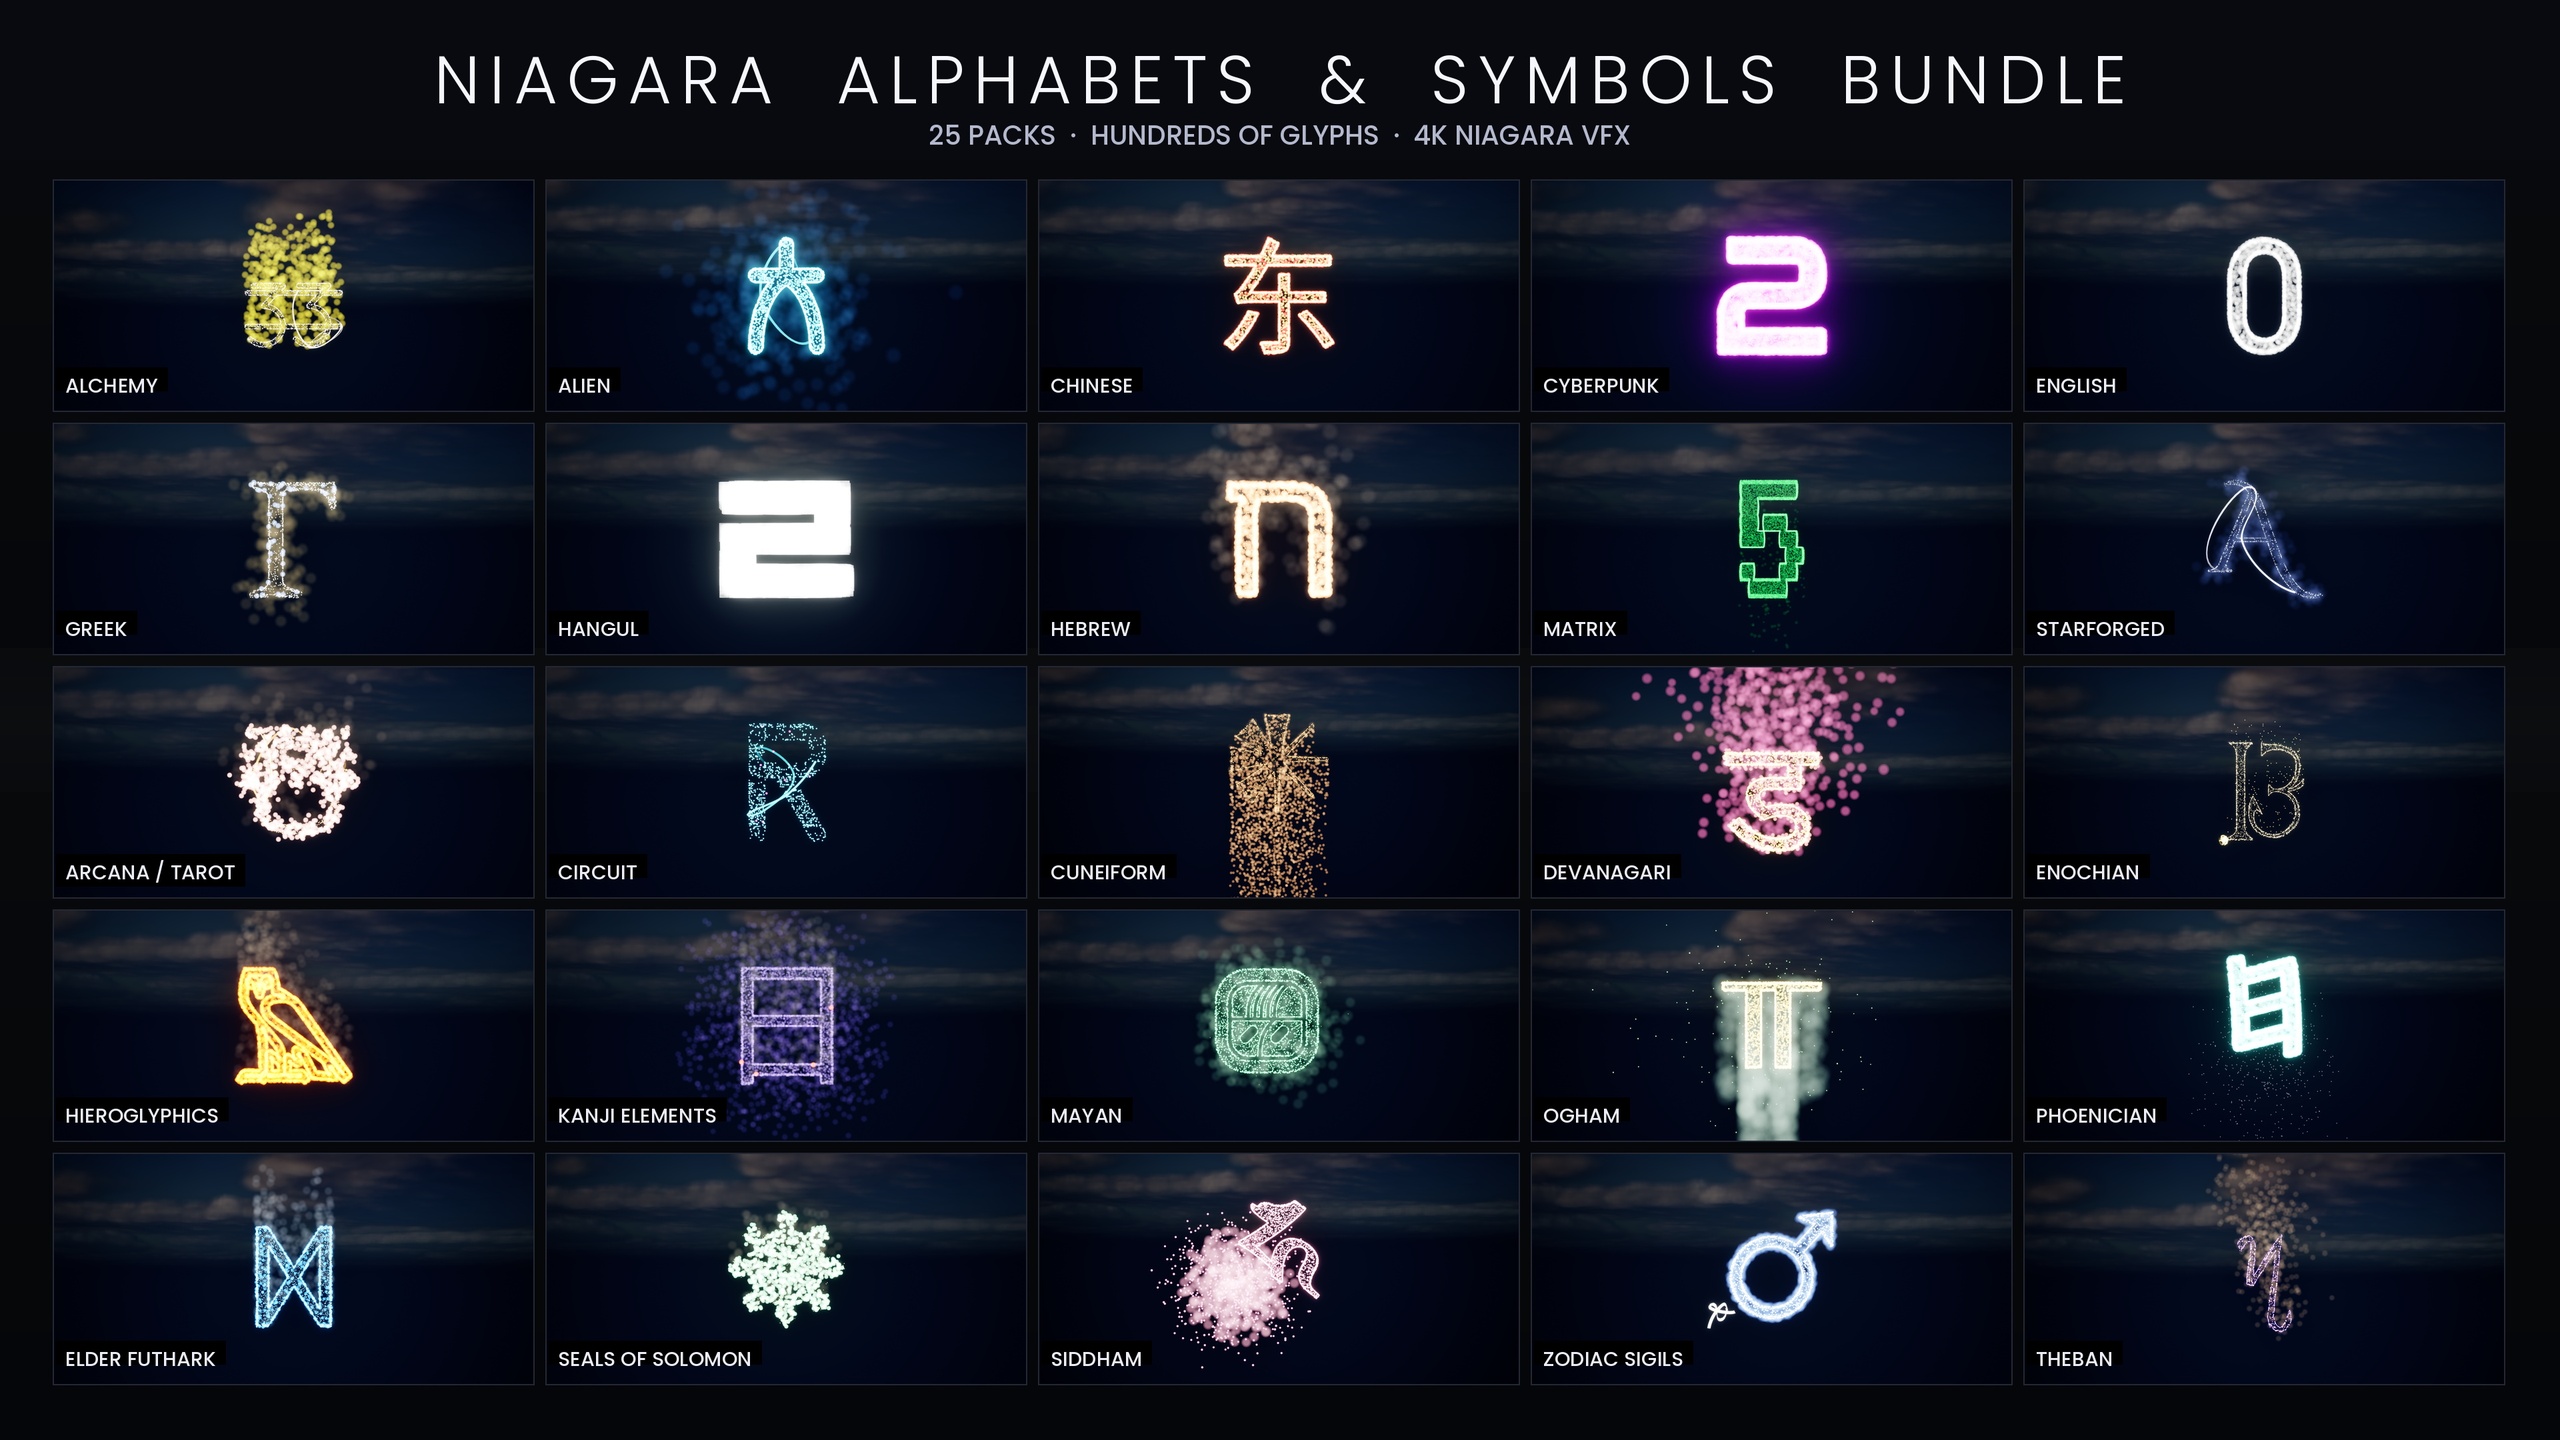
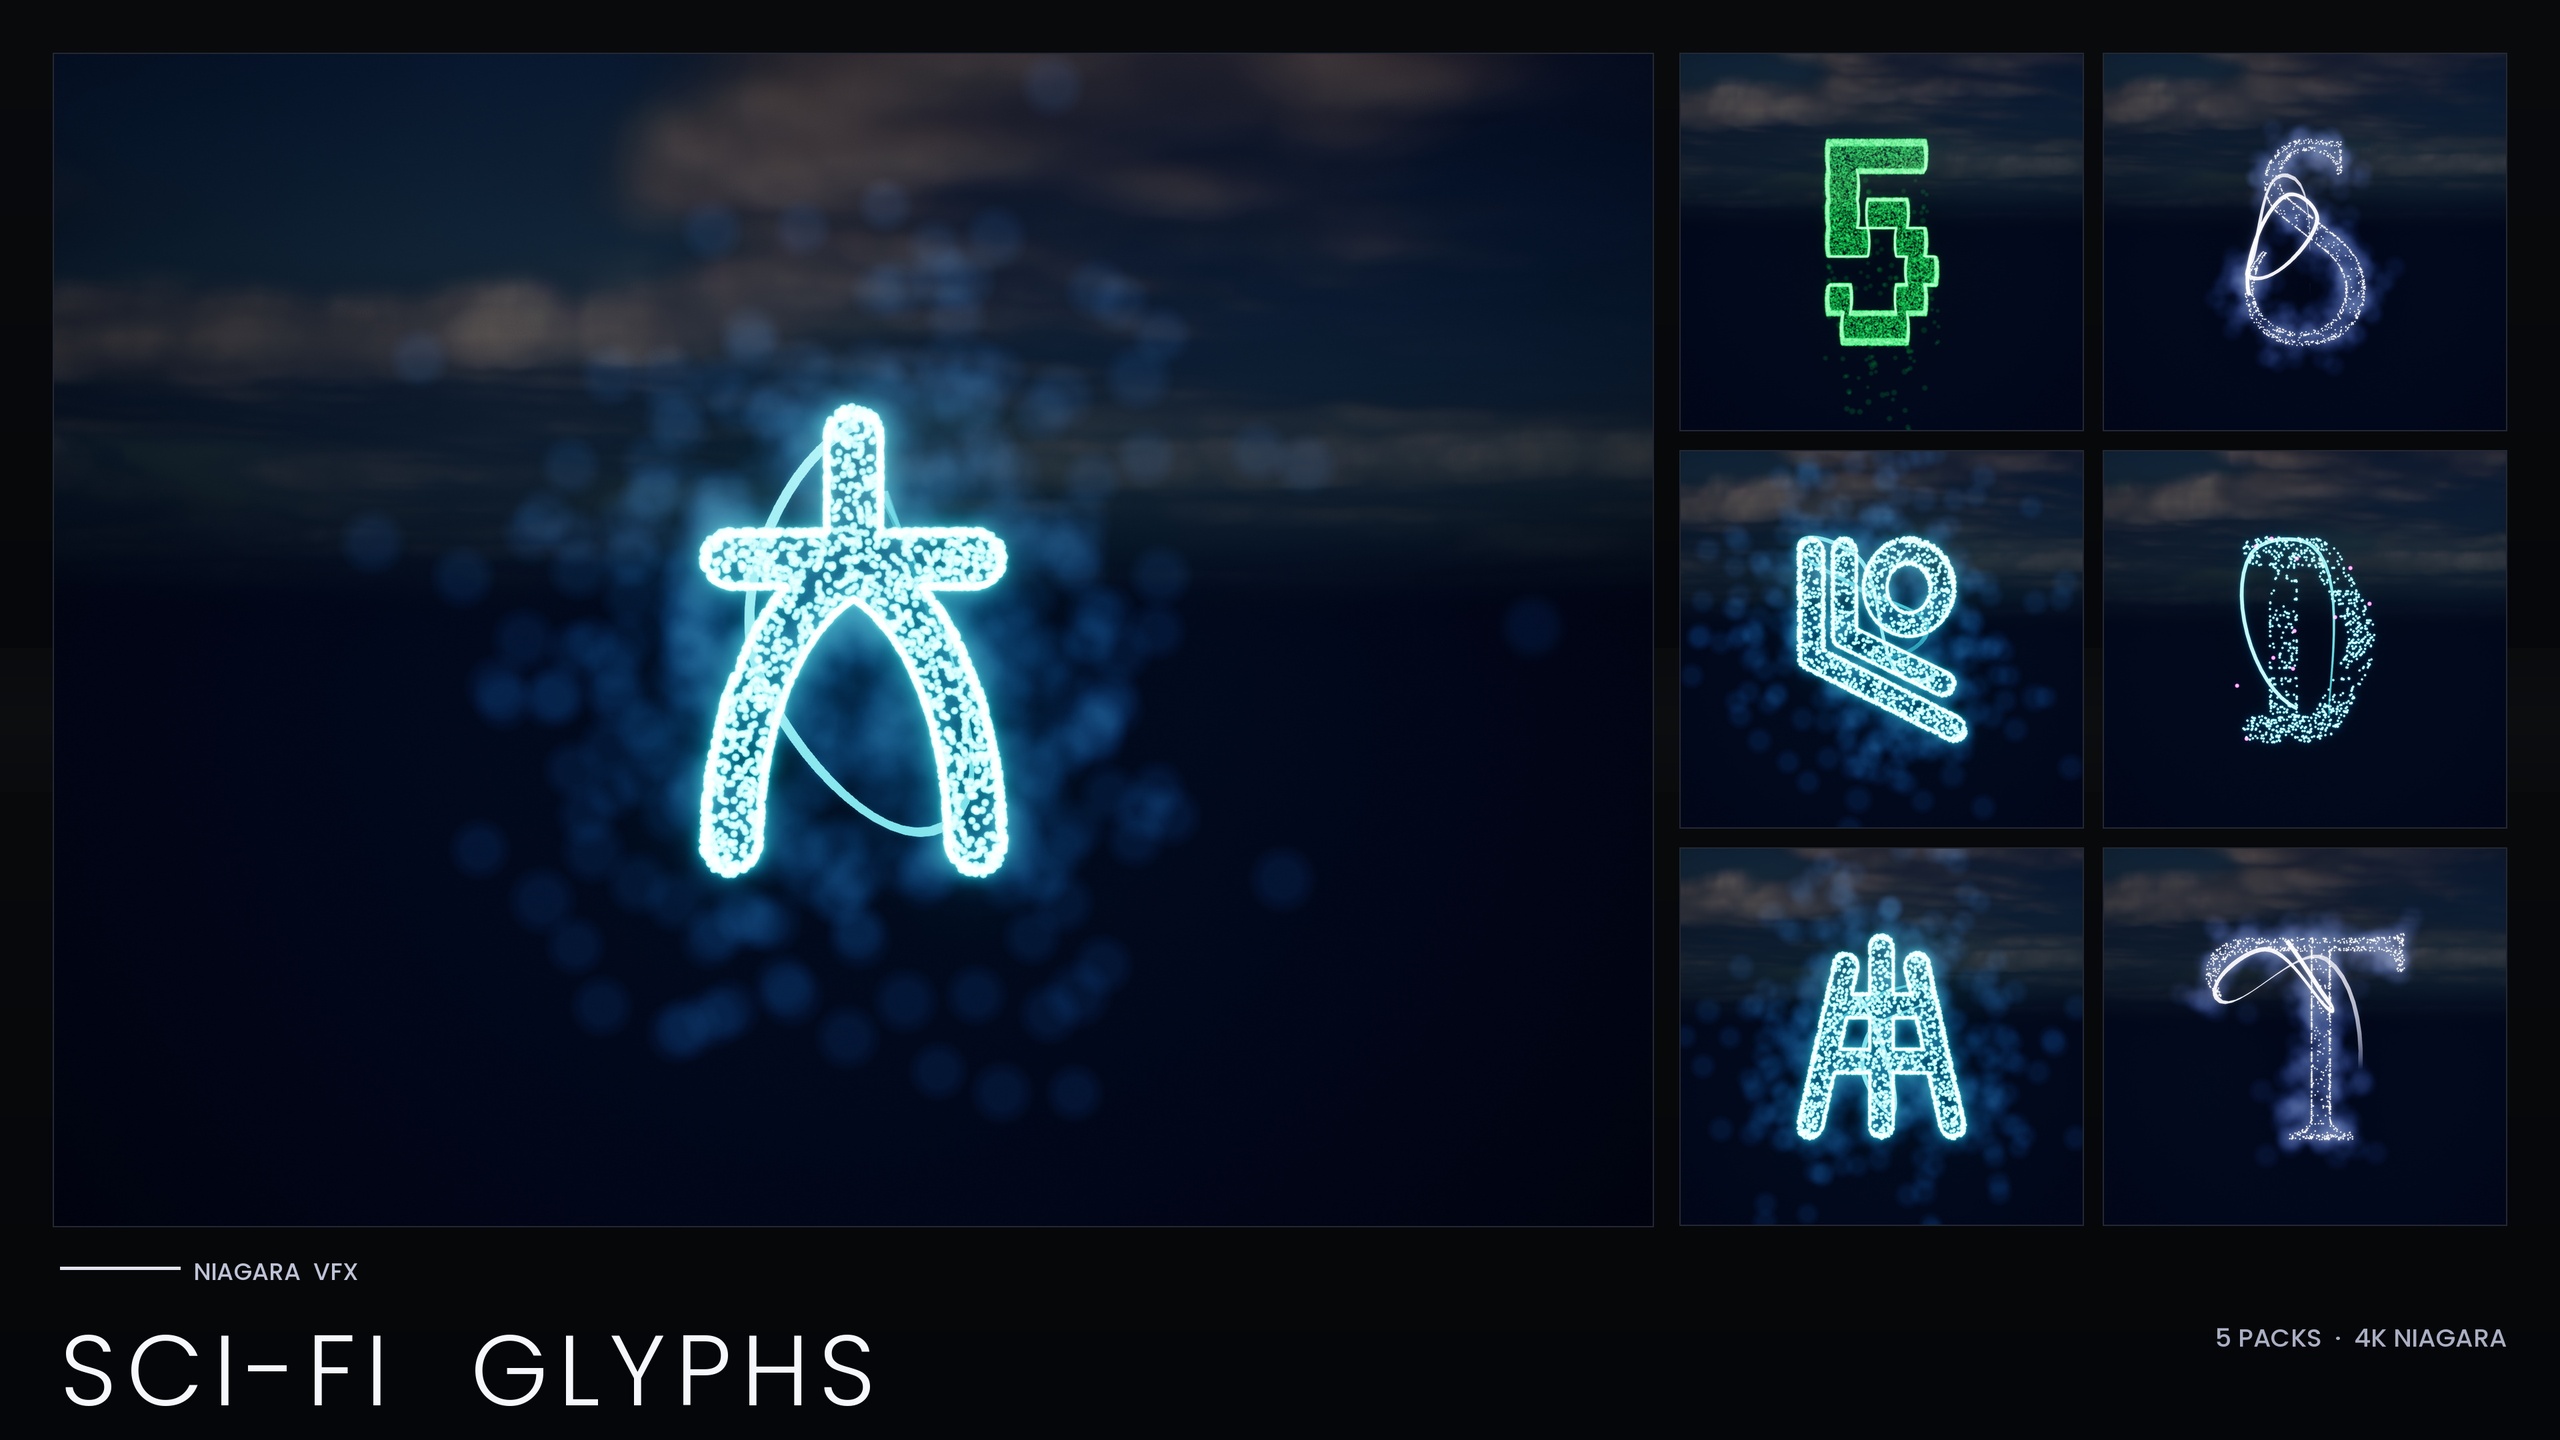
The bundle is a content pack rather than a code plugin, so there is nothing to compile. It contains 147 Niagara Systems and 147 matching static meshes spread across five futuristic writing systems: Alien, Cyberpunk, Matrix, Starforged and Circuit. Everything is CPU-simulated and uses Unreal's default materials only, with no custom materials, no material instances and no textures shipped, which keeps the footprint small and the device support broad.
For signage work the Cyberpunk script is your headline set, but two of its neighbours are worth knowing about up front. The Matrix script gives you falling-code glyphs for screens and walls behind a sign, and the Circuit script carries a holographic cyan/magenta identity with a deliberately stuttering, sub-0.2-second-lifetime flicker that suits unstable holograms and glitch panels. Mixing those scripts on one street is exactly the kind of layered cyberpunk scene the pack is built for.
Install the pack into your project's Content folder, then open the per-theme demo maps to preview each script. The bundle ships five demo maps, one per theme, so you can see every glyph laid out before you place anything of your own.
Composing a sign from spawnable glyphs
Because each character is its own Niagara System, building a word is a placement exercise rather than a texturing one. The workflow is the same whether you drag assets into the level by hand or spawn them from Blueprint at runtime.
1. Open one of the demo maps and locate the Cyberpunk glyphs so you can read the naming and pick the characters you need for your word.
2. Drag the NS_ Niagara System for your first letter into the level, or in Blueprint call the Spawn System At Location node, or Spawn System Attached if the sign should ride on a moving actor such as a vehicle or a flying billboard.
3. Place each subsequent glyph alongside the previous one, spacing them on a consistent baseline. Because the Audiowide-derived forms are wide and even, regular kerning reads cleanly as signage.
4. Orient the row to face the camera or the street. For a wall-mounted sign, keep the glyphs co-planar; for a hologram you can tilt or stack rows in depth so the text occupies volume rather than a single plane.
5. Where you want a hard physical anchor for the sign, drop the matching static mesh for the same character behind or around the particle glyph. The mesh gives you a solid form to carve into a frame, emboss onto a panel or light with an emissive, while the Niagara System supplies the living glow on top.
Treat the static meshes and the Niagara Systems as two halves of one sign: the mesh is the tube and the housing, the particle system is the gas that glows. You do not have to use both, but pairing them is what sells a close-up.
Driving the neon glow with HDR colour and bloom
The glow in these glyphs is not painted into a texture; it comes from HDR colour driving Unreal's bloom post-process. That is why the pack can ship zero custom materials and still look like neon. It also means the single most important setup step is outside the particle system entirely: bloom must be enabled in your scene for the effect to read as neon at all.
Make sure a Post Process Volume covers your sign, or that bloom is enabled in your project's default post settings, before you judge the look. With bloom off, the glyphs render as plain shapes and the whole effect looks broken, which is the most common reason a first attempt disappoints.
From there, the brightness of the glow is a function of how far the glyph's colour pushes past 1.0 in HDR. Brighter values bleed more aggressively into the surrounding bloom, which is the knob you reach for to make a sign feel like it is burning through fog or rain. Keep the rest of your scene exposure in mind too: neon reads strongest against a darker, wetter, higher-contrast street, which is why the genre lives at night.
For a hologram rather than a hard sign, the same HDR-and-bloom mechanism applies, but you generally want a cooler, more transparent feel. The Circuit script leans into this already with its cyan/magenta identity, and you can borrow its restless, short-lifetime look when you want a projection that visibly struggles to hold together.
Layering megacity holograms and ramen-shop type
A convincing cyberpunk street is rarely one sign; it is layers of type at different scales and depths. The independently spawnable nature of the glyphs is what makes this cheap to build, because you are reusing the same library at every scale instead of authoring a new asset per sign.
For a towering megacity hologram, spawn a row of Cyberpunk glyphs at large scale, set high in the scene and angled down toward the street. Pushing the HDR colour hard here makes the projection dominate the skyline. If you want it to feel like a true hologram rather than a solid sign, lean toward the Circuit script's flickering, low-stability character so the giant text shimmers and stutters instead of sitting rock-steady.
For intimate ramen-shop type at street level, do the opposite: small glyphs, tighter spacing, mounted close to a doorway or a window, with the matching static meshes behind them to imply a physical tube sign. A handful of these at human scale, each a slightly different hue, instantly populates an alley.
To fill screens and walls behind the signs, reach for the Matrix script's falling-code glyphs, available standalone as the Niagara Matrix Pack and also included in this bundle. Cascading code on a background monitor, cyberpunk signage in the mid-ground and a stuttering hologram overhead is a complete, layered street built entirely from one library.
Because everything is CPU-simulated and stacks per instance, be deliberate about how many systems you spawn in a single view. Build the density you need for the shot, and lean on the static meshes for the signs that sit far enough back that they do not need live particles.
Recolouring a whole script from one Parameter Collection
The feature that turns this from a glyph library into a signage system is the Niagara Parameter Collection. The bundle ships one Parameter Collection, and each script's glyphs share a unified Niagara backbone that reads its style from that asset. Edit the Parameter Collection once and the whole writing system recolours and re-times together, instead of you touching dozens of individual signs.
1. In the Content Browser, open the pack's Niagara Parameter Collection asset.
2. Change the colour parameter the Cyberpunk script reads from. Every Cyberpunk glyph already placed in your level updates to match, so a street that was electric blue becomes hot magenta in a single edit.
3. Adjust the timing or spawn-related parameters in the same Collection to re-time the script's animation across the board, for example to slow a steady sign or speed up a frantic one.
4. Where a single sign needs to differ from the rest, set a per-glyph override directly on that system; the Collection drives the default, and individual systems can still diverge.
One important caveat: the Matrix script bakes its style inline as constants and does not read from the Parameter Collection, so the one-asset recolour workflow applies to the other Cyberpunk-style scripts, not to Matrix. To recolour the falling code, edit its emitter colour on the system itself or duplicate it with a new tint. This is the only place the single-asset workflow does not reach, and it is worth knowing before you wire a scene-wide colour change.
Used together, these pieces give you a full pipeline: spell signs from spawnable glyphs, anchor them with the matching meshes, light them with HDR colour and bloom, and drive an entire street's palette from one Parameter Collection. As a next step, open a per-theme demo map, place a single word, then change the Collection's colour and watch the whole sign shift; once that loop clicks, building a city of signage is just repetition at different scales.
Which script for which part of the street
| Script | Glyphs (approx.) | Best for | Recolour via Parameter Collection? |
|---|---|---|---|
| Cyberpunk | 37 | Neon street signage, ramen-shop type, megacity holograms | Yes |
| Matrix | 36 | Falling-code screens and walls behind the signs | No (style baked inline) |
| Circuit | 24 | Stuttering cyan/magenta holograms and glitch panels | Yes |
| Alien | 26 | Transmissions and first-contact decode panels | Yes |
| Starforged | 25-26 | Ship registries and navigation-chart text | Yes |
All five scripts ship in the bundle, are CPU-simulated and use engine-default materials. Approximate per-theme glyph counts vary by snapshot; treat as a guide.
FAQ
How do I build a cyberpunk neon sign or hologram in Unreal Engine 5 with Niagara?
Spell the sign from the Cyberpunk script's spawnable Niagara glyphs, placing each character on a baseline or spawning it from Blueprint with the Spawn System At Location node. Enable bloom so the HDR colour reads as neon, optionally drop the matching static meshes behind the glyphs for a physical anchor, and recolour the whole sign from the pack's Niagara Parameter Collection.
Why do my glyphs look flat instead of glowing?
The glow comes from HDR colour driving Unreal's bloom post-process, not from a texture, so bloom must be enabled. Make sure a Post Process Volume covers the sign or that bloom is on in your project defaults; with bloom off the glyphs render as plain shapes.
Can I recolour an entire sign at once?
Yes, for the Cyberpunk-style scripts. Each script shares a Niagara backbone that reads from the bundle's Niagara Parameter Collection, so editing that one asset recolours and re-times the whole script. The Matrix script is the exception: it bakes its style inline, so you recolour its code rain per system instead.
Do I need to write any code or build a plugin?
No. This is a content pack, not a code plugin, so there is nothing to compile. Install it into your project's Content folder, open the per-theme demo maps to preview the glyphs, and drag the systems into your level or spawn them from Blueprint.
Which engine versions does the pack support?
It was authored in UE5.4 and the product listing states support for UE 5.4 to 5.7 on Windows and Mac. Treat that as the listed range rather than a guarantee for any version you have not tested yourself.
Niagara SciFi Glyphs Bundle
147 Niagara glyph systems across five sci-fi themes — Alien, Cyberpunk, Matrix, Starforged and Circuit — for futuristic UI, terminals and FX. CPU-simulated with a Parameter Collection and demo map.