tutorial · 2026-03-17
How to Make Glowing Animated Tomb Inscriptions in UE5 with Niagara
Compose a real Egyptian inscription from spawnable glyph systems, reveal it under the player's torch, and recolour an amber burn to a curse-blue glow from a single asset.

The problem: a tomb wall that has to write itself
You want the player to step into a burial chamber, raise a torch, and watch a line of Egyptian hieroglyphs flare to life across the stone as the light passes. It is one of the most requested effects in action-archaeology and historical-fantasy games, and it is also one of the easiest to do badly. The usual shortcut is a single looping decal or a flipbook texture stretched along the wall, which means every inscription in your game is the same handful of symbols, you cannot spell anything specific, and the reveal never lines up with where the torch actually is.
This tutorial shows you how to make glowing hieroglyphs in Unreal Engine the composable way: by treating each glyph as its own spawnable particle system so you can write a genuine inscription, trigger it from gameplay, and restyle the whole line from one place. We will build it with the Niagara Ancient Scripts Pack, which ships every glyph as an independently spawnable CPU Niagara System alongside a matching static mesh, so you compose real text rather than reusing a stock loop.
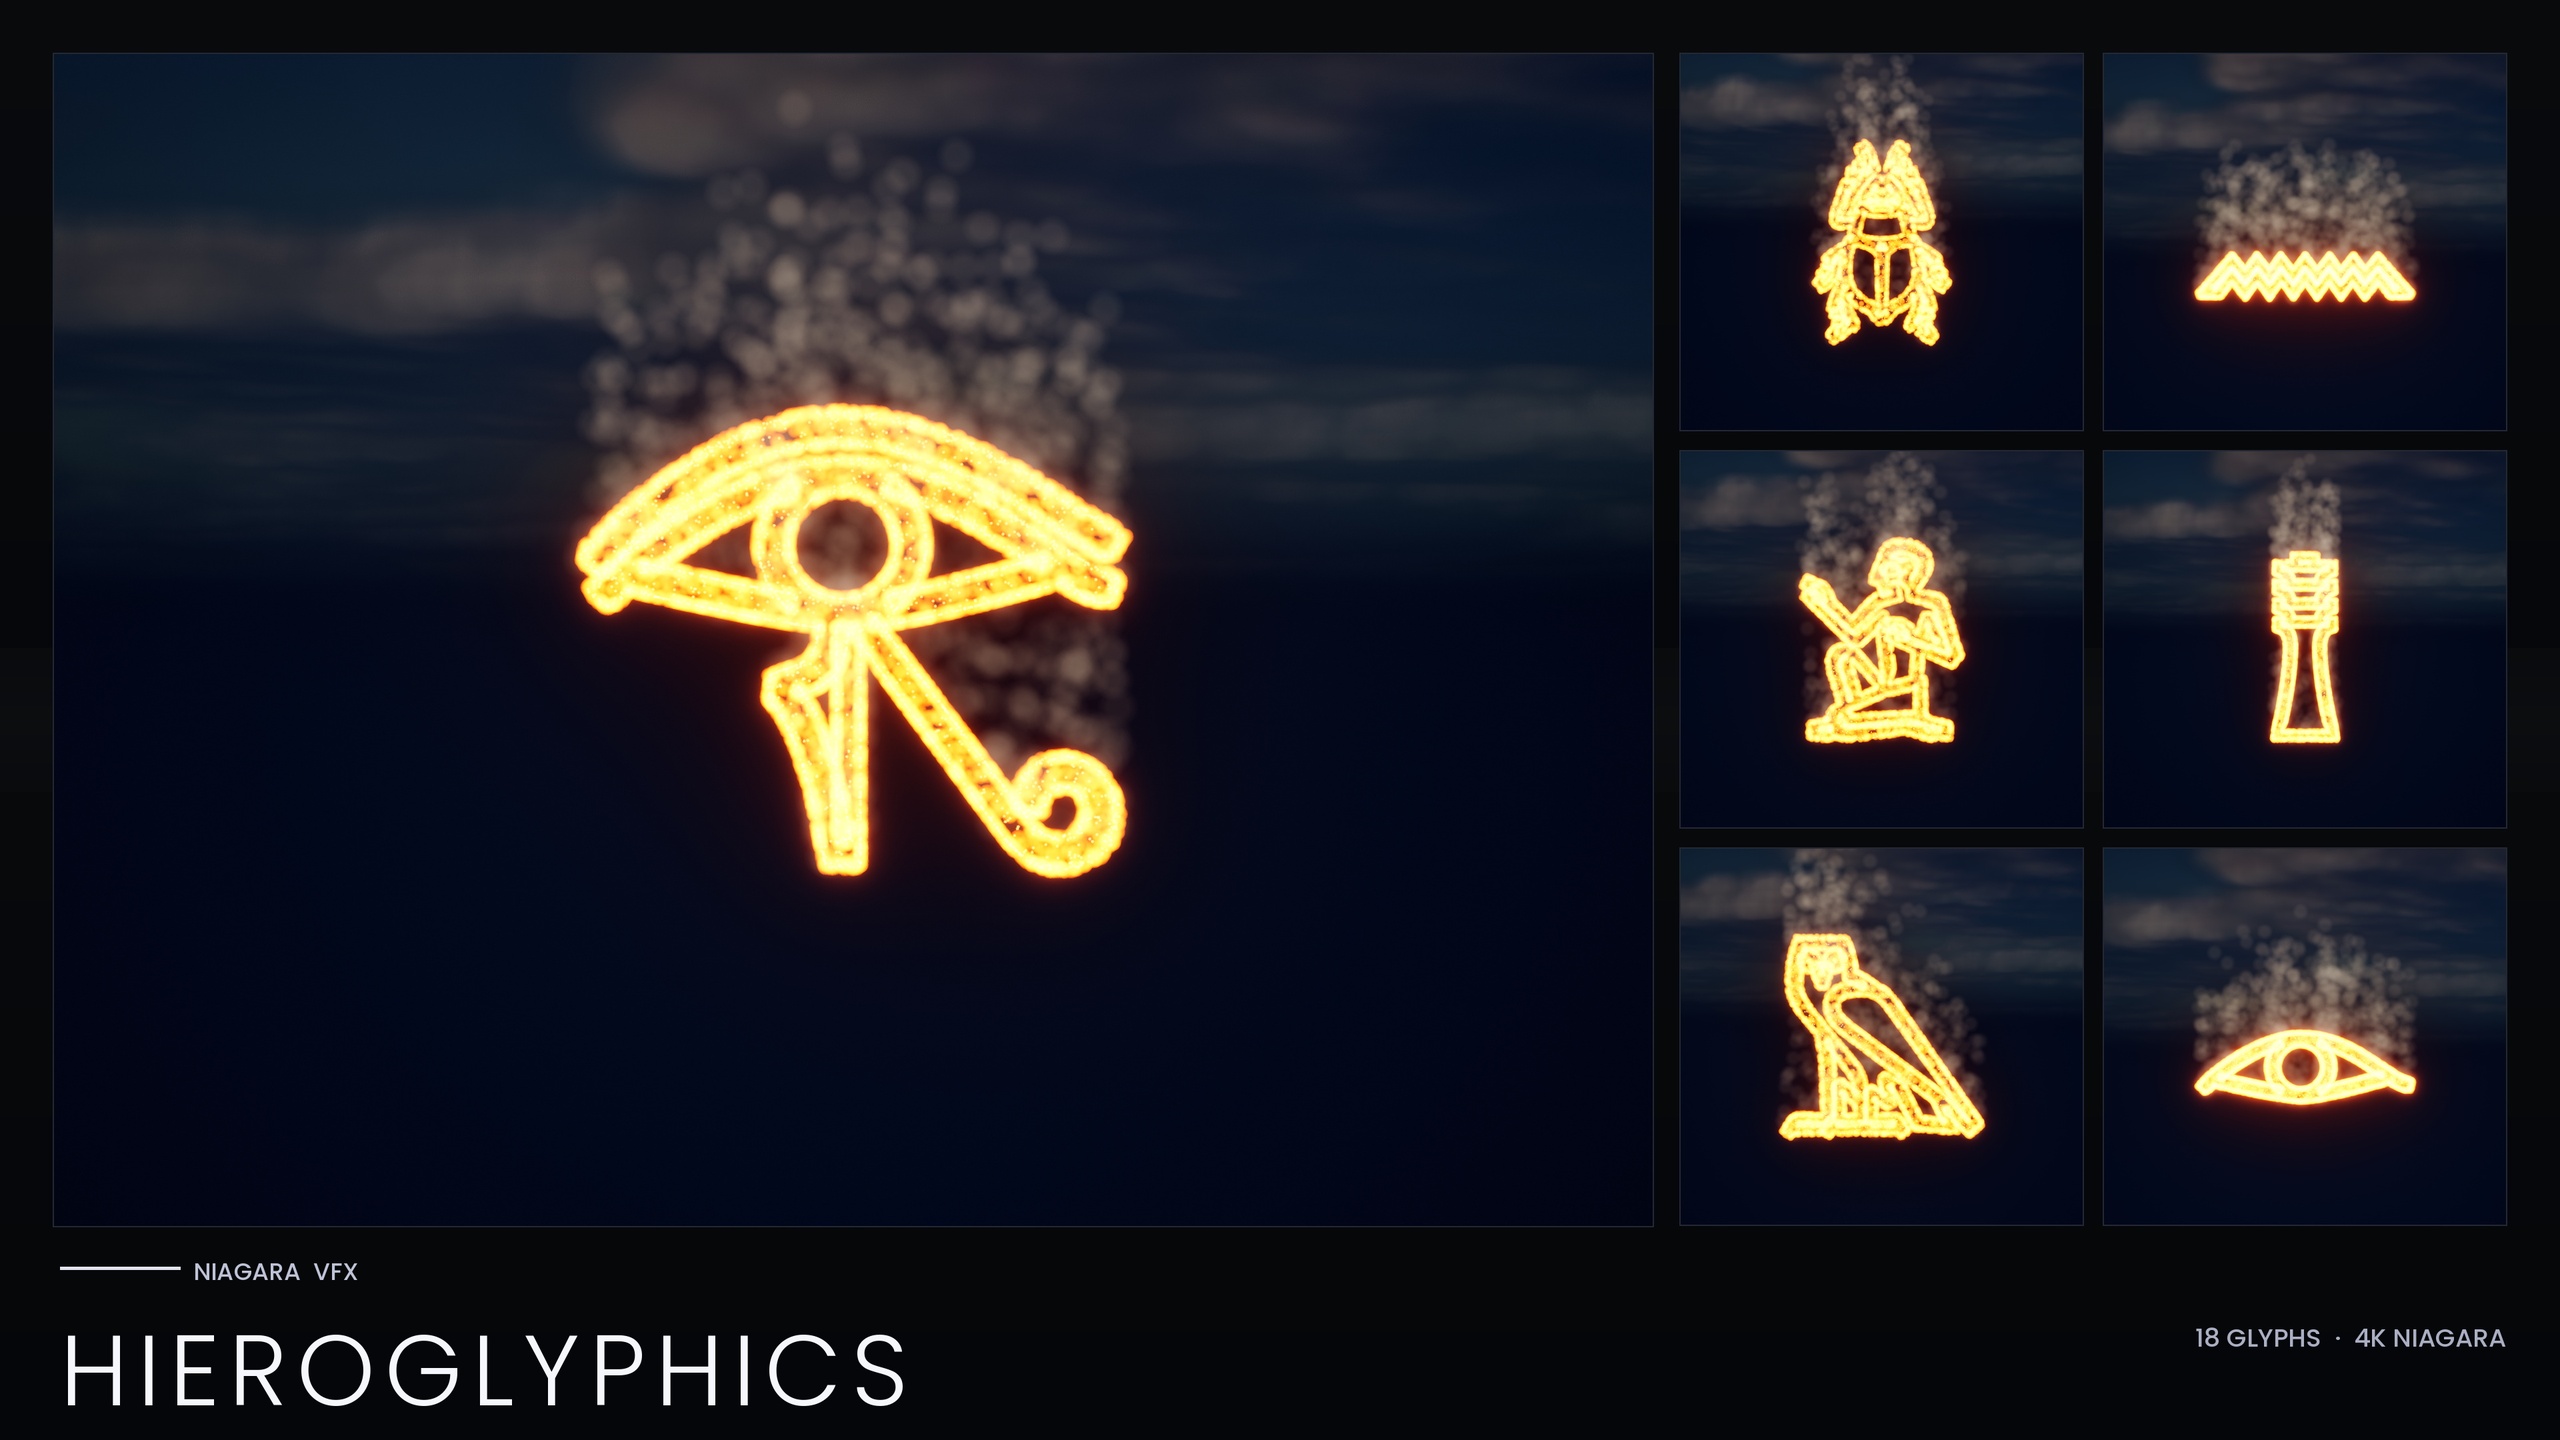
The pack covers five real ancient writing systems in total, Egyptian Hieroglyphics, Cuneiform, Mayan, Ogham and Phoenician, across 114 Niagara Systems and 114 matching static meshes. For a tomb scene you will live in the Hieroglyphics demo map, but the same backbone and workflow apply to a cuneiform clay-tablet reveal or a Mayan pyramid frieze.
Placing glyph systems along a wall to form an inscription
Start by adding the content pack to your project, then open the per-script demo map for Hieroglyphics. The pack splits its demo content across five maps, one per script, specifically to keep the per-map particle load manageable while you preview, so you are not loading all five writing systems at once just to look at Egyptian.
1. In the demo map, find the glyphs you want in the 'Content Browser'. Each one is a Niagara System asset prefixed with NS_; the matching carve-able mesh is the SM_Glyph_ static mesh of the same name.
2. Drag the first glyph's NS_ system into the level and position it flat against the wall surface where the inscription should begin. Repeat for each glyph in your line, spacing them evenly so they read as a single row of text rather than a scatter of effects.
3. Decide whether you want the carved stone underneath. The pack ships every glyph twice, as a spawnable system and as a static mesh, so you can place the matching SM_Glyph_ mesh into the wall to cut the actual recess and light it with an emissive material, then sit the Niagara system on top so the carving appears to ignite.
4. Because each glyph is its own asset, you are spelling a specific inscription, not tiling a generic loop. Mix glyphs freely to author the exact cartouche or curse text the scene calls for.
Keep an eye on how many systems you place. Everything in the pack is CPU-simulated, so particle cost scales with the number of live systems in view; a single readable line of inscription is comfortable, an entire wall of dense text is where you start budgeting.
Triggering the reveal as the player's torch passes
A static glowing wall is fine, but the moment everyone remembers is the inscription catching light as the torch sweeps past it. Because each glyph is a discrete Niagara System rather than one baked decal, you can drive the reveal from gameplay glyph by glyph.
1. Instead of placing the systems by hand, spawn them from Blueprint. Use the 'Spawn System at Location' node to instantiate a glyph's NS_ system at a world position, or 'Spawn System Attached' to bind it to a component so it travels with whatever it is mounted on.
2. Drive the trigger from proximity. As the torch-bearing pawn moves, test the distance between the torch and each glyph's anchor point; when the torch comes within range, fire the spawn for that glyph so it ignites just as the light reaches it.
3. Stagger the line. Trigger glyphs in reading order with a short delay between each, so the inscription writes itself left to right in the wake of the torch rather than snapping on all at once. A small per-glyph delay is the difference between magic and a light switch.
4. If you would rather pre-place the systems and merely gate their visibility, you can keep them dormant and toggle them as the torch passes, but spawning on demand keeps your particle count tied to exactly what the player is looking at, which is the friendlier option for a CPU-simulated set.
The same proximity pattern covers the pack's other intended reveals, sarcophagus carvings lighting as the lid slides, or a pyramid passage that ignites section by section as you advance down it.
Tuning ember vs glow vs smoke
Each glyph here is built from three emitters that sample the glyph mesh so the particles trace the symbol's actual shape: a hot ember core, a glow halo around it, and a slow ambient smoke or dust column rising off the carving. The glow is not a custom shader, the pack uses Unreal's default materials with zero custom materials and zero textures, and the luminous look comes from HDR colour driving the engine's bloom. Keep bloom enabled in your scene or the glyphs will look flat.
Once the inscription reveals correctly, the look is all in the balance of those three emitters. The pack is designed so you rarely touch individual emitter graphs; instead it exposes the dials that matter through a Niagara Parameter Collection, with colour, size and spawn rate for the ember, glow and smoke all controlled from that one asset.
Push the ember core brighter and smaller for a sharp, freshly-lit carving; pull it down and widen the glow halo for an older inscription that smoulders rather than blazes. The ambient smoke is your atmosphere control, a thin, slow dust column reads as ancient and undisturbed, while a faster, denser column reads as something that has just been violently awoken.
Because the colour, size and spawn-rate live in the Parameter Collection rather than baked per system, editing those values retunes every glyph in the script at once. You set the mood for the whole inscription from a single asset, then place as many glyphs as the scene needs without re-tuning each one. If a single hero glyph needs to differ, you can still override it on that individual system.
Switching the palette from torch-amber to curse-blue
The payoff of routing everything through the Parameter Collection is the palette swap. The pack's headline workflow is exactly this: edit the Parameter Collection and a whole script recolours and re-times from one asset, so the same inscription can read as a warm torch-amber burn in one beat and a cold, supernatural curse-blue glow in the next.
1. Open the pack's Niagara Parameter Collection.
2. Set the ember, glow and smoke colours to your amber palette for the player's first, innocent reading of the wall. Warm core, red-orange halo, faint pale smoke.
3. At the story beat where the curse triggers, push new values into the same Parameter Collection, a cold blue core and halo, so every glyph on the wall shifts in unison from inviting firelight to a threatening glow without you touching a single placed system.
4. Pair the recolour with a spawn-rate bump in the collection if you want the curse to feel more aggressive, faster ember spawn reads as the text flaring up in anger.
Driving the change from the collection rather than from each emitter is what makes this practical at runtime: one edit, one consistent shift across the entire inscription, and the same technique reused for every Egyptian wall in your game.
Where to go from here
If your project only ever needs Egyptian and you want the smallest footprint, the standalone Niagara Hieroglyphics Pack is the focused entry point, 18 hieroglyph systems and 18 matching meshes on the same three-emitter ember, glow and smoke identity, driven by their own NPC_HieroglyphicsStyle Parameter Collection.
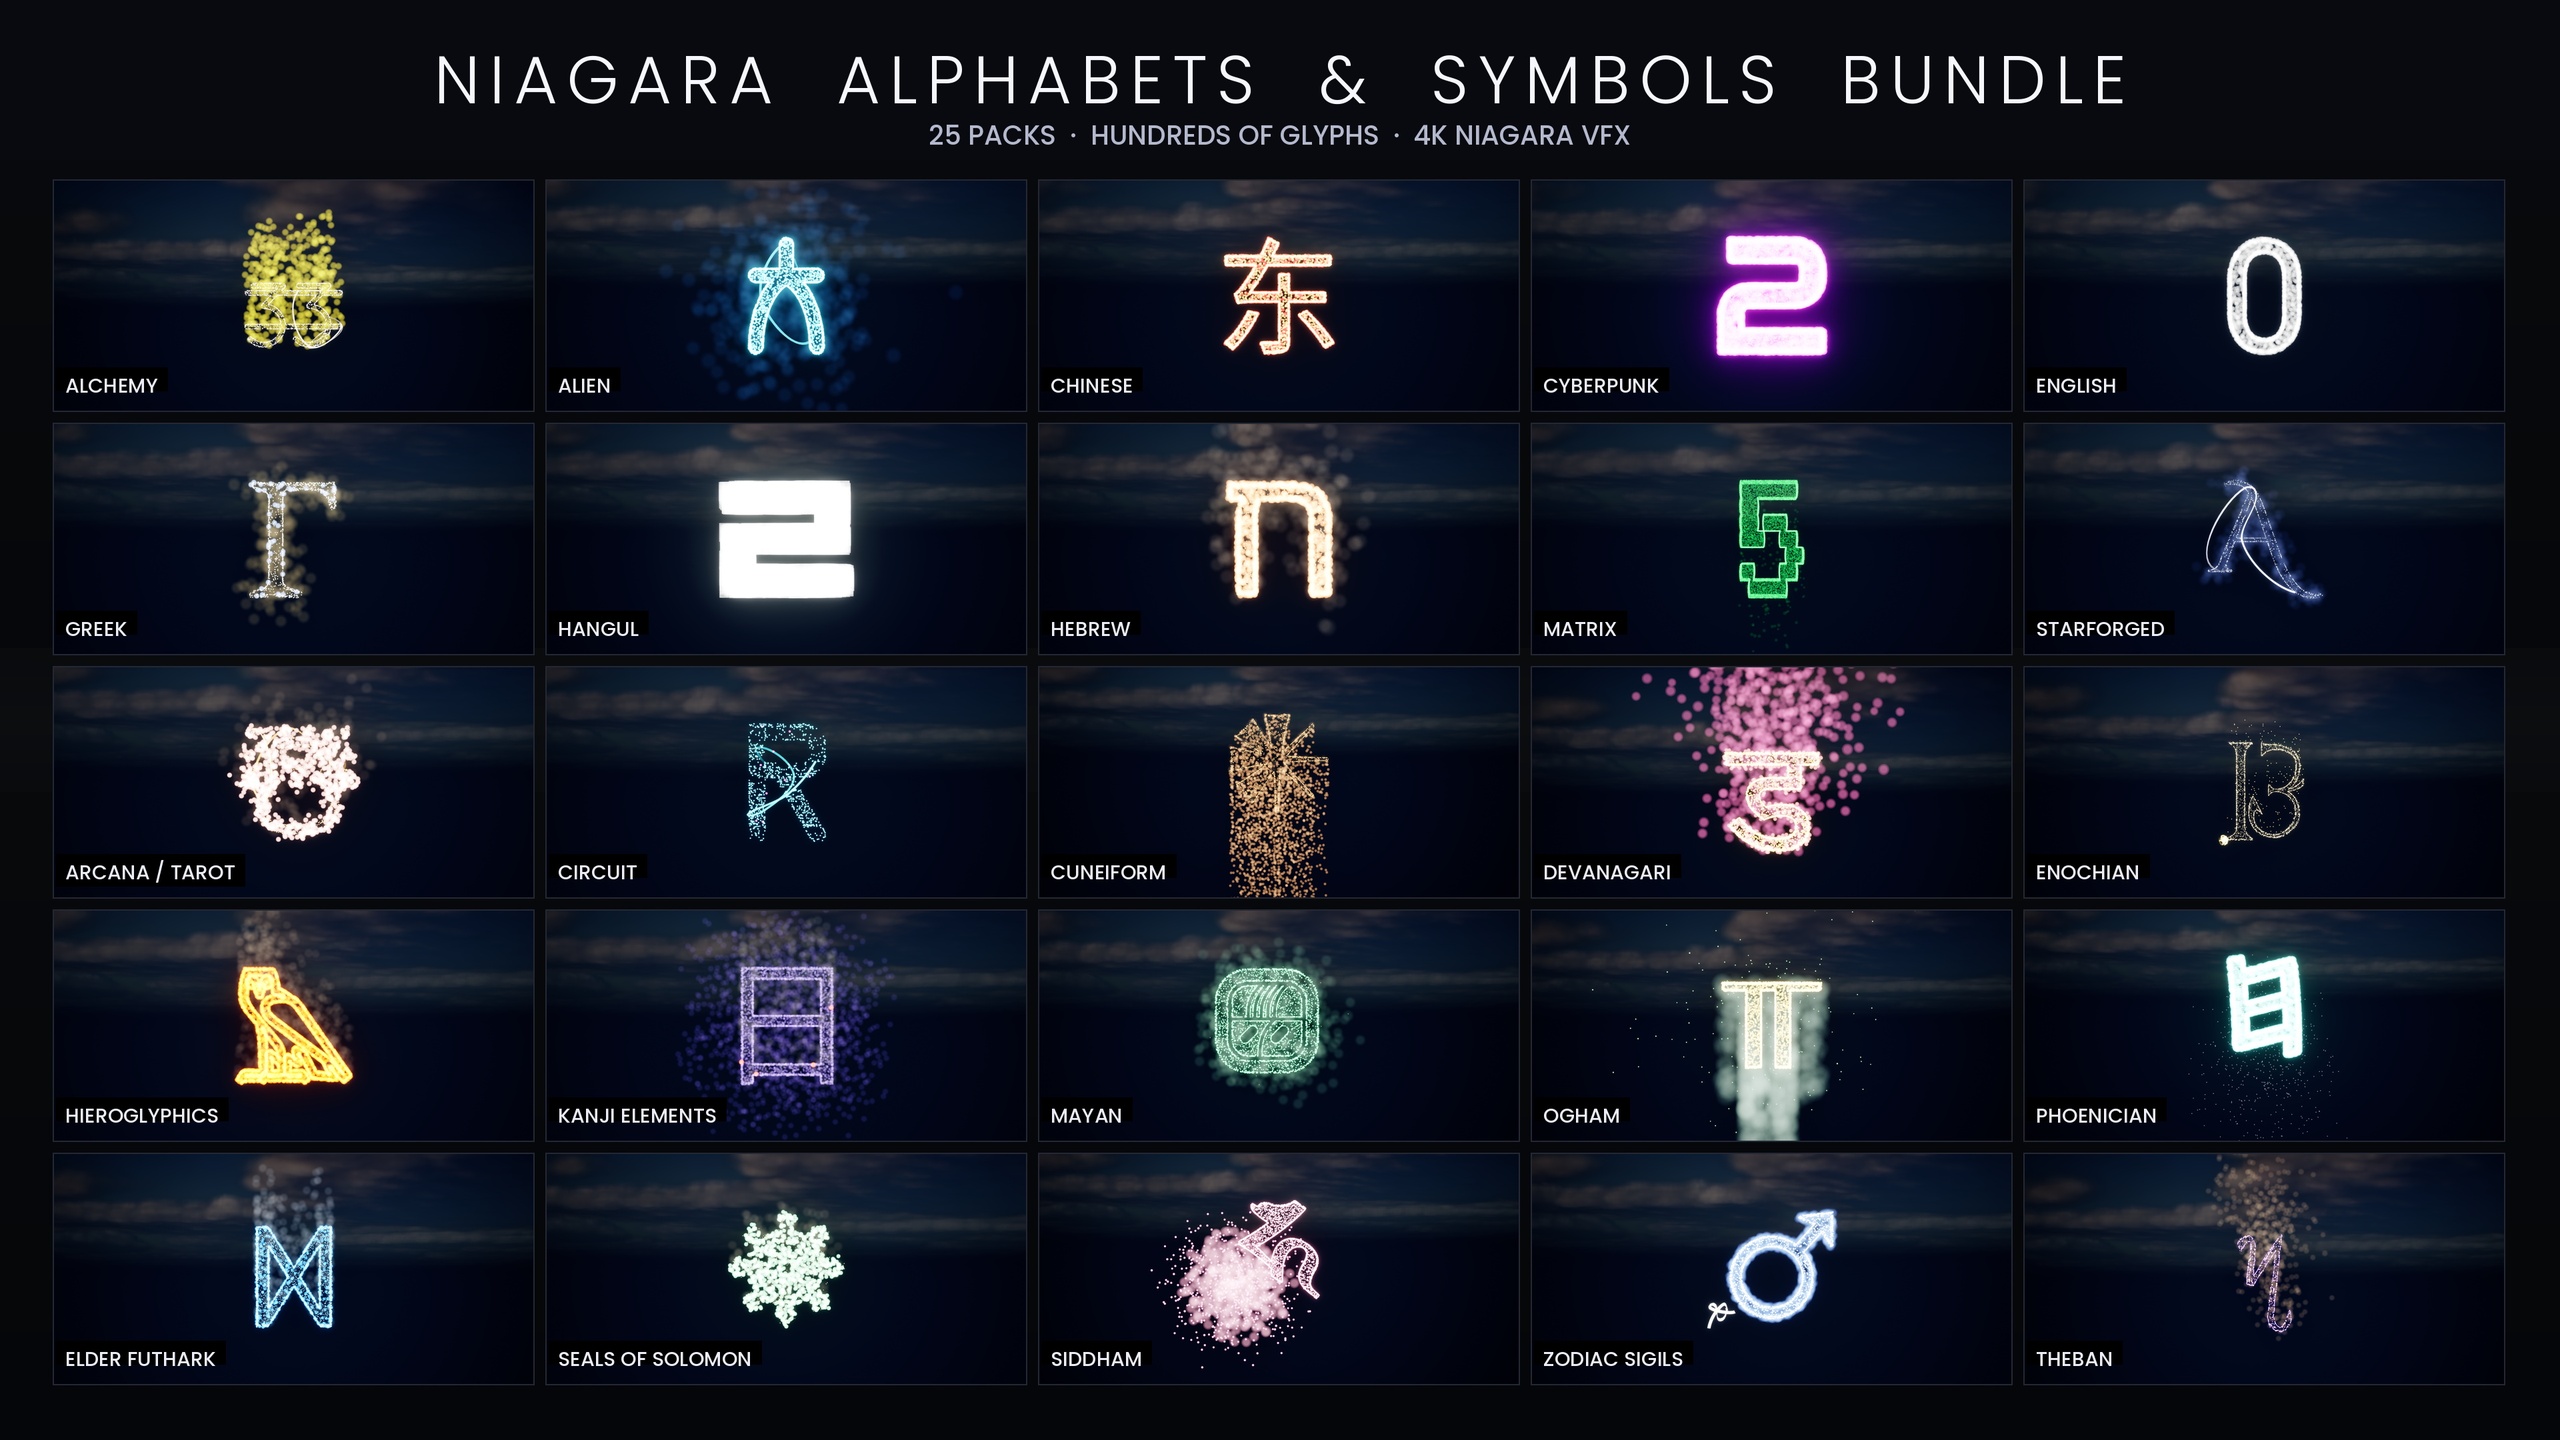
If your tomb is one set among many ancient locations, the Ancient Scripts Pack is the right level: the workflow you just learned carries straight over to Cuneiform clay-tablet reveals, Mayan pyramid friezes, Ogham mark-stones and Phoenician trade scrolls. And if you are building everything from sci-fi terminals to summoning circles, the full Niagara Alphabet & Symbols Bundle is the superset that contains this pack, 687 Niagara systems and 688 static meshes across 25 themed writing systems.
The next step in your own scene is simple: place your inscription, wire the torch proximity trigger, and set both your amber and curse-blue palettes in the Parameter Collection so the wall can change its mind on cue.
Which glyph pack fits your tomb scene
| Pack | Glyph systems | Scripts covered | Style control |
|---|---|---|---|
| Hieroglyphics Pack | 18 | Egyptian only | NPC_HieroglyphicsStyle Parameter Collection |
| Ancient Scripts Pack | 114 | Egyptian, Cuneiform, Mayan, Ogham, Phoenician | Niagara Parameter Collection per script |
| Alphabet & Symbols Bundle | 687 | 25 themed writing systems | Per-theme Parameter Collections (4 ship) |
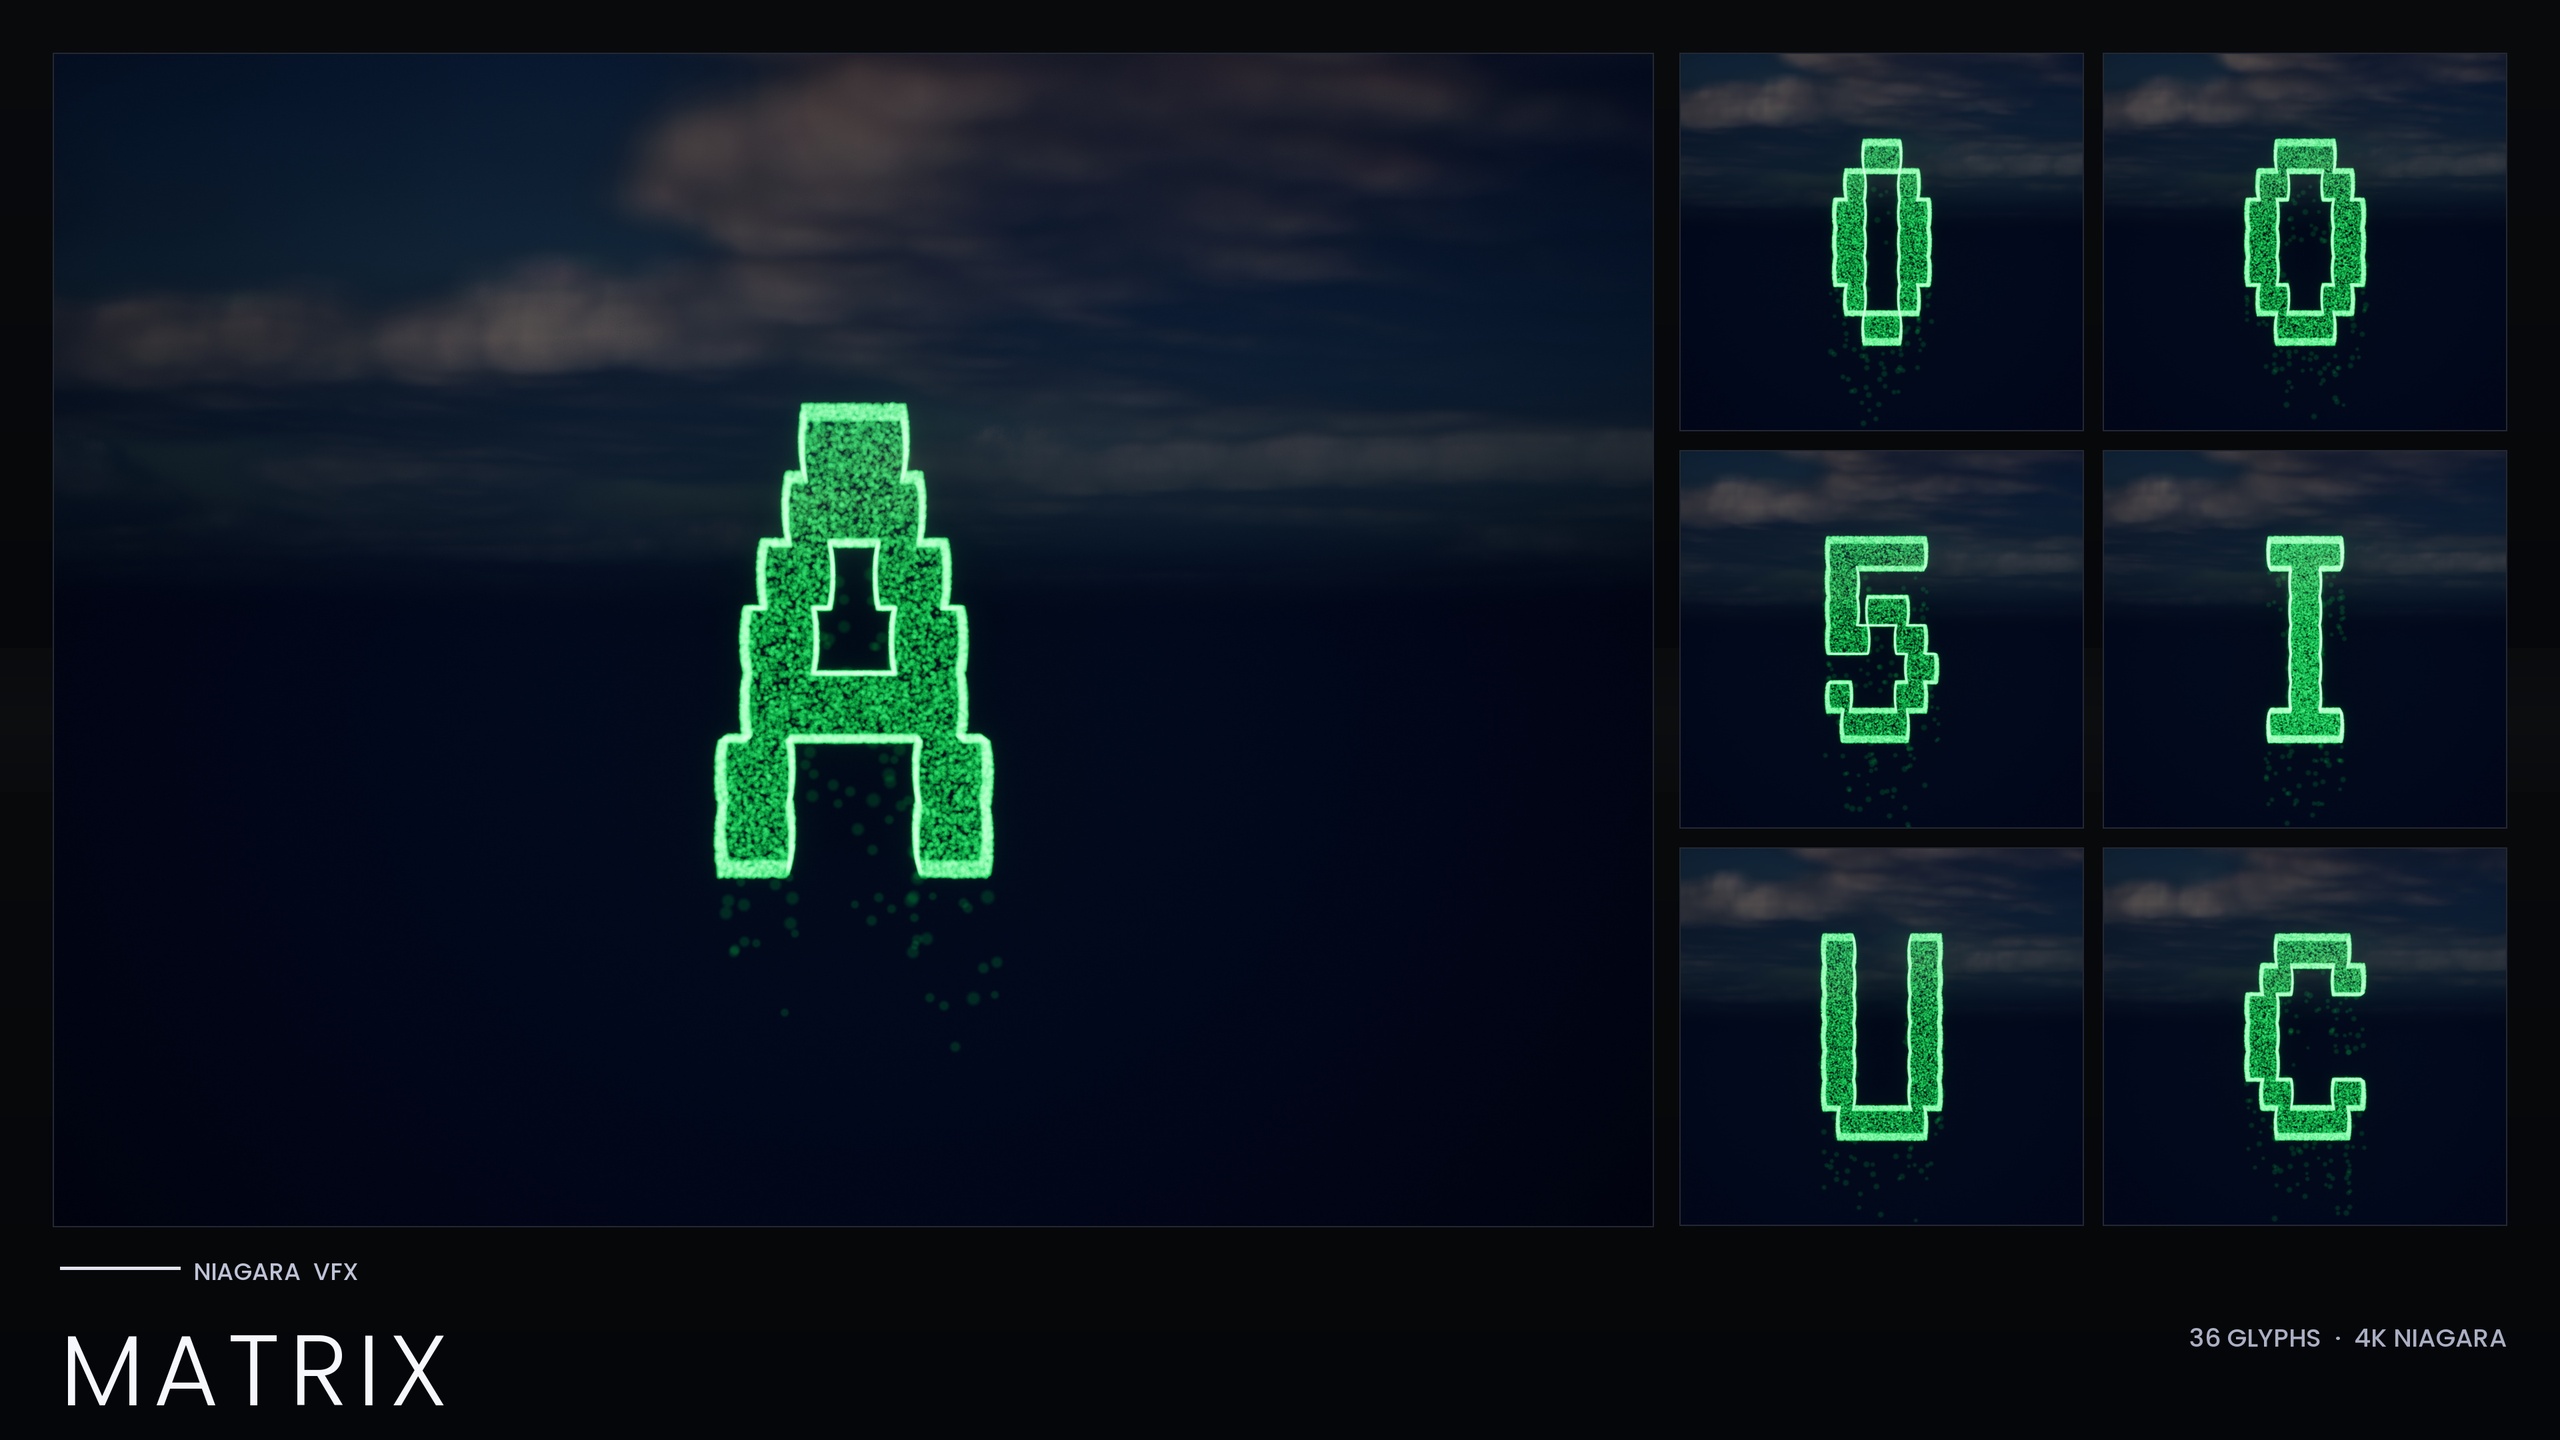
| Matrix Pack | 36 | Digital rain (A-Z, 0-9) | Inline constants, recolour per system |
All packs are CPU-simulated and use engine-default materials with no custom textures. Counts are from each product listing.
FAQ
How do I make glowing hieroglyphs in Unreal Engine without writing a custom shader?
You do not need one. Each glyph in the Ancient Scripts Pack is a CPU Niagara System whose ember and glow emitters use HDR colour values, and those values drive Unreal's bloom to produce the luminous look. The pack uses engine-default materials with zero custom materials and zero textures, so the only requirement on your side is to keep bloom enabled in the scene.
Can I spell a specific inscription rather than reuse one looping effect?
Yes. Every glyph ships as its own independently spawnable Niagara System, so you place or spawn the exact symbols your inscription needs, in order, to author a specific cartouche or curse text rather than tiling a generic loop.
How do I switch the inscription from amber to curse-blue at runtime?
Colour, size and spawn rate are exposed through the pack's Niagara Parameter Collection rather than baked per system. Editing the collection recolours and re-times the whole script at once, so pushing new colour values into it shifts every placed glyph from torch-amber to curse-blue in unison from a single asset.
Will placing a long inscription hurt performance?
The systems are CPU-simulated, so cost scales with the number of live systems in view. A readable line is comfortable; dense walls of text are where you should budget. The pack also splits its demo content across five maps, one per script, specifically to keep per-map particle load manageable, and spawning glyphs on demand as the torch passes keeps your live count tied to what the player is actually looking at.
Which engine versions and platforms does the pack support?
The pack was authored in UE5.4 and the product listing states UE 5.4 to 5.7, with Windows and Mac on the listing (the product JSON also adds Linux). Treat the upper range as listing-stated rather than something benchmarked here.
Niagara Ancient Scripts Pack
114 Niagara glyph systems across five ancient scripts — Cuneiform, Hieroglyphics, Mayan, Ogham and Phoenician — for rituals, spells and mystical UI. CPU-simulated with a Parameter Collection and demo map.