tutorial · 2026-02-20
How to Attach a Weapon to a Character Hand Socket in UE5
A practical, end-to-end workflow for socketing a static-mesh weapon onto a character skeleton and swapping it at runtime.
The problem: a mesh in your content browser, not in your character's hand
You have a weapon asset imported and looking great in its own viewport, but the moment you need it gripped in a character's hand it just sits at the world origin or floats somewhere near the pelvis. Figuring out how to attach a weapon to a character hand socket in Unreal Engine is one of those tasks that is conceptually simple but full of small gotchas: the socket has to live on the right bone, the attach rule has to be correct, and the mesh almost never lines up with the palm on the first try.
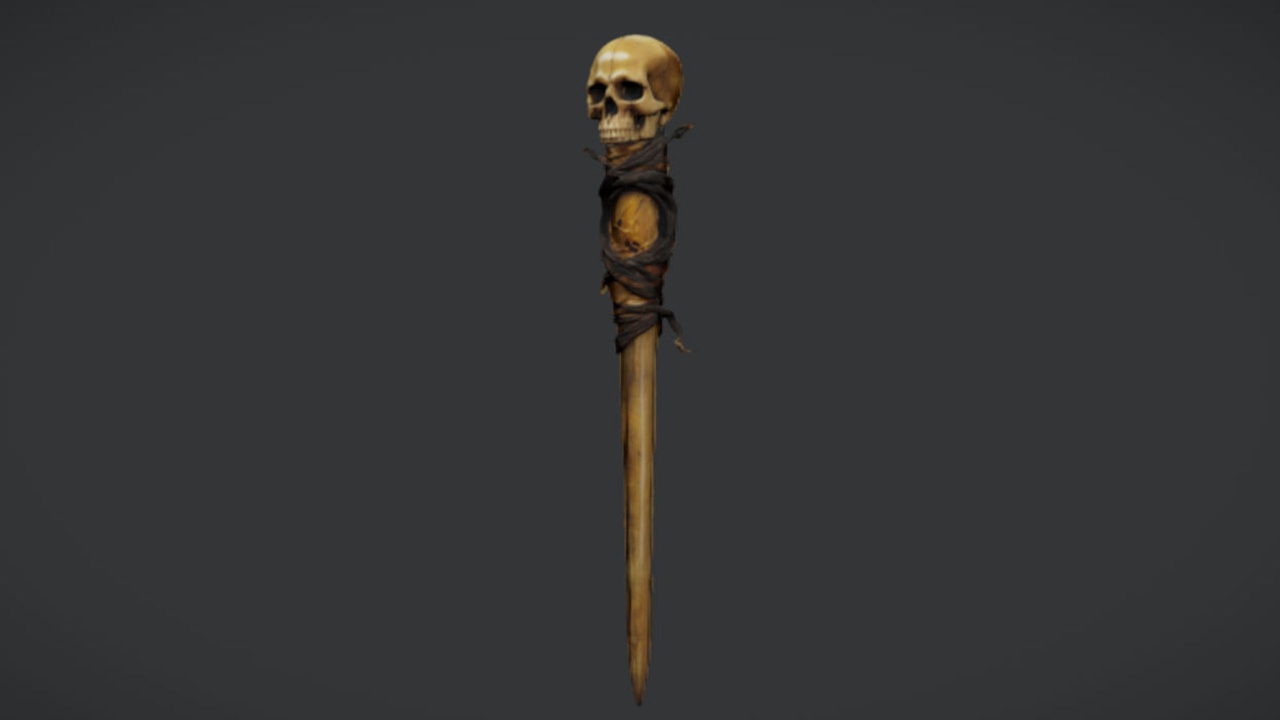
This tutorial walks the full workflow using The Necromancer's Staff as the example weapon. It is a free, drop-in UE5 static mesh with 2K PBR textures, designed as a caster or melee prop, which makes it an ideal test piece: it imports as a single static mesh, so there is nothing animated or skeletal to fight with while you learn the attachment pattern. Worth being upfront about one thing the dossier makes clear: the staff ships as a plain static mesh with no attachment Blueprint, no FX socket and no animation, so the socket setup below is a workflow you build yourself, not a feature you toggle on.
We will cover four stages: adding a hand socket to the skeleton, attaching the static mesh in a Blueprint, dialling in the rotation and offset so the grip looks right, and finally swapping the weapon out at runtime so the same hand can hold different props.
Step 1 - Add a hand socket to the skeleton
A socket is a named transform parented to a bone. It travels with that bone through every animation, which is exactly what you want for a weapon: grip the hand bone once and the weapon follows the swing, the idle and the walk cycle for free.
1. Open your character's Skeletal Mesh and switch to the Skeleton tab, or open the Skeleton asset directly. In the Skeleton Tree on the left, expand the bone hierarchy until you find the hand bone you want to grip with - for a standard humanoid this is usually 'hand_r' (or 'hand_l' for a left-handed grip).
2. Right-click that bone and choose 'Add Socket'. Unreal creates a socket as a child of the bone and gives it a default name; rename it to something explicit such as 'WeaponSocket_R' so your Blueprint code reads clearly later.
3. With the socket selected, right-click it and choose 'Add Preview Asset', then pick your weapon mesh. For this example choose the necromancer's staff static mesh. This does not bake the weapon into the skeleton - it is purely a preview so you can see the grip while you adjust it.
Leave the socket roughly where the bone is for now. You will move it precisely in the alignment step once the weapon is previewing in the viewport.
Step 2 - Attach the static mesh in the Blueprint
The preview asset only shows the weapon in the editor; at runtime your character Blueprint has to actually spawn or attach the mesh. Because the staff is a static mesh rather than a skeletal one, the cleanest approach is a Static Mesh Component attached to the character mesh at the socket.
1. Open your character Blueprint (or pawn). In the Components panel, add a 'Static Mesh Component' and drag it onto the existing 'Mesh' (the skeletal mesh component) so it becomes a child. Name it 'WeaponMesh'.
2. With 'WeaponMesh' selected, in the Details panel set its Static Mesh to the necromancer's staff. Then find the 'Parent Socket' field and type or pick the socket name you created, 'WeaponSocket_R'. The component now rides on the hand bone.
3. If you would rather attach in code than in the component defaults - useful when the weapon is decided at runtime - leave the Static Mesh empty in the editor and instead, in the Event Graph, drag off 'WeaponMesh', call 'Attach Component To Component', wire the character 'Mesh' into the Parent pin, set the Socket Name to 'WeaponSocket_R', and choose 'Snap to Target' for the location, rotation and scale attach rules. 'Snap to Target' is what makes the weapon adopt the socket's transform rather than keeping its own.
Compile and place the character in the level. The staff should now appear in the hand and move with every animation - though it will almost certainly be pointing the wrong way. That is the next step.
Step 3 - Align the rotation, offset and scale
Almost no weapon lines up with the palm on the first attach, because the mesh's pivot and forward axis rarely match the hand bone's orientation. The fix is to nudge the socket transform until the grip looks natural - and the great thing about doing it on the socket is that the adjustment applies everywhere the socket is used.
1. Go back to the Skeleton, select 'WeaponSocket_R' with the staff still previewing. In the socket's Details, adjust 'Relative Rotation' first: rotate the staff so its shaft aligns with the way the fingers curl, then 'Relative Location' to slide the grip point into the palm. Work in small increments and rotate one axis at a time so you can tell which one you are changing.
2. If the staff is too large or small relative to the character, set 'Relative Scale' on the socket. Keep an eye on proportions - a caster's staff usually reads best when the head sits somewhere between shoulder and head height when held at rest.
3. Scrub an animation in the preview (an attack or an idle) while you tune. A grip that looks perfect in the bind pose can clip through the wrist mid-swing, so always validate against motion, not a static pose.
Because The Necromancer's Staff ships with 2K PBR textures (2048x2048 base colour, metallic, normal and roughness), it holds up to close camera framing once it is correctly placed, which is exactly when a misaligned grip becomes obvious. Spend the extra minute here; it is the difference between a hero prop and an asset that visibly clips.
Step 4 - Swap weapons at runtime
Once one weapon attaches cleanly, swapping is trivial - and it is where the static-mesh-on-a-socket pattern pays off. Because the socket owns the transform, any weapon you assign inherits the same grip, so you can switch the necromancer's staff for a different prop without re-rigging anything.
1. In your character Blueprint, expose a variable for the weapon - the simplest version is a 'Static Mesh' object reference variable named 'CurrentWeapon'.
2. Create a custom event, for example 'EquipWeapon', that takes a Static Mesh input. Inside it, drag off your 'WeaponMesh' component and call 'Set Static Mesh', wiring the input into the New Mesh pin. That single node swaps the visible weapon while it stays attached to the same socket.
3. If different weapons need slightly different grips - a staff held differently from a dagger, say - store a per-weapon offset alongside each mesh (a small struct of mesh plus relative transform works well) and, after setting the mesh, call 'Set Relative Transform' on 'WeaponMesh' to apply that weapon's tweak. This keeps the shared socket as the baseline and layers a per-weapon correction on top.
Two honesty notes worth carrying forward: the staff is a static mesh, so it will not deform or animate on its own - any spin, glow or trail you want has to be added separately. And the dossier does not file-verify collision or Nanite for the free staff SKU, so if you need a collision response on the equipped weapon, set it up explicitly on the component rather than assuming it is baked in.
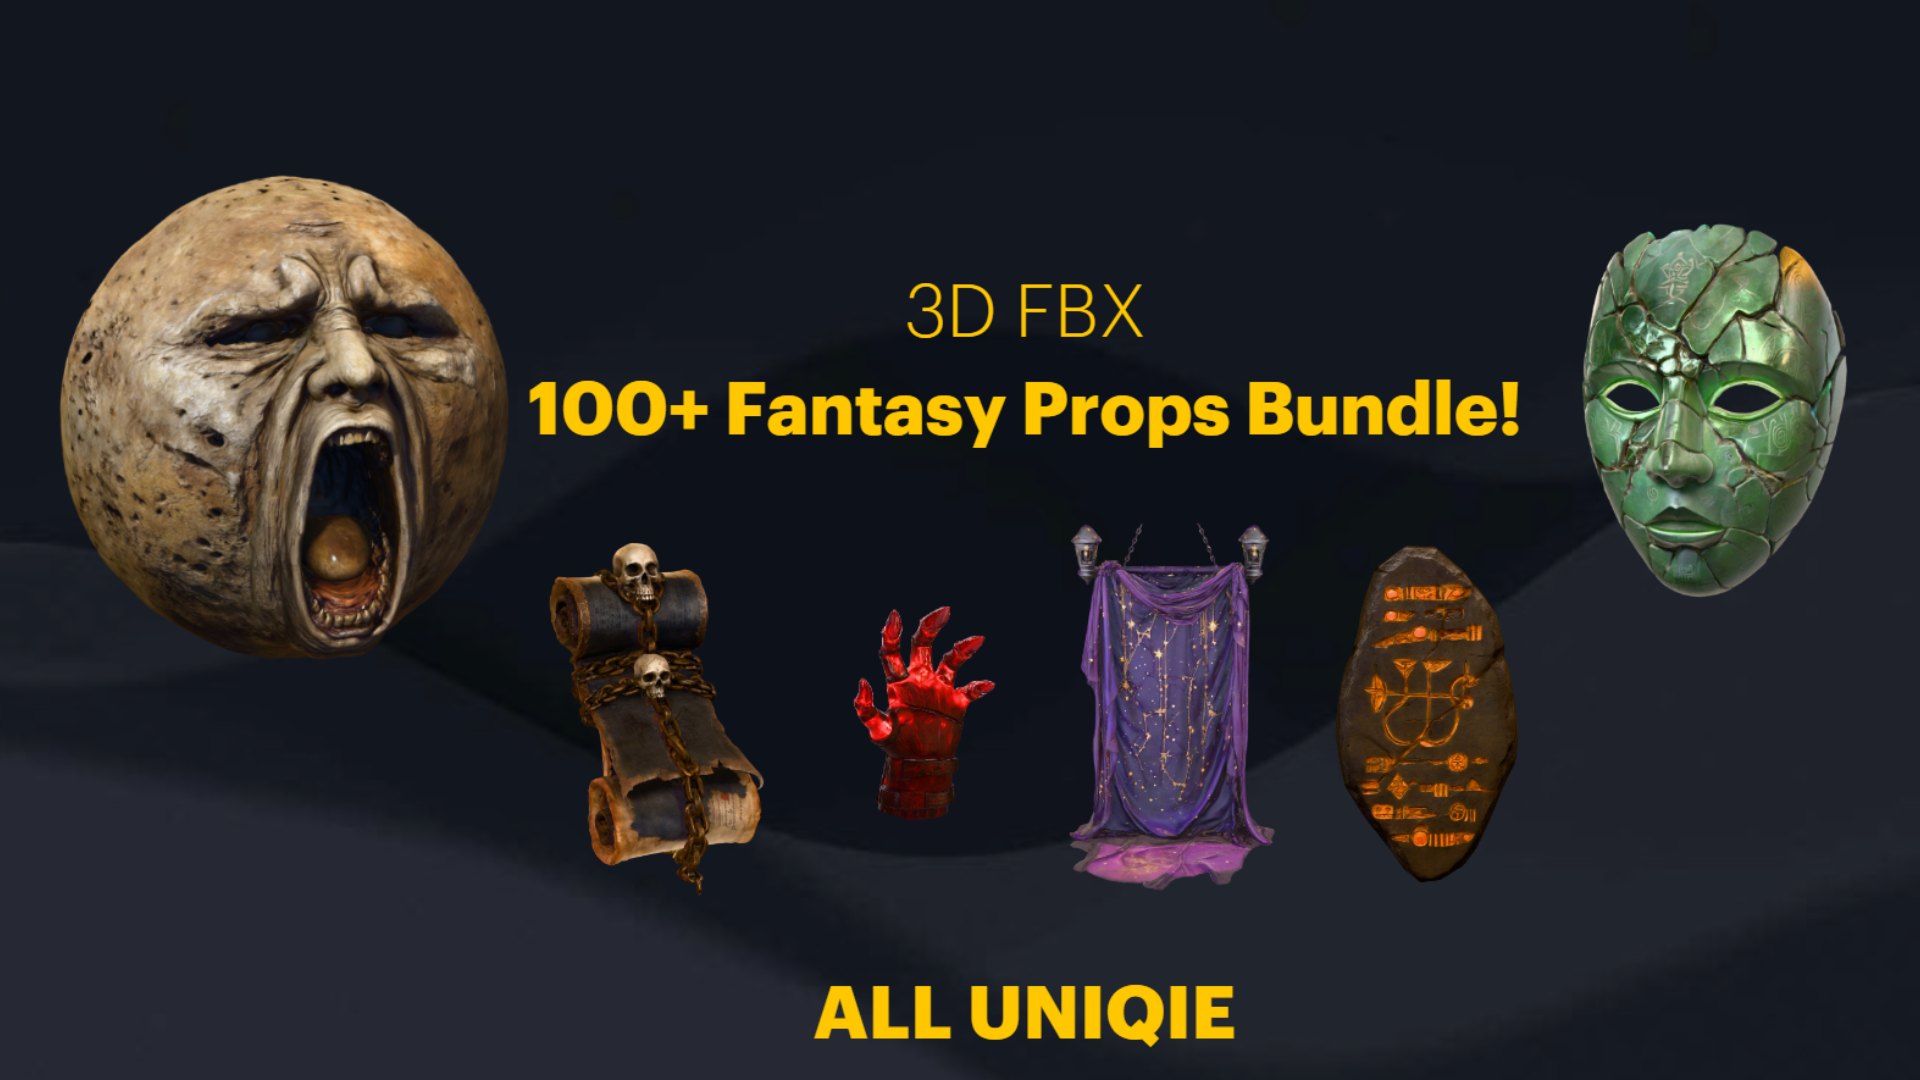
Where to take it next
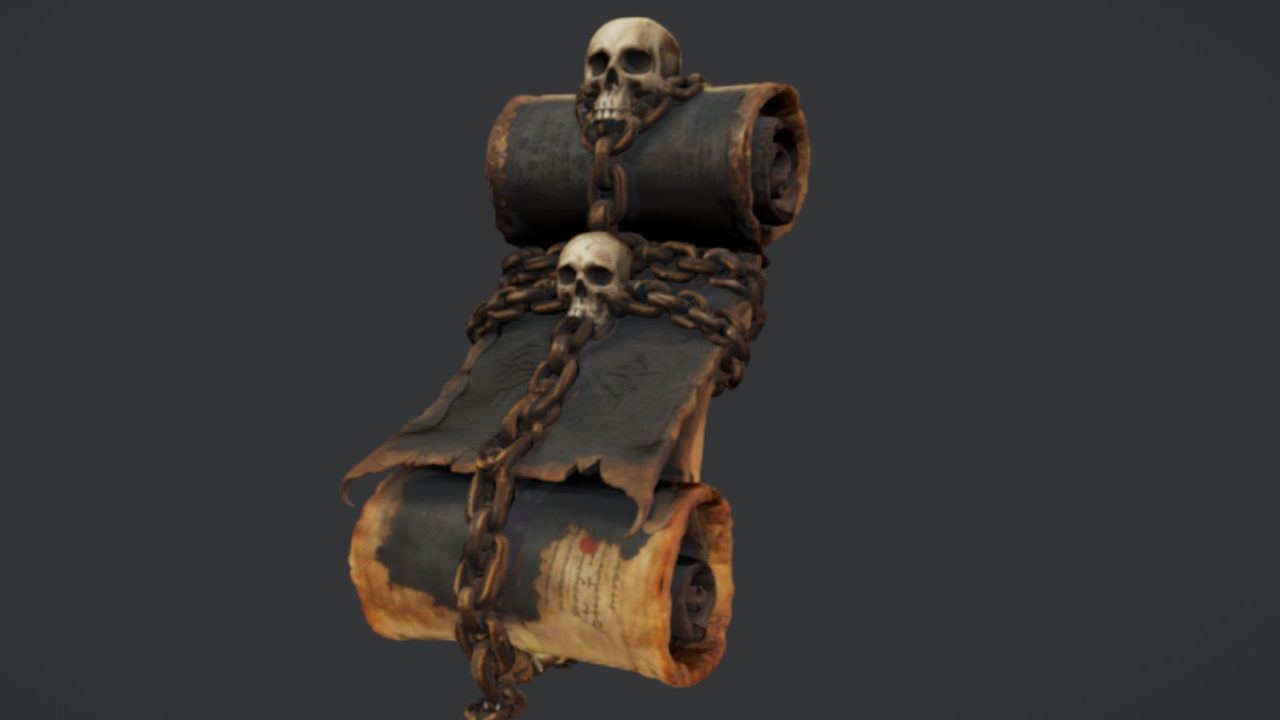
With the attachment pattern working, the obvious next move is dressing the rest of the scene around your caster. The Necromancer's Staff is free, so it costs nothing to drop into a project and test the workflow above today; pair it with the free Binding Scrolls for a ritual table, or scale up to the Dark Fantasy Props Bundle - a 100+ mesh gothic pack with Nanite static meshes and a Demo map - to furnish a whole crypt or wizard's study in one pass.
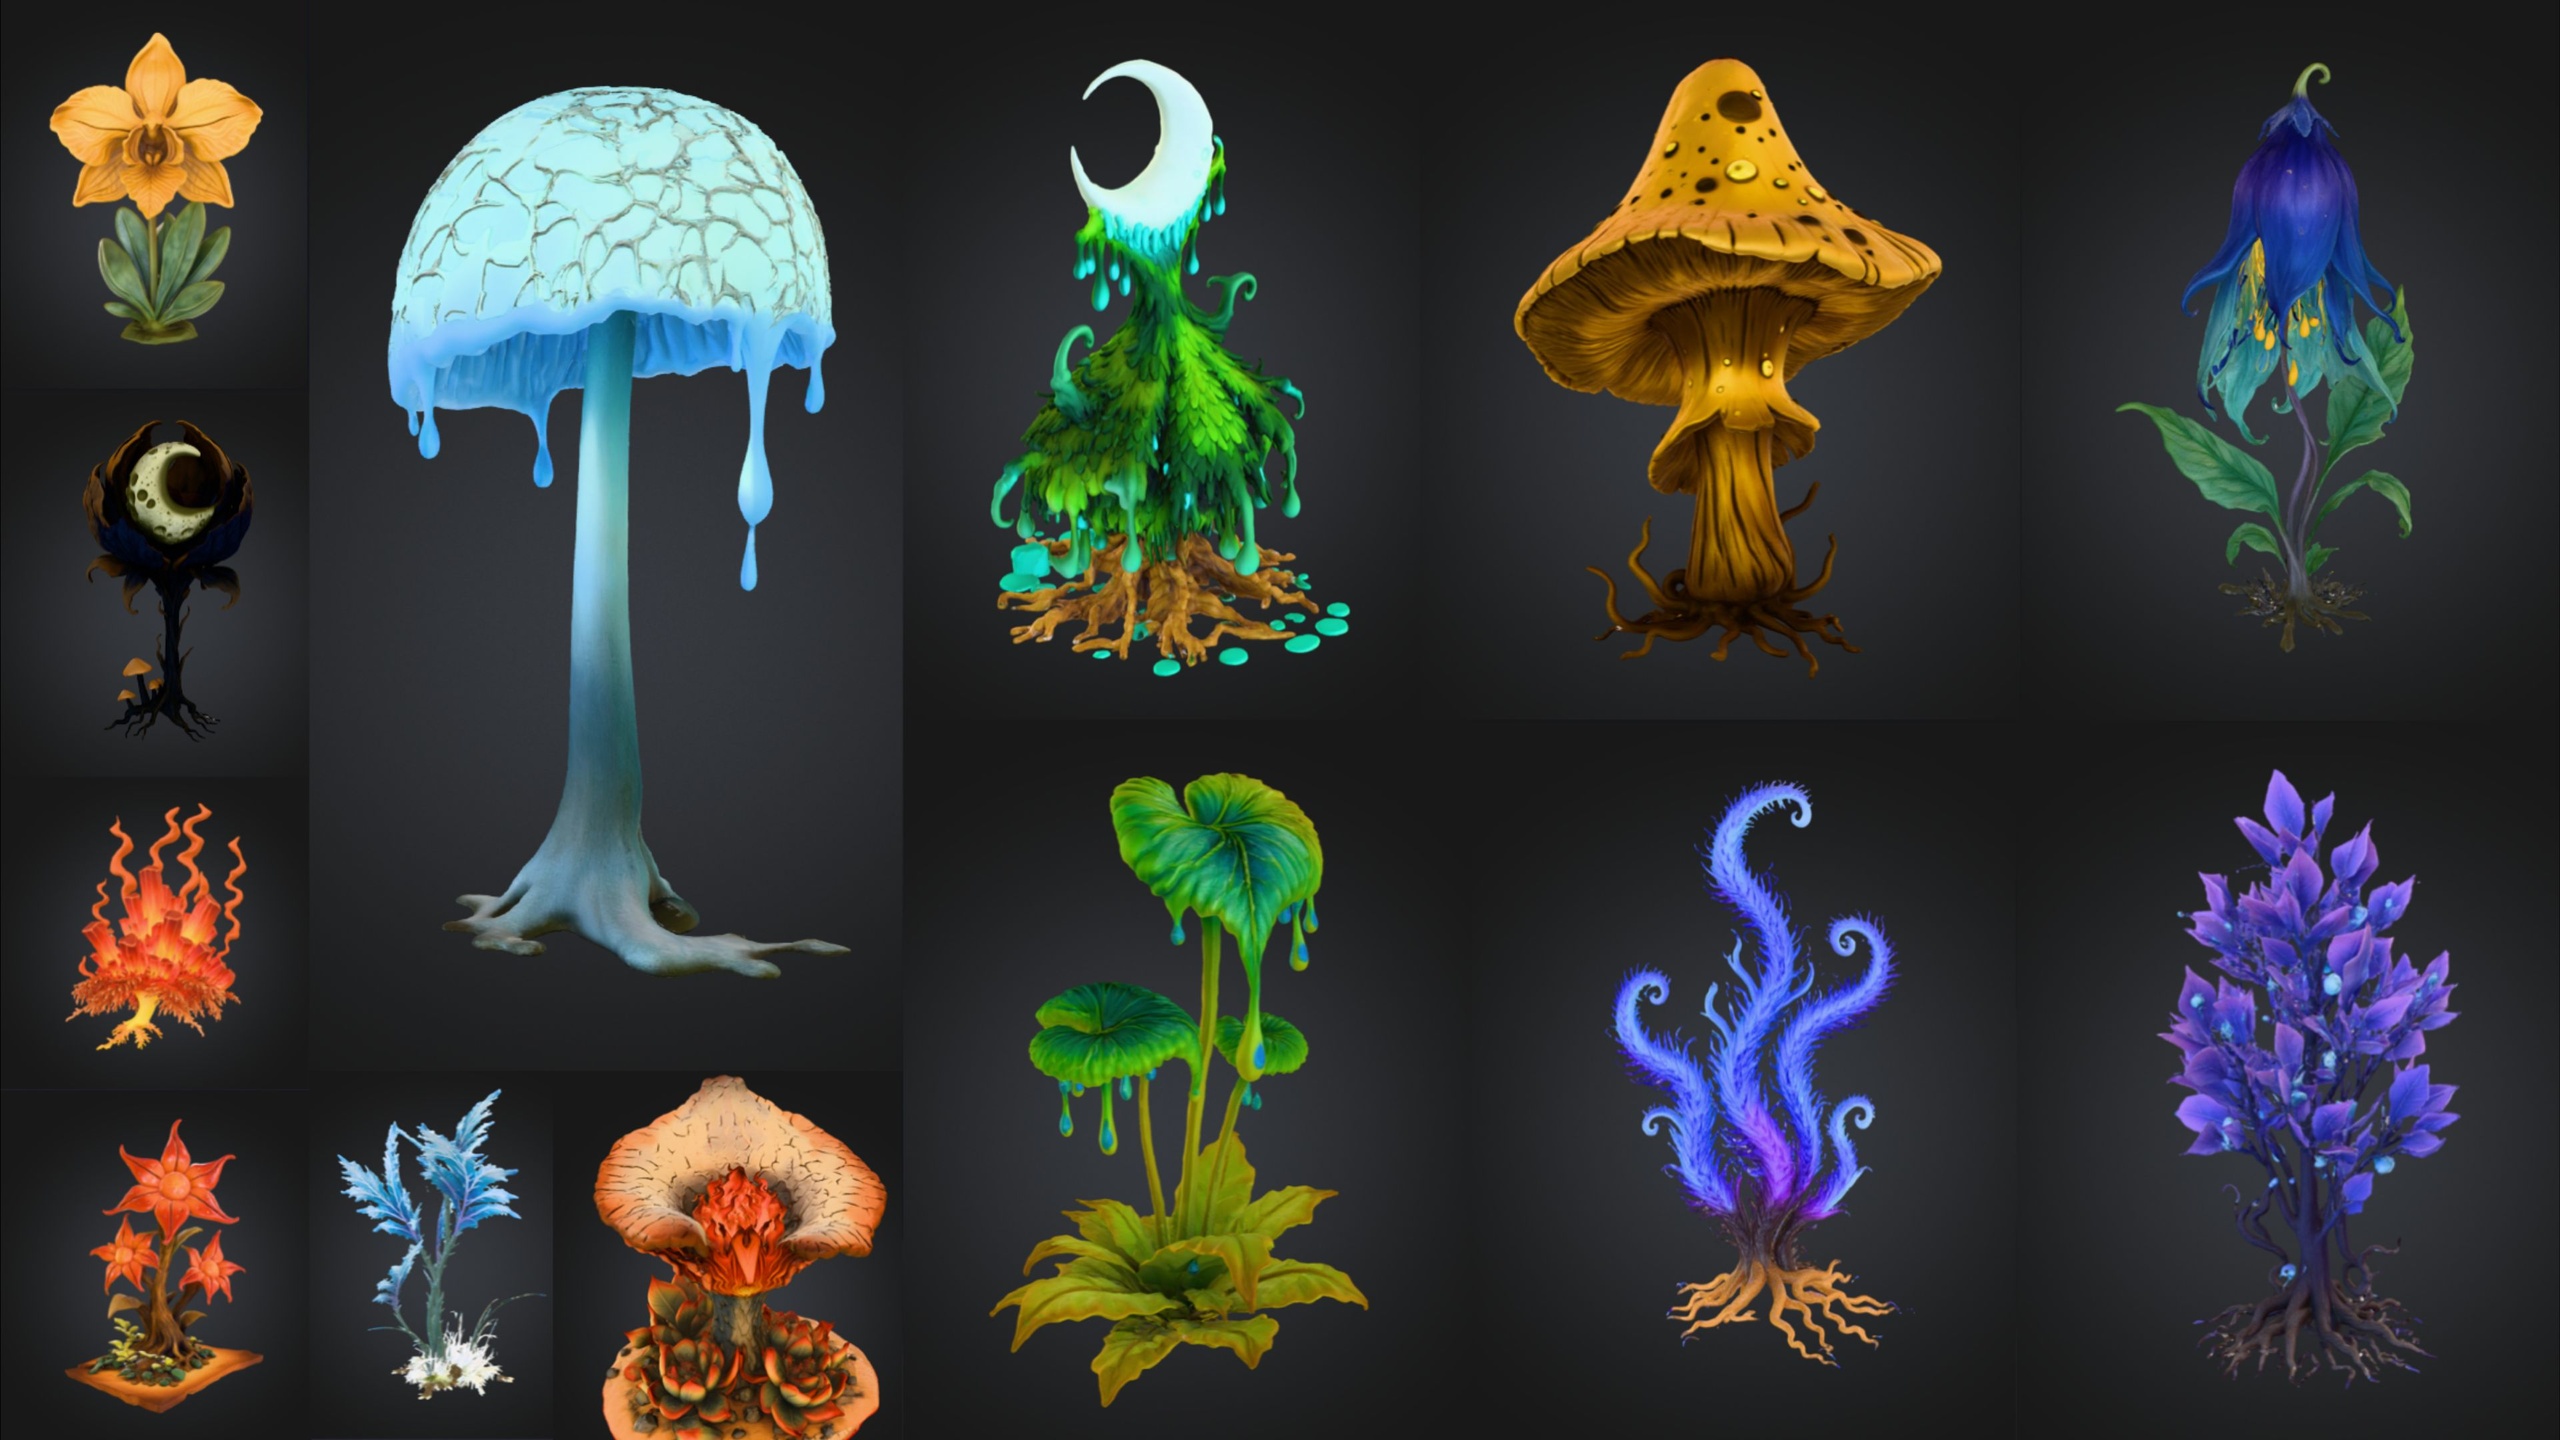
If your environment is greener than it is gothic, the Fantasy Flower Pack adds 51 unique Nanite-ready flower and plant meshes with automatic collision for foreground detail. All of these are static-mesh content built the same way as the staff, so everything you have learned about importing, placing and (for the props you want held) socketing carries straight across.
Two ways to attach the weapon
| Approach | Where you set it | Best for |
|---|---|---|
| Static Mesh Component with Parent Socket | Component Details panel, in the editor | A character that always holds the same weapon |
| Attach Component To Component node | Event Graph, at runtime | Weapons chosen or spawned during play |
| Set Static Mesh on an attached component | Event Graph, at runtime | Swapping weapons in the same hand without re-rigging |
Both end with the weapon riding the hand socket; choose by whether the weapon is fixed or decided at runtime.
FAQ
How do I attach a weapon to a character hand socket in Unreal Engine?
Add a socket to the hand bone in the Skeleton (right-click the bone, Add Socket), then in your character Blueprint either set a Static Mesh Component's Parent Socket to that socket name, or call Attach Component To Component at runtime with the socket name and Snap to Target attach rules. Finally tune the socket's relative rotation and location so the grip lines up.
Should I use a socket or attach directly to a bone?
Use a socket. A socket is a named, adjustable transform parented to the bone, so you can dial in the grip offset once and reuse it for any weapon. Attaching straight to the bone gives you no offset control and forces per-weapon fixes in code.
The Necromancer's Staff is a static mesh - can it still be a weapon?
Yes. Most equipped melee and caster weapons are static meshes attached to a hand socket; only the character needs a skeleton. The staff imports as a single static mesh with 2K PBR textures and attaches via a Static Mesh Component, exactly as described above. It ships no animation or VFX of its own, so add any effects separately.
Why does my weapon point the wrong way after attaching?
The mesh's pivot and forward axis rarely match the hand bone's orientation. Select the socket in the Skeleton with the weapon previewing, then adjust Relative Rotation one axis at a time, followed by Relative Location, until the grip looks natural. Validate against an animation, not just the bind pose.
How do I swap the equipped weapon at runtime?
Keep the weapon as a Static Mesh Component attached to the socket and call Set Static Mesh on it with the new mesh. The socket keeps the grip transform, so the replacement inherits the same hand placement. Apply a per-weapon Set Relative Transform afterwards if a particular weapon needs a different grip.
The Necromancer's Staff
A free necromancer's staff — a sinister melee and caster prop for dark-fantasy characters and set dressing. Drop-in ready for Unreal Engine 5.