tutorial · 2026-03-28
How to Screenshot and Preview a Niagara System Programmatically in UE5
Replace the manual spawn-warmup-screenshot loop with one atomic call your AI agent can drive from the command line.
The pain of the manual spawn-warmup-screenshot loop
If you have ever tried to confirm a Niagara effect actually looks right without dragging it into a viewport and squinting, you know the loop. You start Play-In-Editor, position a camera, spawn the system, wait for it to warm up and reach a representative point in its lifecycle, take a screenshot, then alt-tab to look at the file. If the timing was wrong, or the camera framed empty space, or the system had not begun emitting yet, you do it all again. For an AI coding agent driving the editor, this loop is even worse: every one of those steps is a separate fragile action, and a stateless agent has no way to know whether the screenshot it just took caught particles or caught nothing.
What you want is a single call that answers the only question that matters: does this system emit visible particles, and what does it look like across its lifecycle? That is exactly the problem the niagara_preview capture in Mythic Dev Assist (MDA) solves. MDA is an agent-native editor bridge for Unreal Engine 5 that runs inside the editor process as an Engine Subsystem and exposes an in-editor HTTP server on loopback (127.0.0.1:7779 by default), so an external agent such as Claude Code, Cursor, or Codex CLI can drive and observe the editor instead of guessing.
This tutorial shows you how to screenshot and preview a Niagara system programmatically in UE5 with one atomic call, how to capture across the effect's lifecycle, and how to read the per-frame numbers and automatic diagnostics that tell you whether the effect is genuinely working.
niagara_preview: one atomic call, no PIE
The core idea behind niagara_preview is that the whole spawn, warm-up, advance, and capture sequence collapses into a single request. The call spawns a UNiagaraComponent for the system you point it at, advances the simulation to a set of percentage intervals through its lifecycle, and screenshots each interval using a SceneCaptureComponent2D. Crucially, it does this without needing Play-In-Editor at all, so you avoid the boot delay and side effects of starting a game session just to look at a particle system.
Because MDA follows a glass-box design, the response is not just a list of image paths. Every response carries the live World Pulse metadata in a _meta block (context, frame, actor count, map, timescale, paused state, game time), so a stateless agent always knows what state the editor was in when the capture happened. On the first call MDA also attaches a Project Twin describing the engine version, build configuration, enabled plugins, and detected capabilities including Niagara, so the agent has its bearings before it interprets the result.
The capability lives behind one of MDA's HTTP action routes and is surfaced to AI clients through the bridge. If you are driving the editor with the bundled MCP tools, the capture surface is reached through mda_capture; if you are integrating a custom agent host directly, the in-editor HTTP server speaks MCP natively over POST /mcp. Either way, the unit of work is the same single preview call.
Capturing across the lifecycle with percentage intervals
A particle effect is not one image. A muzzle flash, an explosion, a continuous flame, and a dissipating smoke plume all look completely different at the start, the middle, and the end of their lifetime. niagara_preview captures this by advancing the simulation to percentage intervals through the lifecycle and screenshotting each one, so instead of a single ambiguous frame you get a strip that shows the effect being born, peaking, and fading.
This percentage-based sampling is what makes the capture honest. A screenshot taken at zero percent of an explosion's life is empty by definition; one taken at ten percent might be the brightest frame; one at ninety percent might be near-dissipated. By sampling along the lifecycle you can see whether the system actually produces a visual change over time rather than, say, sitting inert and emitting nothing.
To make the very first frame trustworthy, the capture runs eight exposure warm-up passes before recording. Auto-exposure in a freshly created capture takes several frames to settle, and without warm-up your first screenshot can be wildly over- or under-exposed. The eight-pass warm-up means the brightness numbers you read back from the first interval are comparable to the rest of the strip rather than an artefact of un-settled exposure.
Reading brightness, blank_ratio and dominant_color per frame
Images alone still require a human (or a vision model) to look at them. niagara_preview goes further and returns three measured numbers for every captured frame so an agent can reason about the effect without opening a single PNG.
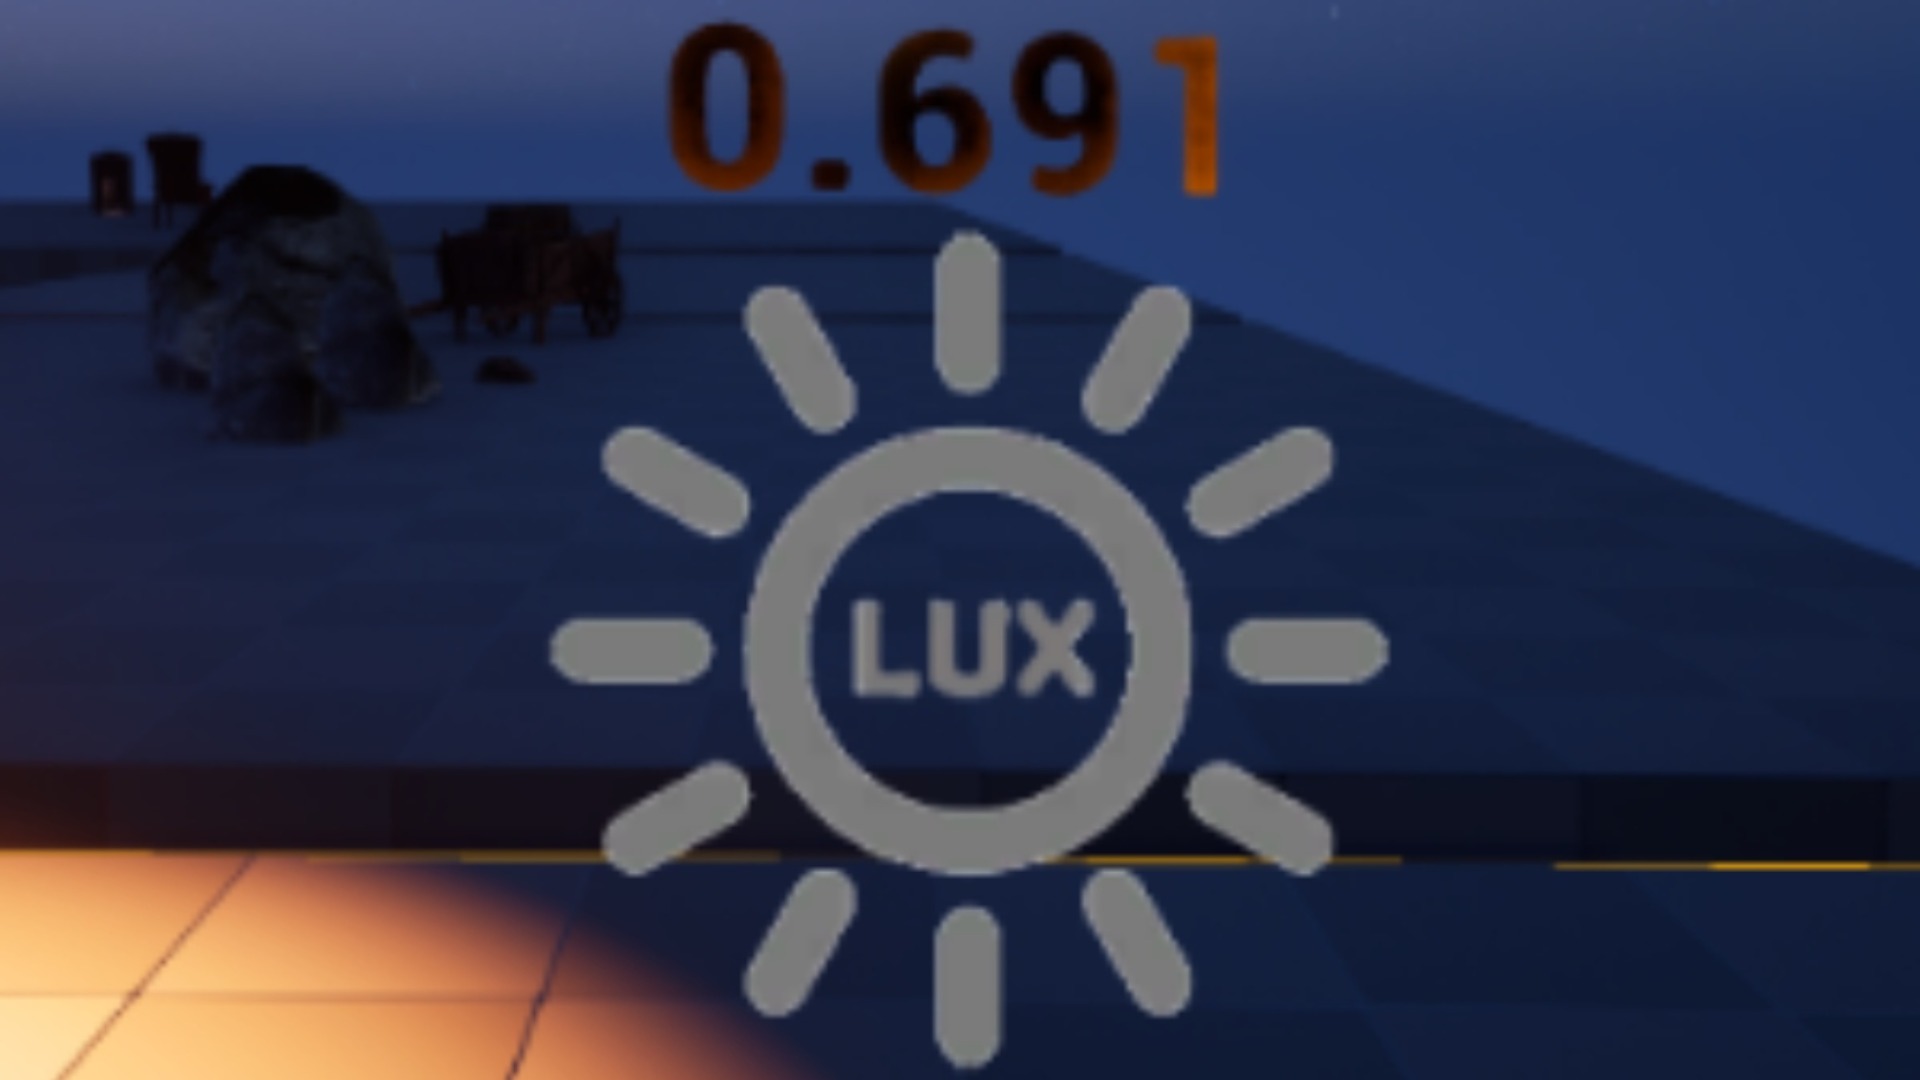
Each frame reports a brightness value, computed as perceptual luminance using the ITU-R BT.601 coefficients, so a near-black frame and a bright flash are immediately distinguishable as numbers. Each frame also reports a blank_ratio, the proportion of the image that is effectively empty, which tells you at a glance whether the effect filled the frame or barely registered. Finally each frame reports a dominant_color, the prevailing colour of the captured particles, so you can sanity-check that your fire is orange and your arcane beam is purple without rendering anything to a screen.
Taken together across the lifecycle strip, these three values let an agent answer practical questions automatically. Did brightness rise then fall the way an explosion should? Did blank_ratio drop from near-total at spawn to substantial coverage at peak? Did the dominant colour match the intended palette? This is the read-back layer that turns a screenshot into a decision.
Automatic VFX diagnostics that catch dead effects
The most valuable part of niagara_preview is the set of diagnostics it derives from those per-frame measurements, because they catch the failure modes that silently waste iteration time. The capture flags no_particles_visible when nothing meaningful was rendered across the strip, default_material_detected when the system is still wearing an engine default material rather than the one you intended, missing_material_detected when a material reference has not resolved, and no_visual_change when the effect looks identical across the whole lifecycle, the classic signature of a system that is not actually simulating.
These flags map directly onto the bugs you hit when iterating fast: an emitter that spawns zero particles, a material slot you forgot to assign, a broken material reference, or a system that compiles fine but never animates. Instead of staring at a screenshot trying to work out why the effect feels off, you get a named reason.
MDA also enriches Niagara responses through a type-aware enrichment registry, attaching emitter counts and runtime particle counts pulled from its local per-session database with no extra HTTP calls. So alongside the diagnostics you can see, for example, that the system has the expected number of emitters but a runtime particle count of zero, which points straight at a spawn-rate or activation problem rather than a rendering one.
Wiring it up and a practical next step
1. Install the plugin: in the editor open 'Edit' then 'Plugins', find MythicDevAssist under the 'Developer Tools' category, enable it, and restart. The required engine plugins SQLiteCore, Niagara and GameplayAbilities auto-enable, and because no firewall rules are needed (the bridge is loopback-only) there is nothing further to configure on the network side.
2. Confirm the bridge is live: open the dockable MDA dashboard, which shows the active HTTP endpoint such as http://127.0.0.1:7779, the per-session database path, and a per-call action log with a full request and response viewer.
3. Register your agent: install Python 3.10 or newer on PATH and run 'pip install mcp', then point your client at the companion MCP server. For Claude Code that is the 'claude mcp add' command pointing at mda_mcp_server.py; Cursor and Codex use the same command-and-args shape in their own config files.
4. Verify end to end: ask your agent to list MDA bridges (the mda_bridges action with action set to list). A healthy response shows the running editor's PID, port and project name, which confirms the agent is talking to the right editor before you ask it to capture anything.
5. Drive a preview: point a niagara_preview capture at the system you are iterating on, then read back the per-frame brightness, blank_ratio and dominant_color along with the diagnostics. If you see no_particles_visible or no_visual_change, you have your answer in one call rather than five.
If you are generating the effects in the first place, the AI Flipbook Generator can author a Niagara spritesheet VFX from a text prompt and bake it to a Texture2D, Material Instance and Niagara System, giving you something concrete for niagara_preview to capture and verify. For brightness work beyond particles, Lumen Meter reads local rendered scene luminance in the editor, and Easy Kanban Board keeps the iteration backlog organised inside the editor while you work.
What niagara_preview returns per captured frame
| Output | What it tells you |
|---|---|
| brightness | Perceptual luminance via ITU-R BT.601 coefficients, distinguishing a dark frame from a bright flash as a number |
| blank_ratio | Proportion of the frame that is effectively empty, revealing whether the effect filled the shot |
| dominant_color | Prevailing colour of the captured particles, for checking the effect matches the intended palette |
| no_particles_visible | Flag raised when nothing meaningful rendered across the strip |
| default_material_detected | Flag raised when the system is still on an engine default material |
| missing_material_detected | Flag raised when a material reference has not resolved |
| no_visual_change | Flag raised when the effect looks identical across the whole lifecycle |
Measured read-backs and diagnostics from a single niagara_preview call, sampled across lifecycle percentage intervals.
FAQ
How do I screenshot or preview a Niagara system programmatically in UE5?
Use the niagara_preview capture in Mythic Dev Assist. It spawns a UNiagaraComponent for your system, advances the simulation to percentage intervals across its lifecycle, and screenshots each one with a SceneCaptureComponent2D in a single atomic call. No Play-In-Editor session is required, and the response includes per-frame brightness, blank_ratio and dominant_color plus VFX diagnostics.
Does niagara_preview need Play-In-Editor to run?
No. The capture spawns the Niagara component and advances the simulation directly without starting a PIE session, which avoids the boot delay and side effects of running the game just to inspect a particle system.
How does it avoid a bad first screenshot from un-settled exposure?
It runs eight exposure warm-up passes before recording the first frame. Auto-exposure takes several frames to settle in a fresh capture, so the warm-up makes the first interval's brightness comparable to the rest of the lifecycle strip rather than an exposure artefact.
What does the no_visual_change diagnostic mean?
It means the captured frames look identical across the whole lifecycle, which is the typical signature of a system that compiles but is not actually simulating. Alongside the related flags (no_particles_visible, default_material_detected, missing_material_detected) it gives you a named reason for a dead-looking effect instead of leaving you to guess.
Which engine versions and platforms does Mythic Dev Assist support?
The listing states Unreal Engine 5.3 through 5.7+ with packaged zips present for 5.3 to 5.7. The plugin host is Windows 64-bit. The companion MCP server needs Python 3.10 or newer and the 'mcp' package.
Mythic Dev Assist
Give AI coding agents (Claude Code, Cursor, any MCP client) eyes inside Unreal — a queryable causal world model exposing perception, memory, causality, verification and action through an in-editor HTTP bridge and an external MCP server. Observe, set, create, destroy and watch the editor programmatically.