tutorial · 2026-02-13
The Three-Emitter Niagara Recipe Behind a Carved-Stone Glowing Glyph in UE5
How EmberCore, EmberGlow and Smoke combine into a single molten-carving read - and how to tune the balance yourself.
Why a glowing glyph needs three emitters, not one
When you want a carved hieroglyph to read as molten - stone that has been heated until the carving itself glows - a single particle emitter never quite sells it. One emitter has to compromise: make the sprites small and hot and you lose the soft halo that says 'this surface is radiating heat'; make them big and dim and the carving stops looking like it is burning from the inside. The trick this Niagara ember glow smoke emitter setup uses in UE5 is to stop asking one emitter to do everything and instead split the read into three layers that each do one job well.
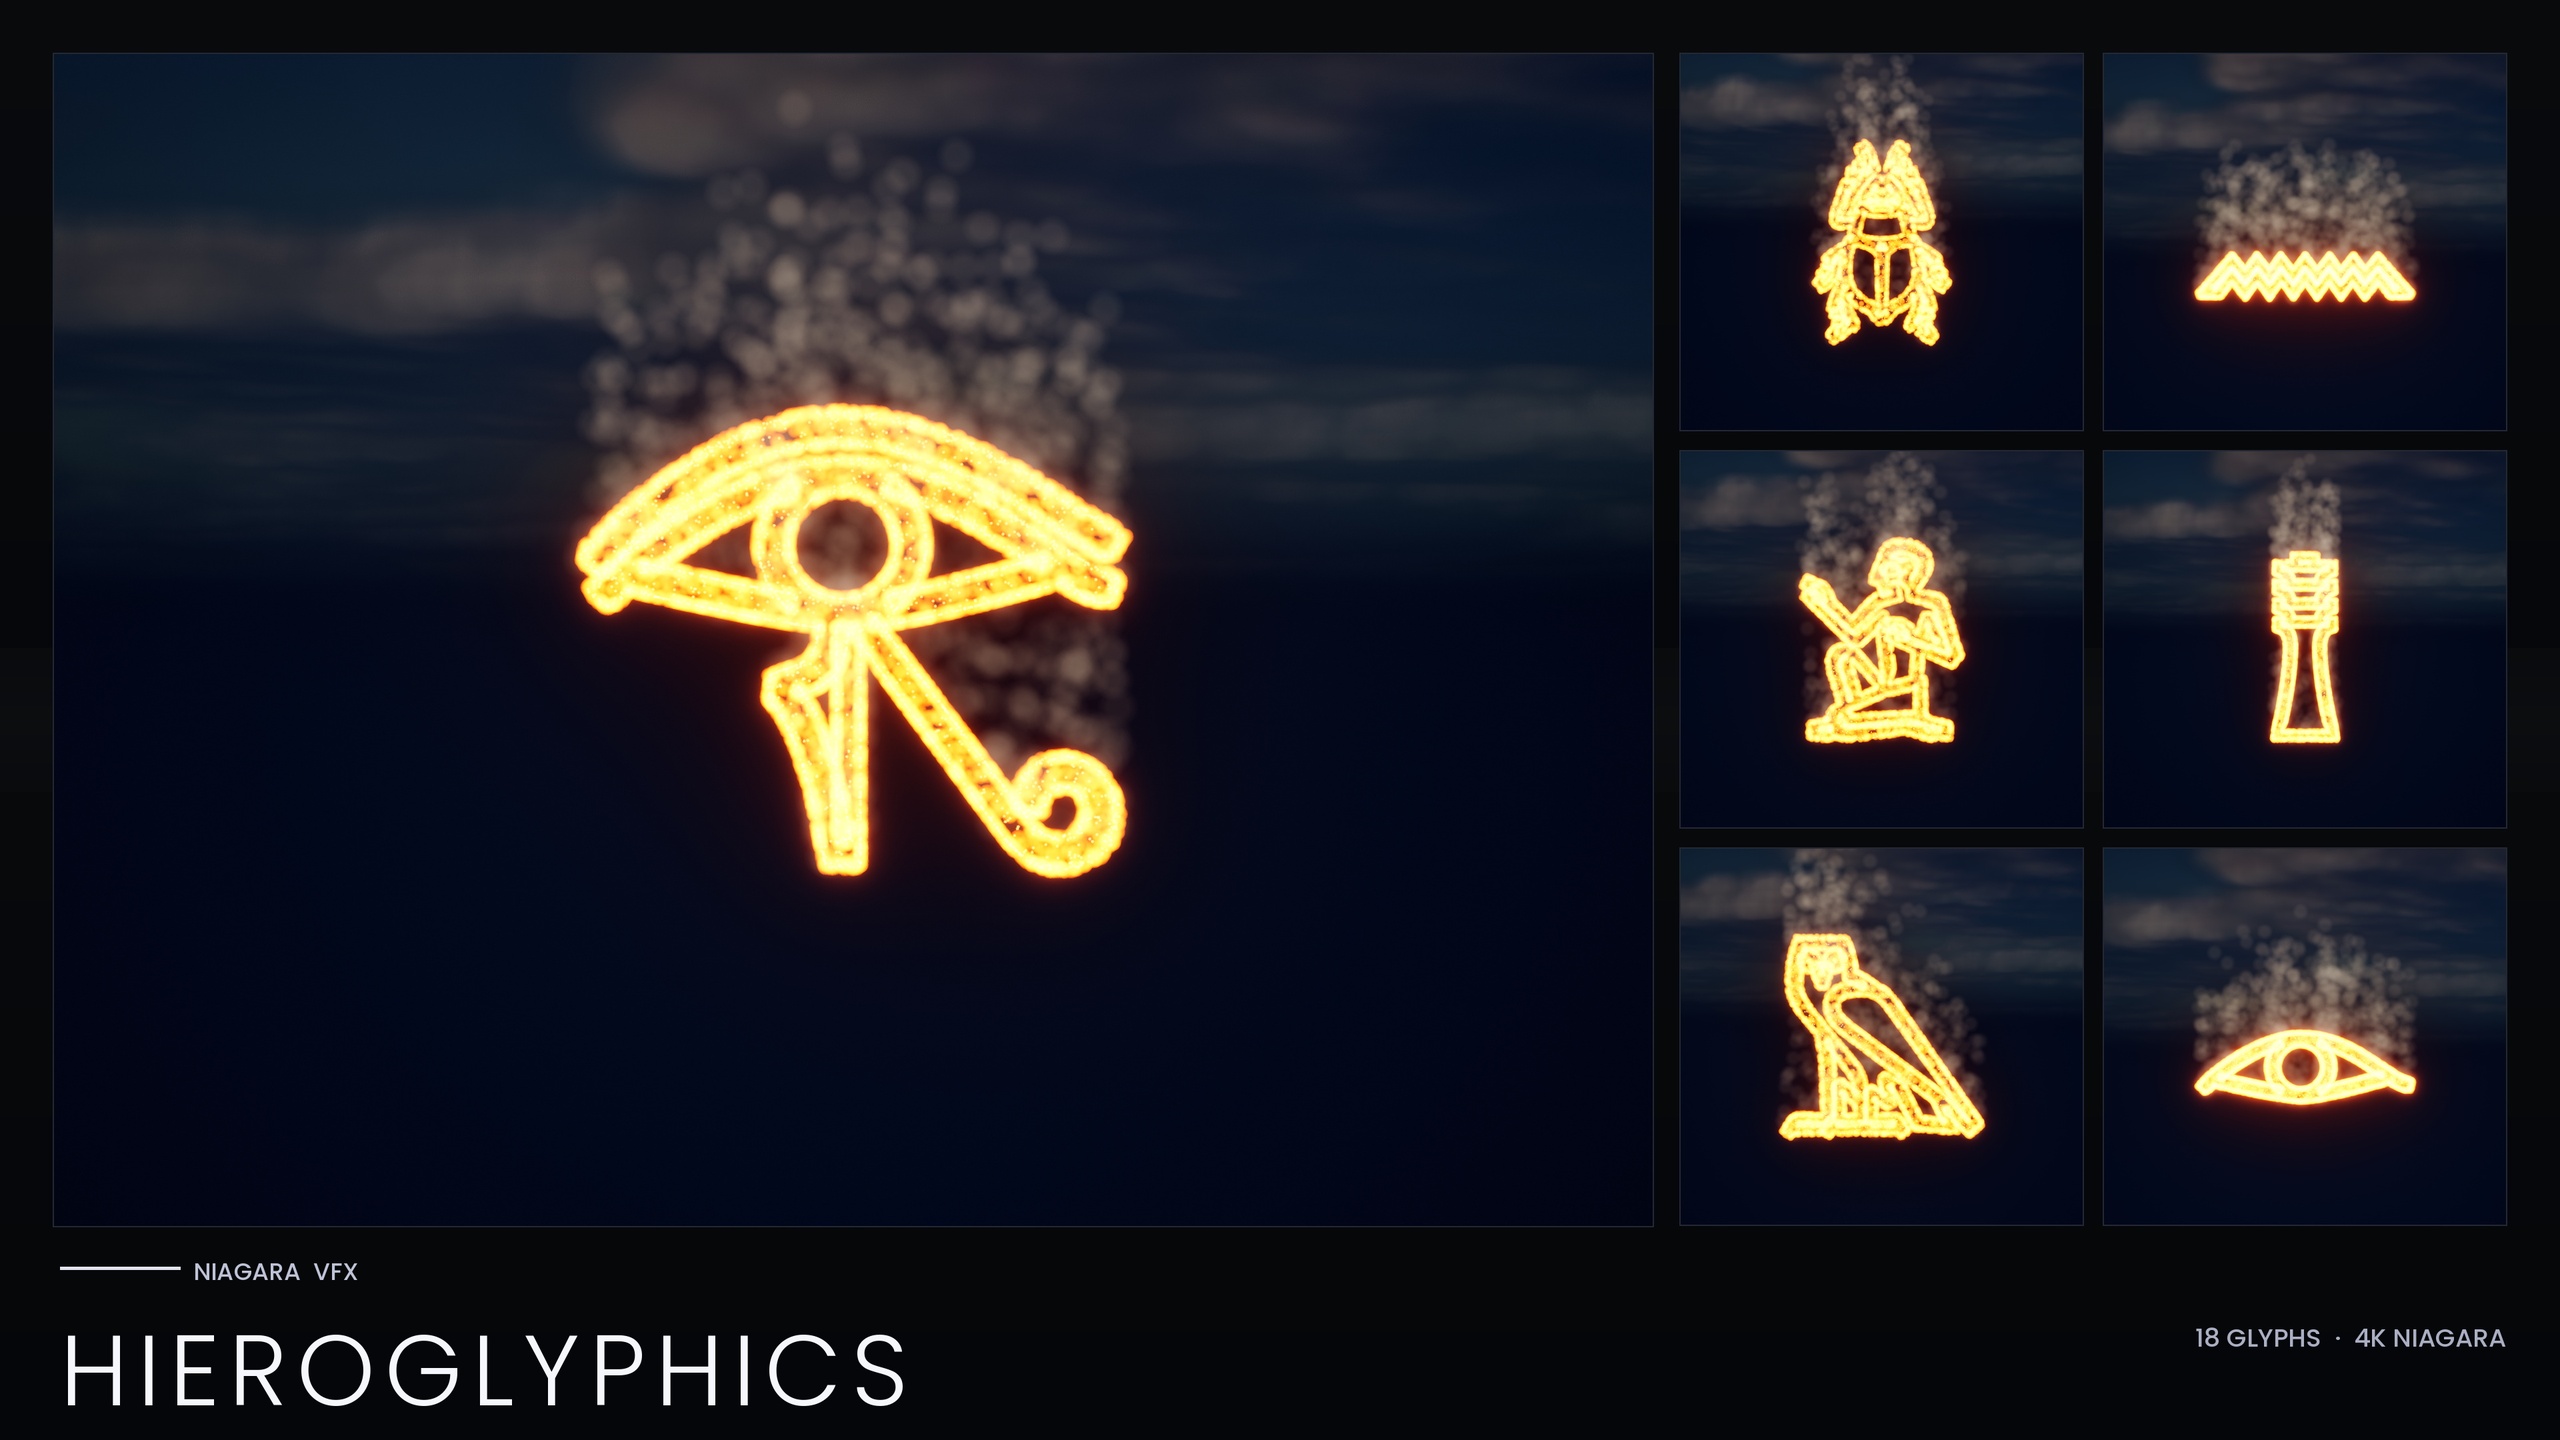
That is exactly how every system in the Niagara Hieroglyphics Pack is built. Each of the 18 Egyptian hieroglyph Niagara Systems is an independently spawnable CPU system assembled from three emitters that sample the glyph's mesh: a hot ember core, a red-orange glow halo, and a slow ambient smoke column. The same three-emitter identity is what gives the whole set a consistent molten-carving look, and understanding it lets you rebuild, retune or extend the effect with confidence rather than guesswork.
This walkthrough breaks the recipe down emitter by emitter so you understand what each layer contributes, then shows how to balance the three so the carving reads as molten rather than as a loose cloud of sparks. The principles transfer to any glyph, sigil or carved-text effect you build the same way.
EmberCore: tiny hot HDR particles hugging the surface
The first emitter, EmberCore, is the bright skeleton of the effect. Its job is to trace the exact shape of the carving with small, intensely hot sprites that sit right on the glyph surface. These are the particles that actually spell out the letter, so they have to follow the mesh precisely.
The surface-hugging comes from sampling the glyph's static mesh rather than spawning in open space. In Niagara terms this is a 'Static Mesh Location' module pointed at the glyph mesh, which scatters new particles across the mesh surface so they trace the carved form. Because the Hieroglyphics Pack ships each glyph as both a Niagara System and a matching static mesh, the system has a real surface to sample.
The glow itself is not a separate light or a custom material - it is colour. EmberCore is driven with an HDR colour whose channels go above 1.0, and that over-bright value is what the engine's bloom post-process blooms out into a hot point of light. The pack uses Unreal's default sprite material with zero custom materials and zero textures, so the entire 'hot' look rides on HDR colour plus bloom. Keep the sprites small here: EmberCore is about precision and heat, not coverage.
EmberGlow: the medium halo that radiates heat
EmberGlow is the second layer, and it is what convinces the eye that the stone around the carving is hot. Where EmberCore is a tight, bright line, EmberGlow is a softer, medium-sized halo of red-orange sprites spread a little more loosely over the same sampled surface.
It is still bound to the glyph mesh, so the halo follows the carving rather than floating free, but its sprites are larger and its colour sits lower on the heat ramp - a radiated red-orange rather than the white-hot core. Driving this emitter's colour from HDR values too means the halo also contributes to bloom, but more gently, so it spreads warmth outward instead of punching a hard highlight.
Think of EmberCore and EmberGlow as a two-tone gradient across the carving: the core is the molten metal itself, the glow is the heat-soaked stone immediately around it. Both read the surface from the same mesh, which is why they stay locked to the glyph as one coherent shape rather than drifting apart.
Smoke: a slow dim column that barely moves
The third emitter, Smoke, adds the ambient life that stops the effect looking like a static decal. It is a slow, dim, large-sprite dust column that drifts upward off the carving - the visual evidence that something is burning.
What makes it sit still enough to read as a thin waft rather than a fountain is the force balance. The Smoke emitter adds an initial upward velocity in a narrow cone at roughly 4 cm/s, then fights that motion with a small Gravity Force and a Drag force. The upward push gives the column its direction, gravity and drag bleed off the speed, and the net result is smoke that barely moves but stays alive over the particle's lifetime. Get this balance wrong and the column either shoots away from the glyph or never leaves the surface.
Keep these sprites large and their colour dim and desaturated - this layer is about atmosphere, not brightness. Unlike the two ember emitters, the smoke should not be pushed into strong HDR territory, or it will bloom and compete with the carving it is meant to frame.
Balancing the three for a molten-carving read
With the three emitters built, the work is balance. The whole set is wired so you do not have to hand-tune 18 systems individually: a single Niagara Parameter Collection, NPC_HieroglyphicsStyle, exposes eight parameters - the ember, glow and smoke colours, their sizes, and the spawn rates - and every glyph reads its style from that one asset. Edit the collection and all 18 hieroglyphs retune at once.
Start with colour and intensity. Push EmberCoreColor brightest and most saturated, set EmberGlowColor a step cooler and dimmer so the halo supports rather than fights the core, and keep SmokeColor dark and muted. Because the glow is entirely HDR-colour-driven against bloom, your colour choices are also your brightness choices - there is no separate emissive material to balance against.
Then balance density with the spawn rates. SpawnRate governs how thickly the embers populate the carving; SmokeSpawnRate governs how present the dust column is. A molten read usually wants embers dense enough to make a continuous glowing line and smoke sparse enough to suggest heat without hazing over the glyph. Finally, set the sizes so EmberCore stays small and sharp, EmberGlow sits medium, and Smoke is the largest of the three - that size ordering is the single biggest factor in whether the layers stack into one molten carving or read as three separate effects.
One environment dependency is non-negotiable: the entire glow depends on HDR colour driving the engine's bloom, so keep bloom enabled in your post-process settings. With bloom off, the over-bright ember colours flatten and the molten look disappears entirely.
Putting it to work, and where to go next
1. Add the Niagara Hieroglyphics Pack content to your project. The Niagara Parameter Collection NPC_HieroglyphicsStyle must exist at import time for the systems' linked parameters to resolve, so bring in the whole pack rather than a single asset.
2. Open the included demo map to see all 18 hieroglyphs lit and arranged, so you have a reference for how the balanced three-emitter look should read.
3. Drag a glyph's NS_ system into your level, or spawn it from Blueprint at a location or attached to a component using the 'Spawn System at Location' or 'Spawn System Attached' node - for example, light a tomb inscription as the player's torch passes.
4. Open NPC_HieroglyphicsStyle and retune the whole set at once by editing the ember, glow and smoke colours, sizes and spawn rates. If one glyph needs to differ, pin a per-glyph override on that individual system instead of changing the collection.
5. For carved inscriptions that are not lit by particles, place the matching SM_Glyph_ static meshes to emboss cartouches into walls and light them with emissive materials.
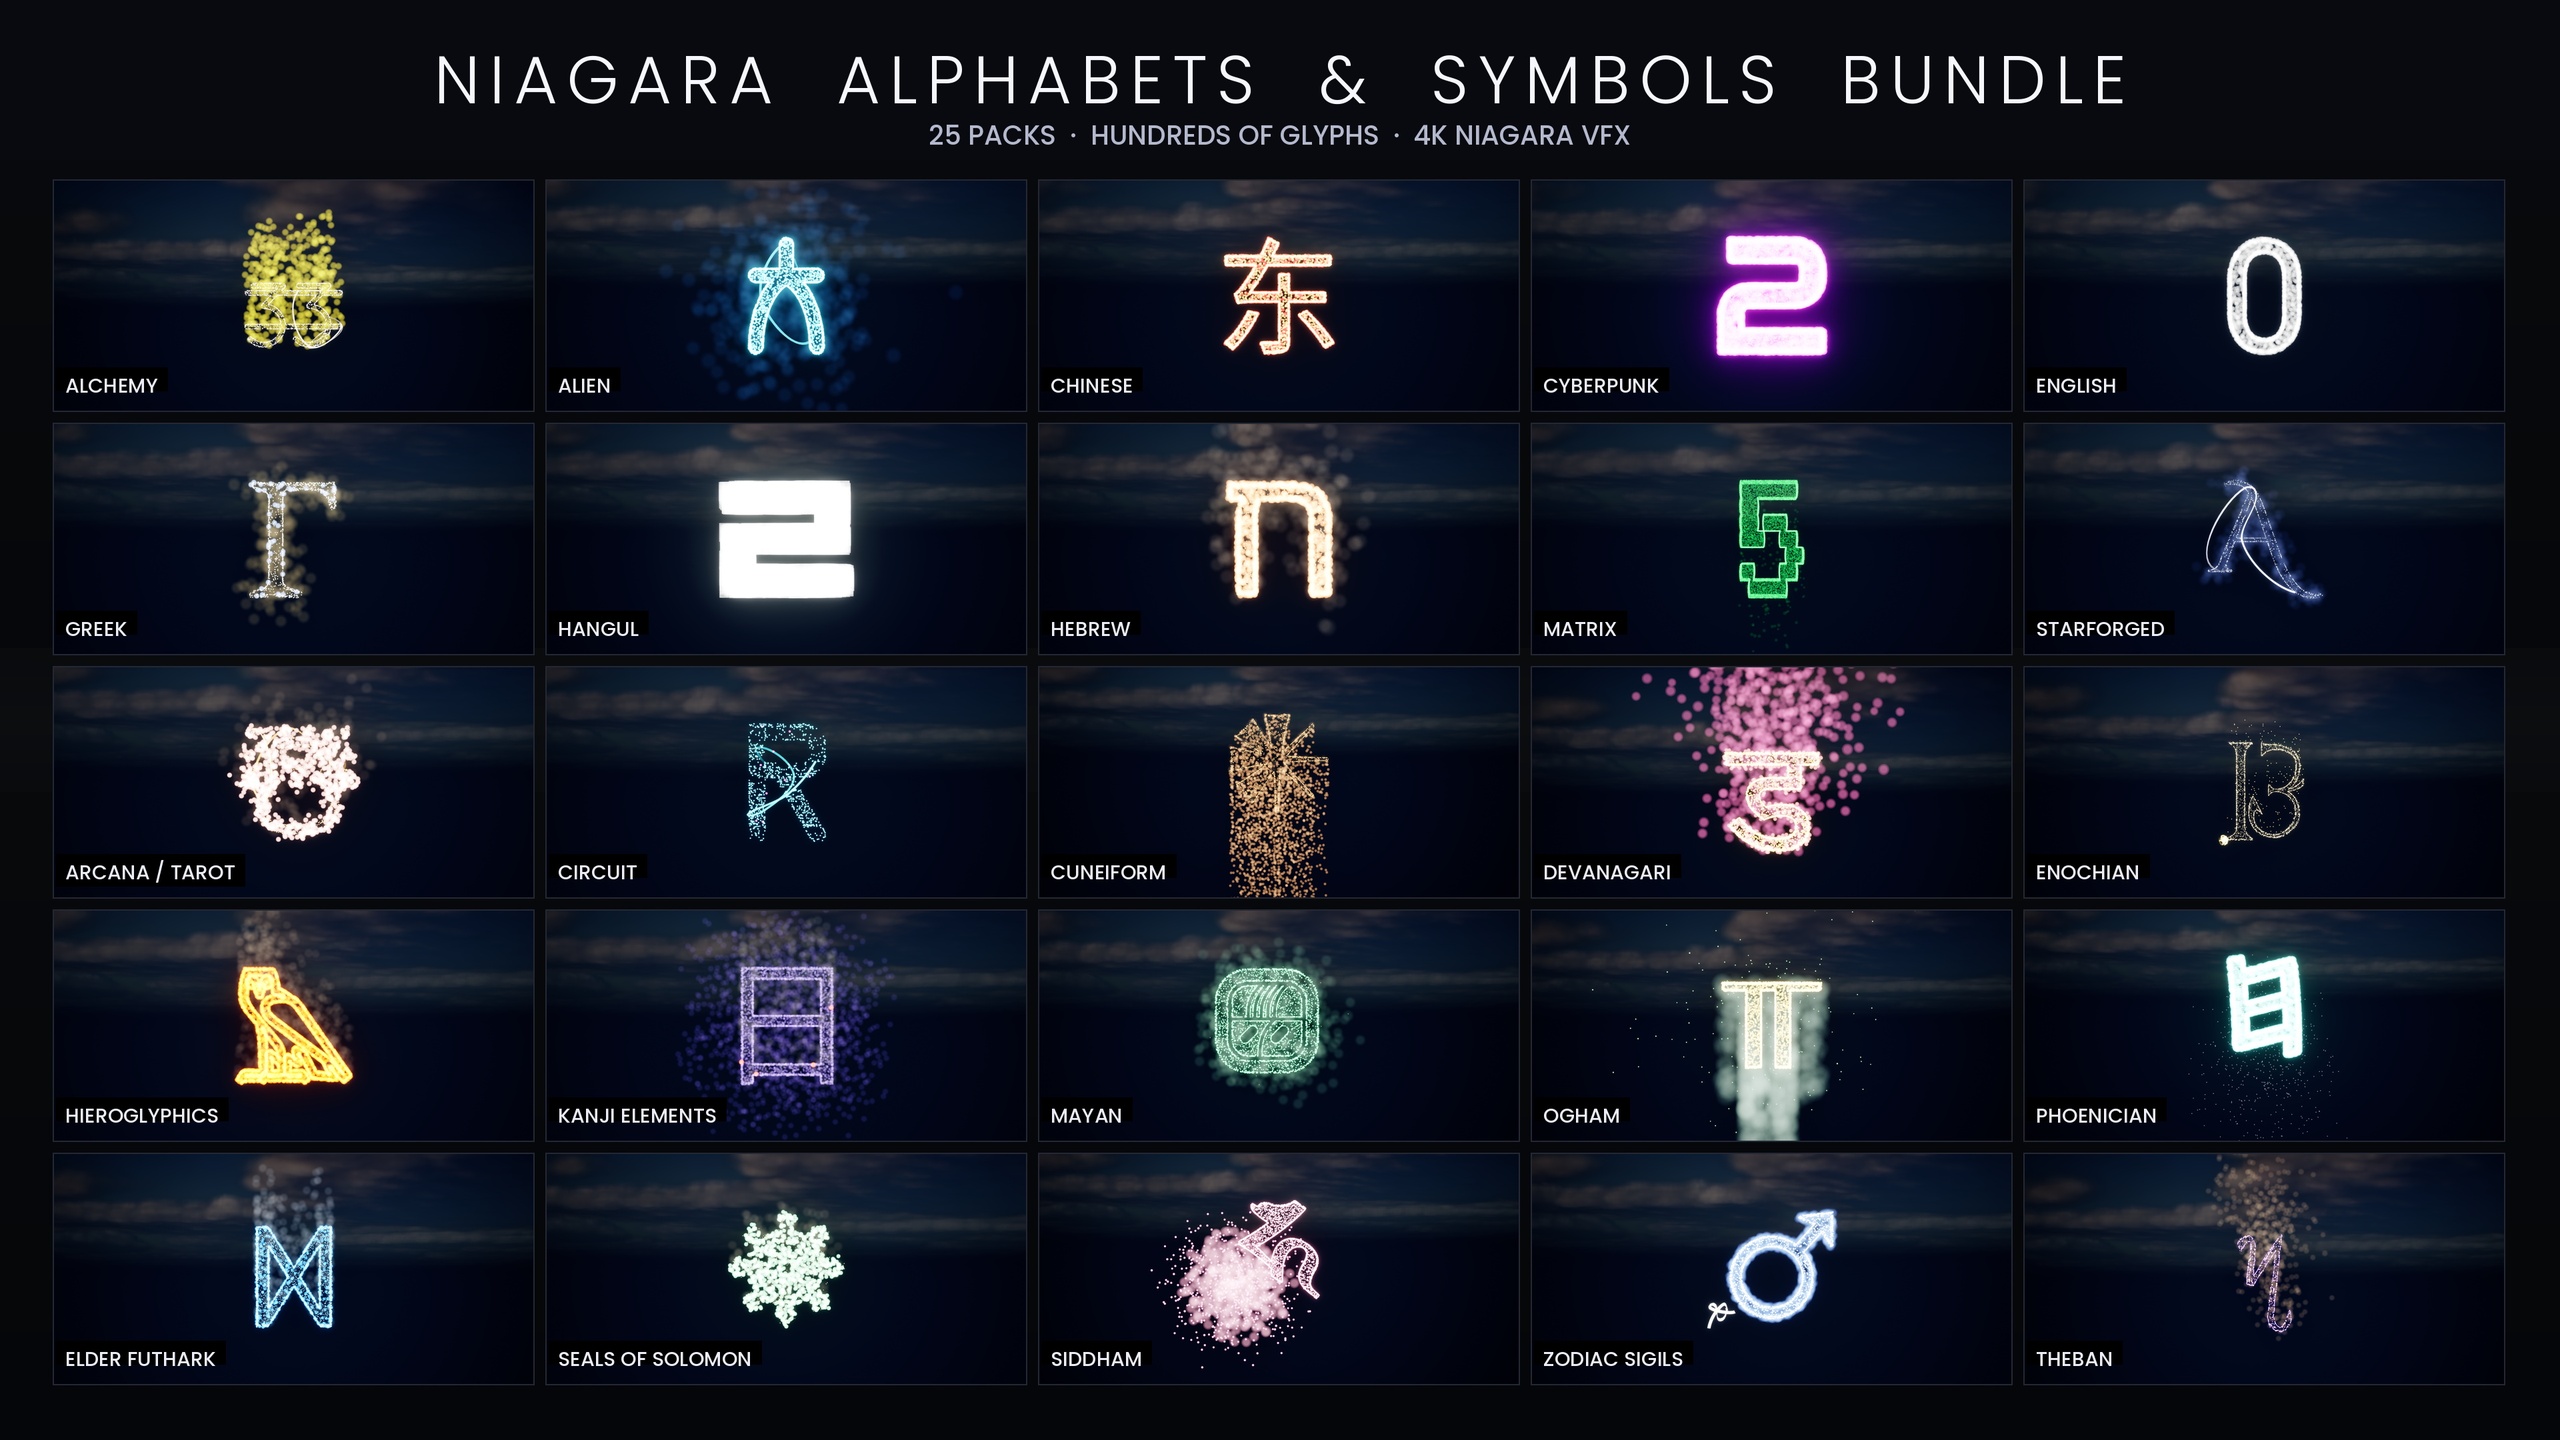
Once the three-emitter recipe is familiar, you can scale the idea outward. The Hieroglyphics Pack is the smallest entry point into the Ancient Scripts line; the broader Niagara Ancient Scripts Pack extends the same glyph-VFX approach across Cuneiform, Mayan, Ogham and Phoenician, the Niagara Occult & Mystic Bundle applies an esoteric-symbol variant of the technique, and the full Niagara Alphabet & Symbols Bundle is the superset that contains them all.
The three emitters at a glance
| Emitter | Sprite size | Colour | Motion | Role |
|---|---|---|---|---|
| EmberCore | Small | Hot HDR, brightest | Sits on the sampled mesh surface | Traces the carving, the white-hot core |
| EmberGlow | Medium | Red-orange HDR, dimmer | Sits on the surface, spread looser | Radiated halo around the carving |
| Smoke | Large | Dim, desaturated | Upward ~4 cm/s vs gravity + drag | Slow ambient dust column |
How each layer differs in size, colour and motion to build the molten-carving read.
FAQ
What is the Niagara ember glow smoke emitter setup used for a glowing glyph in UE5?
It is a three-emitter recipe: EmberCore (small, hot HDR sprites that trace the carving), EmberGlow (a medium red-orange halo), and Smoke (a large, dim, slow-drifting dust column). Layering all three over the same sampled glyph mesh produces a molten-carving read that no single emitter can achieve. Every system in the Niagara Hieroglyphics Pack is built this way.
How does the glyph glow without any custom material or light?
The glow is driven entirely by HDR colour. The ember emitters use colour values above 1.0 on Unreal's default sprite material, and the engine's bloom post-process blooms those over-bright values into a glow. The pack ships zero custom materials and zero textures, so the look depends on keeping bloom enabled in your post-process settings.
Why does the smoke barely move?
The Smoke emitter is given a small upward velocity in a narrow cone at roughly 4 cm/s, then a small Gravity Force and a Drag force counteract it. The push gives the column direction while gravity and drag bleed off its speed, so the dust wafts gently upward and stays alive instead of shooting away from the carving.
Can I retune all the glyphs at once?
Yes. A single Niagara Parameter Collection, NPC_HieroglyphicsStyle, exposes eight parameters - the ember, glow and smoke colours, their sizes, and the spawn rates - and all 18 hieroglyphs read their style from it. Editing the collection retunes the whole set; you can still pin a per-glyph override on an individual system when one glyph needs to differ.
Which engine versions and platforms does the pack target?
The pack was authored in UE5.4 and its product listing covers UE 5.4 to 5.7. The listing platforms are Windows and Mac, with the product JSON additionally listing Linux. Because everything is CPU-simulated with engine-default materials and no textures, the footprint stays small and device support is broad.
Niagara Hieroglyphics Pack
Eighteen Egyptian hieroglyph Niagara systems for rituals, tombs and arcane UI — CPU-simulated, with a Parameter Collection and a demo map for instant preview.
Related on Fab