tutorial · 2026-01-21
How to Make a Constellation / Star-Trace Particle Effect in UE5 Niagara
Trace any silhouette with bright star points and connecting line segments, add a slow twinkle, and ship it without hand-authoring a single emitter.
What actually makes a constellation read in UE5 Niagara
A constellation effect is one of those looks that seems simple until you try to build it. You picture a UE5 Niagara constellation: stars connecting lines tracing a shape against the dark, the points twinkling slightly, the whole thing drifting as though you were looking up at a slow-turning sky. Then you open Niagara, reach for a sprite emitter, and realise the hard part was never the stars at all. It is everything between them.
Break the look down and there are three distinct jobs. First, the star points: small, bright, additive sprites placed deliberately rather than sprayed randomly, so the eye reads a deliberate shape and not noise. Second, the connecting line segments: thin, dim strokes that join one point to the next so the brain completes the figure the way it does with a real constellation. Third, the life: a slow per-particle twinkle so the points breathe, plus a gentle parallax drift so the whole figure feels suspended in depth rather than pasted onto the screen.
Each of those jobs has its own awkwardness in Niagara, and the lines are the worst of them. Sprites are easy; geometry that reliably joins point A to point B and stays joined while everything moves is not. The rest of this guide walks the manual build so you understand every moving part, then shows the shortcut: a ready-made Constellation NiagaraSystem that has already solved the hard bits for 51 different silhouettes.
Placing the star points and tracing a silhouette
Start with the points, because they define the shape and everything else hangs off them. The instinct is to use 'Spawn Rate' and let particles fall where they may, but a constellation is a drawing, not a fountain. You want particles to land on specific positions that trace a recognisable outline.
1. Create a new Niagara System from the 'Fountain' template, then delete the velocity and gravity modules from the emitter so particles sit where they spawn instead of falling.
2. Set the emitter to spawn a fixed burst rather than a continuous stream. In the emitter's 'Emitter Update' group, remove 'Spawn Rate' and add 'Spawn Burst Instantaneous', giving it a count that matches the number of star points you want in the figure.
3. Drive the spawn positions from the silhouette you are tracing. The most controllable approach is a 'Sample Static Mesh' or 'Skeletal Mesh Location' module pointed at the mesh whose outline you want, so each particle lands on the surface; for a true outline read, sample edges or a pre-authored point set rather than the full surface so the points cluster on the silhouette rather than filling it in.
4. In 'Particle Update', make the points read as stars: an additive, soft-edged sprite material, a small 'Sprite Size' with a little per-particle variation, and an emissive colour pushed above 1.0 so the brightest points bloom slightly when post-process bloom is on.
The deliberate-placement step is the whole game. Scatter the points and you get a star field; place them along a recognisable edge and the viewer's brain does the rest, joining the dots into a figure before you have drawn a single line.
Drawing the connecting line segments
Lines are where constellation effects usually fall apart, so it is worth being honest about the options before you pick one. Niagara does not give you a casual 'connect these two particles' button, and the approach you choose changes how the lines behave when the figure moves.
The most robust route is the ribbon renderer. Add a second emitter that uses a 'Ribbon' renderer and feed it an ordered sequence of positions so the ribbon snakes from point to point in the order you want the figure drawn. The ribbon's 'Ribbon Link Order' attribute controls which particle connects to which, which is exactly the control a constellation needs — you are specifying the stroke order of the drawing, not hoping particles happen to line up.
Keep the line material thin, dim and additive, sitting well below the star points in brightness. The points are the subject; the lines are the suggestion. If the segments are as bright as the stars the figure looks like a wireframe model instead of a constellation, and the magic evaporates.
An alternative, if you only need static figures, is to bake the line geometry into a mesh and let Niagara handle only the twinkle on the points. That trades flexibility for reliability — the lines can never break because they are not simulated — and it is a perfectly legitimate choice for a fixed hero silhouette. The trade-off is that the lines will not adapt if you later want the points to drift independently.
Adding slow parallax and per-particle twinkle
With points and lines in place you have a constellation, but a still one. The two motions that sell the celestial feel are twinkle and parallax, and the important detail is that the twinkle must be per-particle, not global.
For twinkle, drive each point's brightness or alpha with a sine wave whose phase is offset per particle. The clean way to do this is to assign a random value to each particle at spawn — using 'Random Range Float' written into a particle attribute — and feed that random value in as a phase offset on the sine in 'Particle Update'. Because every star gets its own offset, the figure shimmers organically instead of pulsing in unison like a string of fairy lights on one switch.
For parallax, apply a very slow, very small drift to the whole system rather than to individual particles — a gentle rotation or sway of the emitter origin. Keep the amplitude tiny. The goal is the barely-perceptible motion of looking at a real sky, not a swirling galaxy; if a viewer can clearly see it moving, you have overdone it.
That combination — independent per-particle twinkle on top of a slow shared parallax — is the difference between a flat decal and something that feels alive. It is also, frankly, the fiddliest part to tune by hand, because both motions live in a narrow band where too little reads as static and too much reads as gimmicky.
The shortcut: a ready-made Constellation NiagaraSystem
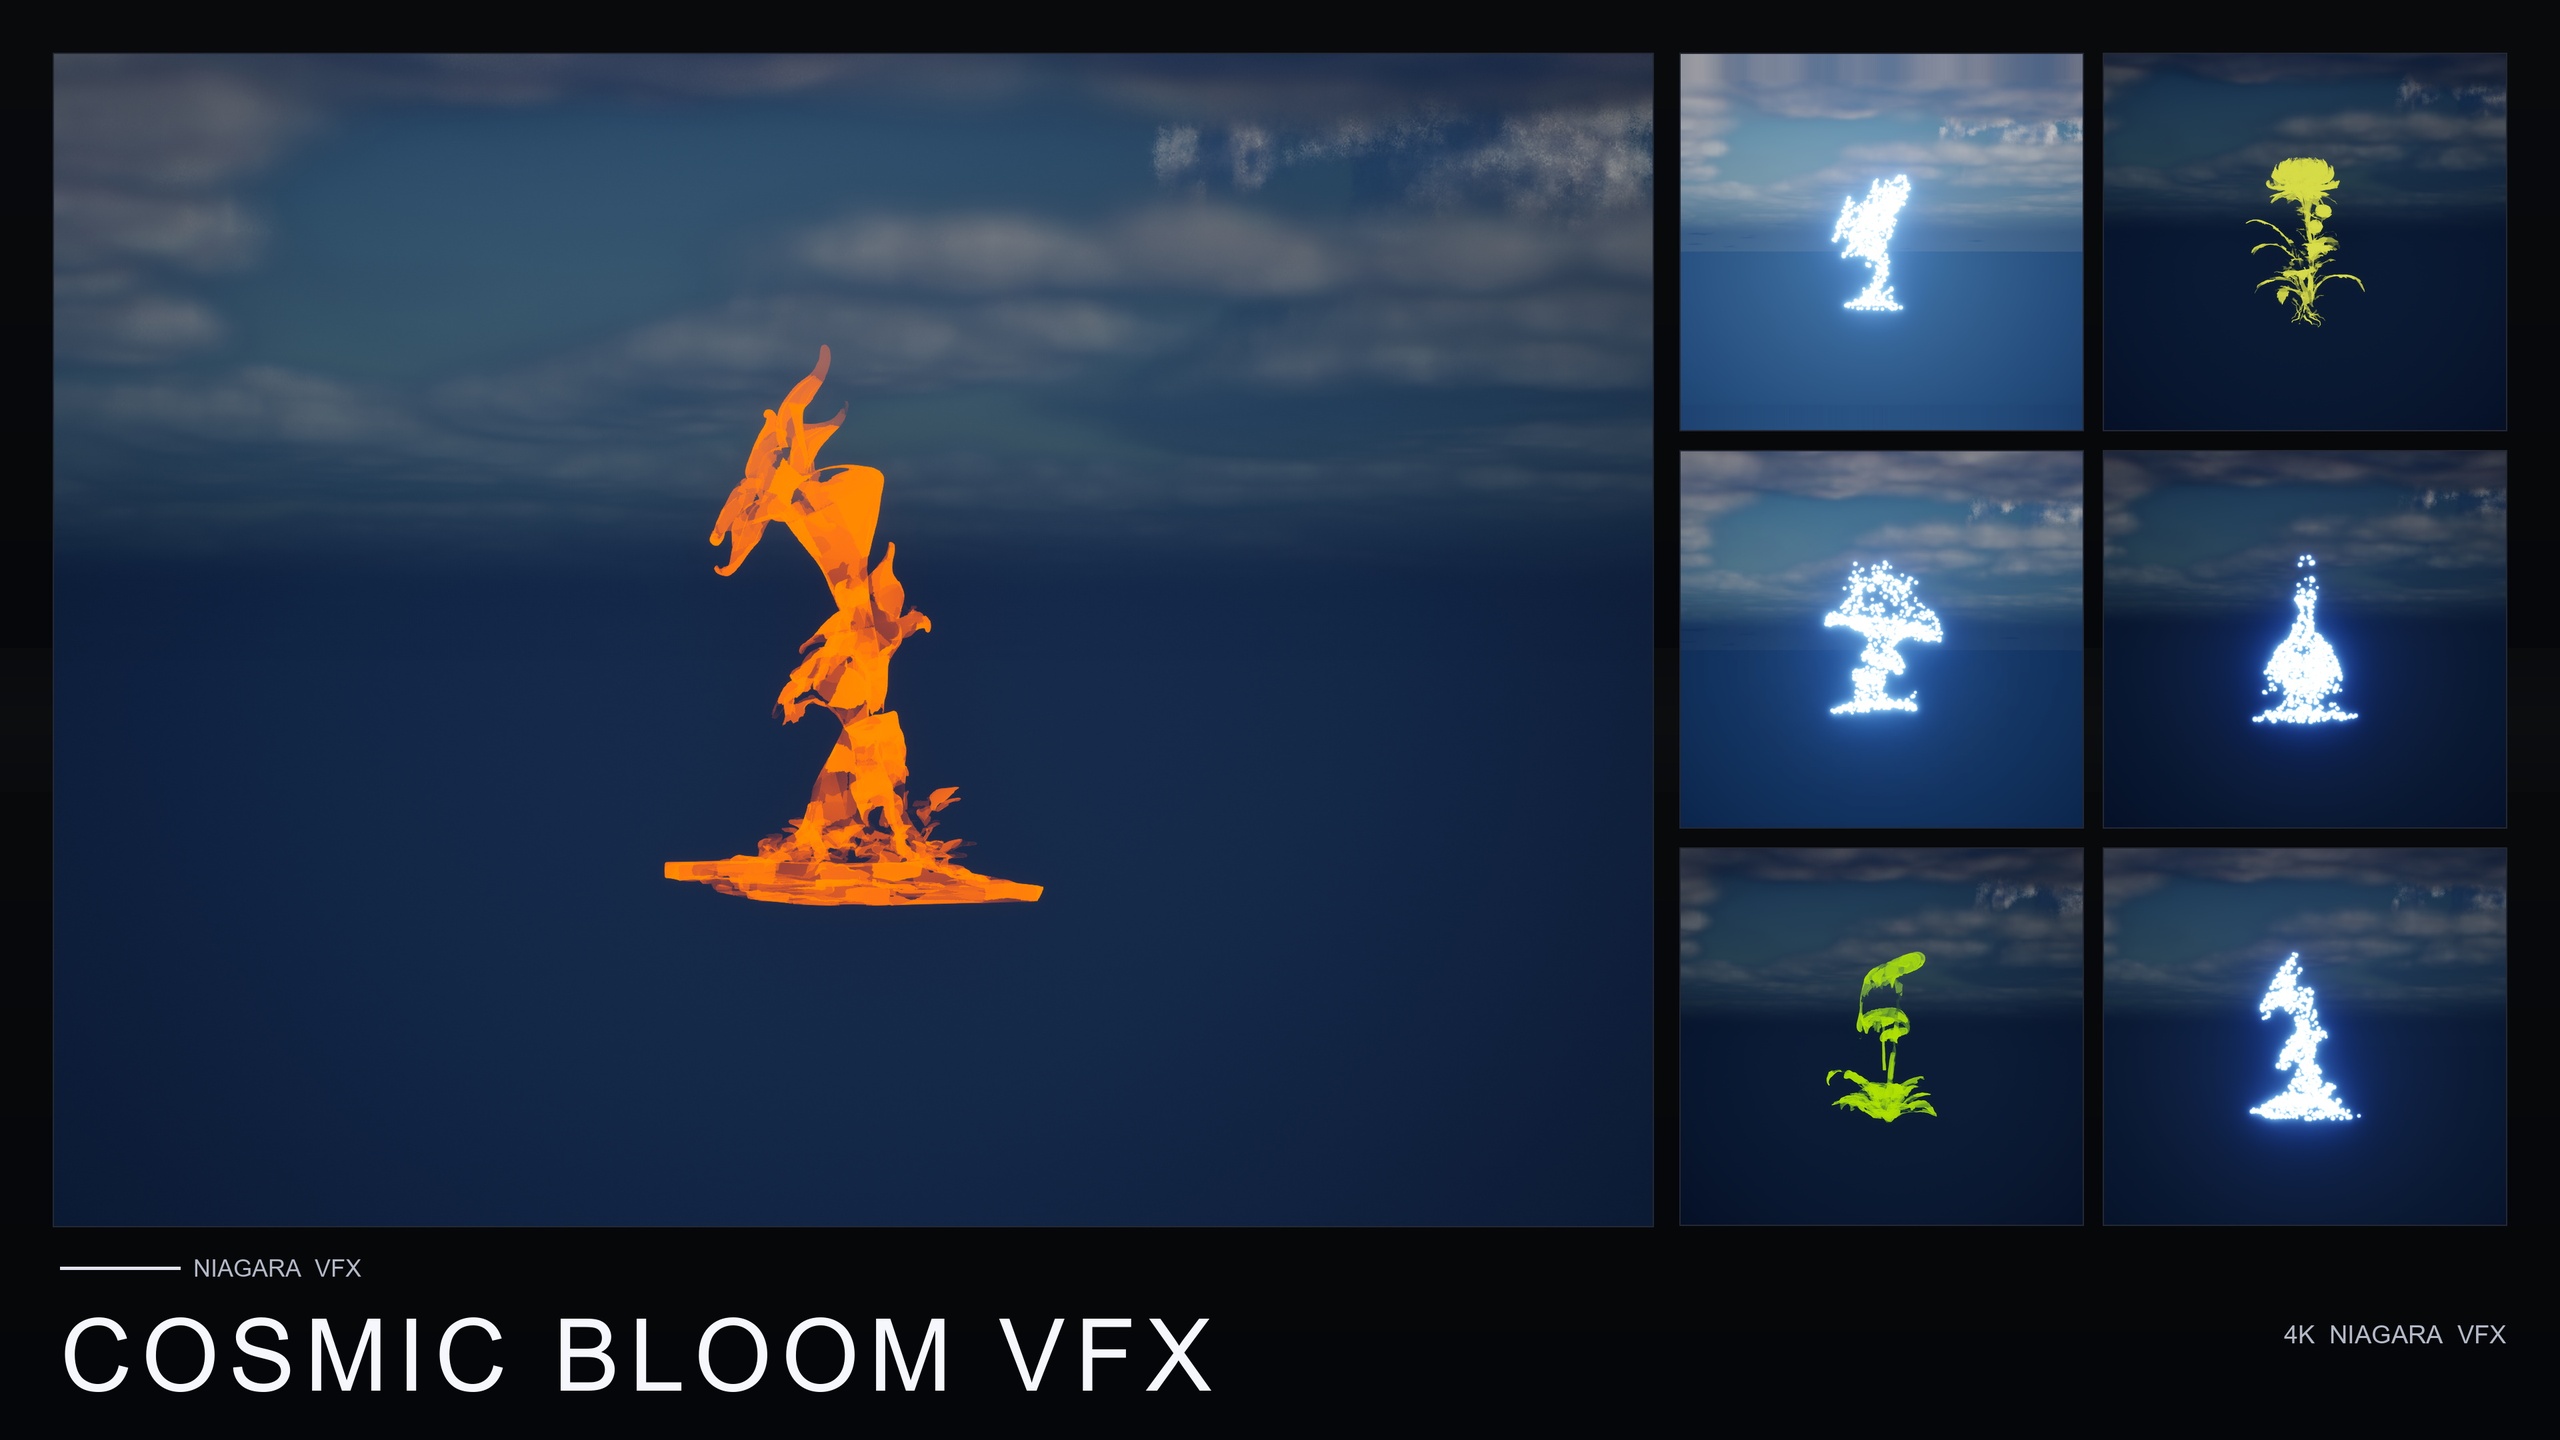
If you have read this far, you can see the shape of the work: deliberate point placement, ribbon-ordered connecting lines, per-particle twinkle, and a hair of parallax — each one a small tuning problem, and together a full afternoon for a single figure. If you would rather skip straight to the result, the Cosmic Bloom VFX pack ships the Constellation family already solved.
Cosmic Bloom VFX is a content-only Niagara pack — no C++, no Blueprints, no plugin dependencies — built around two effect families across the 51 stylised Fantasy Flower meshes, giving 100 ready-to-use NiagaraSystems in total. The Constellation family is exactly the look this guide describes: bright star-point particles trace each flower's silhouette like a hand-drawn constellation, connected by subtle line segments, with a slow twinkle and gentle parallax. The twinkle randomisation is baked per particle, so the organic shimmer is already there with no tuning on your side.
Using it is as direct as it sounds. Add the pack, open the CosmicBloomVFX/Niagara folder — it is split into Constellation and LumenLight — and drag a Constellation system onto a flower, actor or location in your level. There are no parameters to set; the silhouette trace, the connecting lines and the per-particle twinkle all play immediately. Each of the two families ships with its own pre-built, pre-lit demo level so you can see the effect in context before committing it to your own scene.
The second family, LumenLight, is the natural companion: soft warm-white volumetric light puffs that orbit each flower in a slow calming dance, reading as bio-luminescence or astral glow. The two families are designed to layer on the same flower — the Constellation handles the silhouette read while LumenLight adds a soft halo around it — so a single bloom can carry both the traced figure and the glow with two dropped systems and zero authoring.
When to build it yourself and when to drop one in
Build it by hand when the constellation has to trace something specific to your project — a custom logo, a unique creature silhouette, a shape no pack could anticipate. The ribbon-link-order technique above gives you full authorship of the stroke, and you should expect to spend most of your time in the point-placement and twinkle-tuning stages rather than the rendering.
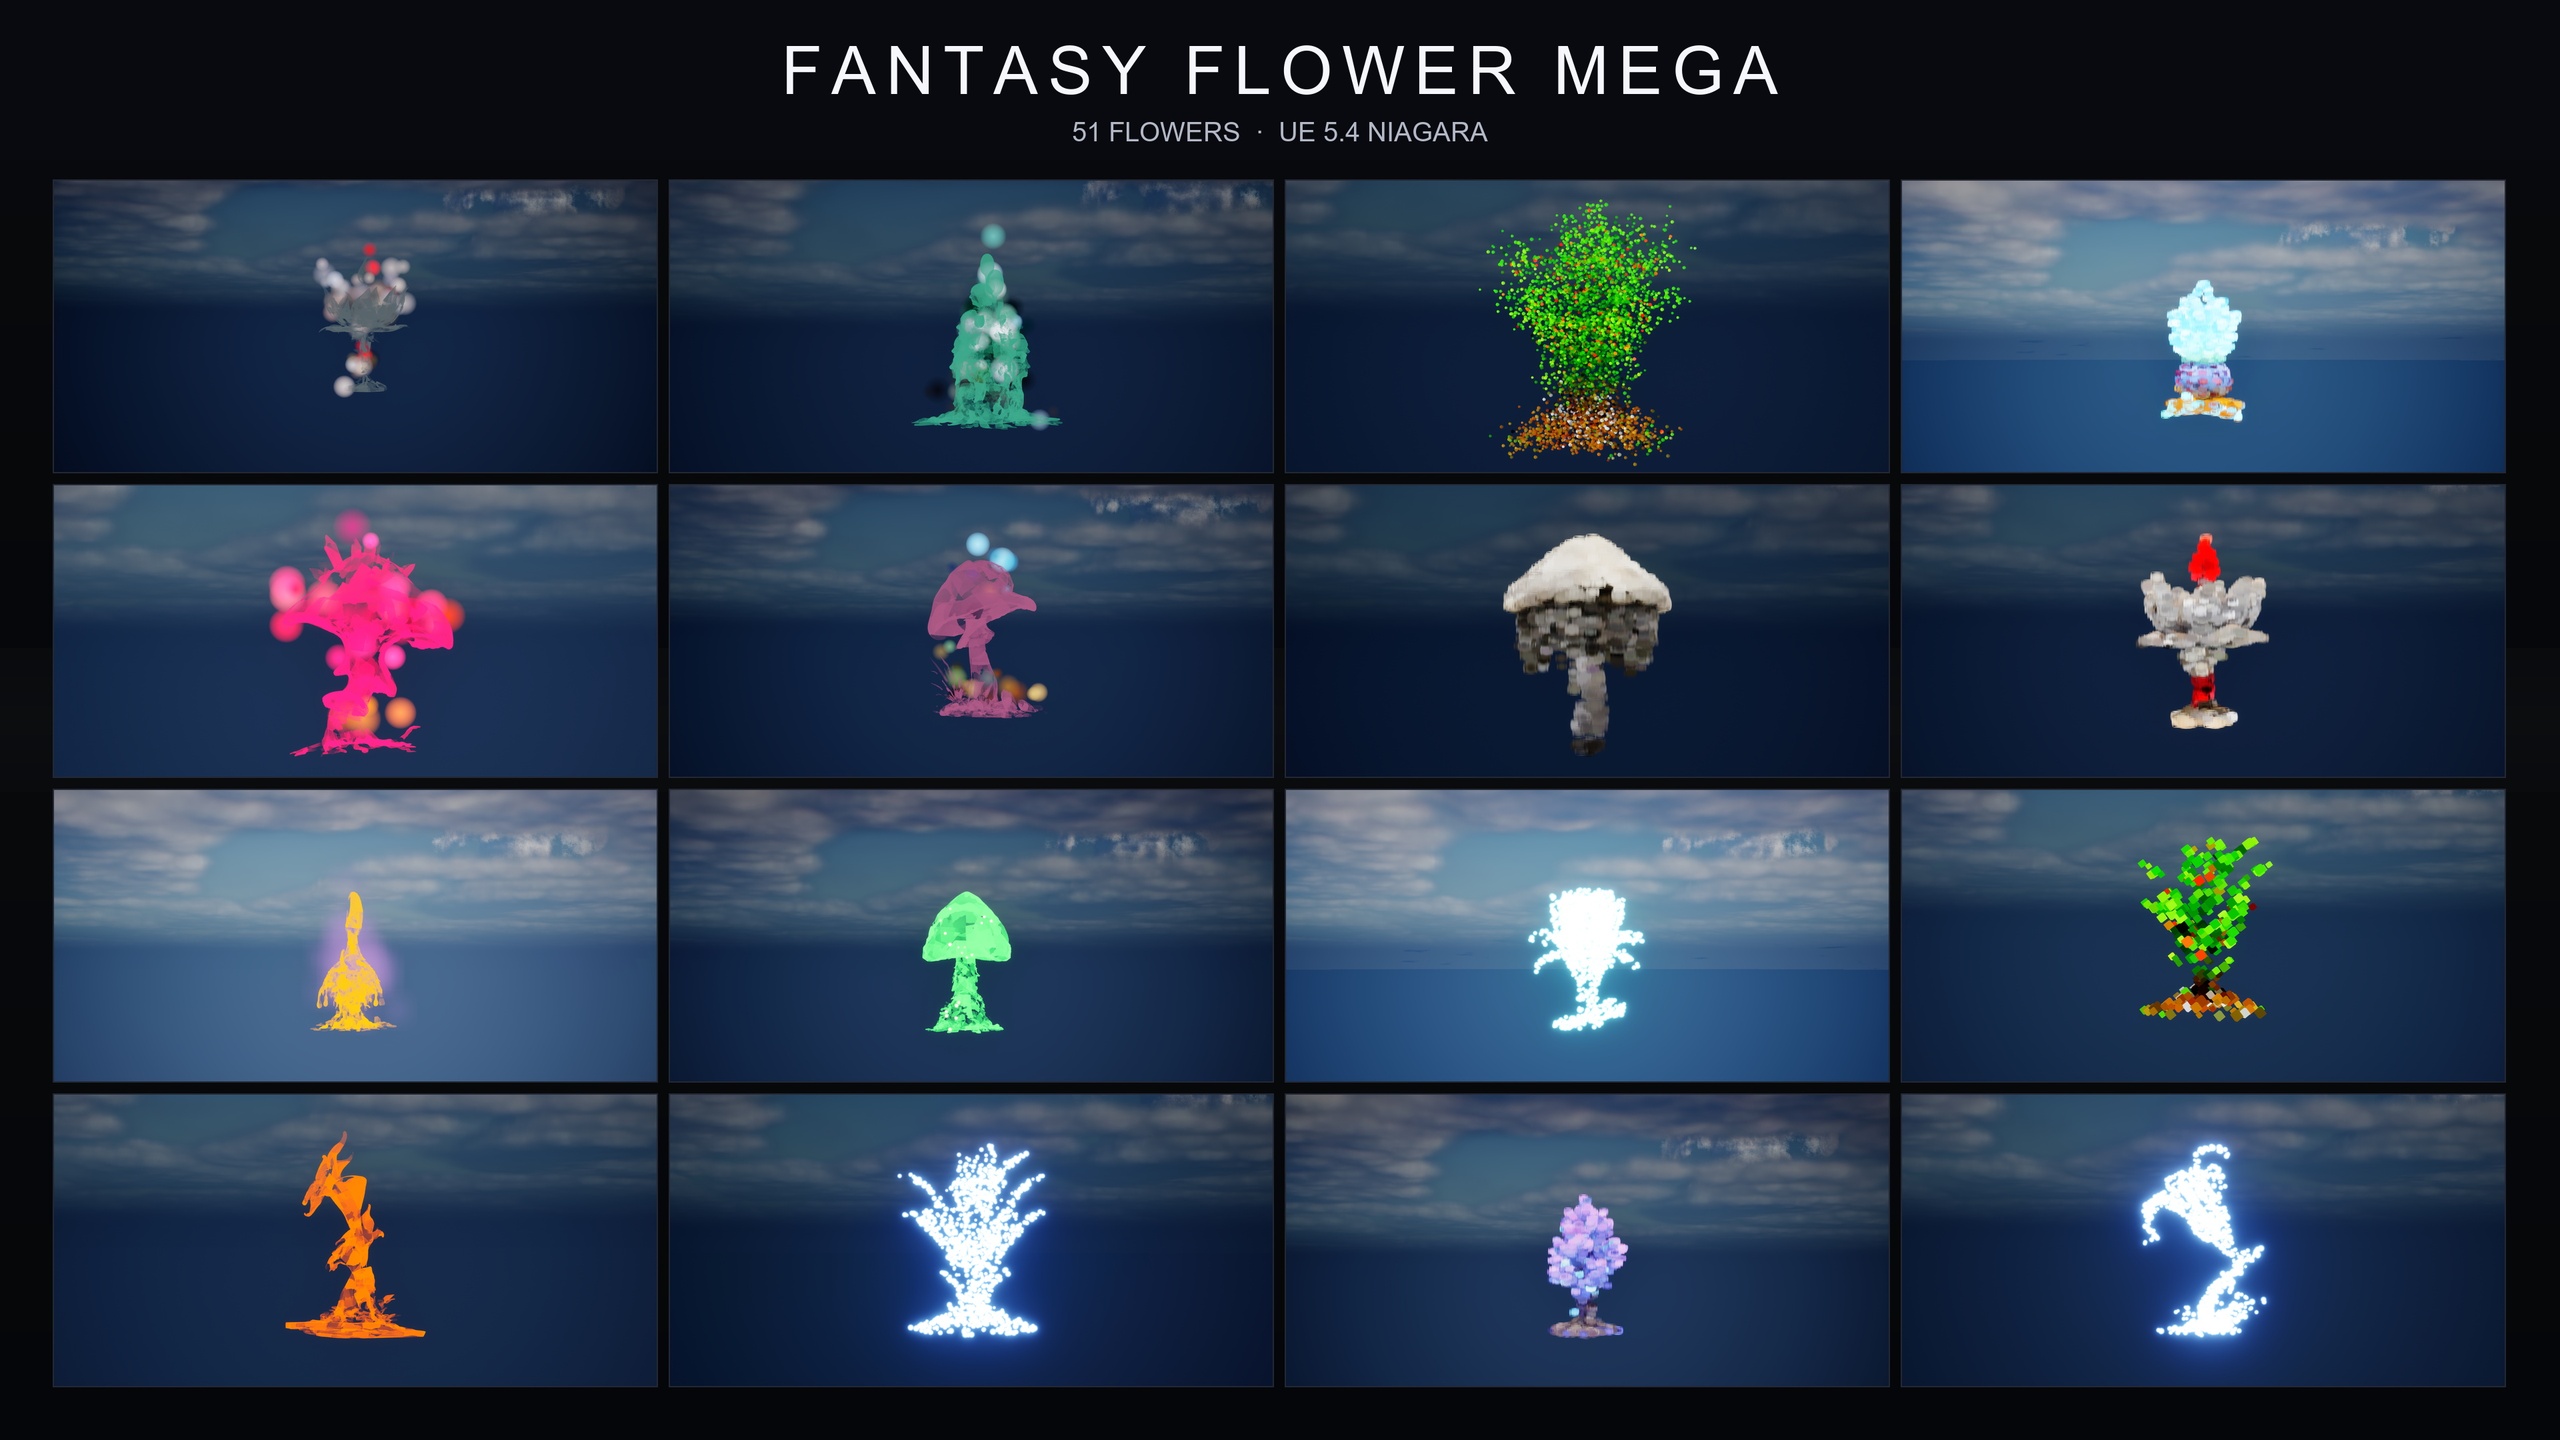
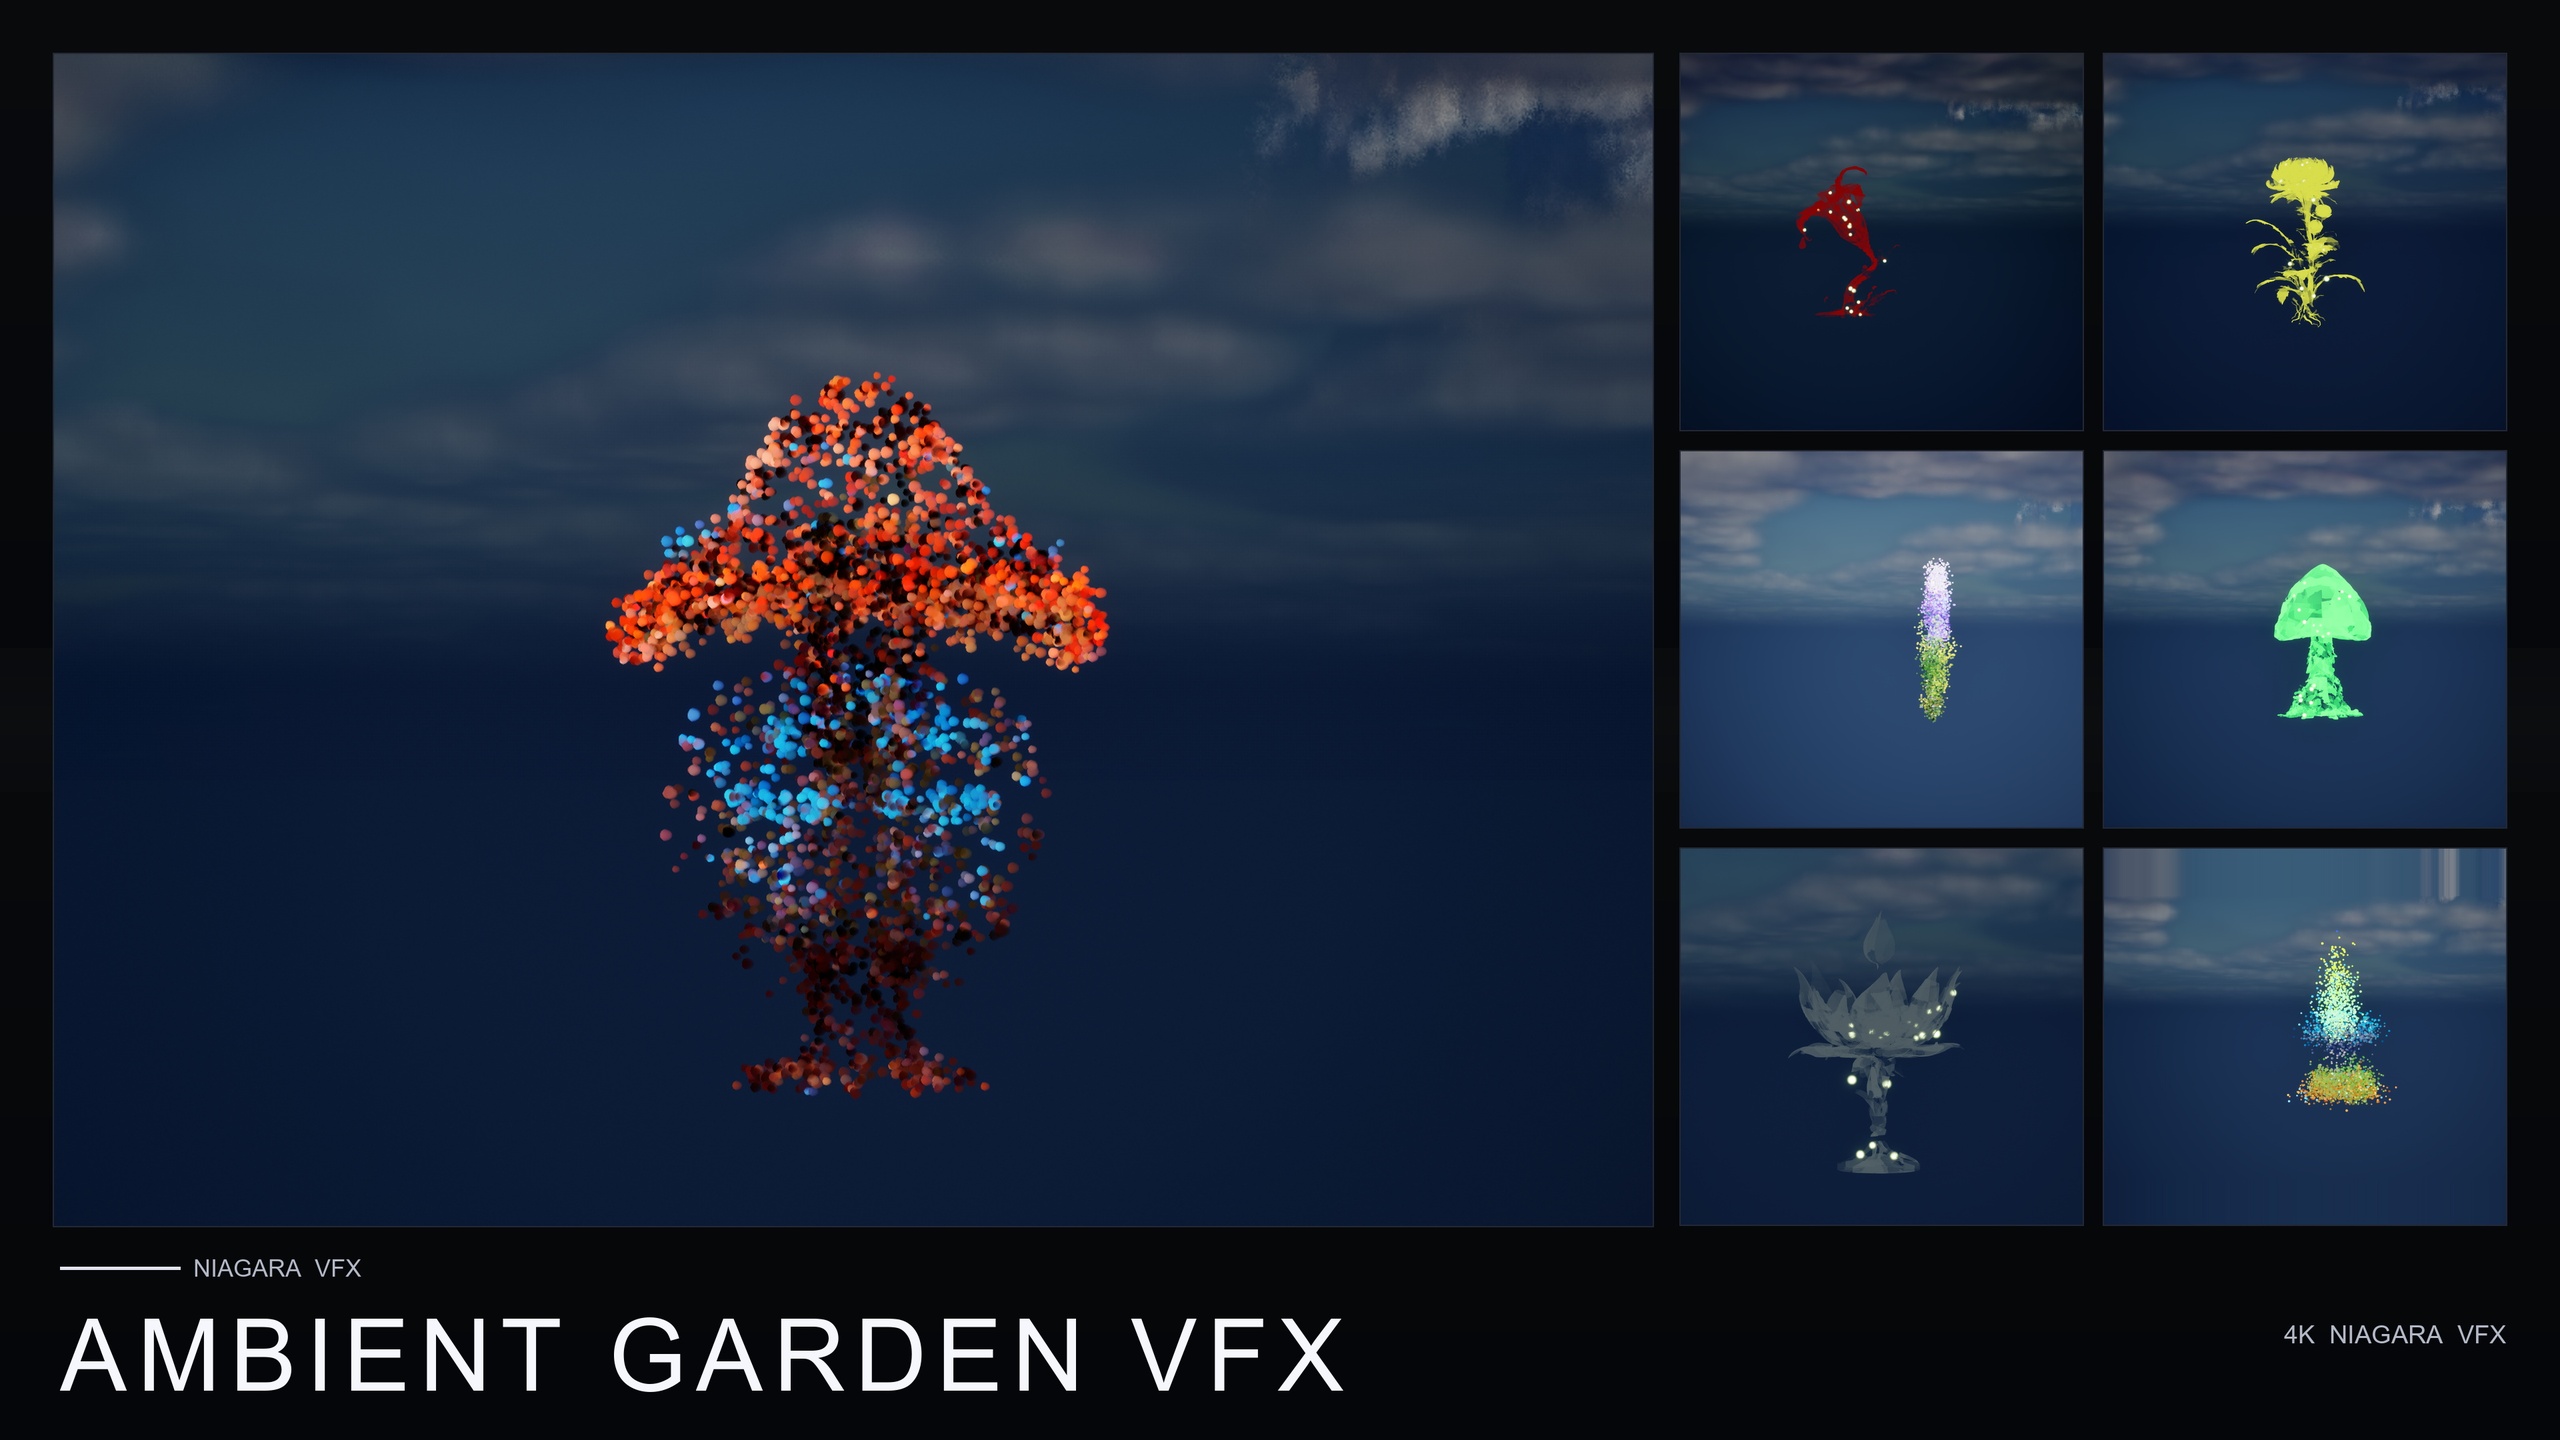
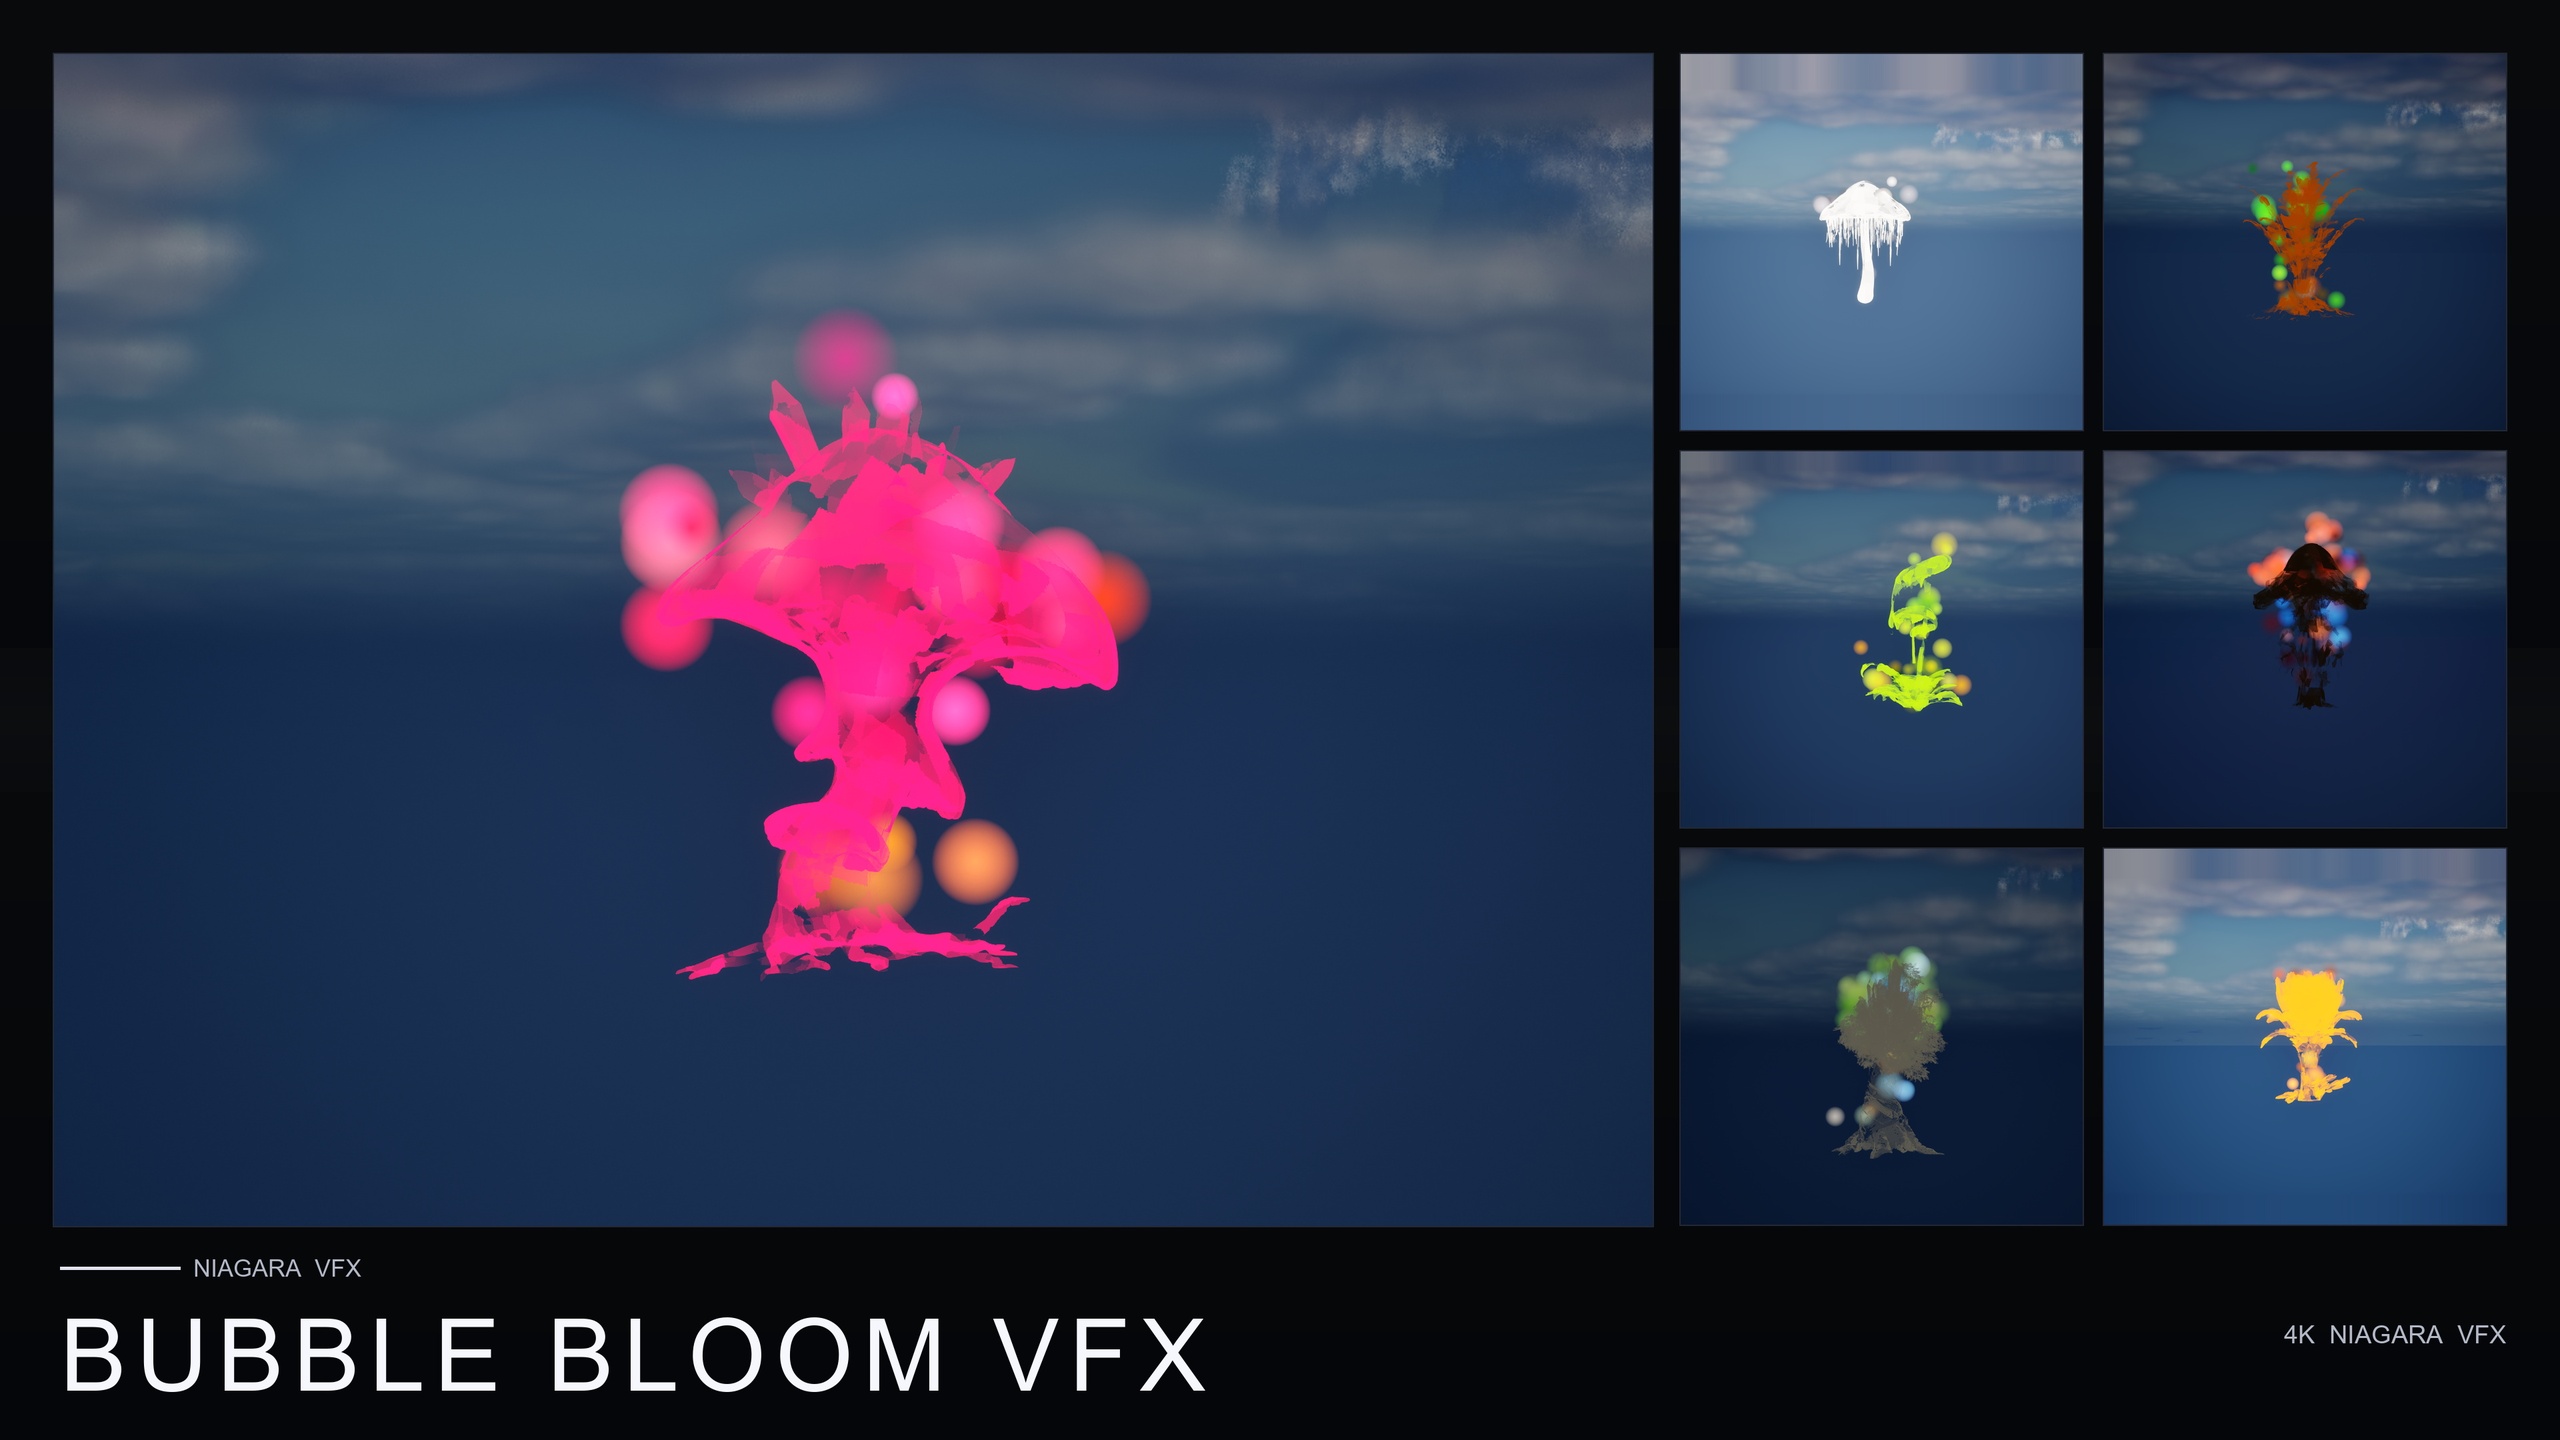
Reach for the ready-made systems when the subject is a plant, prop or generic bloom and you care about the result more than the journey. Cosmic Bloom VFX runs on CPU Niagara emitters, targets Windows, Mac and Linux, uses a deferred render path with dynamic lightmaps, and is listed for UE 5.4 and up — a content-only drop-in that gets you the constellation look the moment you drag it into the level. For the widest spread of moods beyond celestial, the same Constellation family is also included in the Fantasy Flower Mega Bundle alongside fourteen other effect families, while Ambient Garden VFX and Bubble Bloom VFX cover the calmer, more naturalistic registers if a star-trace is not quite the read you want.
Either way, the principles carry over. Points first, lines second, life last — and remember that a constellation is read, not rendered. The viewer's brain is doing half the work; your job is just to give it enough deliberate points to connect.
Manual constellation build vs the ready-made Constellation family
| Task | Hand-built in Niagara | Cosmic Bloom VFX Constellation family |
|---|---|---|
| Star-point placement | Sample a mesh or point set, burst-spawn, tune by hand | Pre-traced to each of 51 flower silhouettes |
| Connecting line segments | Ribbon renderer with manual link order, or baked mesh | Subtle line segments already wired |
| Per-particle twinkle | Random phase offset into a sine on alpha/brightness | Twinkle randomisation baked per particle |
| Parallax drift | Small slow system-level sway, tuned by feel | Gentle parallax included |
| Setup to first result | An afternoon per figure | Drag the system in; no parameter tuning |
What you control versus what is already solved for you.
FAQ
How do I make a UE5 Niagara constellation stars effect with connecting lines?
Place bright additive star-point sprites along a silhouette using a burst spawn and a mesh or point sample, then add a second emitter with a Ribbon renderer whose Ribbon Link Order joins the points in the stroke order you want. Keep the line material thin, dim and additive so the points stay the subject. Finish with a per-particle twinkle and a slow parallax drift.
Why do my connecting lines break or jump between points?
That usually means the renderer has no reliable ordering. A plain sprite or unordered ribbon connects particles by spawn order or proximity, which shifts as the system updates. Use a Ribbon renderer and explicitly set the Ribbon Link Order attribute so each particle connects to the correct neighbour, or bake the lines into static mesh geometry if the figure never needs to move independently.
How do I get the twinkle to look organic instead of pulsing in unison?
Make the twinkle per-particle. Assign each particle a random value at spawn with Random Range Float, store it in a particle attribute, and feed it in as a phase offset on the sine wave that drives alpha or brightness in Particle Update. Every star then shimmers on its own schedule. In Cosmic Bloom VFX the twinkle randomisation is already baked per particle.
Does Cosmic Bloom VFX need any plugins or C++ to use?
No. It is a content-only Niagara pack with no C++, no Blueprints and no plugin dependencies. You add the pack, open the CosmicBloomVFX/Niagara folder, and drag a Constellation system onto a flower or location. It uses CPU Niagara emitters and is listed for UE 5.4 and up on Windows, Mac and Linux.
Can I layer the constellation with a glow effect?
Yes. Cosmic Bloom VFX ships a second family, LumenLight, of soft warm-white volumetric light puffs that orbit each flower. The two families are designed to be layered on the same flower: Constellation gives the traced silhouette and LumenLight adds the soft halo, so you can drop both onto one bloom.
Cosmic Bloom VFX
100 ready-to-use Niagara systems — constellations, drifting starlight and Lumen-lit blooms — across 51 stylised flower meshes and 131 material instances. CPU-simulated for Windows, Mac and Linux, with two demo levels included. Content-only: no C++, no Blueprints, no plugin dependencies.