tutorial · 2026-04-13
How to Convert a Static Mesh into a Landscape Heightmap Stamp in UE5
Turn any UStaticMesh - a sculpted rock, a logo, a hand-modelled landform - into a reusable, non-destructive terrain stamp with Landstamp Pro.

Why convert a mesh to a heightmap at all
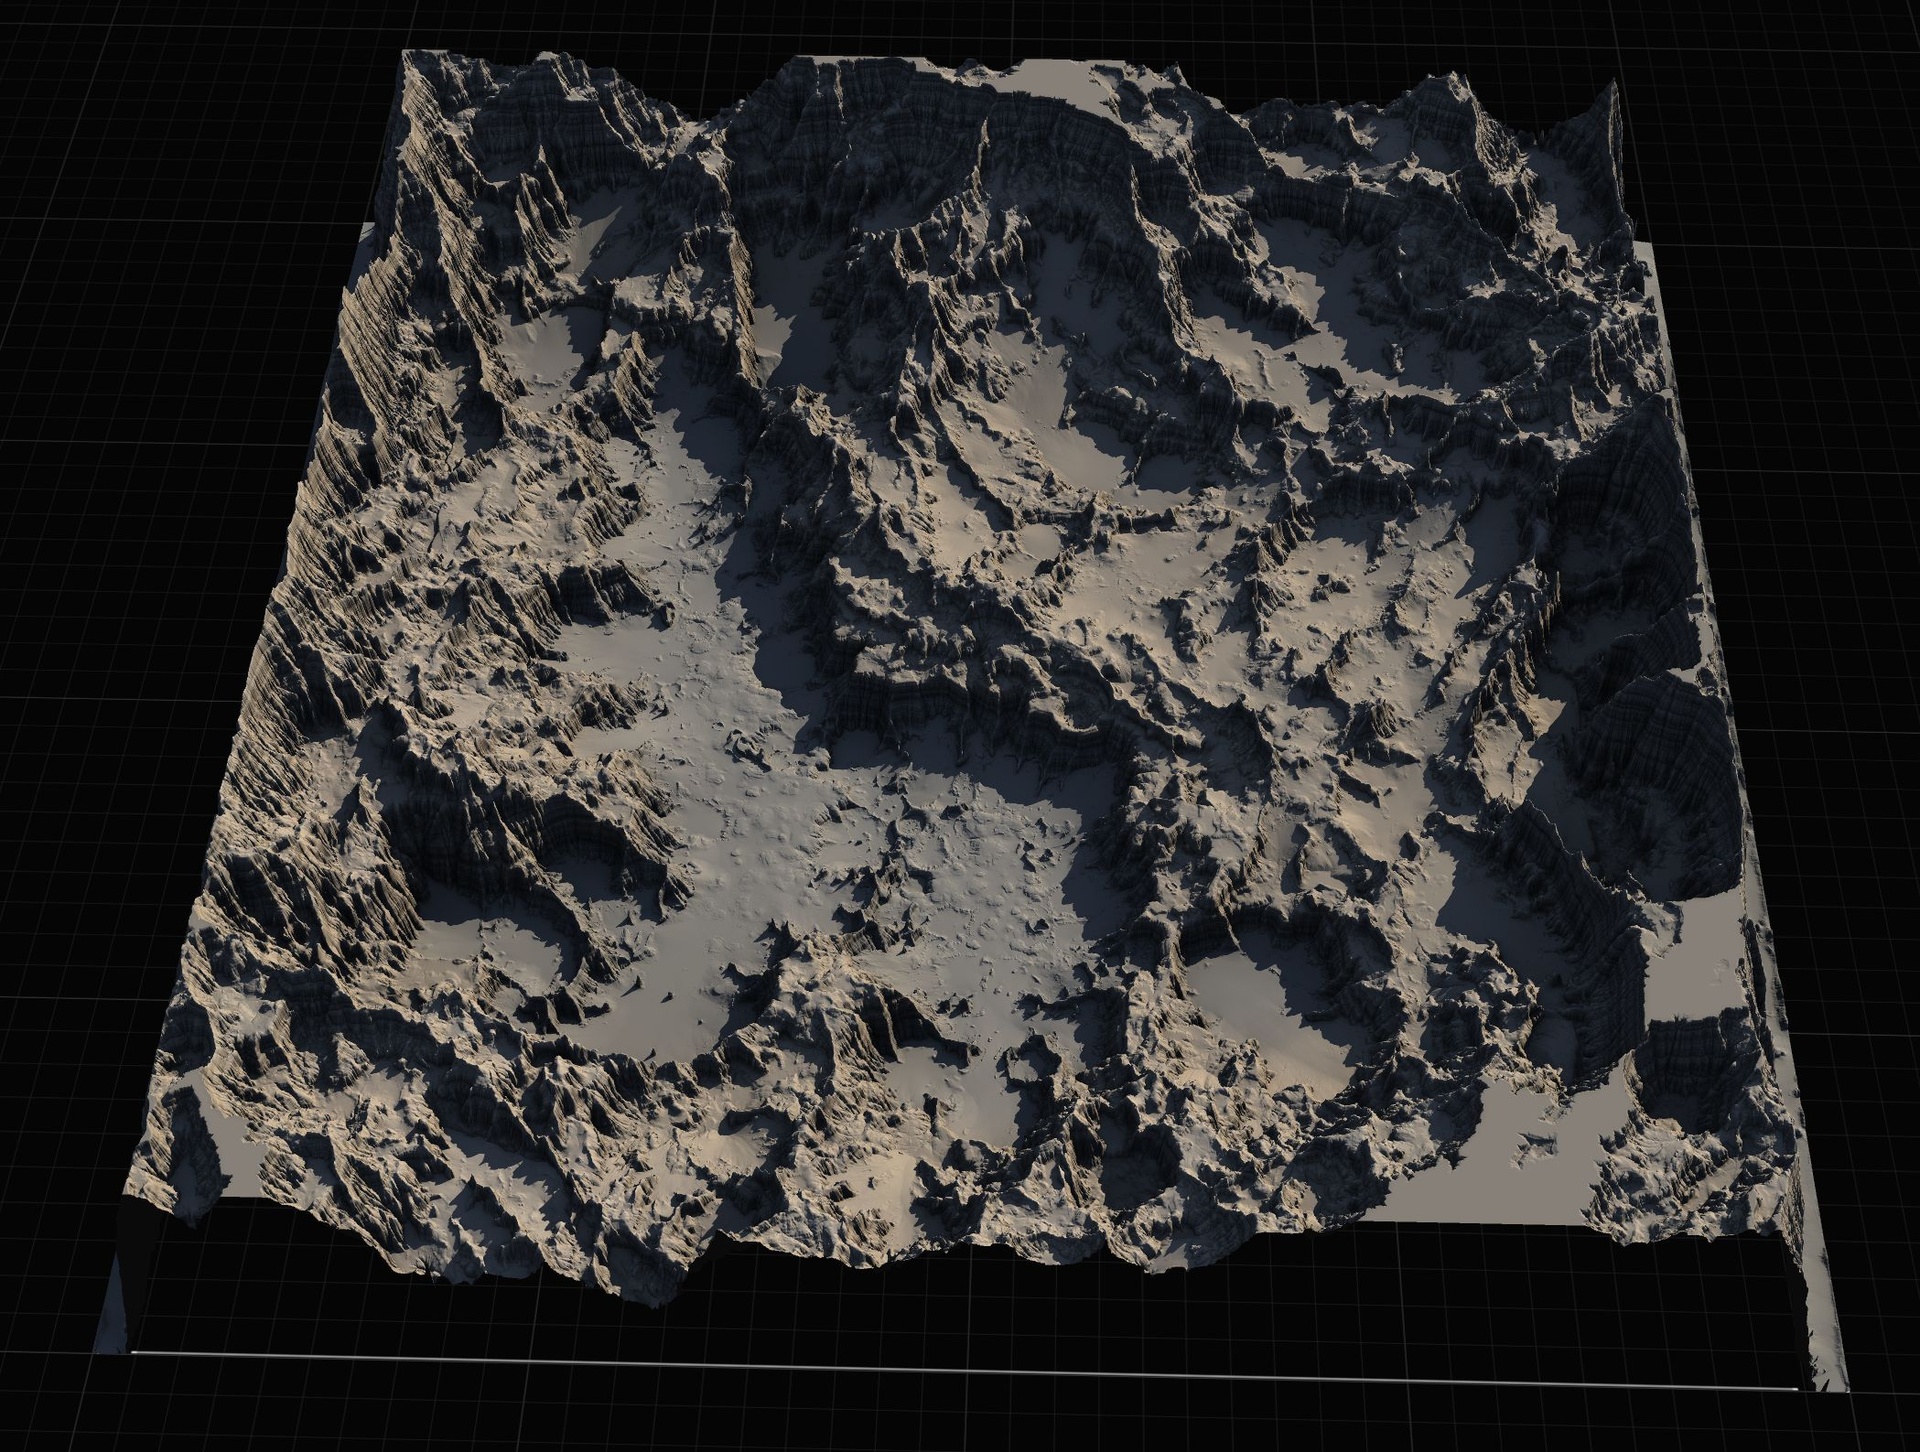
You have a static mesh that already reads as terrain - a sculpted rock formation from your DCC tool, a custom mountain you blocked out in Blender, a studio logo you want pressed into a hillside - and you want that exact shape in your Unreal landscape. Re-sculpting it by hand in the Landscape tool is slow and rarely matches the original. The cleaner route is to convert the mesh to a heightmap in Unreal Engine, then drive the terrain from that heightmap. This tutorial walks through doing exactly that with Landstamp Pro, MythicLemon's C++ editor plugin for non-destructive landscape stamping.
Landstamp Pro is built on Unreal's own Landscape Patch system. Every stamp you place is a Landscape Texture Patch beneath an ALandstampActor, which means the terrain edit stays fully editable after placement - you can re-position, re-scale, re-blend or delete it at any time without baking permanent damage into the landscape. The mesh-to-heightmap workflow feeds straight into that system: you extract a grayscale heightmap from your mesh once, save it as a stamp, and from then on it behaves like any other stamp in the library.
A useful mental model is that the extractor flattens the silhouette of your mesh from above into elevation data. Whiter pixels mean higher ground; the bounds of the mesh become the footprint of the stamp. Once that data is captured, the original mesh is no longer needed at runtime - the plugin states zero runtime cost in packaged builds, because all of this is editor-only tooling.
What the mesh heightmap extractor actually does
Under the hood, the extraction is handled by FMeshHeightmapExtractor, which converts any UStaticMesh into a grayscale heightmap with automatic bounds detection. It is not a single black-box step; it runs a small pipeline so each stage is predictable. The data flows MeshDataExtractor -> HeightmapRasterizer -> HeightmapImageProcessor -> HeightmapTextureBuilder.
In plain terms: MeshDataExtractor reads the geometry and works out the mesh's spatial bounds automatically, so you do not have to measure or normalise the mesh first. HeightmapRasterizer projects that geometry down into a grid of height values. HeightmapImageProcessor cleans and conditions that grid into a usable grayscale image. Finally HeightmapTextureBuilder packs the result into the grayscale texture that a stamp asset references.
Because bounds detection is automatic, an off-centre or arbitrarily scaled mesh still produces a sensibly framed heightmap - the extractor fits the output to whatever the mesh occupies. That is what makes the workflow forgiving: you do not need a perfectly prepared, pre-normalised mesh to get a clean stamp out the other side.
Step by step: running the extractor on a static mesh
1. Install Landstamp Pro and let it enable its dependencies. The plugin requires the bundled engine plugins ProceduralMeshComponent, LandscapePatch and EditorScriptingUtilities, all declared in LandstampPro.uplugin; it enables the Landscape Patch plugin it depends on automatically. Landstamp Pro is a Windows 64-bit editor plugin, with the live listing stating compatibility with Unreal Engine 5.5, 5.6 and 5.7 and later.
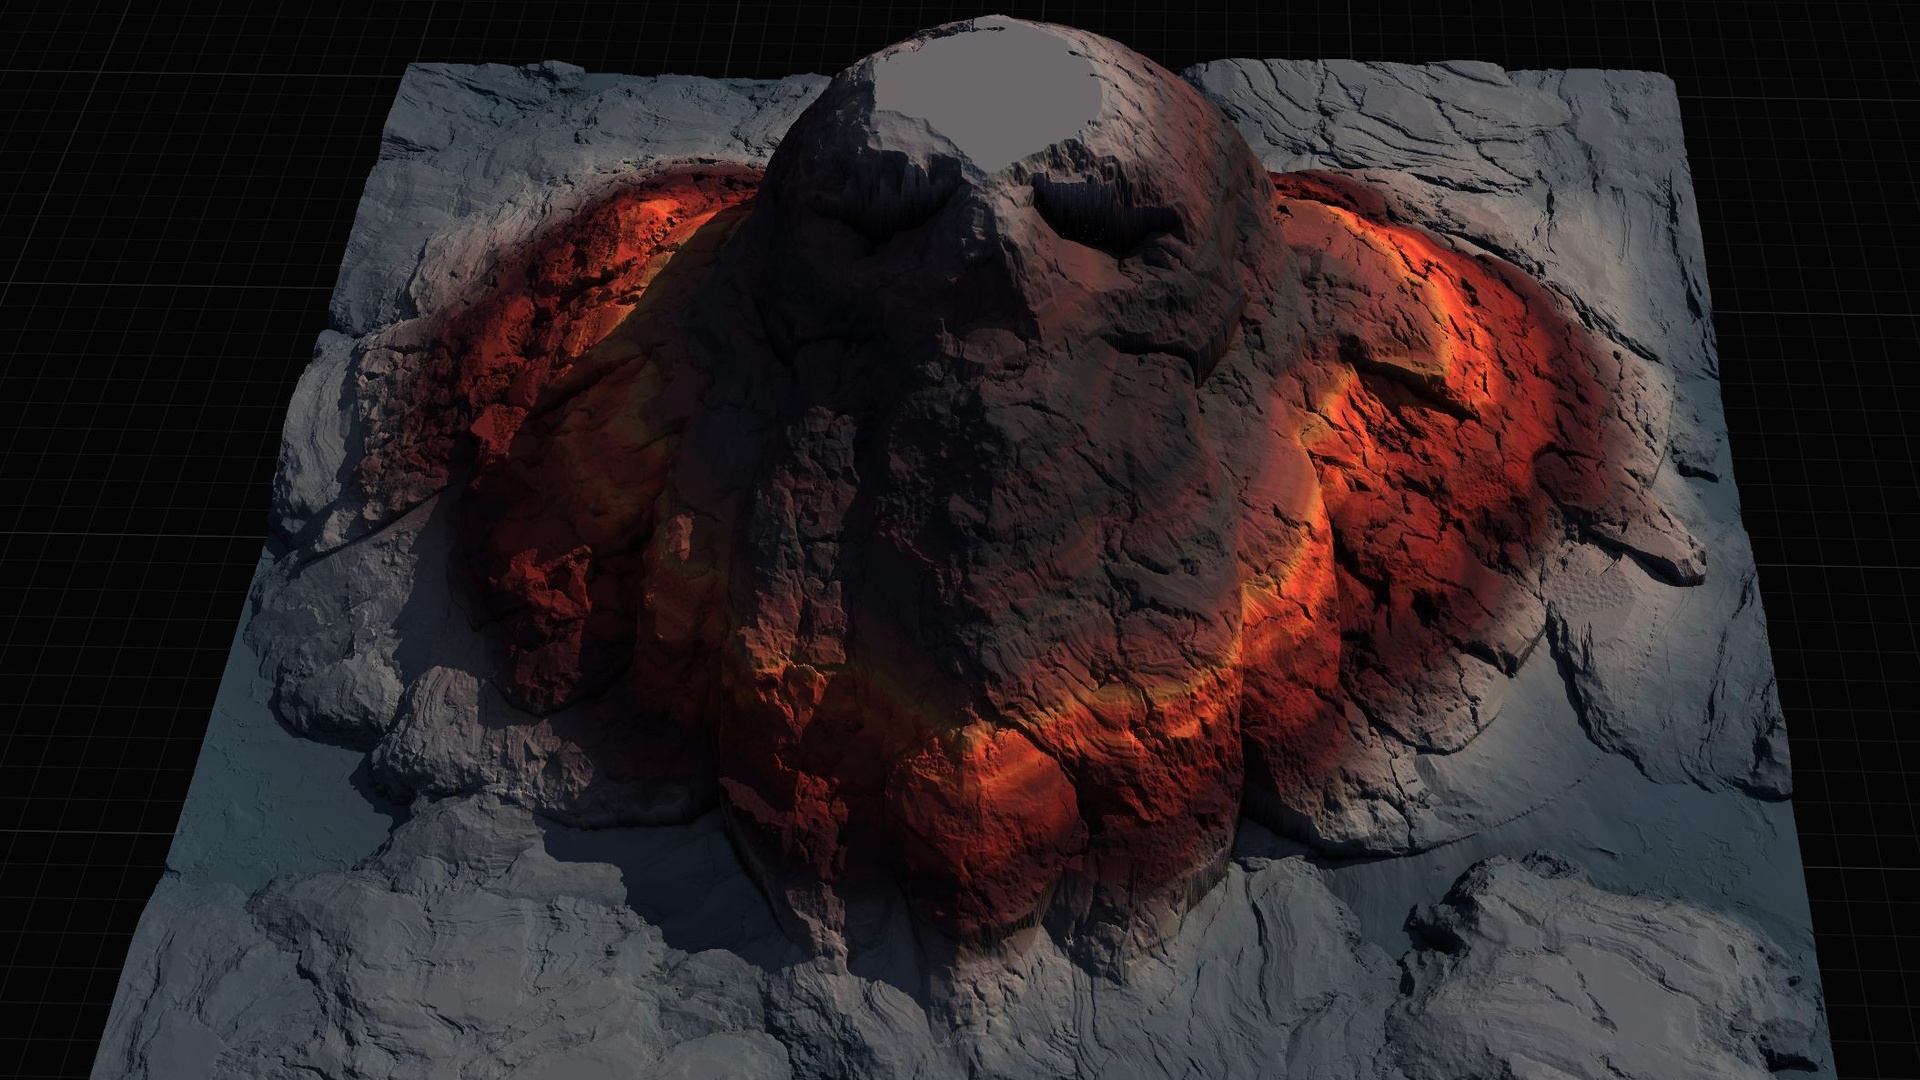
2. Pick the static mesh you want to convert. Anything that reads as a landform works well - a rock formation, a sculpted hero feature, or a flat-ish logo you want embossed into terrain. The extractor accepts any UStaticMesh and detects its bounds for you, so there is no manual normalisation step.
3. Run the mesh heightmap extractor on that mesh. This invokes FMeshHeightmapExtractor and runs the MeshDataExtractor -> HeightmapRasterizer -> HeightmapImageProcessor -> HeightmapTextureBuilder pipeline described above, producing a grayscale heightmap from the geometry.
4. Use the live 3D preview with axis visualization to sanity-check orientation before you commit. The axis visualization shows you which way the mesh is facing relative to the heightmap projection, so if your stamp comes out rotated ninety degrees from what you expected, you can catch it here rather than after placing it on a landscape.
Choosing the output resolution: 512, 1K, 2K or 4K
The extractor lets you select the output resolution of the heightmap it bakes. The available sizes are 512, 1K, 2K and 4K, with 4K being the maximum for extracted heightmap textures. Resolution here is the fidelity of the elevation grid, not a world-space size - StampSize controls the footprint in world units separately.
Match the resolution to the role of the stamp. A 512 heightmap is plenty for a small, soft landform such as a low hill or a rounded mound, where high-frequency detail would never be visible. Step up to 1K or 2K for medium features with real silhouette - a ridge line, a canyon wall, a recognisable rock face. Reserve 4K for large hero stamps that dominate a view and need crisp edges, such as a sharp mountain or a finely detailed logo embossing.
Bear in mind that Landstamp Pro is already a sizeable plugin - the FabStoreFeatures notes the texture library pushes it to roughly 1.97 GB - so there is no reason to bake everything at 4K out of habit. Higher resolutions mean larger texture assets in your project. Choose the smallest resolution that preserves the silhouette you actually need.
Saving the result as a reusable stamp asset
Once the preview looks right and you have settled on a resolution, save the extraction as a new stamp. Stamps in Landstamp Pro are data-driven UStampAsset records - a UPrimaryDataAsset that stores the heightmap texture, a thumbnail, a category, a pack, tags, a default blend mode, default intensity and scale, and an invert-height flag. Saving turns your one-off extraction into a first-class, catalogued asset rather than a loose texture.
Set a sensible category when you save. The built-in categories (EStampCategory) are Mountain, Canyon, Hill, Crater, River, Volcano, Directional, Creatures and Custom; a converted mesh most often belongs under Custom, but if your mesh is clearly a mountain or a crater, file it accordingly so it surfaces alongside the matching library stamps. UStampAsset also stores an MD5 SourceFileHash to prevent re-importing the same source image twice, which keeps your custom library tidy as it grows.
Because the stamp carries defaults for blend mode, intensity and scale, you can encode how you intend the stamp to behave at save time. If your mesh is meant to carve a depression rather than raise terrain, the invert-height flag and a default blend mode let the stamp drop into a level already configured the way you want.
Using the new stamp from the Stamp Browser
Your saved UStampAsset appears in the Stamp Browser, the plugin's visual thumbnail browser with category organisation, search and filter, drag-and-drop placement and a recently-used tracker. Open it from the toolbar, find your new stamp - filter by the category you assigned or search by tag - and drag it onto a landscape. That spawns an ALandstampActor which auto-resolves the landscape beneath it: by default a stamp binds to the landscape whose XY footprint contains it, or the nearest one.
From the actor's details panel you can tune StampSize in world units, HeightIntensity (-2 to 2, where negative inverts the height), the blend mode (Additive, Subtractive, Replace, Maximum or Minimum), the falloff shape (Circle, Rounded Rectangle or Square), a blend-distance preset, StampRotation and a 10-level priority for resolving overlaps. ALandstampActor exposes CallInEditor functions including PreviewStamp to preview the result and ApplyToLandscape to commit it, with ClearPreview to discard a preview you do not want.
Because the placed stamp is a Landscape Patch component, the edit remains non-destructive. You can move your mesh-derived stamp, re-scale it, change its blend mode or stack it under a higher-priority stamp at any time without re-running the extraction. The conversion you did once becomes a reusable terrain building block. If you find yourself needing whole ready-made worlds rather than individual stamps, the heightmap packs in the Related on Fab strip below pair naturally with this workflow - import a full landscape, then layer mesh-derived stamps on top.
Picking an extraction resolution
| Resolution | Best for | Trade-off |
|---|---|---|
| 512 | Small, soft landforms - low hills, rounded mounds | Loses fine silhouette detail |
| 1K | Medium features - ridges, mounds with shape | Balanced size vs detail |
| 2K | Defined features - canyon walls, rock faces | Larger texture asset |
| 4K | Hero stamps - sharp mountains, crisp logo embossing | Largest asset; use sparingly |
Resolution is the fidelity of the elevation grid, not a world-space size; StampSize sets the footprint separately. 4K is the maximum for extracted heightmaps.
FAQ
How do I convert a mesh to a heightmap in Unreal Engine?
In Landstamp Pro you run the mesh heightmap extractor (FMeshHeightmapExtractor) on any UStaticMesh. It automatically detects the mesh bounds and runs a MeshDataExtractor, HeightmapRasterizer, HeightmapImageProcessor and HeightmapTextureBuilder pipeline to bake a grayscale heightmap, which you preview and save as a reusable stamp.
What output resolutions can the extractor produce?
You can choose 512, 1K, 2K or 4K. 4K is the maximum for extracted heightmap textures. Pick the smallest resolution that preserves the silhouette you need, since higher resolutions create larger texture assets in your project.
Is the converted stamp editable after I place it on a landscape?
Yes. Every stamp drives a Landscape Texture Patch via the Landscape Patch system, so placement is non-destructive. You can move, re-scale, re-blend, re-prioritise or delete the stamp at any time without baking permanent changes into the landscape.
Where does the new stamp show up after I save it?
Saving creates a UStampAsset that appears in the Stamp Browser. You can find it by the category and tags you assigned, then drag and drop it onto a landscape, which spawns an ALandstampActor that auto-resolves the landscape beneath it.
Does this add any runtime cost to my packaged game?
No. Landstamp Pro is editor-only tooling and states zero runtime cost in packaged builds. The mesh-to-heightmap extraction and stamping all happen in the editor; the result is baked landscape data, not a live runtime system.
Landstamp Pro
Sculpt production terrains in minutes, not hours. Landstamp Pro is a professional heightmap stamping system for Unreal Engine — combine, layer and blend stamps with precise control and real-time preview, fully non-destructive.