article · 2026-05-09
Niagara CPU vs GPU Sim: When to Promote an Emitter for Performance in UE5
How to decide between a CPU and a GPU sim target in Niagara, and the bounds, peak-count and readback trade-offs that come with the switch.
The Niagara CPU vs GPU sim performance question, framed properly
If you are wondering about Niagara CPU vs GPU sim performance and when to use each in UE5, the honest answer is that the sim target is not a quality dial - it is a cost-model choice. A CPU emitter runs its update logic on the game thread's worker pool, one particle at a time, and pays for every system module, every data interface and every readback you ask of it. A GPU emitter hands that same per-particle update to the graphics card, where thousands of particles update in parallel, but it gives up cheap CPU-side access to the simulation in return.
That single trade defines the whole decision. When a system runs at low counts and you frequently need the CPU to read particle data back - to drive gameplay, attach actors, or query positions - CPU is the right home. When a system runs at high counts and exists purely to be seen, the GPU's parallelism makes each particle dramatically cheaper. The wrong move is to assume one target is universally faster; the right move is to look at how many particles you spawn and whether anything outside the simulation needs to read them.
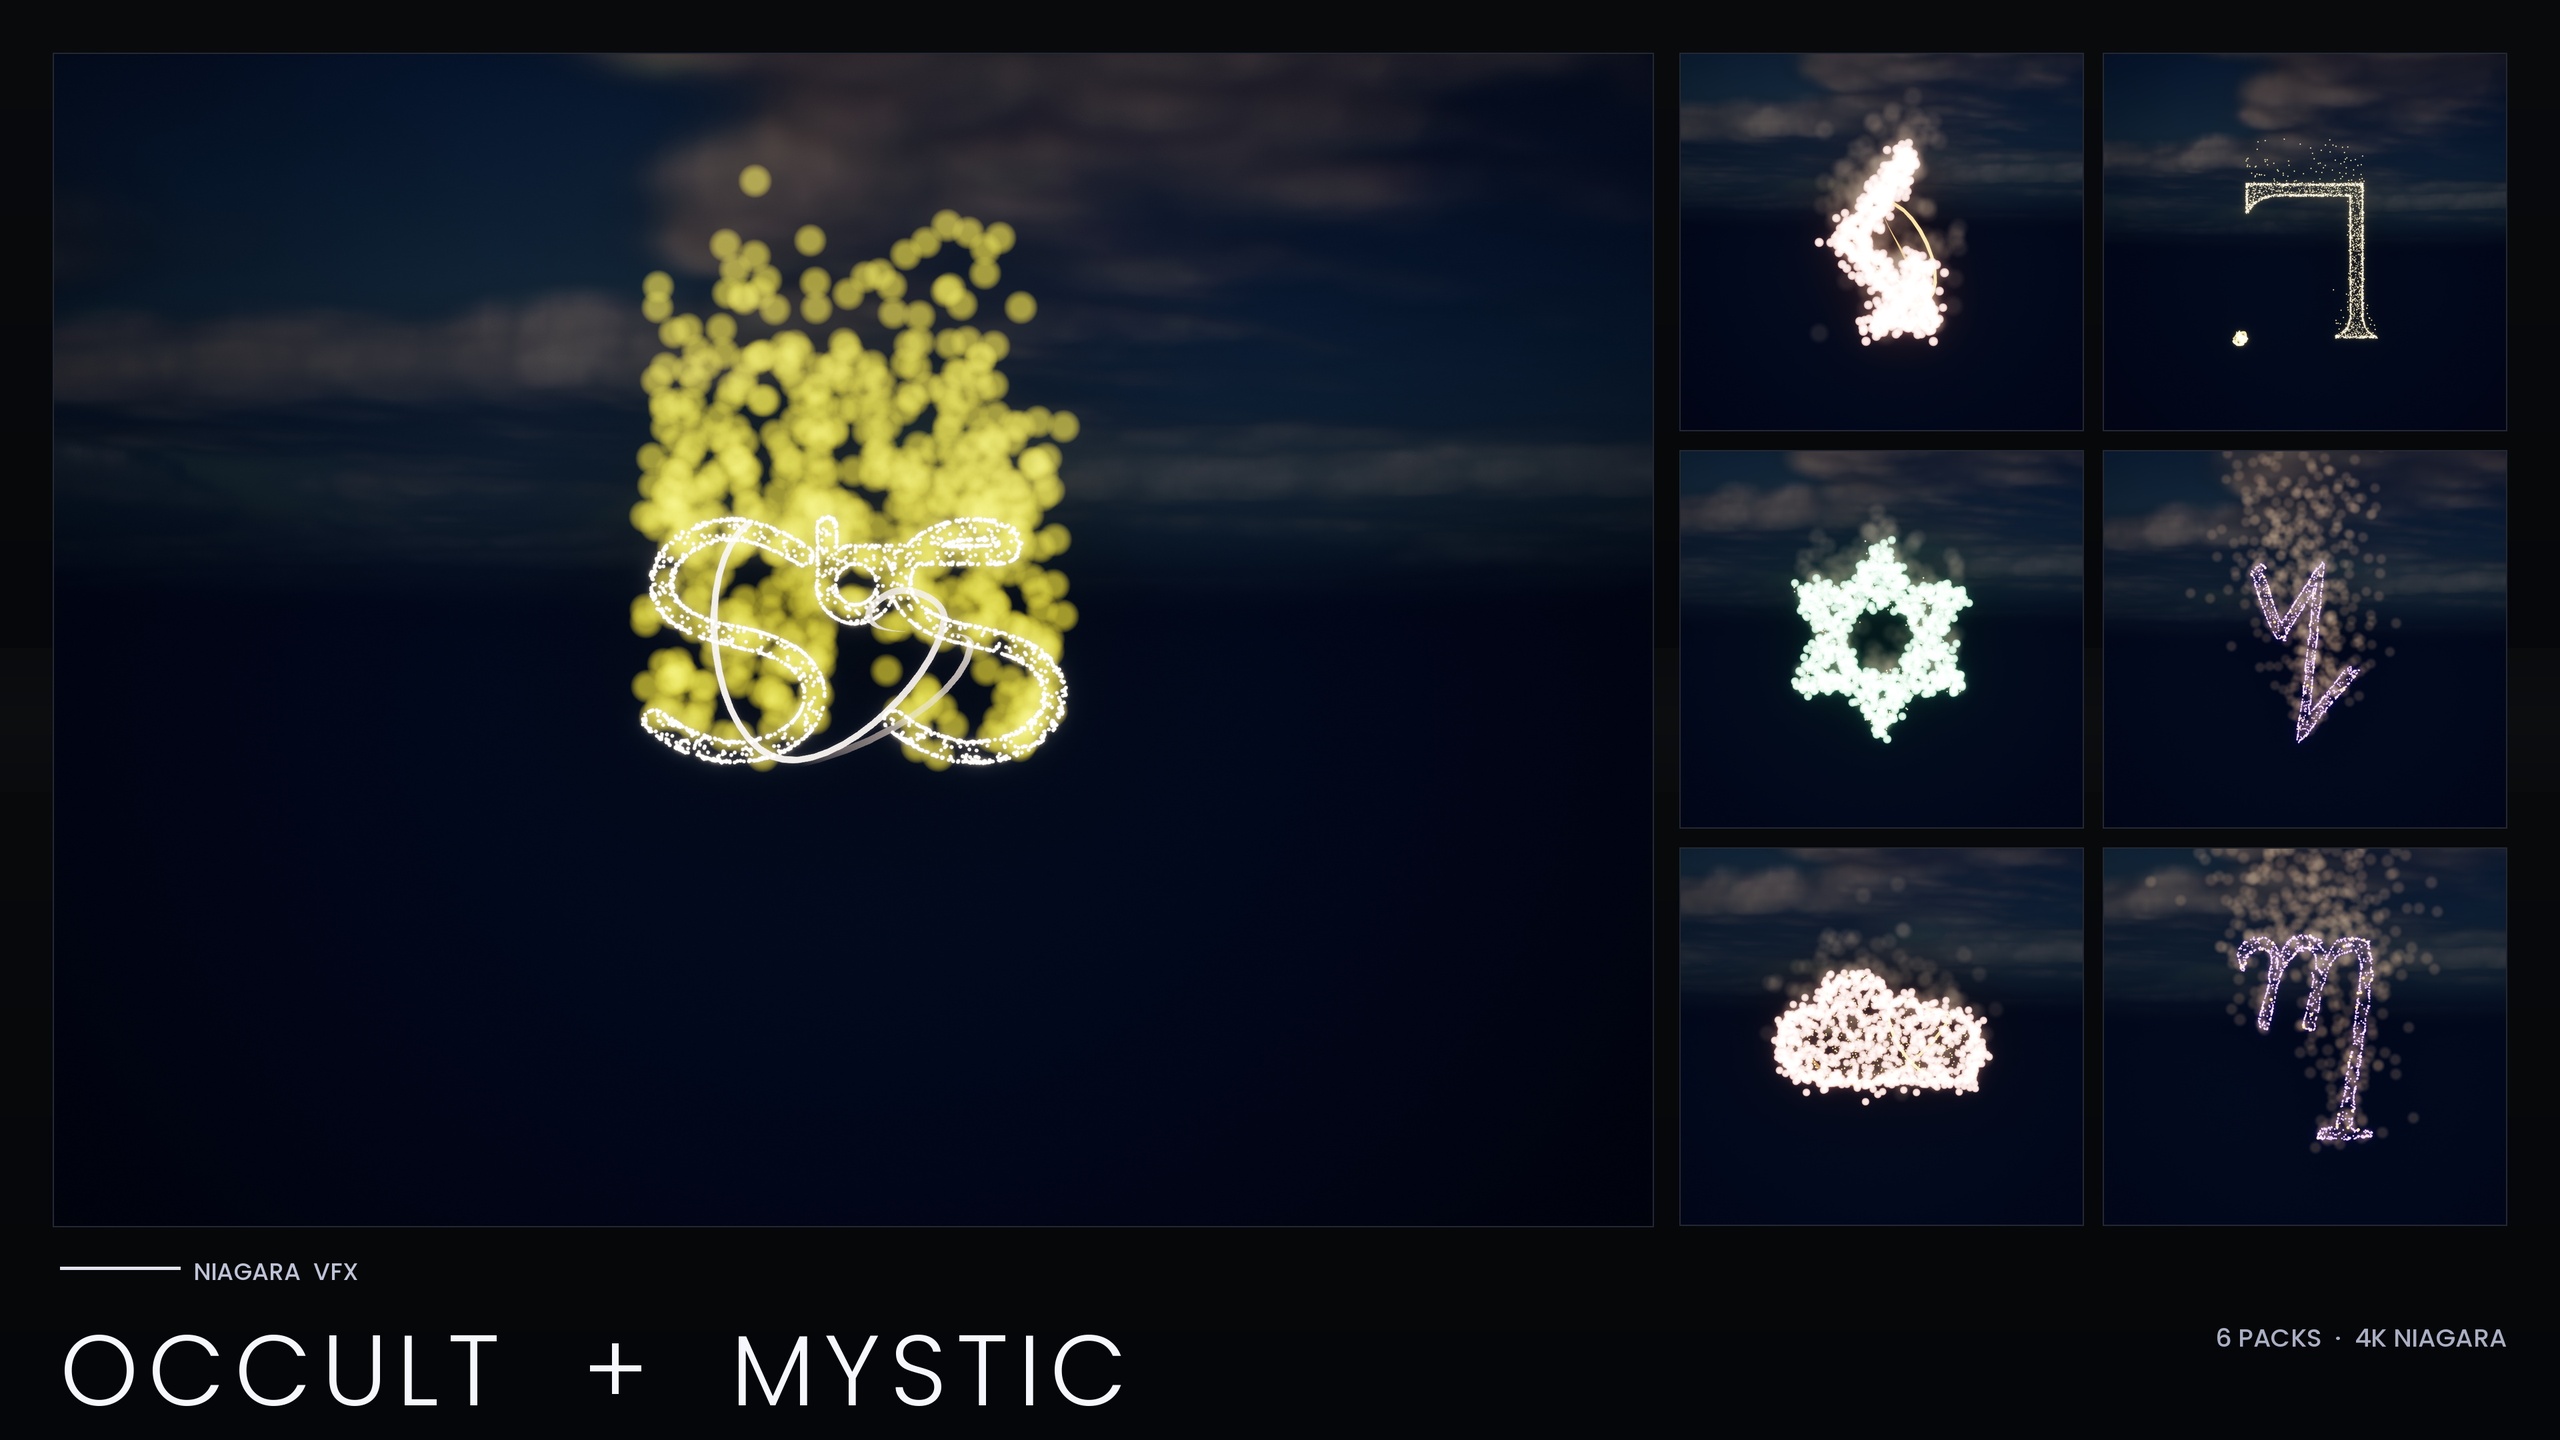
The Niagara Occult & Mystic Bundle is a useful worked example because it lived on both sides of this line. The 115 esoteric symbol systems - Alchemy, Arcana Tarot, Seals of Solomon, Sigils of the Zodiac, Theban and Enochian - began as CPU systems, and the performance-optimised V2 re-author kept most of them on CPU while selectively promoting the high-count core emitters to GPU. That mixed result is exactly what most real projects converge on, rather than a blanket choice of one target.
Per-particle cost: why a high-count core emitter belongs on the GPU
The case for promotion gets compelling as soon as a single emitter's particle count climbs. On the CPU, doubling the particle count roughly doubles the update cost, because each particle is processed serially. On the GPU, that same work spreads across hundreds of shader cores, so the marginal cost of one more particle is very small until you saturate the hardware. This is why a dense, purely visual emitter is the textbook candidate for GPU promotion.
In the Occult & Mystic V2 re-author, the high-count core emitters were the ones promoted from CPU to GPU for exactly this reason - they were the emitters carrying enough particles for the GPU's parallelism to pay off. How much you save depends entirely on your particle counts, your shaders and your hardware, so profile rather than trust a quoted multiplier. The principle, though, is general: the more particles a single emitter carries, the more moving it to the GPU is worth.
The practical filter is simple. Profile your systems with Niagara's debugger and the GPU profiler, find the emitters whose particle count dominates the frame, and ask whether anything reads those particles back on the CPU. If the answer is no, those are your promotion candidates. The low-count detail emitters - sparse sparkles, a handful of lights - rarely benefit and often belong on CPU, which is why the bundle's V2 kept a mixed target rather than promoting everything.
Keeping silhouette mass: raise the peak ceiling instead of capping spawn rate
A subtle trap when optimising a CPU emitter is to throttle its spawn rate to keep the cost down. That protects the frame budget but quietly thins the effect - the glyph or glow loses the particle density that gives it a readable silhouette. The smarter pattern, once an emitter is on the GPU, is to keep the visual mass by allowing a higher peak particle count rather than starving the spawn.
The bundle's V2 re-author follows this pattern directly: it holds the CPU core emitters to a deliberately tighter peak particle count, because each CPU particle is comparatively expensive, while allowing the GPU-promoted emitters a higher peak ceiling that preserves the dense look precisely because the per-particle cost on the GPU is so much lower. Promotion is not just about moving the work; it is about spending the headroom it frees on density you can actually afford.
When you do this on your own systems, set the emitter's maximum particle count to a value that holds the silhouette at the worst-case spawn, and let the GPU absorb it, rather than clamping the spawn rate and accepting a sparser effect. Pair that with the bundle's other levers - it boosts the HDR sprite colour so the engine's bloom recovers the glow even when individual sprites are small, which means you can keep the look without inflating sprite size.
Fixed bounds and the persistent-id flag: the two settings GPU emitters need
Promoting an emitter to GPU changes which per-frame costs you are exposed to, and two settings matter more on the GPU than they ever did on CPU. The first is bounds. A GPU emitter cannot cheaply compute its own bounds the way a CPU emitter can, because the particle positions live on the graphics card; left to calculate dynamically, it forces a readback every frame just to know how big the effect is. Setting fixed bounds removes that cost entirely.
The Occult & Mystic systems set fixed system bounds of a 300-unit cube (a 300^3 box), which both eliminates the dynamic-bounds readback and gives the renderer a stable, predictable culling volume. The rule when you size your own is straightforward: make the box just large enough to contain the effect at its fullest extent, because oversized bounds keep the system rendering when it is off screen and undersized bounds pop it out of view early.
The second setting is the persistent-id flag. Persistent IDs let particles be tracked individually across frames, which some features rely on, but maintaining them costs memory and bandwidth every frame. If your effect does not need to address specific particles over time - and a glowing glyph or summoning sigil does not - turning that off is free performance. The bundle sets requires_persistent_ids to false on its GPU emitters for exactly this reason. Audit your promoted emitters and clear the flag wherever nothing depends on stable IDs.
The trade-offs you accept when you promote: readbacks, lighting and bounds
GPU promotion is not free, and the costs are real enough that you should weigh them before flipping the target. The biggest is CPU readback. Once particles live on the graphics card, anything that needs their data back on the CPU - spawning an actor at a particle, driving Blueprint logic from particle positions, or sampling the sim for gameplay - requires a readback that stalls or adds latency. If a system is part of your game logic and not purely cosmetic, that alone can be a reason to keep it on CPU.
Lighting is the second trade. Per-particle Light renderers behave very differently at scale and were a specific failure point in this product's history: the V1 build fanned a Light renderer out across a high-count core emitter, and stacking several such systems together overflowed the renderer's RDG handles and crashed it for a Fab reviewer on UE5.4. The V2 fix was architectural - the per-particle lights were split off onto dedicated low-count LightCap emitters, rather than letting lights ride a dense core emitter. The lesson generalises even though the crash was a specific UE5.4 root cause: keep lights on small, separate emitters, and never bind a per-particle Light renderer to your highest-count emitter.
Bounds are the third. As covered above, a GPU emitter needs fixed bounds to avoid a per-frame readback, which means you take on the responsibility of sizing them correctly - get it wrong and you trade a CPU cost for a visible culling artefact. Weigh these three against the per-particle saving: for a dense, cosmetic, self-contained effect the GPU wins comfortably, but for a sparse, gameplay-coupled, or light-heavy system the CPU is often still the right call.
A practical promotion checklist for your own Niagara systems
1. Profile first. Open the Niagara debugger and your GPU profiler, run the scene at its worst case, and identify the single emitter whose particle count dominates the cost. That is your candidate - do not promote on a hunch.
2. Confirm it is cosmetic. Check that nothing reads the candidate emitter's particles back on the CPU. If gameplay, Blueprint or actor spawning depends on those particles, leave it on CPU and optimise elsewhere.
3. Switch the emitter's sim target to GPUCompute, then immediately set fixed bounds large enough to contain the effect at full spawn so you do not pay a per-frame bounds readback.
4. Clear the persistent-id requirement unless a feature genuinely needs stable particle IDs across frames, and raise the maximum particle count to hold your silhouette rather than throttling the spawn rate.
5. Move any per-particle Light renderer off the promoted high-count emitter and onto a small, dedicated lighting emitter with a low fixed count, then place several systems together and confirm the frame time and renderer stay stable before you ship.
If you would rather start from content that already follows this pattern, the Niagara Occult & Mystic Bundle ships its glyph systems with the V2 sim targets, fixed bounds, persistent-id flags and scalability overrides already authored, so you can study a working mixed CPU/GPU setup in the editor and reuse it directly. For the wider glyph and writing-system catalogue, the related packs below cover the same approach across other alphabets.
CPU vs GPU Niagara sim target: what changes
| Concern | CPU sim target | GPU sim target |
|---|---|---|
| Per-particle update cost | Serial; scales roughly linearly with count | Parallel; very cheap per extra particle until the hardware saturates |
| Best for | Low-count and gameplay-coupled emitters | High-count, purely cosmetic emitters |
| CPU readback of particle data | Cheap and direct | Expensive; requires a readback that can stall |
| Bounds | Can compute dynamically at low cost | Use fixed bounds (V2 uses a 300^3 box) to avoid a per-frame readback |
| Persistent IDs | Available as needed | Set requires_persistent_ids false unless a feature needs them |
| Target peak count | Held to a tighter peak (each CPU particle is expensive) | Allowed a higher peak to keep silhouette mass |
| Per-particle lights | Tolerable at low counts | Move off the core emitter onto a dedicated low-count LightCap emitter |
General Niagara behaviour, with the Occult & Mystic V2 approach shown where it applies.
FAQ
For Niagara CPU vs GPU sim performance in UE5, when should I use each?
Use CPU for low-count emitters and for anything whose particles must be read back on the CPU for gameplay, actor spawning or Blueprint logic. Use GPU for high-count, purely cosmetic emitters where the graphics card's parallelism makes each particle far cheaper. Most real systems end up mixed, like the Occult & Mystic V2 build, which kept low-count emitters on CPU and promoted only the high-count core emitters.
Why does promoting an emitter to GPU require fixed bounds?
A GPU emitter's particle positions live on the graphics card, so computing bounds dynamically forces a readback every frame just to size the effect. Setting fixed bounds - the Occult & Mystic systems use a 300^3 box - removes that per-frame cost and gives the renderer a stable culling volume. Size the box to contain the effect at its fullest spawn.
What is the persistent-id flag and should I turn it off on GPU emitters?
Persistent IDs track individual particles across frames, which costs memory and bandwidth every frame. If nothing in your effect needs to address specific particles over time - which a glowing glyph or sigil does not - clear the requirement. The bundle sets requires_persistent_ids to false on its GPU emitters to drop that per-frame cost.
How do I keep an effect looking dense after moving it to the GPU?
Raise the emitter's maximum particle count rather than throttling the spawn rate. The V2 work holds CPU emitters to a tighter peak but lets the GPU-promoted emitters run a higher one, spending the headroom that promotion frees on the particle density that defines the silhouette. Boosting HDR sprite colour so bloom recovers the glow lets you keep small sprites without losing the look.
What are the main downsides of GPU promotion?
Three: CPU readback of particle data becomes expensive, so gameplay-coupled systems suffer; per-particle Light renderers behave badly at scale and should be split onto small dedicated emitters; and you must size fixed bounds yourself or risk culling artefacts. For dense cosmetic effects the GPU wins easily, but for sparse, gameplay-driven or light-heavy systems the CPU is often still correct.
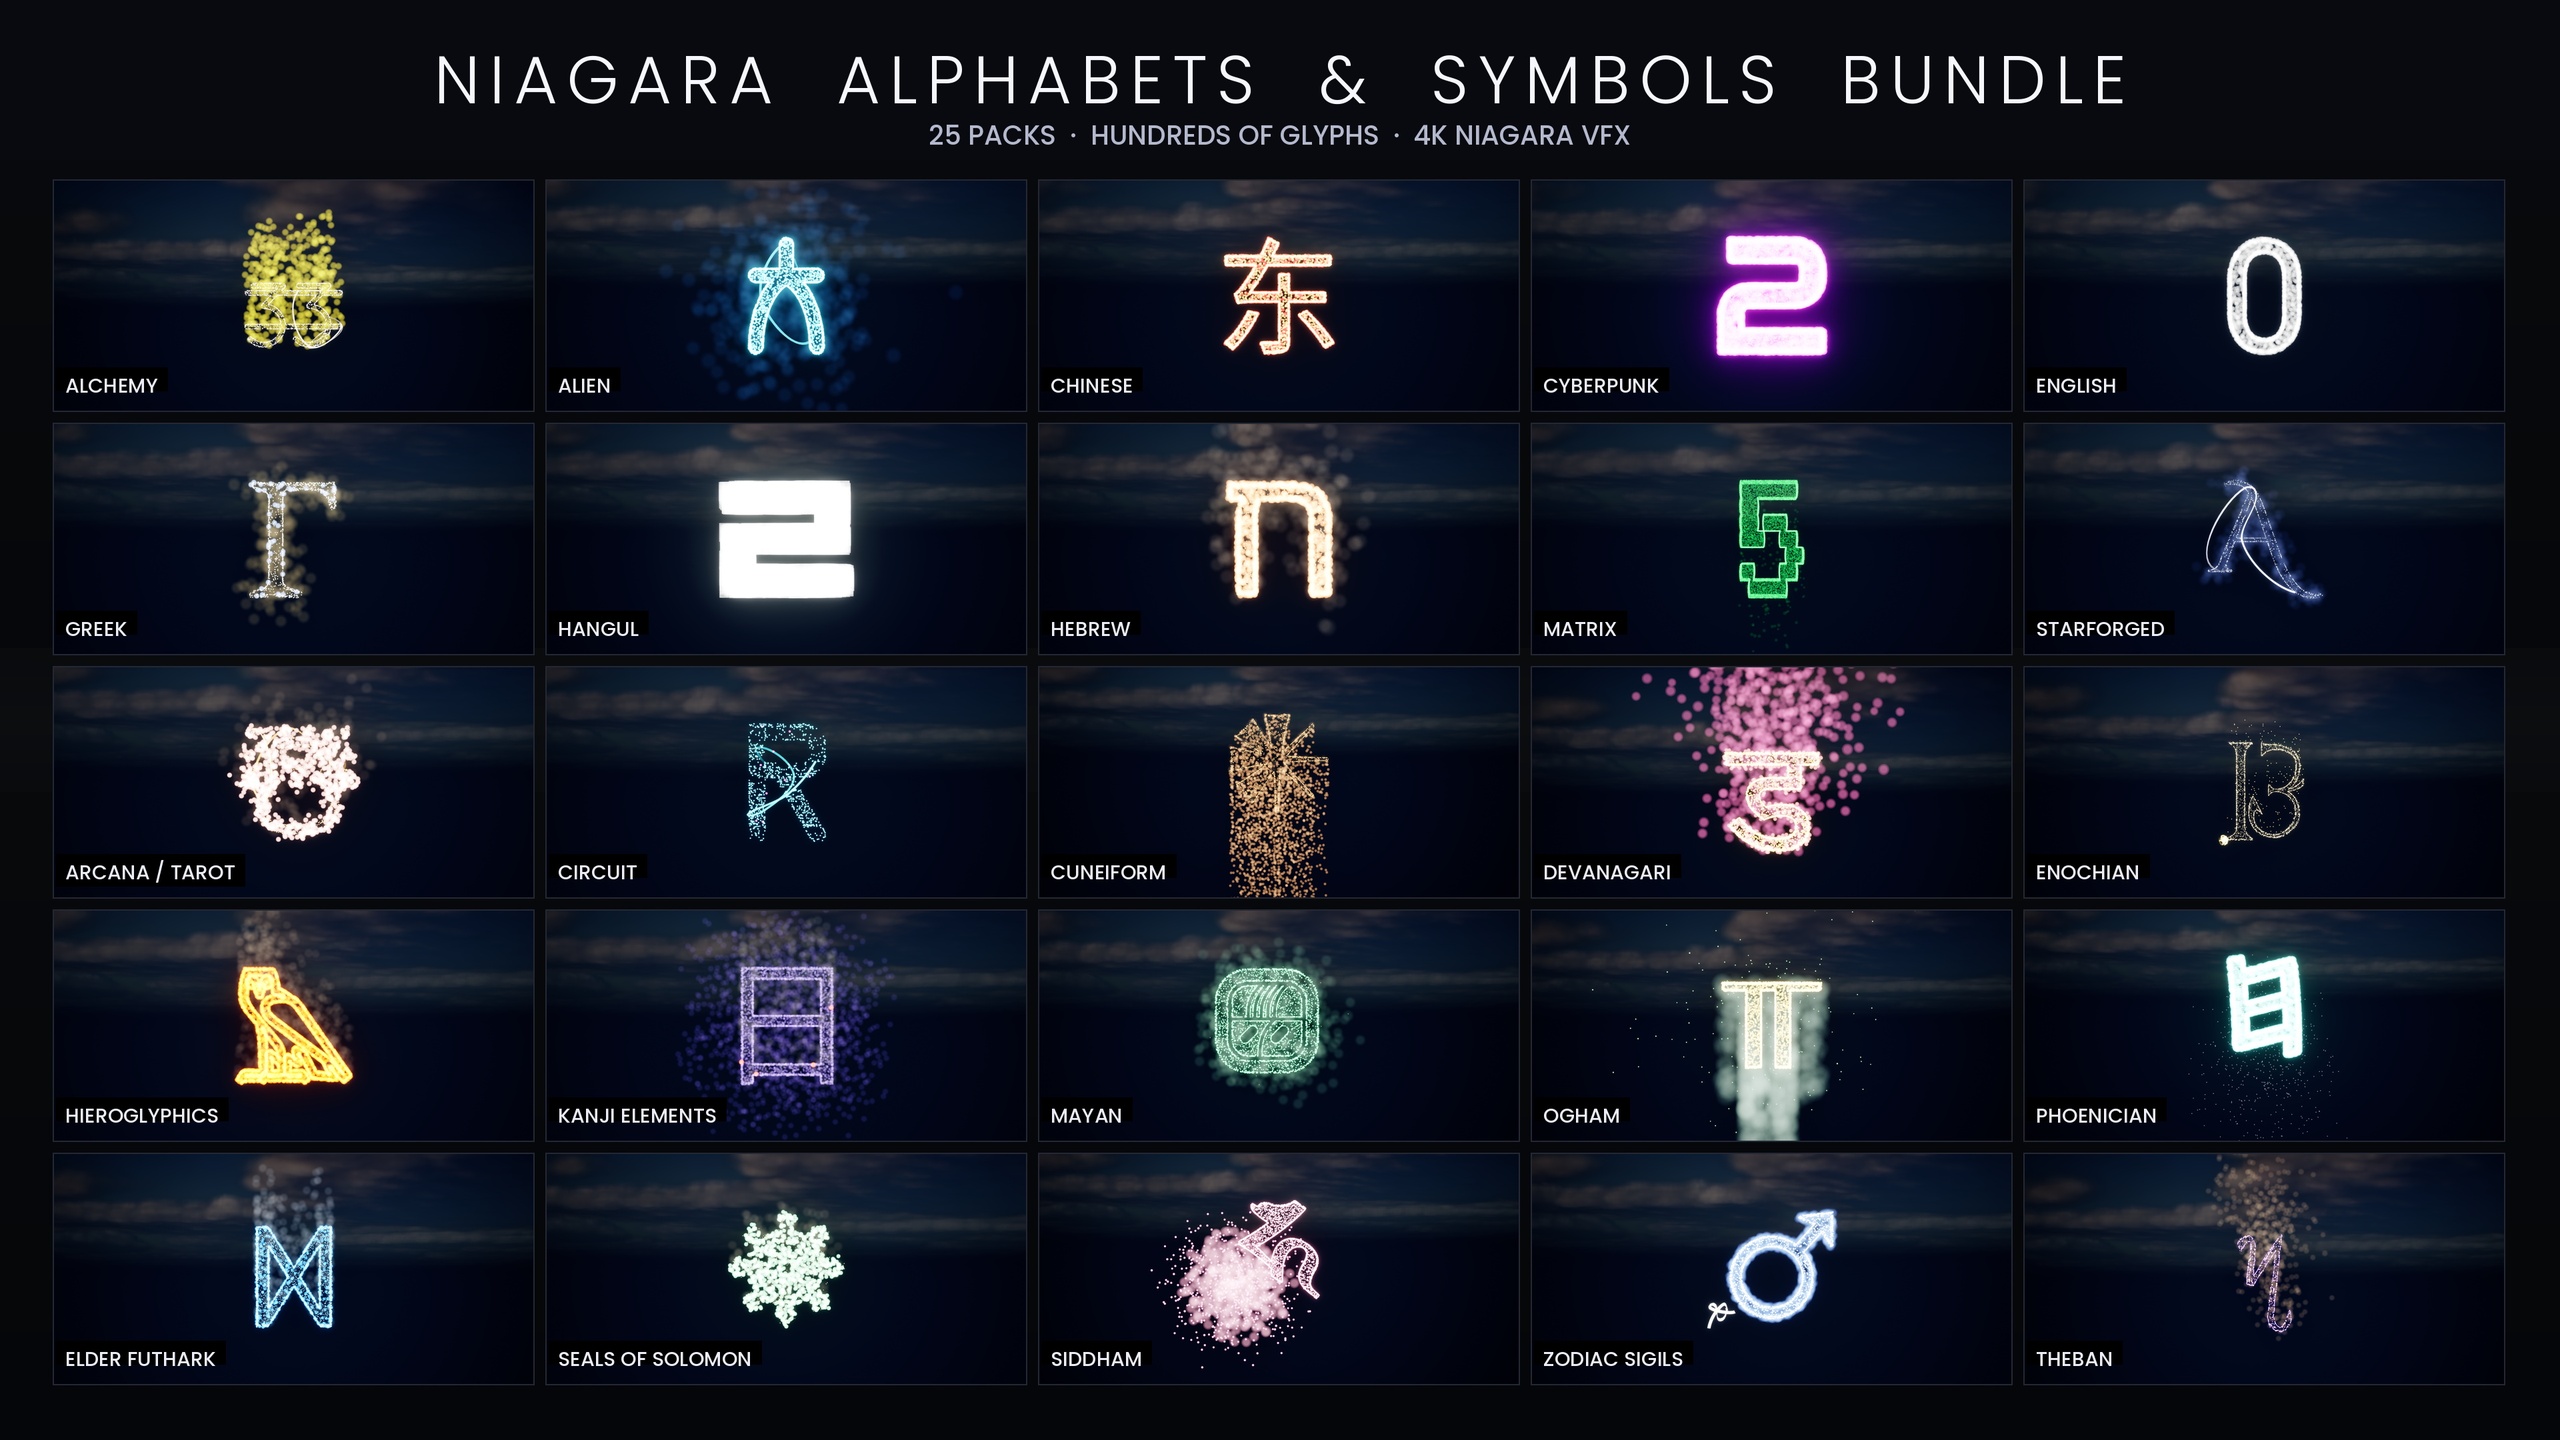
Niagara Occult & Mystic Bundle
115 Niagara systems of occult and mystic symbology — sigils, runes, ritual glyphs and arcane marks — CPU-simulated with engine-default materials for a tiny footprint.