tutorial · 2026-01-11
How to Make an Emissive Glowing Moon Material in Unreal Engine 5
Turn a static moon-face mesh into a self-lit moon that bleeds light across your scene, using nothing but its own material.
Why a moon mesh doesn't glow on its own
You have dropped a moon into the sky of your level, pushed it back and scaled it up, and it just sits there as a flat, lit prop. It catches your scene lighting like any other surface instead of giving off its own light. If you have been searching for how to make an emissive glowing material in an Unreal Engine moon, the answer is that the glow does not come from a light or from the mesh itself, it comes from the material's Emissive Color input.
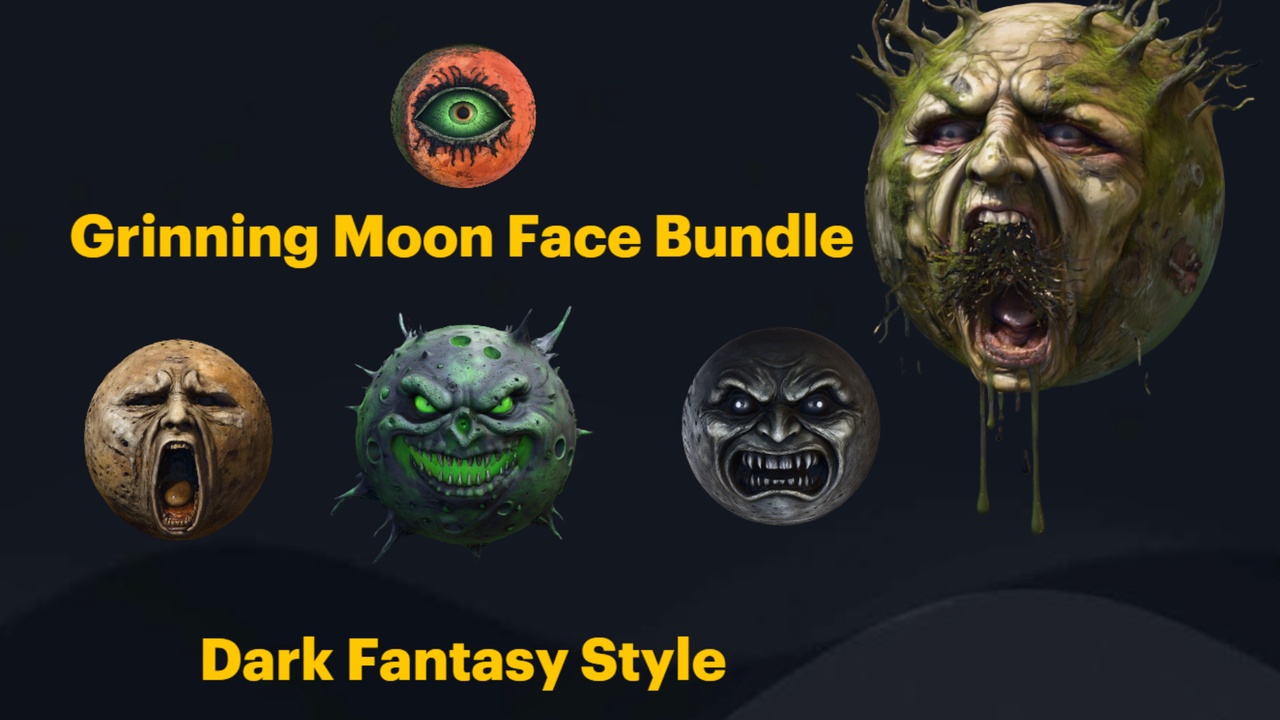
This matters in particular for static set-piece props. The Grinning Moon Face Bundle ships 13 unique grinning-moon face meshes as Nanite static meshes, and each face has its own dedicated material. Because the faces are static meshes, there is no built-in animated glow to switch on. The emissive look is something you author in the material itself, which is exactly the workflow this tutorial walks through.
The advantage of editing one of the supplied M_*MoonFace materials, such as M_AllSeeingMoonFace or M_ScreamingMoonFace, is that you keep the 2K textures and surface detail the artist already built. You are not replacing the material, you are adding a self-illumination channel on top of it so the moon reads as a glowing object rather than a lump of rock catching directional light.
Adding emissive to the moon material
Open the GrinningMoonfaceBundle demo project in Unreal Engine 5.6, or migrate the bundle content folder into your own project, then find the material assigned to the moon face you placed. Right-click it and choose Edit to open the Material Editor.
1. In the Material Editor, decide what you want to drive the glow. The simplest approach is to reuse the existing base colour so the moon glows in its own colours. Drag from the texture sample that already feeds Base Color and branch a second wire from its output.
2. Add a Multiply node. Plug the base colour into the A input. Create a Scalar Parameter, name it something like Emissive Intensity, and feed it into the B input. This gives you one slider that controls how brightly the whole moon burns.
3. Connect the Multiply output to the Emissive Color input on the main material node. At an intensity of 1 the moon will look softly self-lit; push the scalar higher to drive it past white and into bloom territory.
4. If you want a flat coloured glow rather than the textured surface glowing, replace the base-colour branch with a Constant3Vector (a colour swatch) and multiply that by your intensity scalar instead. A pale blue-white reads as a classic cold moon; a sickly green or amber suits the more putrid and arcane faces in the set.
5. Click Apply and Save. Because you exposed the intensity as a Scalar Parameter, you can now create a Material Instance from this material and tune the glow per placement without recompiling the base material every time.
Bloom and exposure tuning
A high emissive value on the material is only half the effect. What sells a glowing moon is the soft halo of light bleeding around its edge, and that comes from post processing. Drop a Post Process Volume into your level, or use the one in the demo map, and tick Infinite Extent (Unbound) so its settings apply everywhere.
In the Post Process Volume details, expand the Bloom section, enable Intensity and raise it until the moon's rim starts to bleed without washing out the rest of the frame. The emissive value on the material and the bloom intensity work together: a brighter emissive pushes more of the surface above the bloom threshold, so tune the two against each other rather than maxing out either one.
Auto-exposure will fight you here. By default the eye adaptation in Unreal will darken a bright moon back down to a mid grey, killing the glow. In the Post Process Volume, expand Exposure and either set Metering Mode to Manual with a fixed Exposure Compensation, or tighten the Min and Max EV100 so the camera cannot dim your moon away. With exposure pinned, the emissive value you dialled into the material is the value you actually see.
Making it read at distance
A moon is, by definition, far away. Pushed back behind your playable space and scaled up to fill the sky, fine surface detail and subtle emissive gradients get lost. The trick is to make the glow legible as a silhouette, not as a texture.
Lean on the strongest, simplest read first. A single clear emissive colour and a clean rim of bloom will carry across a whole level far better than a busy, multi-toned glow that turns to mush at distance. The grinning expressions in the bundle, from the all-seeing face to the screaming one, are most unsettling when the mouth and eyes are the darkest part of a bright, glowing disc, so let the emissive lift the surface and let the carved features fall into shadow.
Because the moon faces are Nanite static meshes, you do not need to hand-author distance LODs to keep the silhouette clean as the camera moves. Place the face large and distant as a fake moon, frame it against a darker sky, and let the emissive plus bloom do the heavy lifting. If you are building a fixed-camera or cinematic shot, position and scale the moon for that one framing rather than trying to make it work from every angle.
Optional: pairing the moon with a real light source
Emissive materials make a surface appear to glow, but on their own they do not light the rest of your scene unless you are relying on Lumen to pick up the emissive contribution. If you want the moon to actually cast a wash of light over the props and terrain below it, pair the glowing mesh with a directional or point light.
Place a Directional Light and orient it so its angle matches the moon's position in frame, tinting it the same colour as your emissive so the cast light and the glowing disc agree. For a tighter, more localised pool, a large-radius Point Light positioned just in front of the moon mesh gives you direct control over falloff and intensity independent of the material glow.
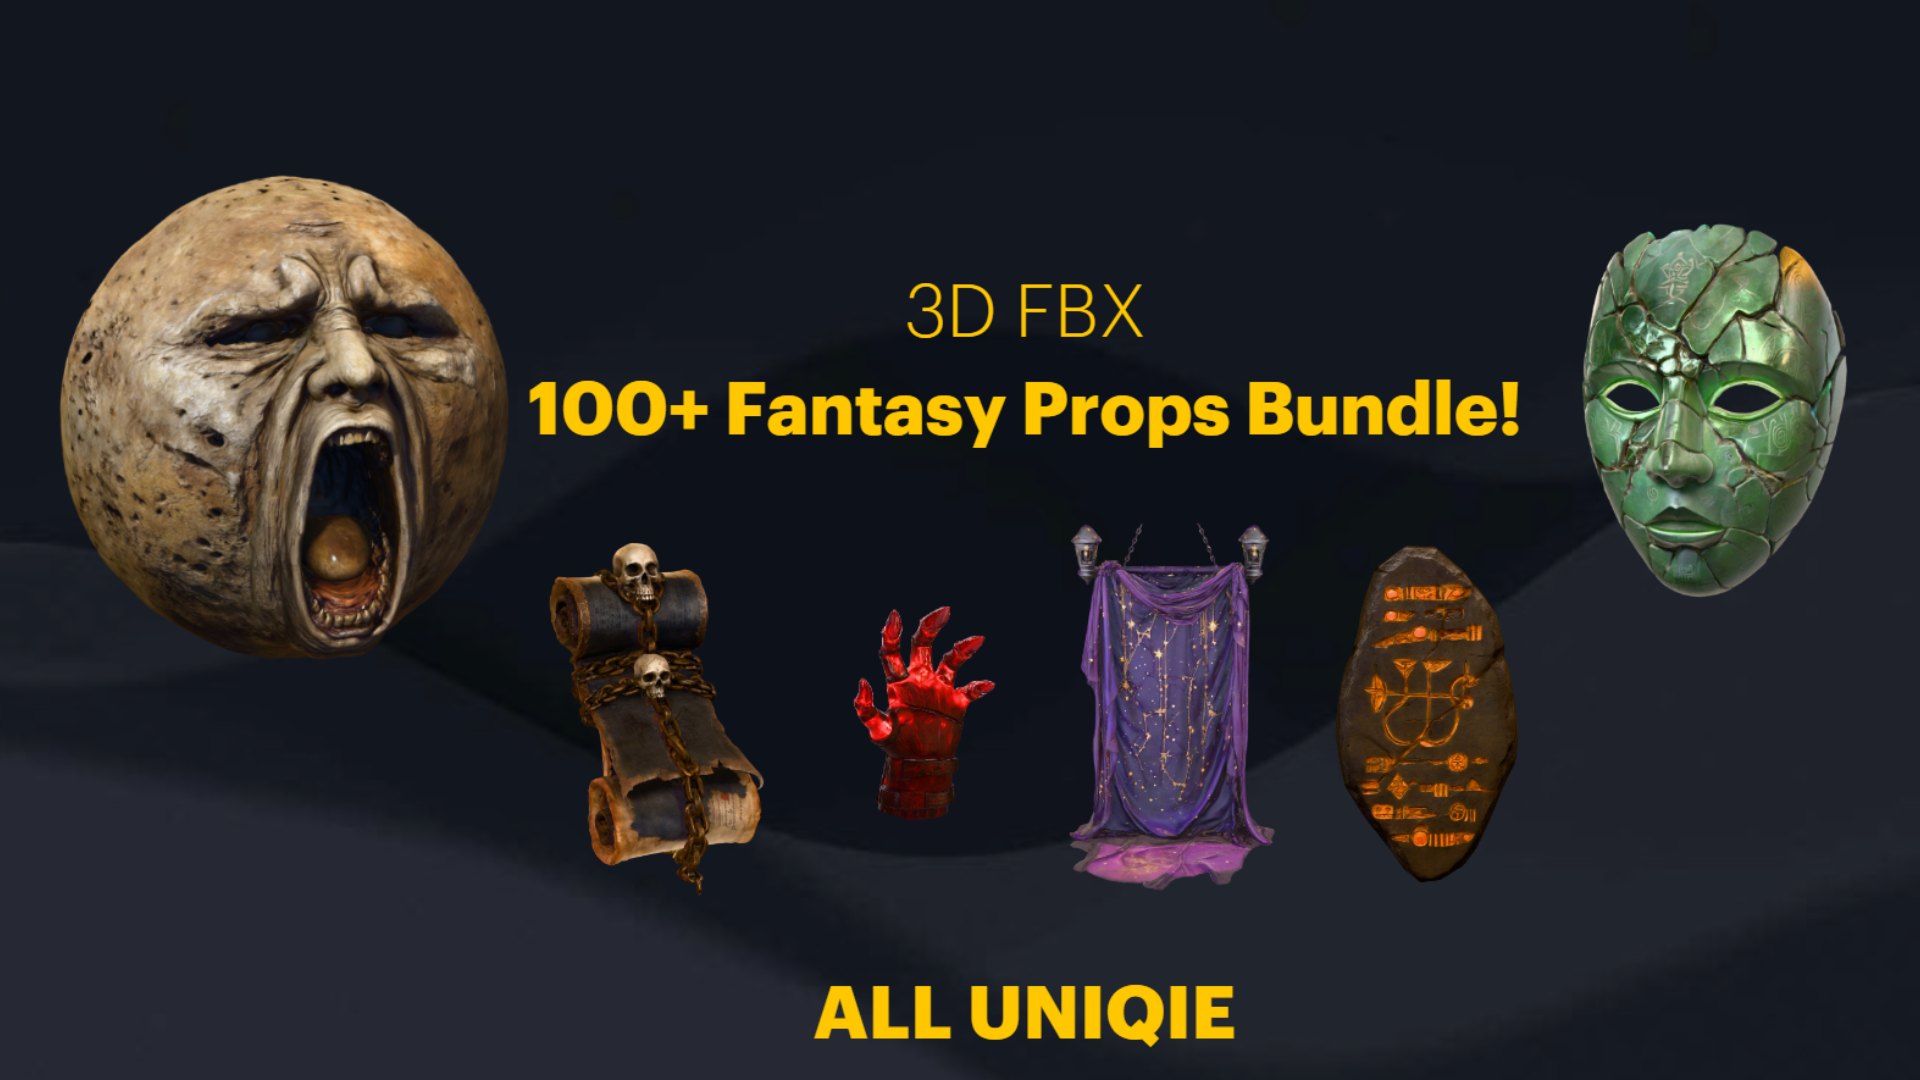
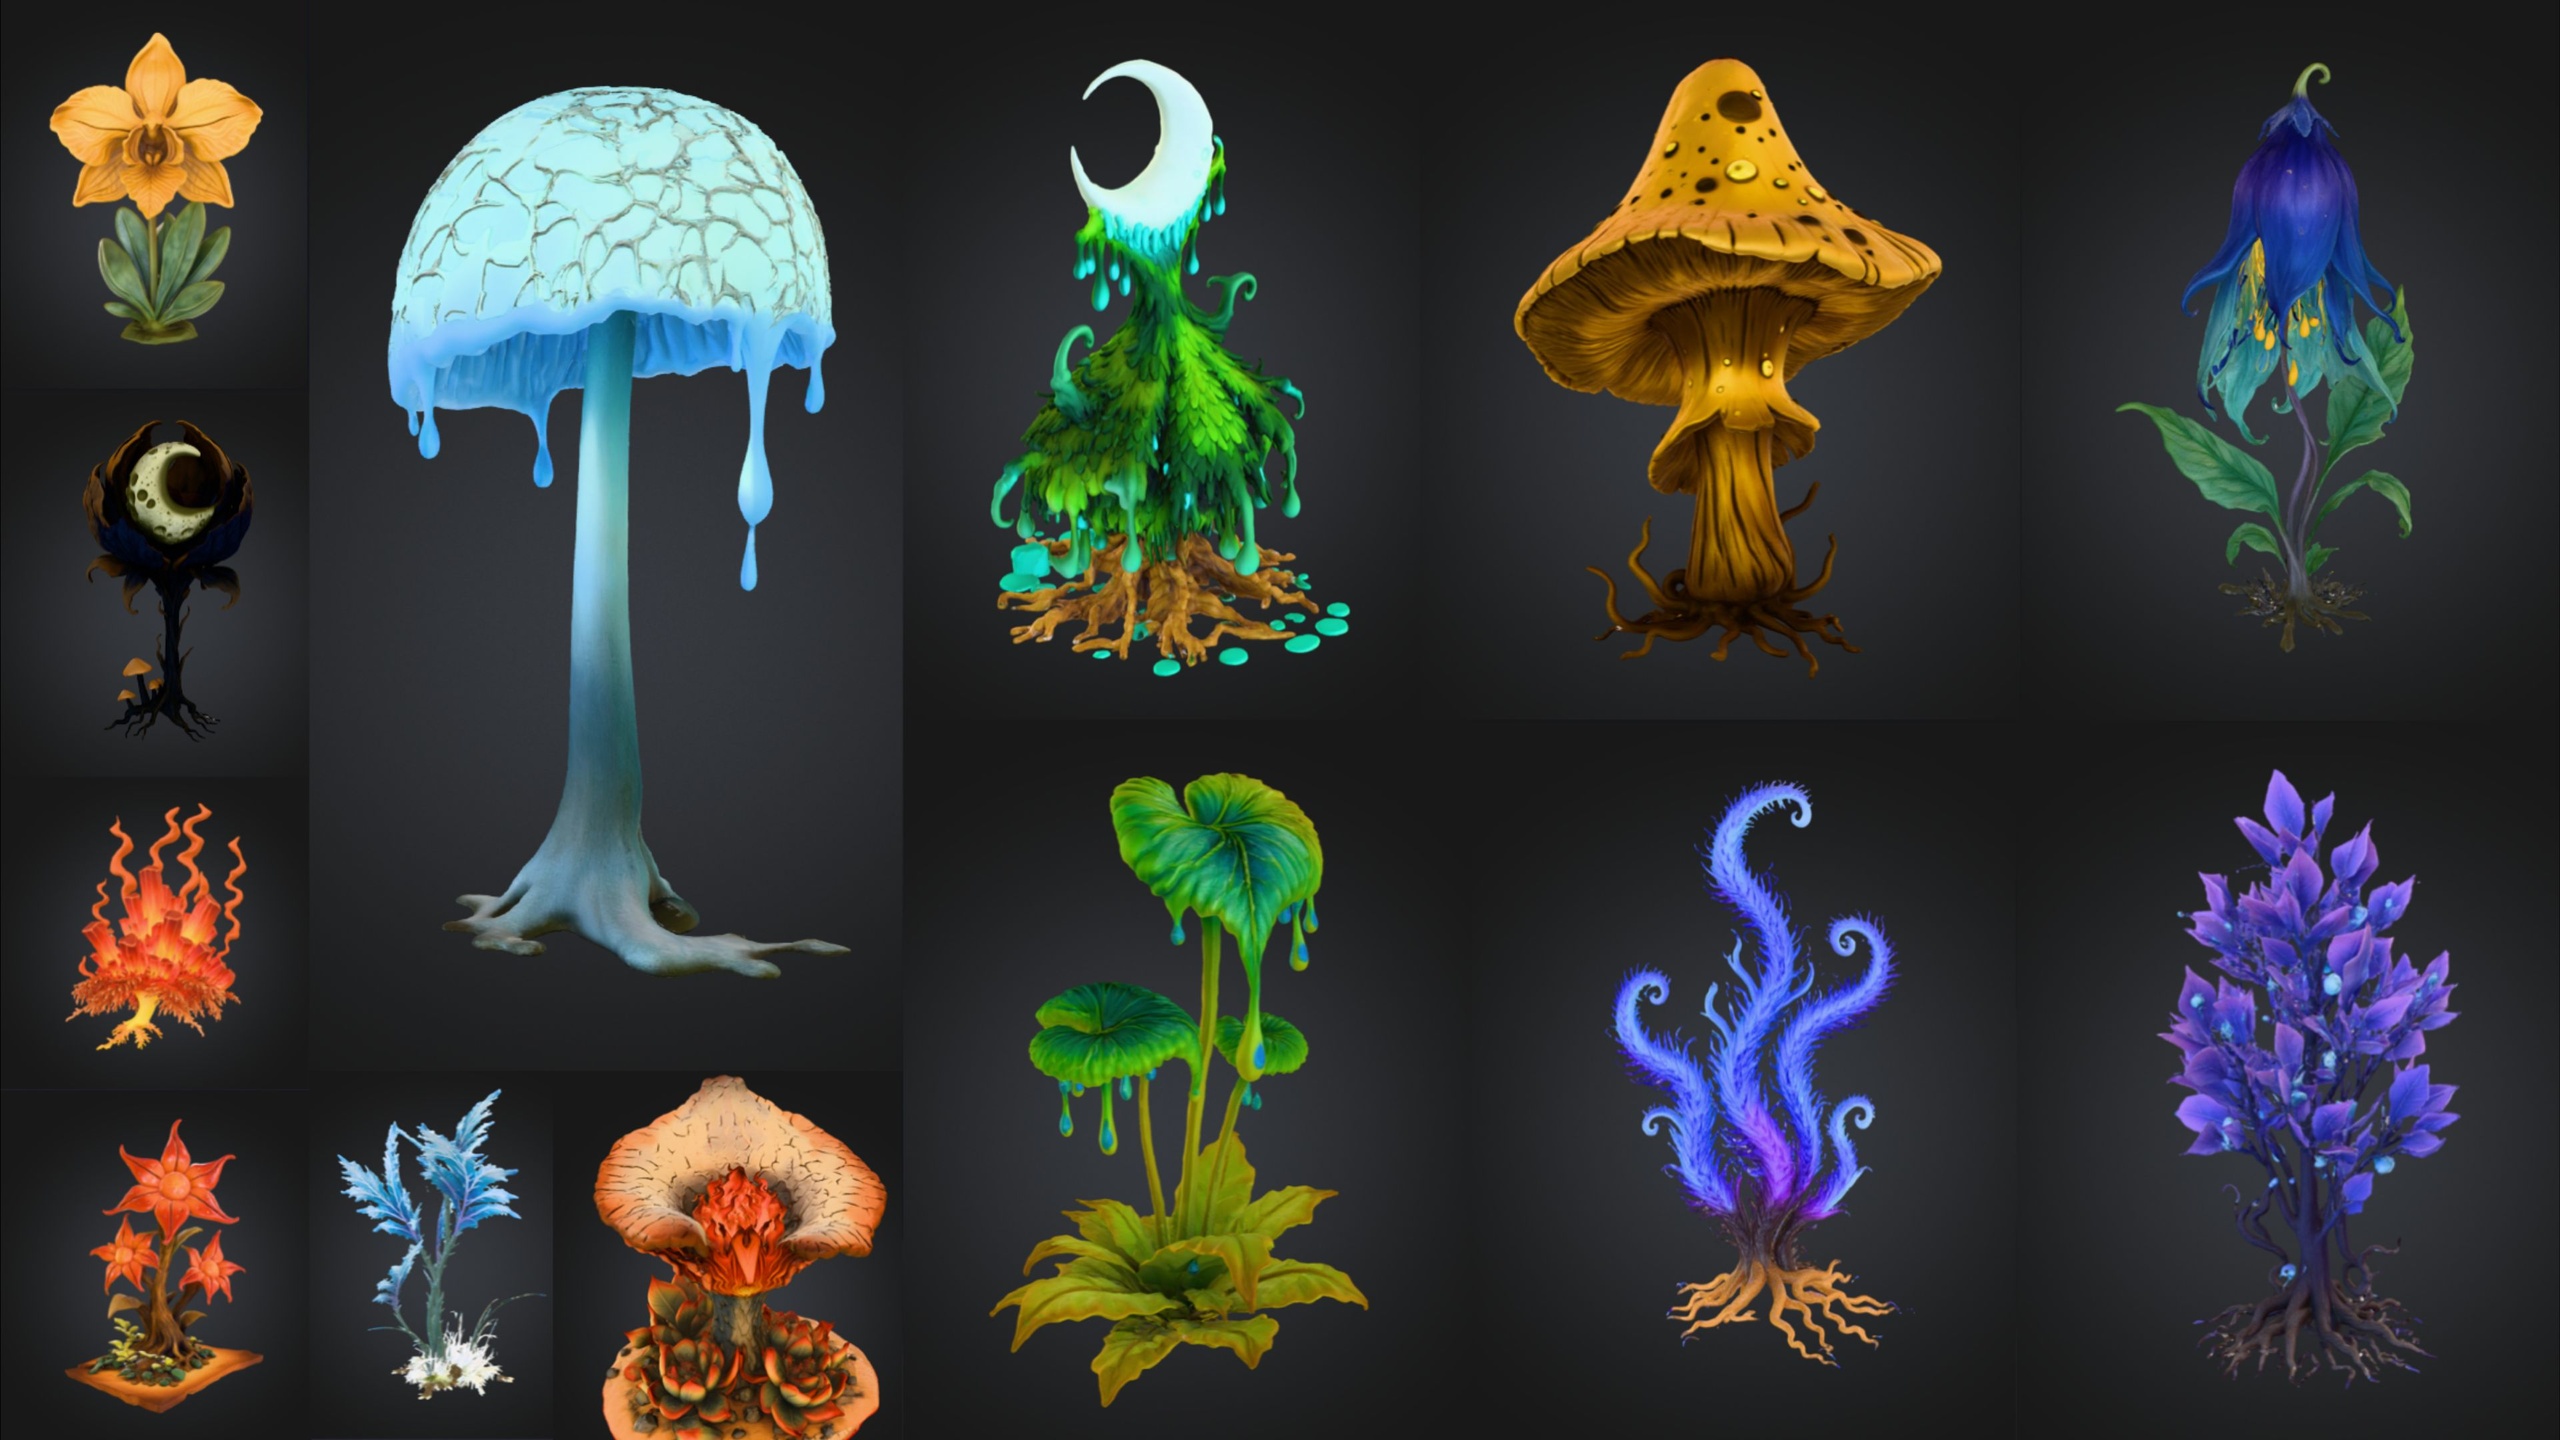
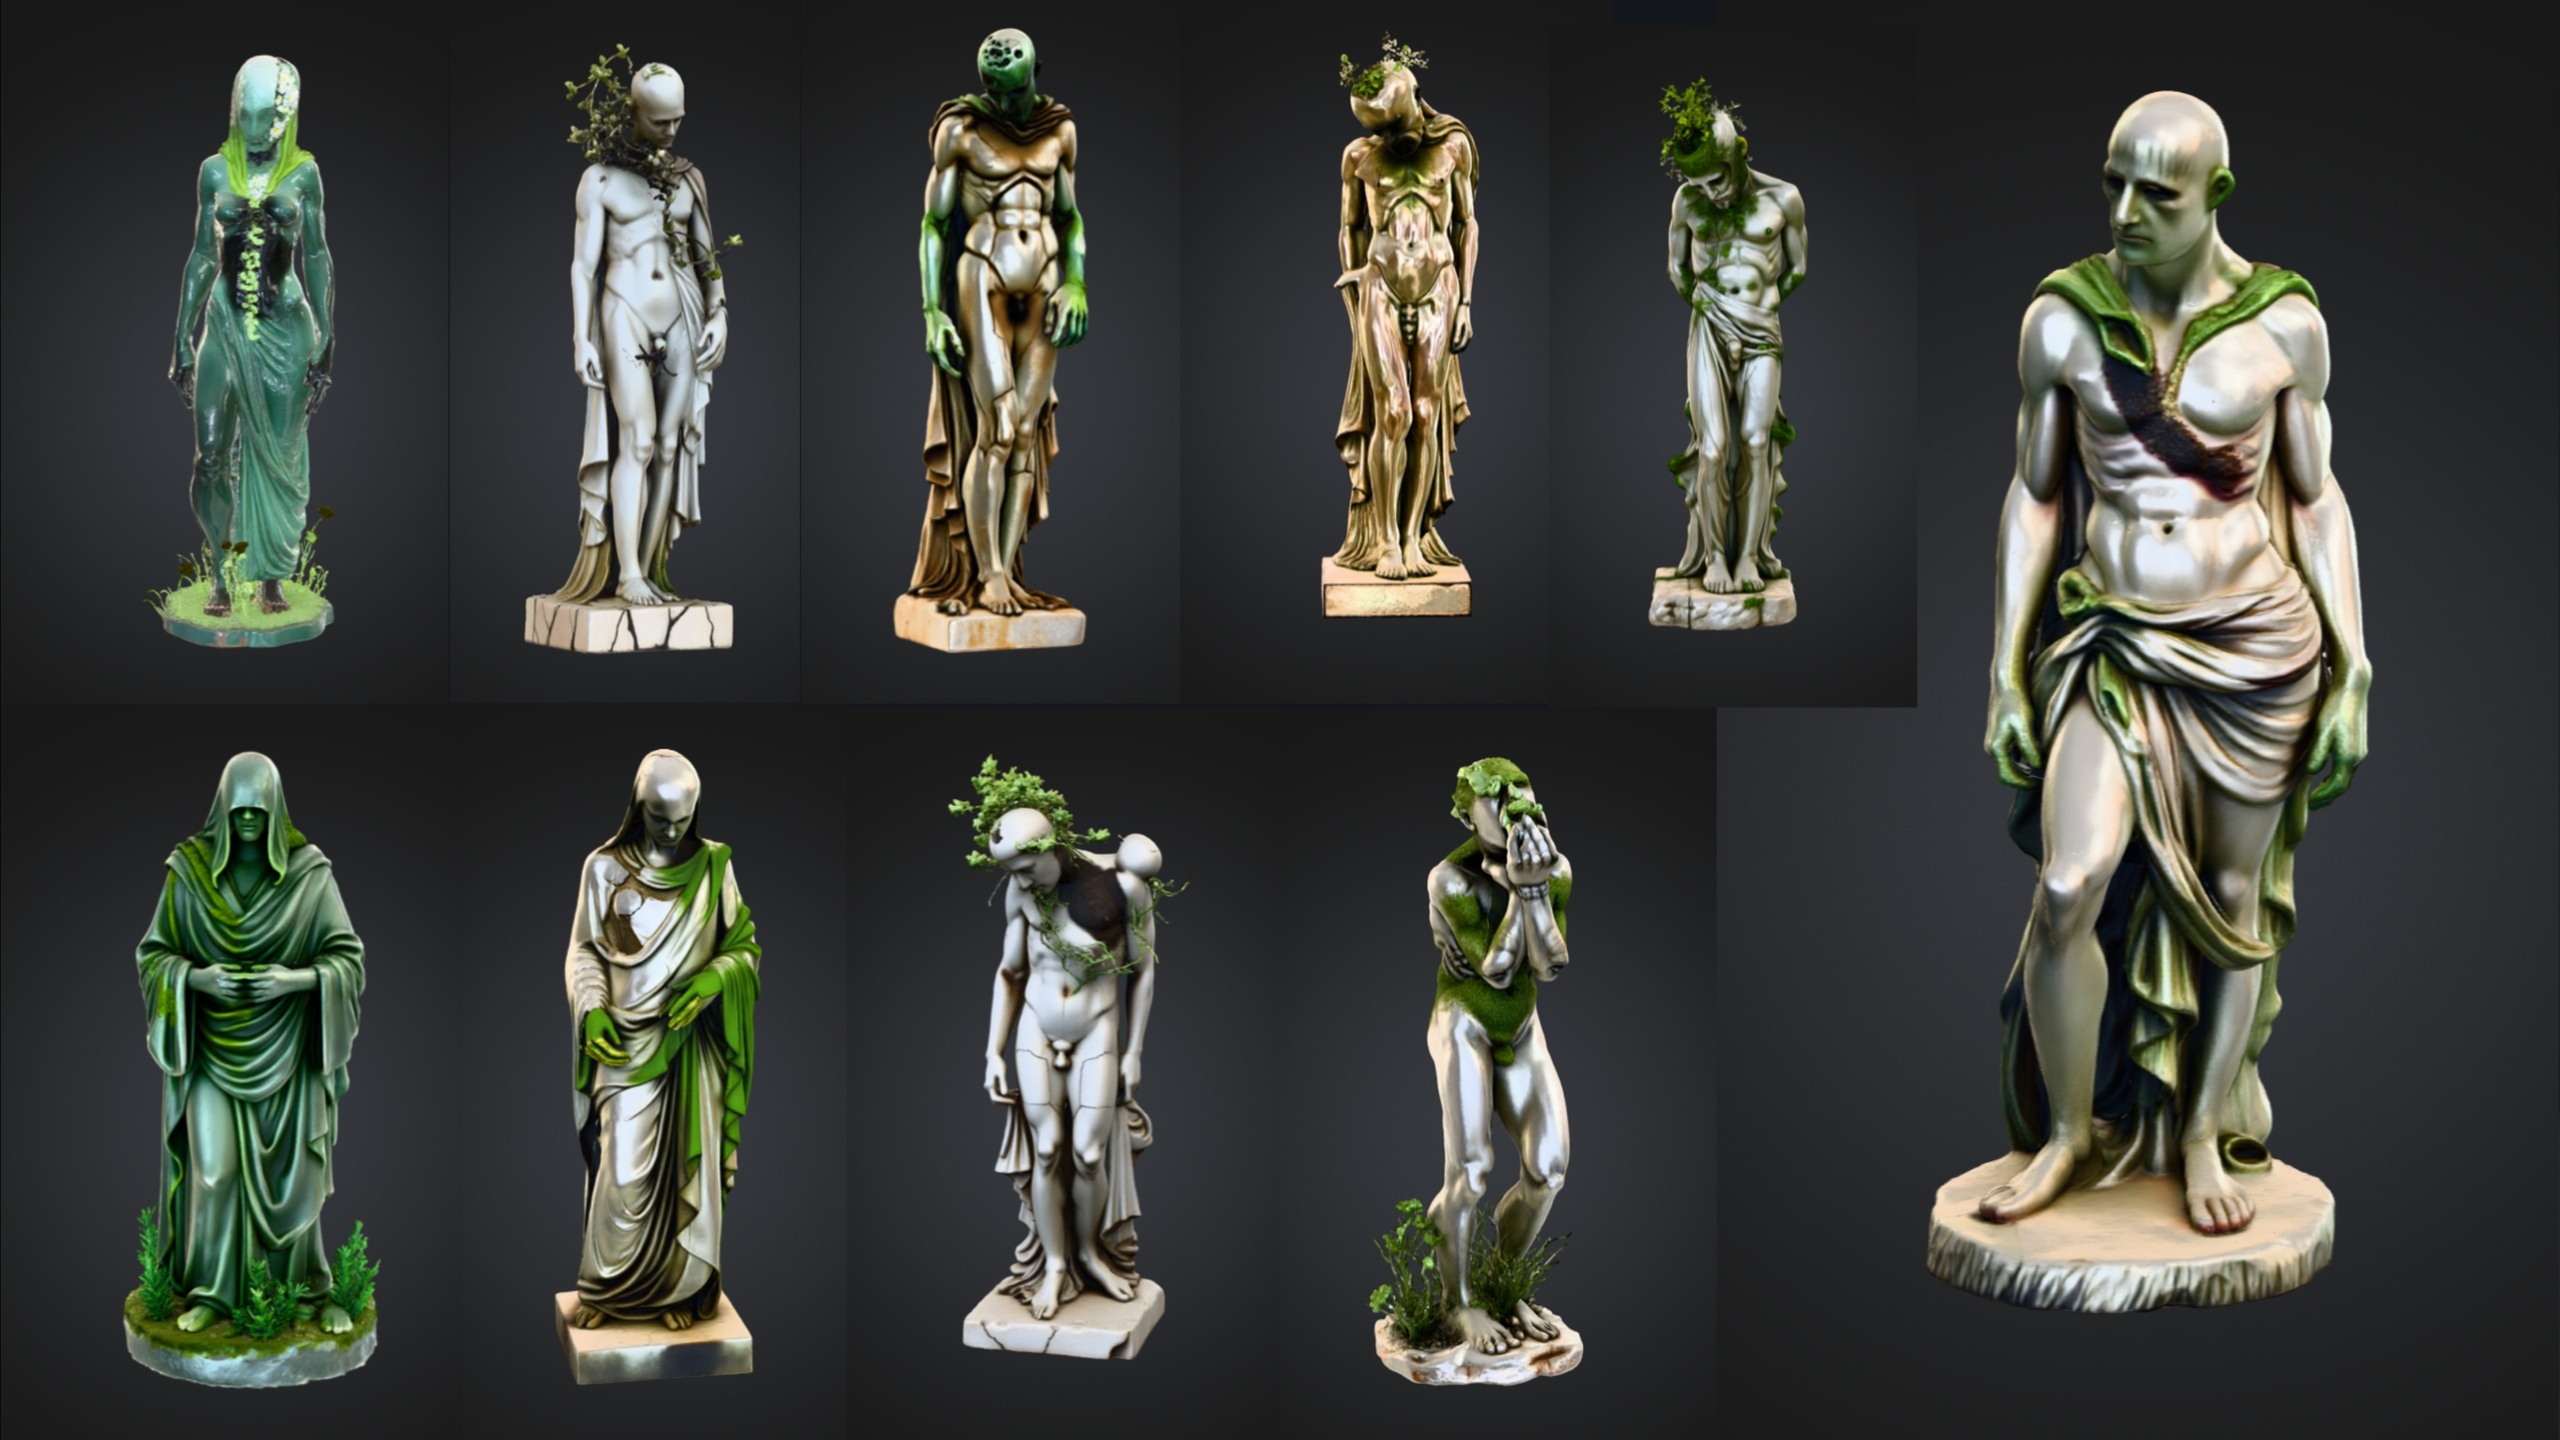
This pairing is what turns a glowing prop into a believable light source for a scene. The moon mesh provides the bright, blooming object the eye locks onto, and the paired light provides the moonlight that rakes across your dark-fantasy set. From there you can dress the rest of the shot, with a graveyard of weathered statues, a field of gothic flora, or a clutter of cursed artefacts catching that cold, eerie glow.
FAQ
How do you make an emissive glowing material for a moon in Unreal Engine?
Open the moon's material in the Material Editor and feed a colour (its base colour, or a flat swatch) multiplied by a Scalar Parameter into the Emissive Color input. Expose the scalar so you can control brightness, then add bloom and pin exposure in a Post Process Volume so the glow actually shows.
Why does my emissive moon look dull instead of glowing?
Almost always it is auto-exposure dimming the bright surface back to mid grey, or bloom being disabled. Set exposure to Manual (or clamp the Min and Max EV100) and enable Bloom Intensity in a Post Process Volume. Then raise the emissive intensity on the material until the rim starts to bleed.
Do the moon faces in the Grinning Moon Face Bundle glow out of the box?
No. The 13 faces are Nanite static meshes, each with its own material, but there is no built-in animated or emissive glow. You author the glow yourself by editing the face's material, which is exactly what this tutorial covers.
Will an emissive material light up the rest of my scene?
Only indirectly, via Lumen's emissive contribution. To physically light surrounding props and terrain, pair the glowing moon mesh with a Directional or Point Light tinted to match the emissive colour.
Can I tune the glow per placement without breaking the original material?
Yes. Expose the brightness as a Scalar Parameter, then create a Material Instance from the base material. Each instance can carry its own emissive intensity and colour, so different moon faces can glow differently without recompiling or duplicating the base material.
Grinning Moon Face Bundle
Thirteen unique grinning-moon face meshes for surreal, horror and dark-fantasy scenes — automatic collision, 2K textures, drop-in ready. Hang an unsettling lunar grin over your world.