article · 2026-06-06
How to Optimise Niagara Particle Performance in UE5 Without Losing the Look
A repeatable, fidelity-preserving workflow for trimming the cost of a large VFX pack, drawn from the V2 re-author of a 115-system Niagara bundle.
The real problem: cost scales with system count, the look does not
If you have ever dropped a dozen particle systems into one scene and watched the frame time fall off a cliff, you already know the trap. A single glowing glyph or summoning circle looks cheap in isolation; ten of them placed together can saturate the renderer. The instinct is to thin everything out, but the moment you do that the effect stops reading the way the artist intended. Knowing how to optimize Niagara particle performance and keep the visuals in UE5 is the difference between a VFX library you can actually ship and one that has to stay in the trailer.
This is not a hypothetical. The Niagara Occult & Mystic Bundle - 115 esoteric symbol systems spanning Alchemy, Arcana Tarot, Seals of Solomon, Sigils of the Zodiac, Theban and Enochian - was re-authored into a performance-optimised V2 after a Fab reviewer placed many per-particle-light systems together and hit a renderer crash on UE5.4. The fix was not to make the effects smaller; it was to make them cheaper while holding the silhouette, the colour and the motion exactly where they were. The workflow below is the same one used on that pack, generalised so you can run it on your own systems.
The V2 pass kept the visual identity intact - the same renderer kinds, the same colour hue, the same motion signature and the same per-emitter voices - while cutting the per-instance footprint enough that the pack survives being stacked in a single scene. It is a discipline anyone can apply, not a one-off trick: measure, cap, promote the heavy emitters to the GPU, split the lights, and lean on Niagara's own scalability system to back off on weaker hardware. Here is how to reproduce it.
Step 1: Measure each system's peak before you touch anything
You cannot optimise what you have not measured, and the single most useful number for a CPU sprite emitter is its peak particle count. Compute it the simple way first: peak is roughly spawn rate multiplied by particle lifetime. An emitter spawning 800 particles a second with a two-second lifetime is carrying around 1,600 live particles at steady state, and that is the figure that drives simulation and renderer cost.
1. Open each Niagara System and, for every emitter, read its spawn rate and its 'Lifetime' module. Multiply them to get a static-spec peak. This gives you a ranked list of where your cost actually lives, without ever entering Play.
2. Confirm the estimate against reality. Open the 'Niagara' debugger or watch the particle count in the system stats and let the effect reach steady state. Static-spec maths is a planning tool, not gospel; verify the heaviest emitters in-editor before you act on them.
3. Sort your emitters by peak and draw a line. Pick a per-emitter ceiling that your target hardware can carry comfortably across the number of systems you expect on screen. Anything above that threshold is a candidate for the rest of this workflow; anything comfortably below it can usually be left alone.
Step 2: Cap the rate, then bump size to preserve the silhouette
The crude way to cut cost is to slash spawn rate, and the crude way is also where most people destroy the look. Fewer particles means a thinner, sparser shape - the glyph loses its visual mass and stops reading at distance. The fidelity-preserving move is to cap the count and then give back the lost coverage through particle size rather than particle quantity.
1. Bring each over-threshold CPU emitter down to your chosen cap. Do this by lowering spawn rate, not by shortening lifetime, so the motion signature and trail length stay intact.
2. Compensate for the reduced density with a modest sprite size increase. Larger particles cover the same silhouette with fewer of them, so the shape's mass survives the count reduction. Keep the bump small - a fraction over the original size, not a multiple; overshoot it and crisp glyphs turn into mush.
3. Eyeball the result against the original at the distance the effect will actually be viewed. The goal is that a player cannot tell the count changed. In the reference pack the only visible density drop was confined to the sprite emitters that had been carrying the heaviest counts - everything under the cap looked identical.
Step 3: Promote the heaviest emitters to GPU and recover brightness with HDR
Capping helps, but the genuinely heavy core emitters need more headroom than a CPU sim can give cheaply. GPU simulation lets you carry far higher particle counts for far less CPU cost, which is why the V2 pass promoted its high-count core emitters from CPU to GPU and allowed those GPU emitters a higher ceiling than the CPU ones.
1. Select a heavy core emitter and change its 'Sim Target' from 'CPUSim' to 'GPUCompute Sim'. Resolve anything the change breaks - GPU emitters need fixed bounds, which the bundle ships as a 300-unit cubic box per system, and any CPU-only module on the emitter will need a GPU-compatible replacement.
2. Expect the apparent brightness to drop after promotion and the bounds/blend behaviour to shift slightly. Rather than re-tune every downstream parameter, recover the glow at the colour stage: push the GPU sprite colour into HDR (above 1.0) so the engine's bloom post-process rebuilds the luminance you lost.
3. Confirm bloom is enabled in the scene. The whole glyph aesthetic in this family of packs is driven by HDR sprite colour above 1.0 feeding bloom; if bloom is off, the HDR boost does nothing and the effect looks flat. This is a hard dependency, not a preference.
Step 4: Split per-particle lights into a low-count cap emitter
Per-particle Light renderers are the most expensive thing in this entire problem space and the direct cause of the original UE5.4 crash. When a high-count emitter also carries a Light renderer, every particle requests a light, and the render-dependency-graph handles pile up until the renderer falls over. This is a specific RDG-handle-overflow on UE5.4 from a reviewer's scene, not a general flaw in the engine - but the mitigation is good practice everywhere.
1. Find every emitter that combines a Light renderer with a high particle count. In the reference pack these per-particle Light renderers were split off their core emitters during the V2 pass.
2. Remove the Light renderer from the heavy core emitter and create a dedicated, low-count light emitter - the bundle names these *LightCap emitters - that emits only a handful of lights. Hold this to a small fixed number of lights per emitter; a high light count is exactly what tipped UE5.4 over in the first place. Splitting the lights off this way collapses the per-emitter RDG-handle load.
3. Recover any glow lost by having fewer lights with an HDR boost on the light colour. A few bright lights plus bloom reads as a soft, full glow; the only honest visible change in the reference pack was slightly softer bloom on the traditions whose lights were split this way.
Step 5: Add scalability overrides so low-end hardware drops cost automatically
Optimising the high-end version is only half the job. The same effect needs to back off gracefully on weaker hardware without you maintaining two copies of every system, and Niagara's per-system scalability overrides are how you do that.
1. On each system, open the scalability settings and author overrides for the Low, Medium and High effects-quality tiers. The Occult & Mystic V2 ships these on every one of its 115 systems.
2. On the Low tier, halve the spawn count and add a distance cull - the reference pack culls at roughly 25 metres - so a low-end machine simply stops simulating distant glyphs. The High tier keeps the full count you tuned in the earlier steps.
3. Test on the Low preset before you ship. Set the effects-quality scalability bucket to Low in your test build and confirm the scene holds together; the whole point is that the platform preset, not a code change, governs the cost on each device.
Step 6: Verify fidelity is genuinely preserved
An optimisation pass is only finished when you can prove the look survived it. Fidelity here is not a vibe; it is a checklist of properties that must be unchanged. Run each one explicitly rather than trusting a quick glance.
Check the palette. The colour hue must match the original - HDR boosts change luminance to feed bloom, not the hue itself. Put the before and after side by side and confirm the colours read the same.
Check the motion. Because you capped spawn rate rather than cutting lifetime, the motion signature - trail length, drift, the rhythm of the effect - should be identical. If the motion changed, you shortened a lifetime somewhere and need to undo it.
Check the voices and ordering. Every emitter in a system has a role, or 'voice', and the V2 pass preserved both the renderer kinds and the emitter ordering. Confirm no emitter was silently dropped or reordered; the system should contain the same parts doing the same jobs, only cheaper.
Finally, run the bundle's own pre-ship test: spawn five to ten systems together and confirm frame time stays stable. This is the exact scenario that crashed the original V1 build, so it is the truest single check that the pass worked. If five to ten systems sit together comfortably, you have optimised the look without losing it.
What is inside the Occult & Mystic bundle, by tradition
| Tradition | Systems | What it is |
|---|---|---|
| Alchemy | 26 | Transmutation symbols and alchemical sigils |
| Arcana Tarot | 22 | The 22 Major Arcana cards as spawnable VFX |
| Theban | 21 | The witches' alphabet for craft scenes |
| Enochian | 21 | John Dee's angelic script for ritual chants |
| Sigils of the Zodiac | 18 | Astrological signs for zodiac wheels |
| Seals of Solomon | 7 | Goetic seals for summoning circles |
Per-tradition system counts from the product listing; each is an independently spawnable CPU Niagara System with a matching static mesh. The six traditions sum to the 115 systems in the pack.
Choosing the right glyph-VFX pack by theme
| Pack | Systems | Best for |
|---|---|---|
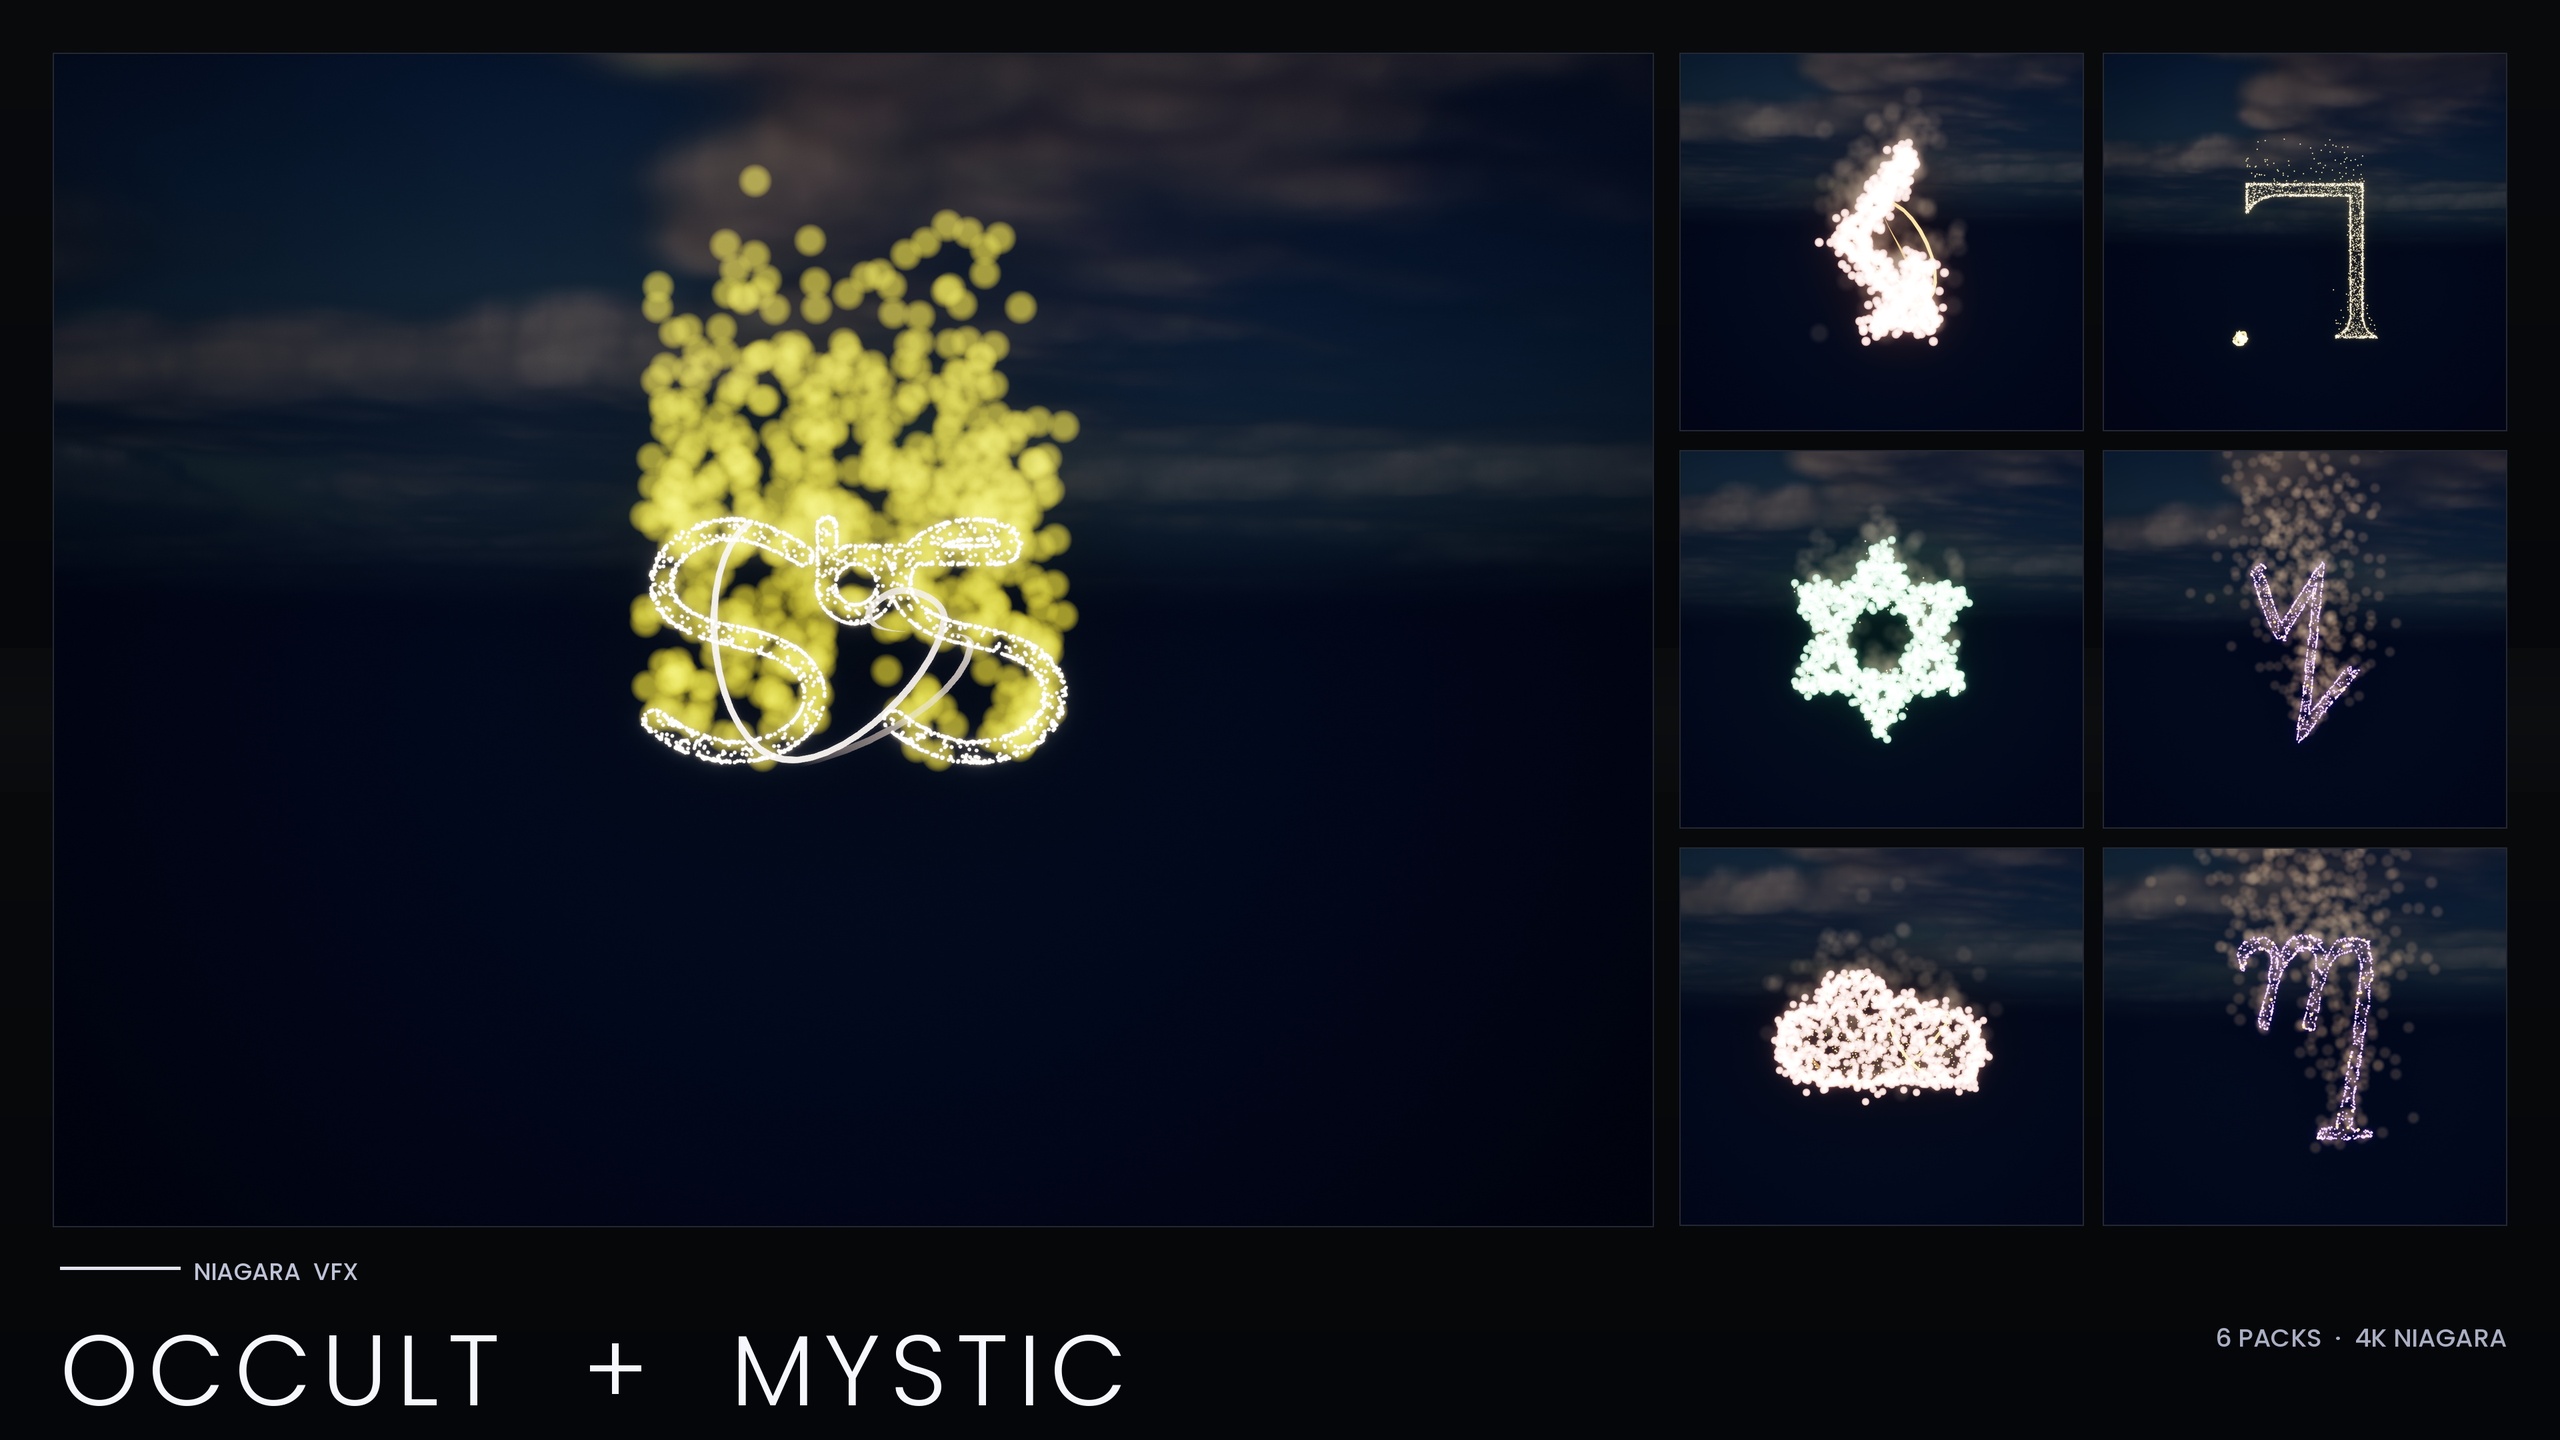
| Niagara Occult & Mystic Bundle | 115 | Summoning circles, tarot, alchemy, zodiac, Theban and Enochian ritual scenes |
| Niagara Ancient Scripts Pack | 114 | Hieroglyphics, Cuneiform, Mayan, Ogham and Phoenician inscriptions |
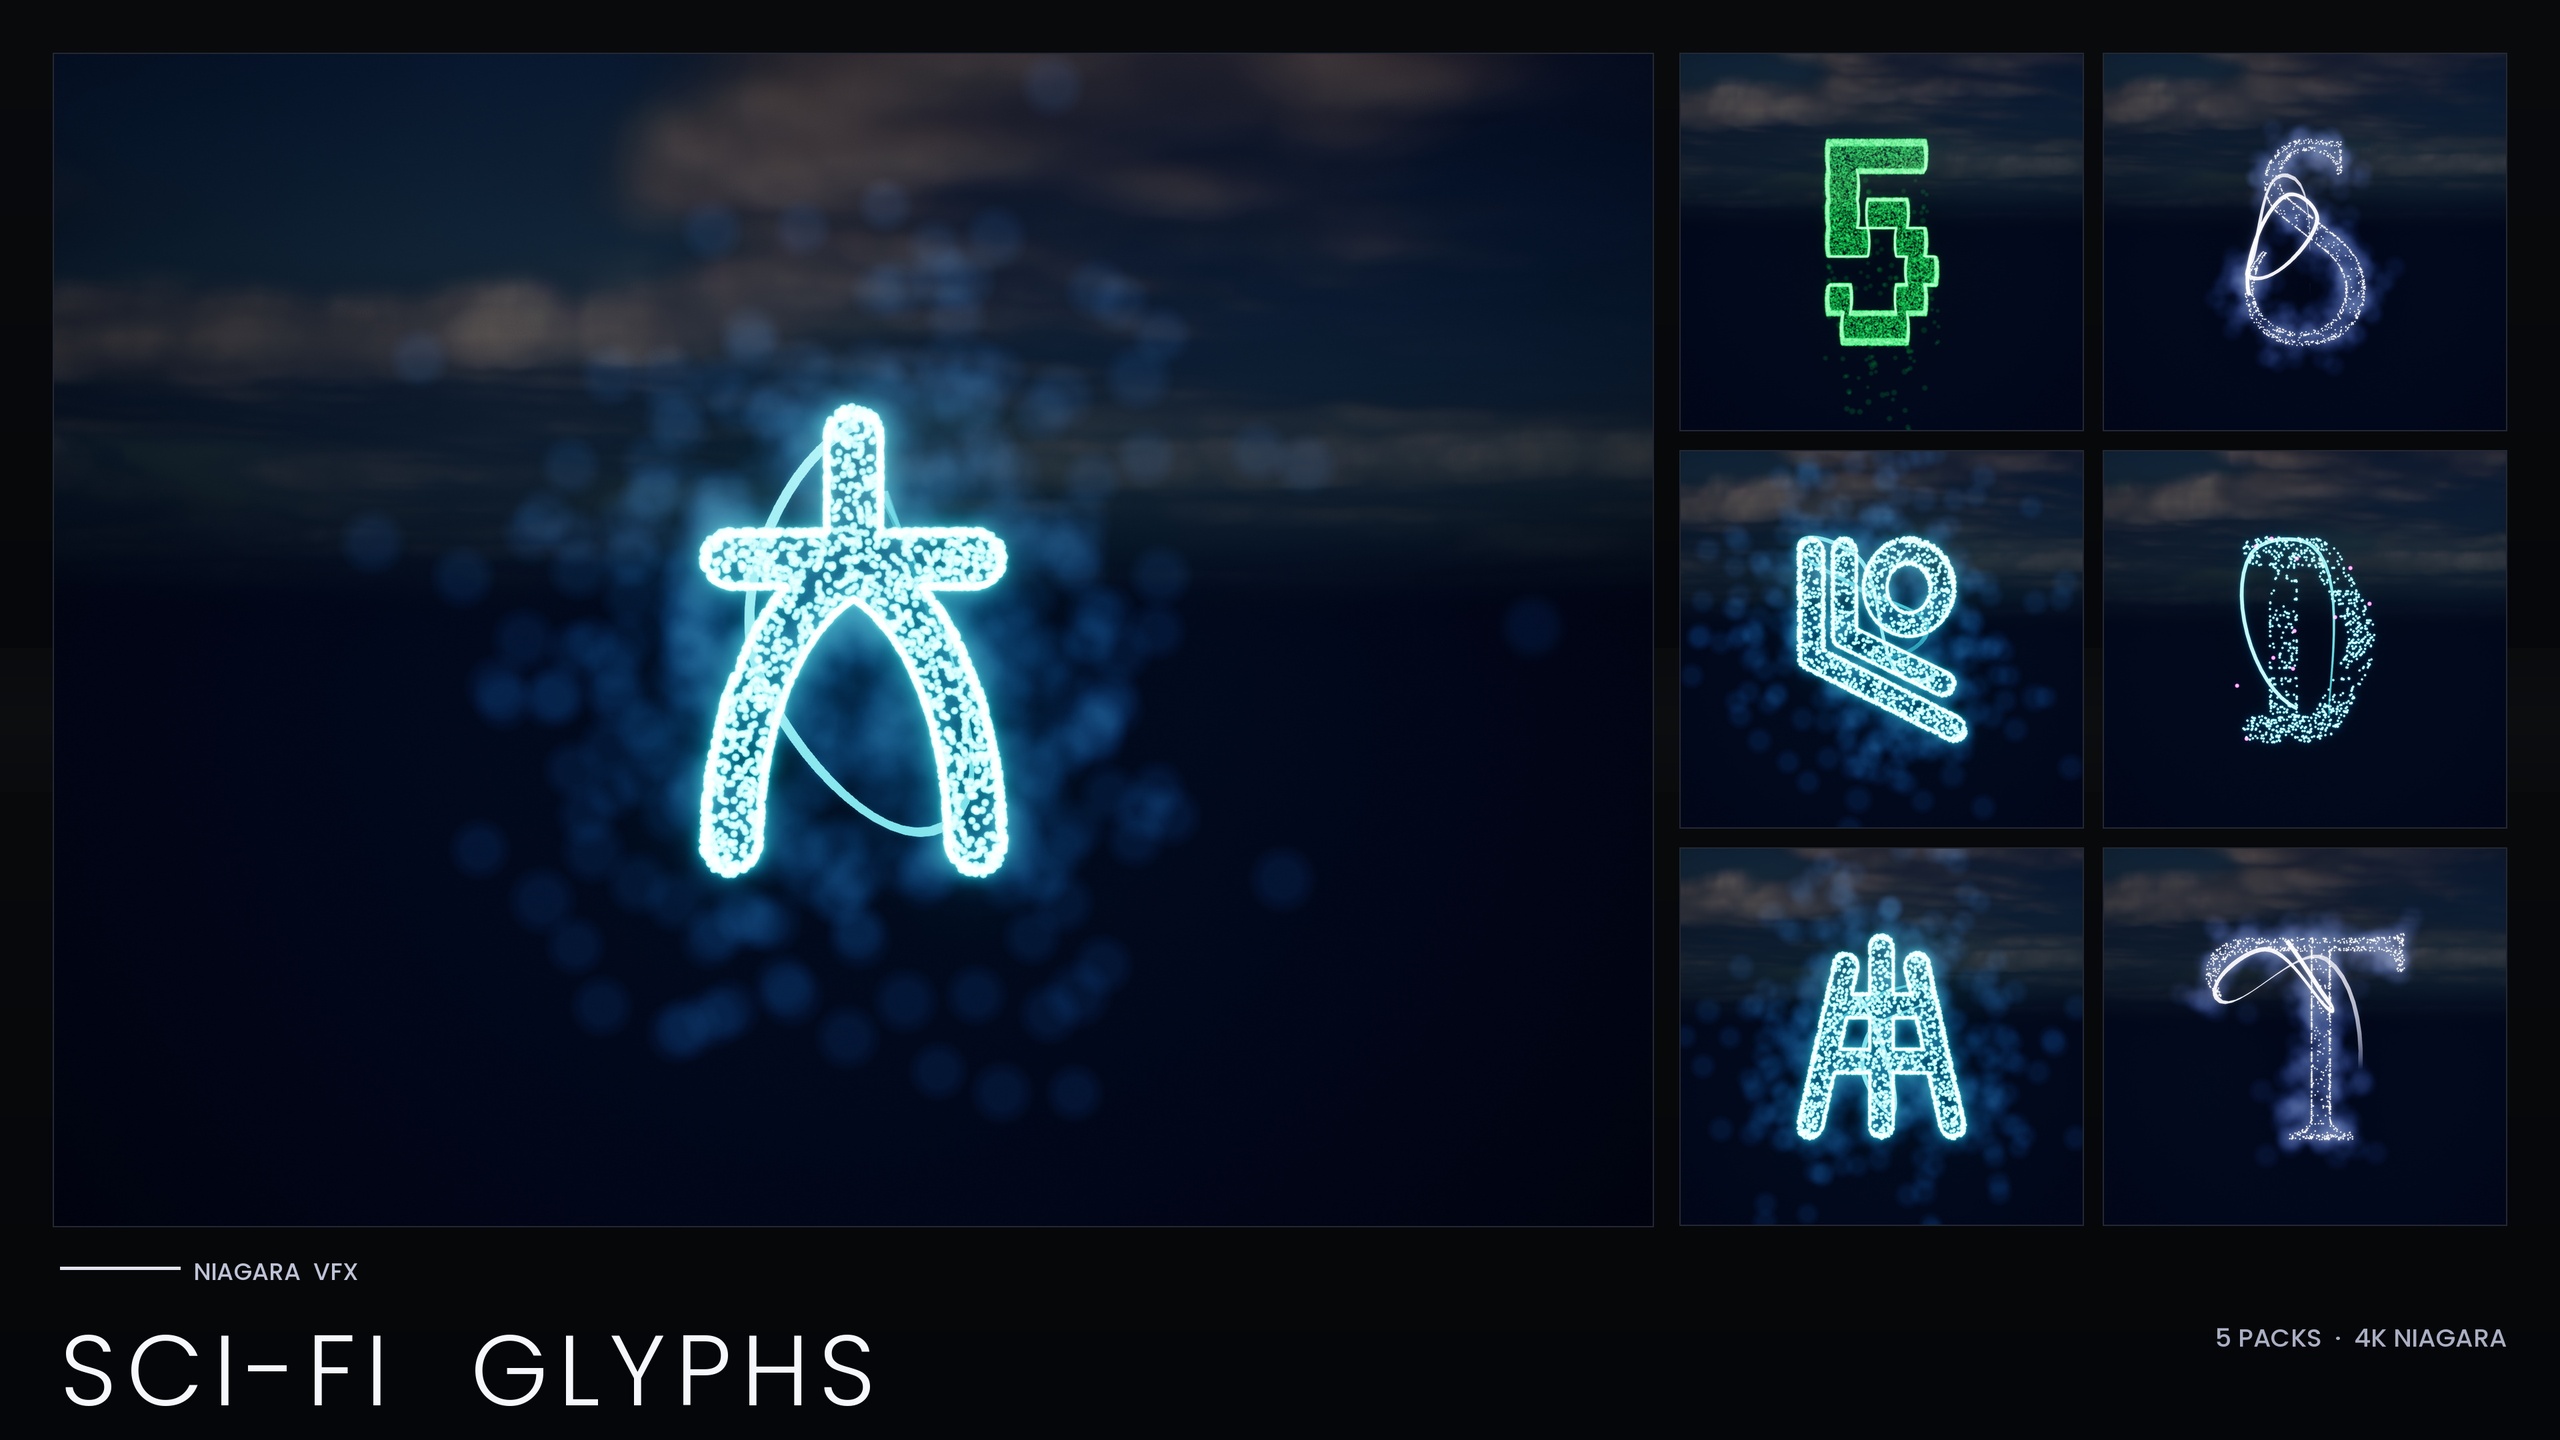
| Niagara SciFi Glyphs Bundle | 147 | Alien, Cyberpunk, Matrix, Starforged and Circuit terminals and signage |
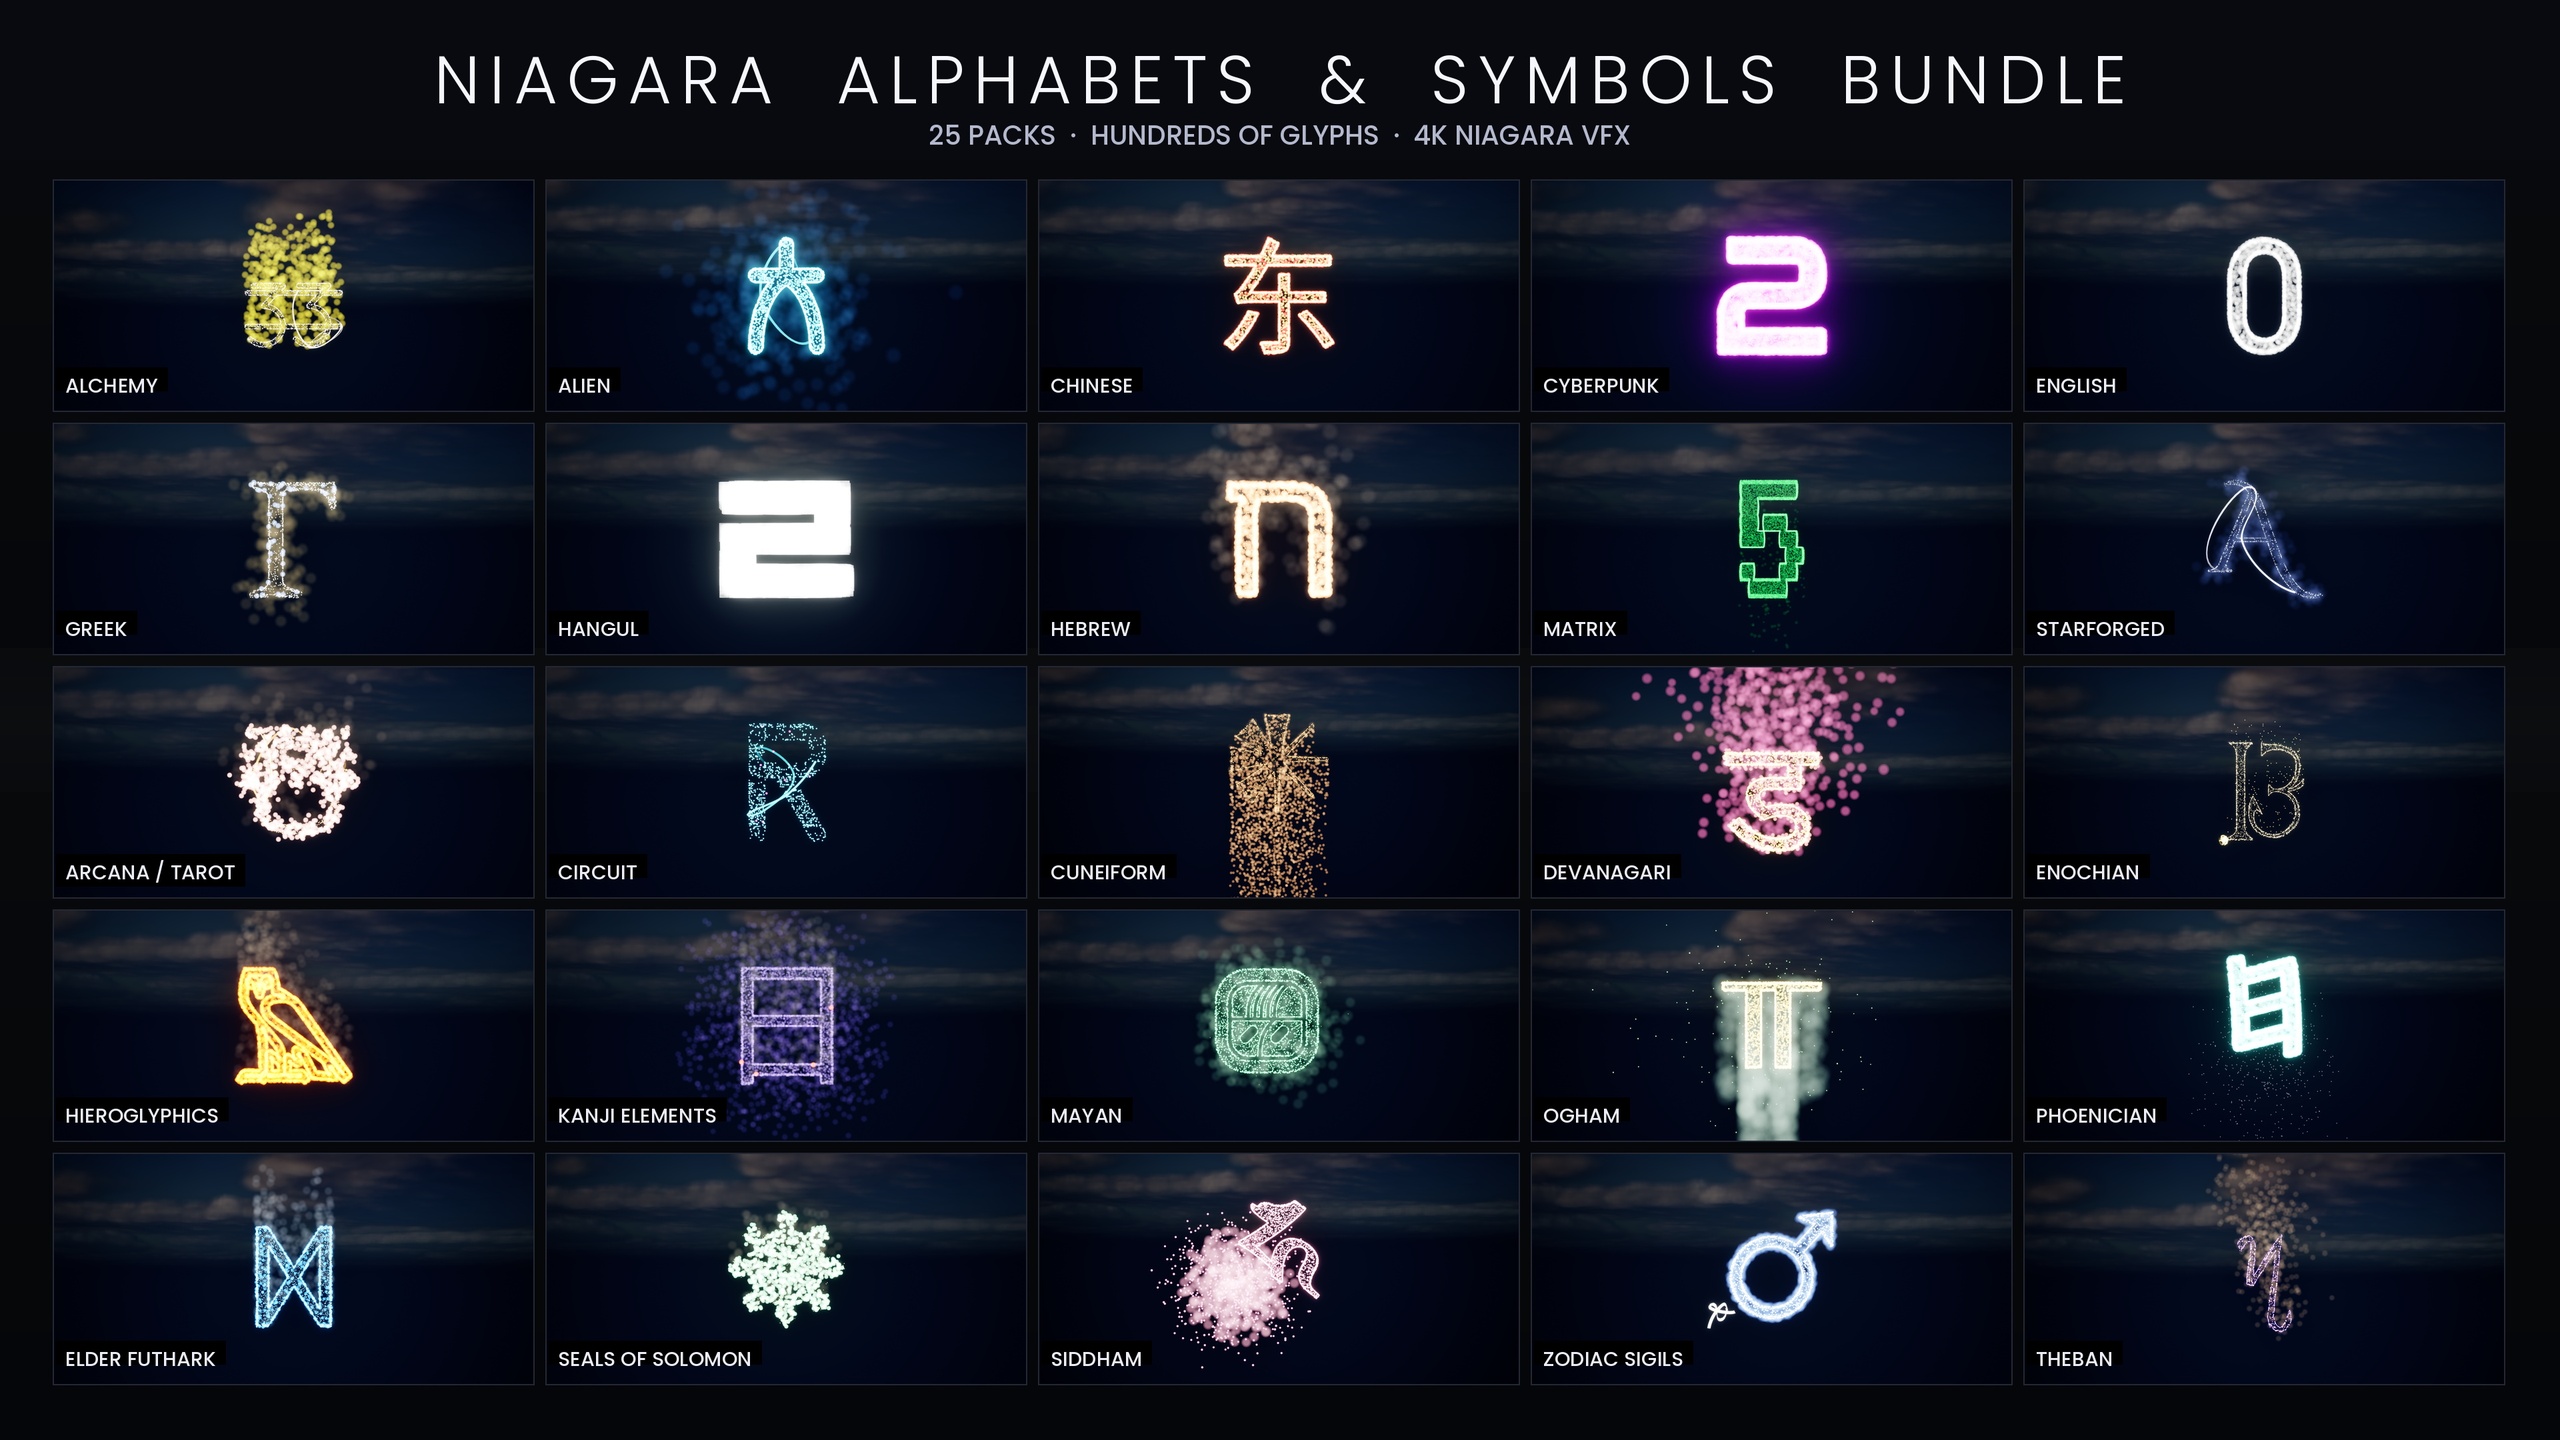
| Niagara Alphabet & Symbols Bundle | 687 | The full superset library spanning 25 themed writing systems |
All four are CPU-simulated, use engine-default materials with zero textures, were authored in UE5.4 and list UE 5.4-5.7 in their product JSON. System counts from each product listing.
FAQ
How do I optimize Niagara particle performance and keep the visuals in UE5?
Measure each emitter's peak (spawn rate multiplied by lifetime), cap the heavy CPU sprite emitters at a fixed count, then give the lost coverage back through a small particle-size bump rather than more particles. Promote the genuinely heavy core emitters from CPU to GPU and recover their brightness with an HDR colour boost that feeds bloom. Split per-particle lights off into a low-count light emitter, and add Low/Medium/High scalability overrides so weak hardware drops cost automatically. Capping count and lifting size, instead of slashing spawn rate outright, is what preserves the silhouette and motion.
Why does reducing spawn rate ruin the look, and how do I avoid it?
Fewer particles means a thinner, sparser shape that loses its visual mass and stops reading at distance. Avoid it by capping the count and then increasing sprite size modestly - a fraction over the original, not a multiple - so the same silhouette is covered by fewer, larger particles. Always cut spawn rate rather than lifetime, so the trail length and motion signature stay intact.
Does promoting an emitter to GPU change how it looks?
It can make the effect appear dimmer and shift the bounds behaviour, which is why the V2 pass paired GPU promotion with an HDR boost on sprite colour so bloom rebuilds the lost luminance. GPU emitters also need fixed bounds (the bundle uses a 300-unit cubic box) and GPU-compatible modules. With those handled, the hue and shape stay the same while the per-emitter cost drops sharply.
What actually caused the original crash, and is it an Unreal Engine bug?
It was a render-dependency-graph handle overflow specific to UE5.4, triggered when many systems carrying per-particle Light renderers were placed together in one scene. It is a particular scene-and-version condition reported by a Fab reviewer, not a general flaw in the engine. The fix - splitting lights into a dedicated low-count emitter that emits only a handful of lights - is sound practice regardless of engine version.
How do I make the same effect cheaper on low-end hardware without maintaining two versions?
Use Niagara's per-system scalability overrides for the Low, Medium and High effects-quality tiers. The Occult & Mystic V2 ships these on all 115 systems: the Low tier halves spawn count and adds a roughly 25-metre distance cull, while the High tier keeps the full tuned count. The device's scalability preset then governs the cost, so you ship one set of systems that adapts automatically. Test on the Low preset before shipping.
Niagara Occult & Mystic Bundle
115 Niagara systems of occult and mystic symbology — sigils, runes, ritual glyphs and arcane marks — CPU-simulated with engine-default materials for a tiny footprint.
Related on Fab