tutorial · 2026-04-08
From Gaea to Unreal: Editing a Source Terrain Before You Import It
Re-shape the supplied Gaea .terrain file, re-export clean heightmaps, and bring them back into Unreal Engine without breaking your landscape resolution.
Why edit the source, not the imported landscape
Most people who buy a heightmap pack import a greyscale image, get a landscape, and then start sculpting in Unreal when the shape is not quite what their level needs. That works, but it is the slow path. Once you have committed a heightmap to a UE landscape and started painting layers and placing actors, every sculpt edit is destructive and fiddly, and it is locked to one engine and one project. The cleaner Gaea terrain to Unreal Engine heightmap workflow is to edit the source terrain first, while it is still a node graph, and only then bring a finished heightmap into Unreal.
The Massive Open World Landscape Pack is built for exactly this. Every one of its 14 open-world landscapes ships not just as a finished greyscale heightmap but as a Gaea .terrain source file, alongside a Gaea seamap / greyscale reference image for each map. That means a peak you want to lower, a coastline you want to push out, or an island you want to split is a graph adjustment in Gaea rather than hours of in-engine sculpting. You re-shape once, re-export, and re-import a clean result.
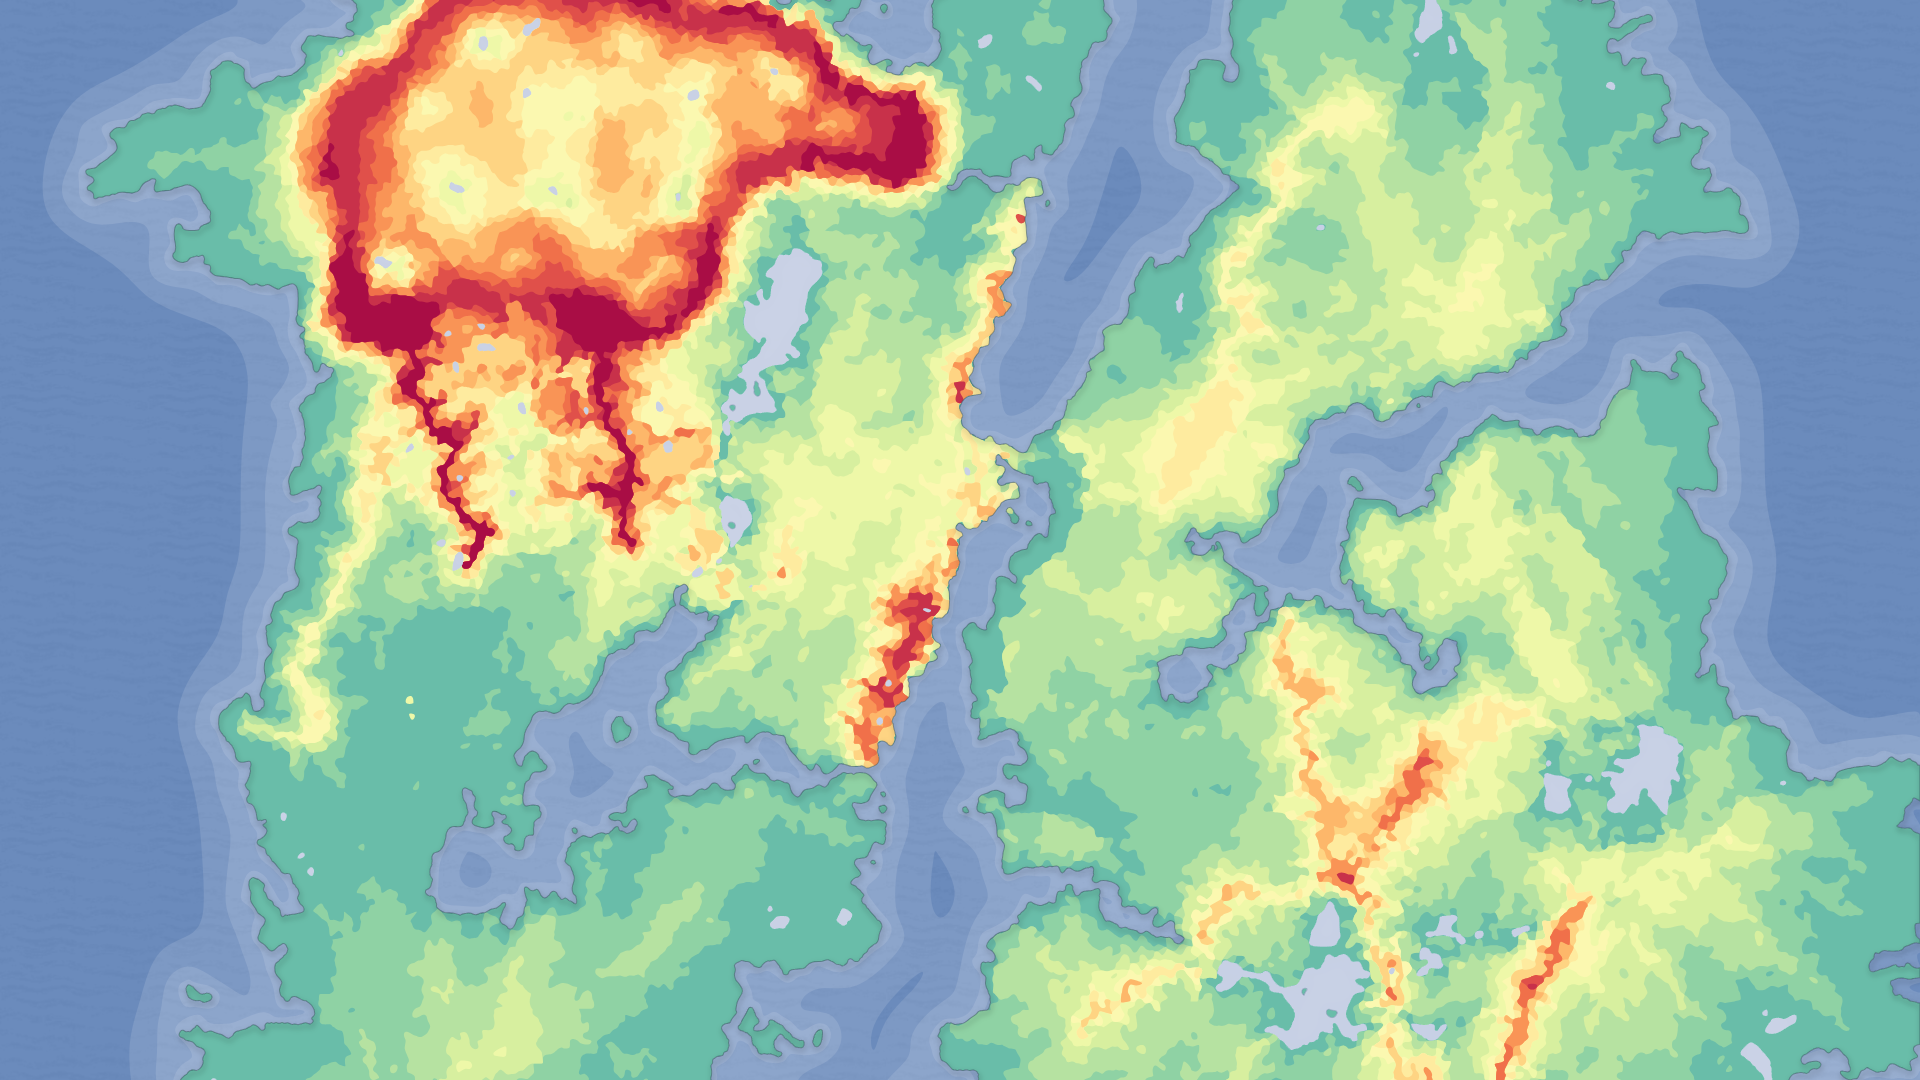
Editing the source also keeps your data honest. The heightmaps in this pack are 16-bit greyscale (whiter pixels are higher elevation), and re-exporting from Gaea preserves that full 16-bit range. Sculpting an already-imported, possibly down-converted landscape risks terracing and banding that you then have to fight. Start from the node graph and your elevation data stays smooth all the way into Unreal.
Opening the included .terrain in Gaea
Each map in the pack includes its own Gaea .terrain file, so the first step is simply to locate the source for the landscape you want to change. The pack covers maps such as Dragon Tooth Island, Dragon Fire Island, Sandstone Isles, Turtle Top Island, Dark Mountains, Mountain Pass, Highlands and Secluded Island, and each one carries its own source. Open Gaea and load that .terrain file rather than starting a blank document, so you inherit the exact node graph that produced the shipped heightmap.
Keep the supplied Gaea seamap / greyscale reference image open beside the graph. It shows you what the shipped heightmap looks like as flat elevation data, which is your ground truth: any edit you make should be judged against that reference, not just against the lit 3D preview. The reference is also the fastest way to confirm that whiter means higher before you start, so your additive edits raise terrain and subtractive edits cut it the way you expect.
Before touching anything, save a copy of the .terrain under a new name. The source files are your re-editable master, and you want the original intact so you can always return to the as-shipped shape. Treat the supplied file as read-only and do all of your work in the copy.
Re-shaping and re-exporting heightmaps
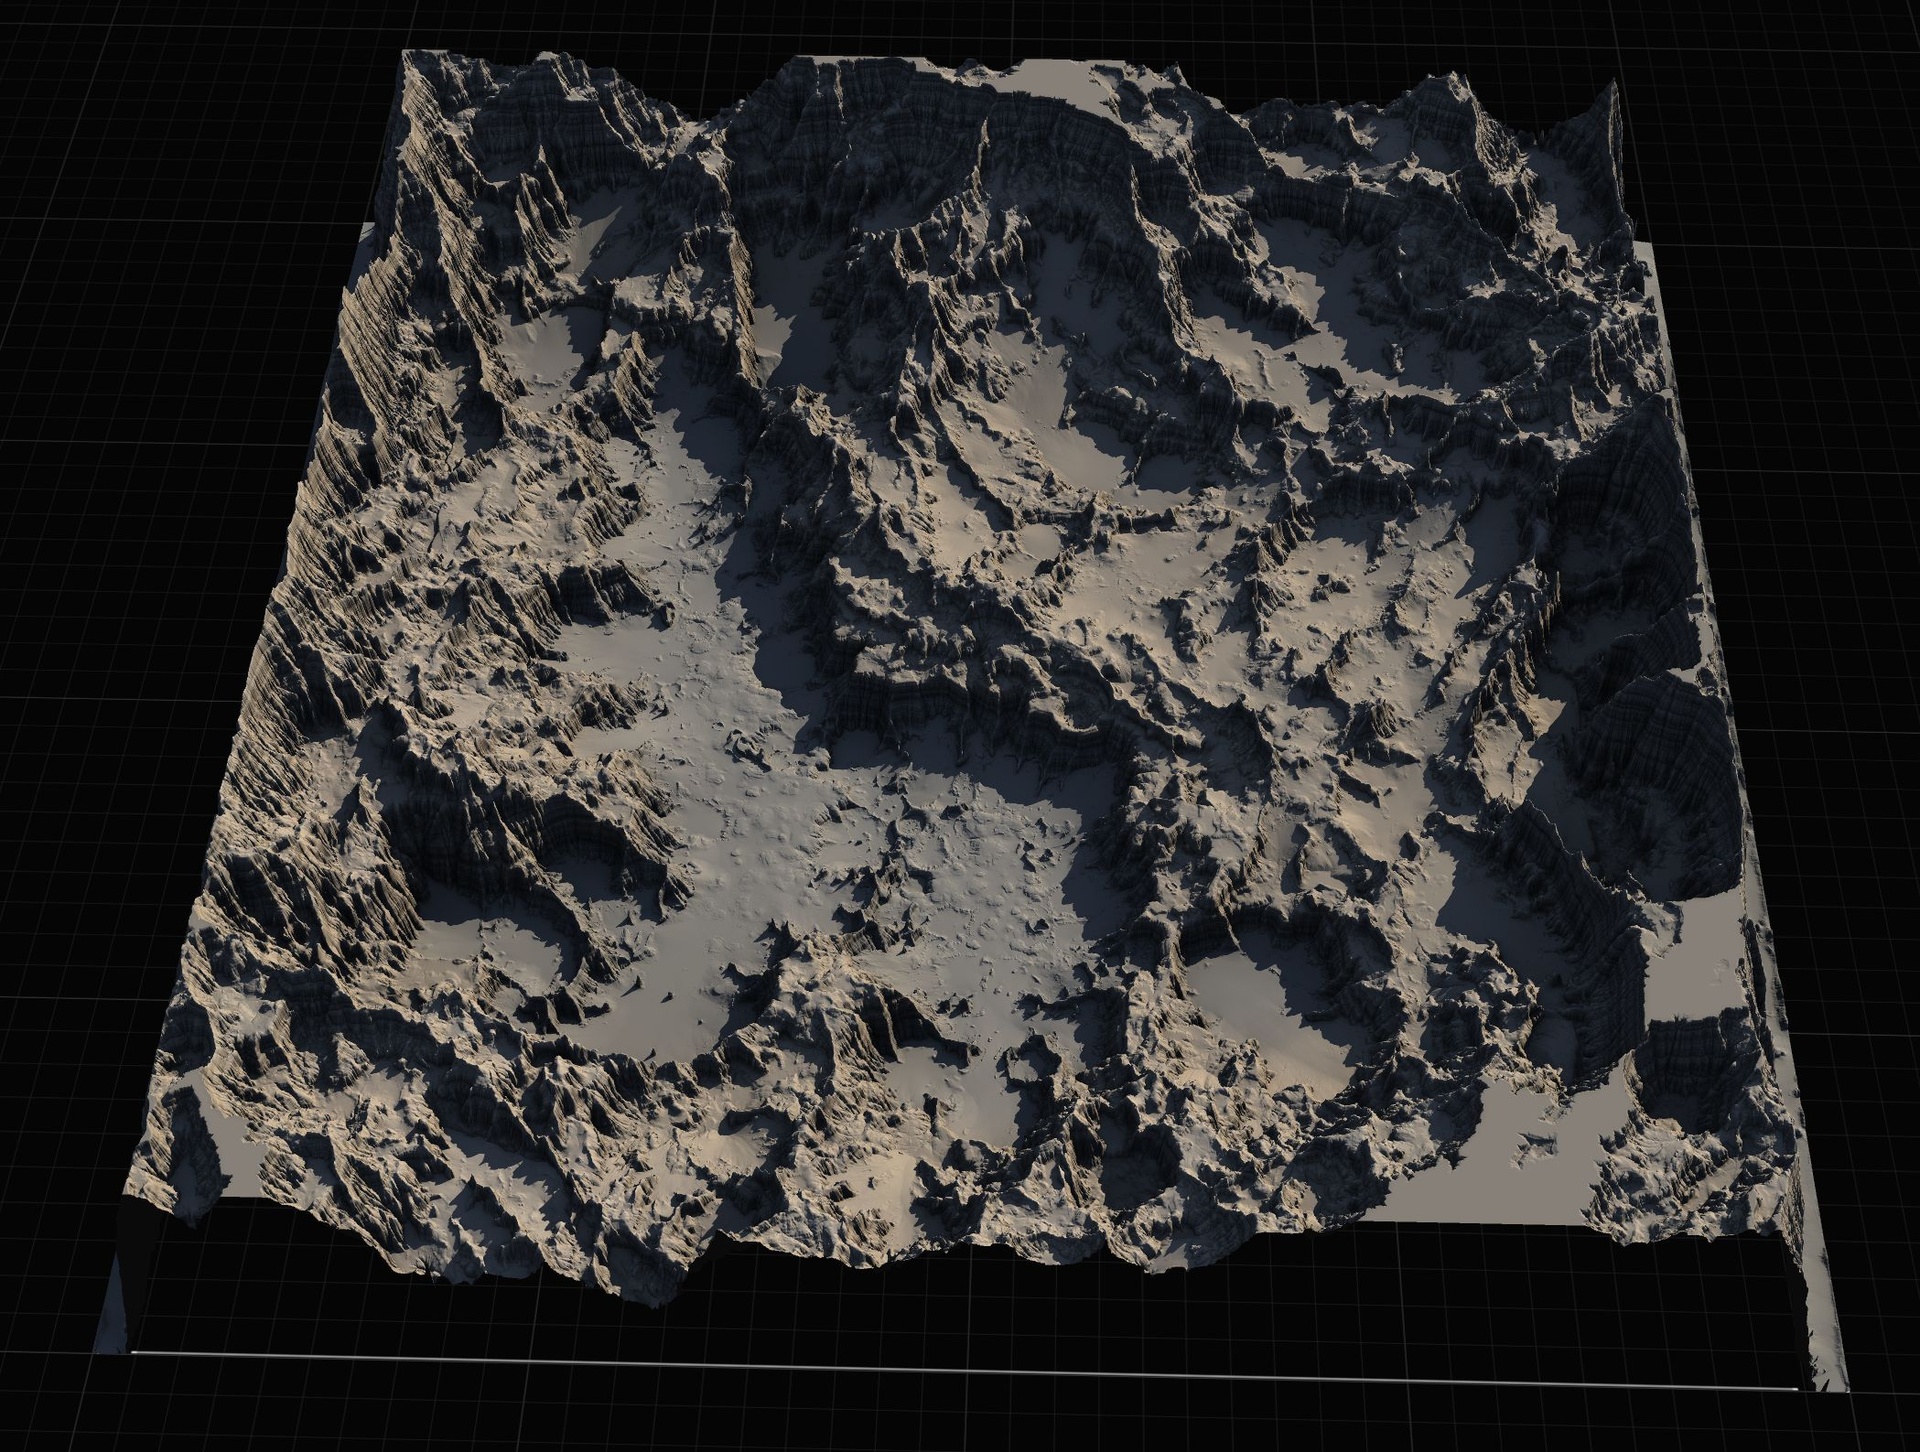
Make your changes in the node graph: adjust the terrain primitives and modifiers that define the landform, mask in or out the region you care about, and lean on Gaea's preview to judge silhouette and coastline. Because these maps are designed for large, ship-around, explore-the-continent style worlds, the edits that matter most are usually macro: raising or flattening a mountain mass, reshaping an island's outline, or carving a pass. Work at that scale first and leave fine detail to Unreal.
When the shape is right, export the heightmap and match the format the pack already uses so your result drops straight into the same pipeline. Export 16-bit greyscale so you keep the full elevation range, and export at one of the pack's working sizes. This pack provides every map at 1K, 2K, 4K and 8K, and the exact pixel dimensions it uses are landscape-friendly: 1009x1009 for 1K, 2017x2017 for 2K, 4033x4033 for 4K and 8129x8129 for 8K. Exporting at one of those exact dimensions is what makes the re-import seamless.
1. Choose your target resolution before you export. Use a smaller map (1K or 2K) when the terrain is one sub-region or tile, and 8K when it is a full open world.
2. Set the export to 16-bit greyscale so Unreal reads it as height data rather than a colour image.
3. Match the pixel dimensions to the pack's sizes (1009, 2017, 4033 or 8129 square) so the re-imported landscape lines up with the rest of the pack.
4. Export, and keep the file named clearly per map and resolution so you can tell your edited version apart from the originals.
Re-importing into Unreal Engine
Back in Unreal, the import is identical to importing any of the pack's stock heightmaps, because you have deliberately produced the same kind of file. Open the Landscape panel, switch to the 'Manage' tab, and create a new landscape 'From File', then select your edited greyscale heightmap. UE reads the 16-bit greyscale as elevation directly, so there is no conversion step to get wrong.
If you are building something larger than a single landscape, this is where the smaller exports earn their place. In World Partition you can create multiple landscapes and patch them together, using a 1K or 2K edited tile for a sub-region and an 8K export for the main continent. Because each came out of the same Gaea source at a known resolution, they stitch together predictably instead of fighting each other at the seams.
Once the landscape exists, apply the pack's AutoMaterial in the landscape material slot. Do not be alarmed when the landscape appears black at first, that is expected. Open the Landscape tool, go to the 'Paint' tab, run 'Create Layers from Assigned Material' to extract the target layers, then right-click the 'AutoMaterial Base Layer' and choose 'Fill Layer' to paint the whole landscape by height and slope. Your re-shaped terrain is now auto-textured the same way the demo maps are.
Keeping resolutions consistent
The single most common way this workflow goes wrong is a resolution mismatch. If you export from Gaea at an arbitrary size, Unreal will still import it, but the landscape's component and section sizing may not match the rest of your maps, and tiles that should align will not. The fix is discipline: always export at one of the pack's exact dimensions (1009, 2017, 4033 or 8129 square) and decide up front whether a given piece of terrain is a tile or a whole world.
Note that the pack's 1K / 2K / 4K / 8K labels are approximate, not literal powers of two, which is intentional, those odd dimensions are chosen because they map cleanly onto Unreal's landscape grid. Trust the pixel numbers over the labels when you set up your Gaea export. If you keep every edited export on those numbers, your re-imported terrain behaves exactly like the stock heightmaps that the AutoMaterial, demo levels and Runtime Virtual Texture setup were tuned for.
Finally, keep your edited 16-bit greyscale exports in 16-bit all the way through. Round-tripping through an 8-bit format somewhere in the chain is the usual cause of visible stepping on slopes. Stay 16-bit from Gaea export to UE import and your re-shaped continent will be as smooth as the originals.
Where this fits in the landscape line
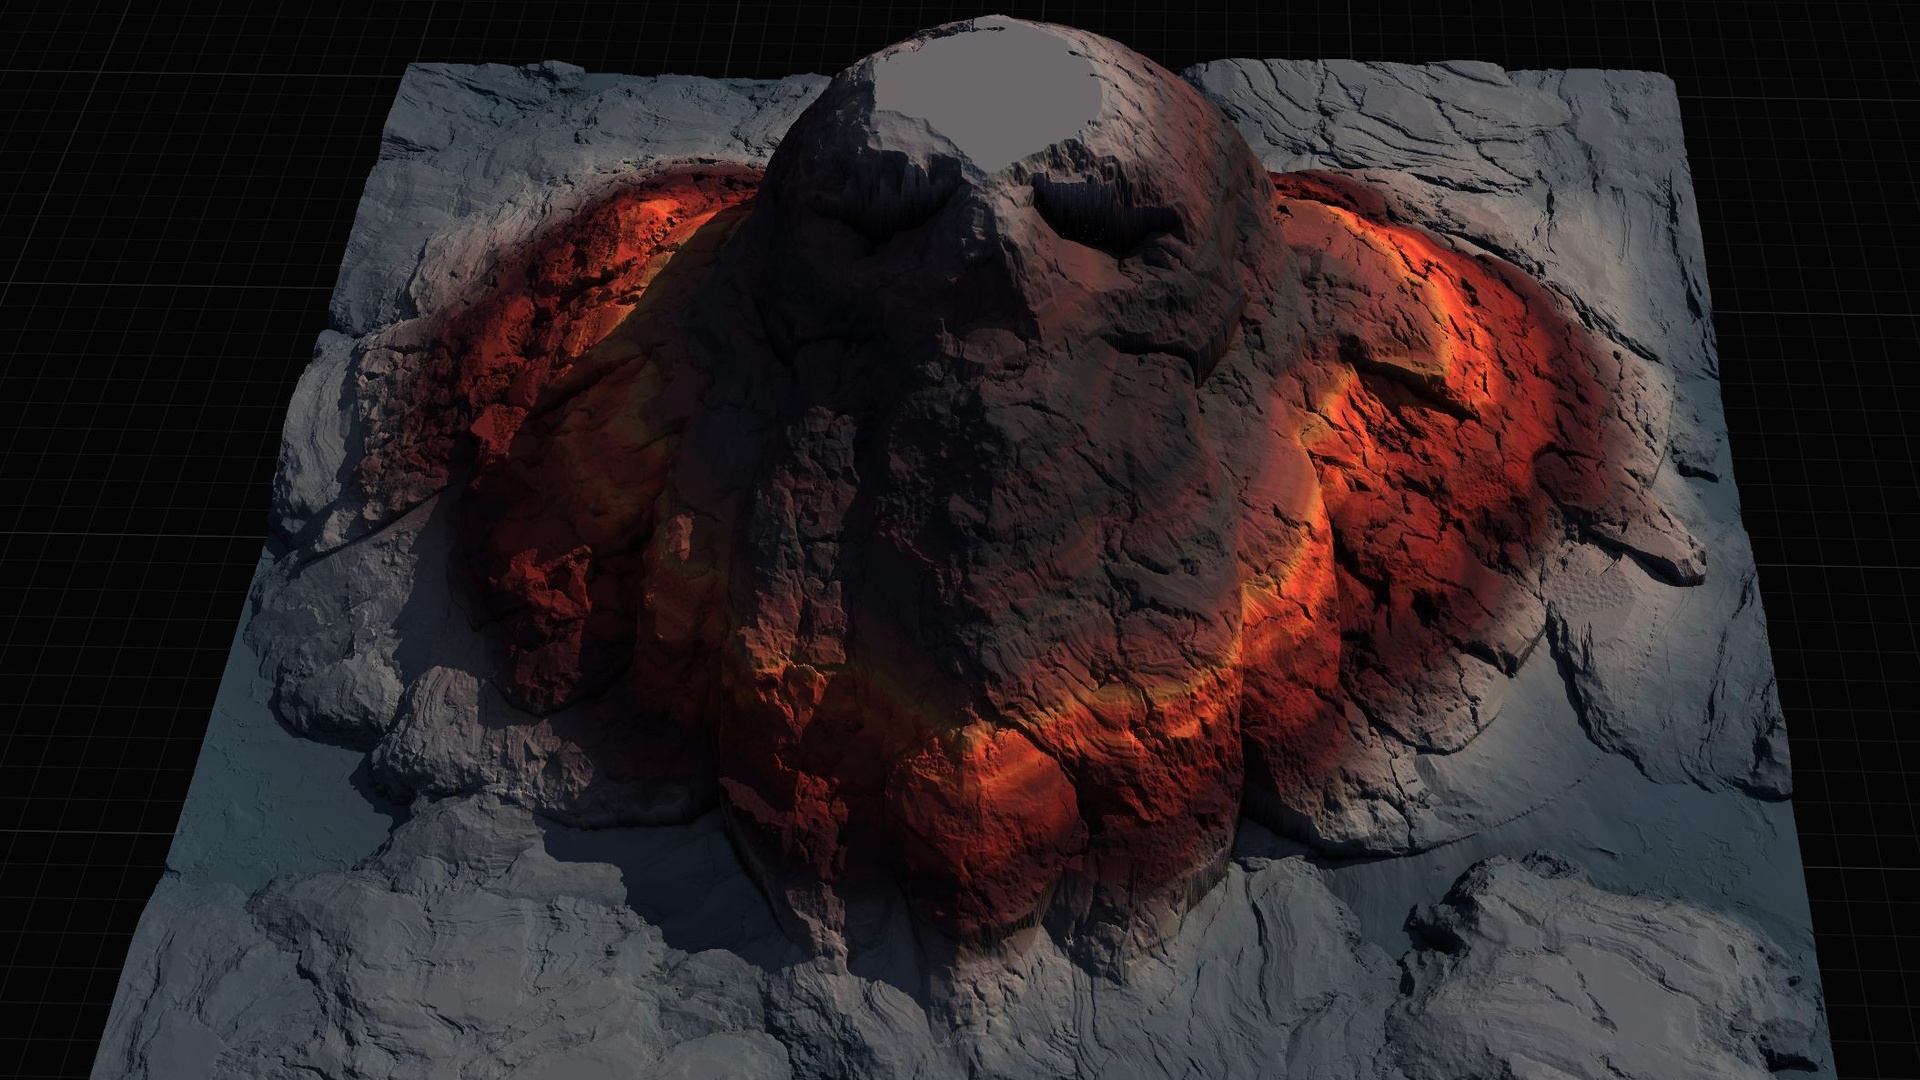
This same source-first workflow runs across the whole MythicLemon landscape line, because every pack ships Gaea sources and the same height-and-slope AutoMaterial. The Massive Open World Landscape Pack is the one aimed at big, explorable continents and islands, including volcanic terrain, with 56 heightmaps in total (14 maps at four sizes each) and a demo level per map that uses the Water plugin for oceans.
If your project is more biome-driven, the Fantasy Landscape Pack offers 15 maps across multiple biomes, with regular maps at 512, 1K, 2K and 4K and four huge open-world maps at 8K. If you want terrain that reads as a legendary shape out of the box, the Mythic Relic Landscape Pack provides 14 mythic landscapes (skull islands, hand-of-god isles and the like) at 1K to 8K, and even bundles relic-themed FBX props to dress them. All three accept the exact same Gaea-edit-and-re-import loop described here.
And if you would rather compose terrain inside Unreal than round-trip through Gaea at all, Landstamp Pro takes a different approach: it turns heightmaps into non-destructive landscape stamps built on UE's Landscape Patch system, with a library of 370+ stamps and a tool that extracts a heightmap from any static mesh. The two approaches complement each other, edit the macro shape in Gaea, then stamp in extra landforms non-destructively in-engine.
Heightmap export sizes
| Label | Exact pixel size | Typical use |
|---|---|---|
| 1K | 1009x1009 | A single sub-region or tile |
| 2K | 2017x2017 | A focused level or larger tile |
| 4K | 4033x4033 | A detailed region |
| 8K | 8129x8129 | A full open world |
Export from Gaea at these exact 16-bit greyscale dimensions so the re-imported landscape matches the pack.
FAQ
What is the Gaea terrain to Unreal Engine heightmap workflow for editing a source before import?
Open the supplied .terrain source for a map in Gaea, re-shape it in the node graph, export a 16-bit greyscale heightmap at one of the pack's exact sizes (1009, 2017, 4033 or 8129 square), then create a new landscape From File in Unreal's Landscape panel. Editing the source first avoids destructive in-engine sculpting and keeps the full elevation range intact.
Why does my re-imported landscape not line up with the others?
Almost always a resolution mismatch. Export from Gaea at one of the pack's exact pixel dimensions rather than a rounded power of two. Those dimensions map cleanly onto Unreal's landscape grid, so tiles align in World Partition; an arbitrary size imports but sizes the landscape components differently.
Why is my landscape black after I apply the AutoMaterial?
That is expected. Open the Landscape tool, go to the Paint tab, run Create Layers from Assigned Material, then right-click the AutoMaterial Base Layer and choose Fill Layer to paint the terrain by height and slope. Edit the textures and height/slope thresholds in the Material Instance afterwards.
Do I have to re-export at 8K?
No. Export at the resolution that matches the job. Use 1K or 2K when the terrain is one tile or sub-region and reserve 8K for a full open world. The pack supplies every map at 1K, 2K, 4K and 8K so you can mix sizes across a World Partition world.
Will editing the Gaea source change the demo level or AutoMaterial?
No. The demo levels and AutoMaterial are separate assets. Editing a copy of the .terrain and re-importing produces a new landscape; the AutoMaterial paints it by height and slope just like the stock maps. Always edit a copy of the source so the as-shipped terrain stays intact.
Massive Open World Landscape Pack
Fourteen ready-to-play open-world landscapes with an auto-material setup — 56 heightmaps from 1K to 8K, including volcanic islands and oceans. Drop in, paint your own textures and build your world.