tutorial · 2026-05-25
Build a Glyph Unlock Puzzle Where the Symbol Assembles From Particles in UE5 (Free Assets)
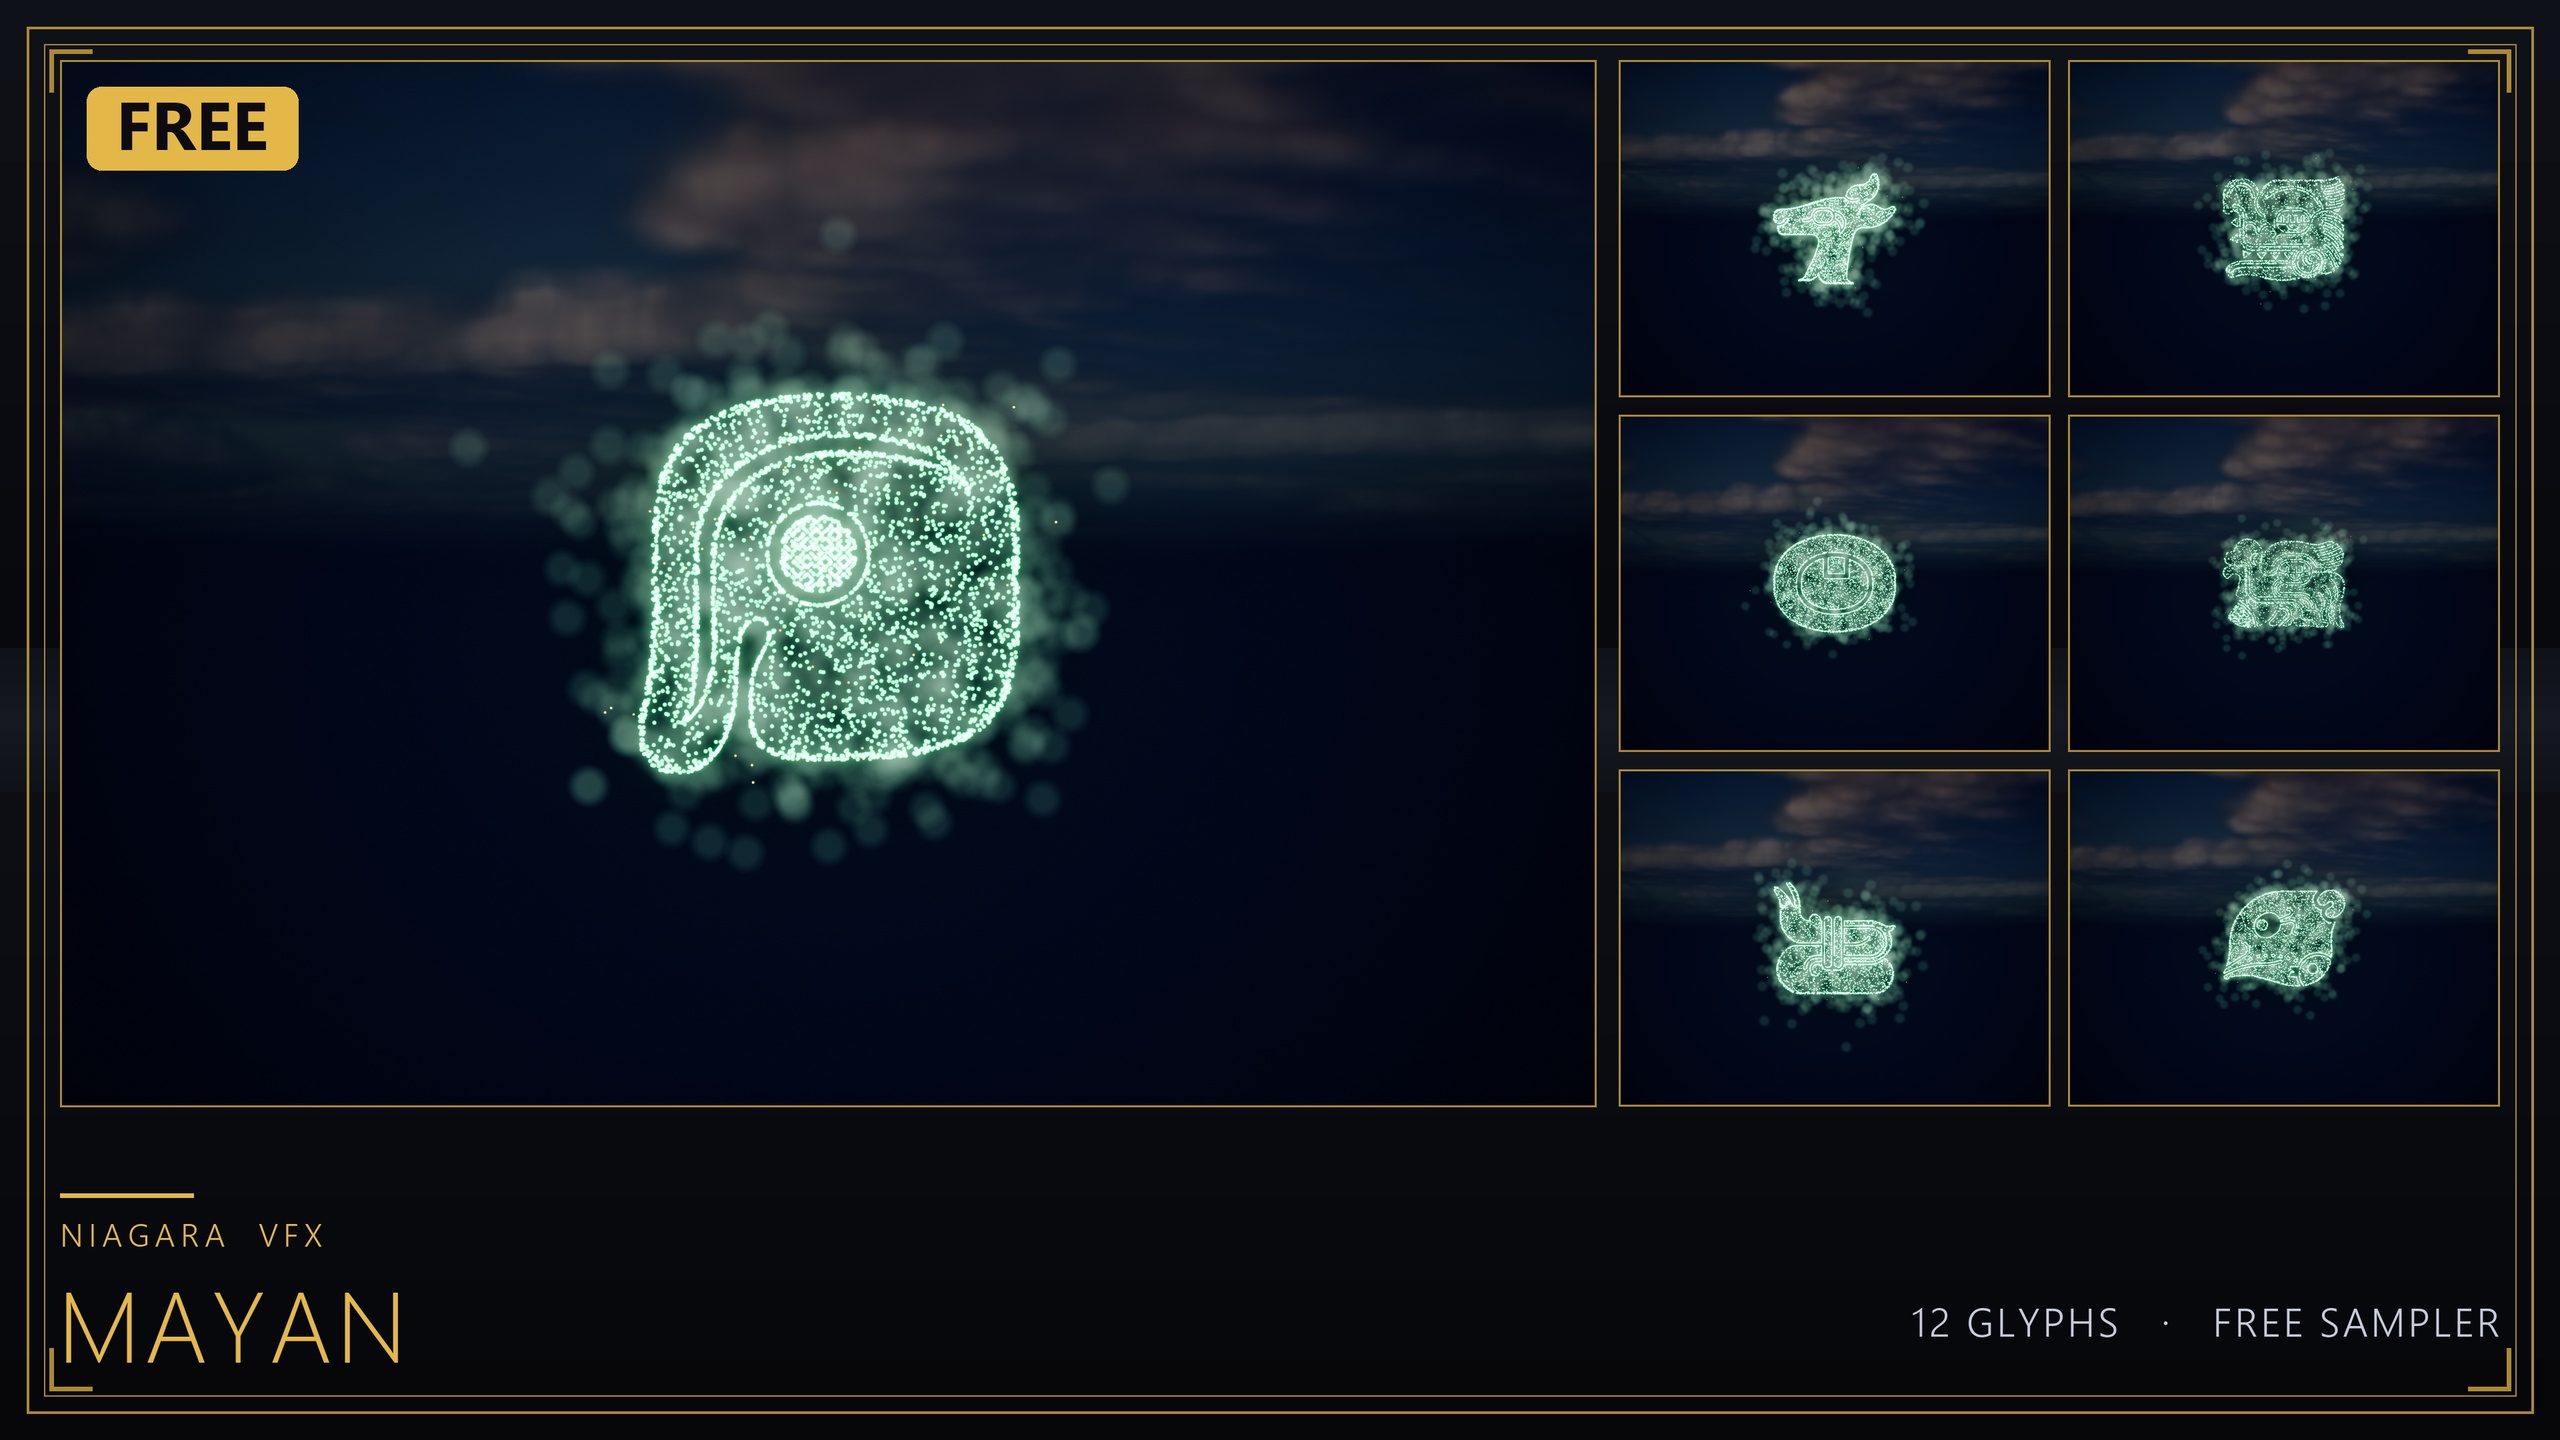
Use a free 12-glyph Niagara sampler to make a Mayan symbol materialise out of particles when a player solves a puzzle.
The effect you want, and the free assets that get you there
You have a puzzle. The player aligns the runes, plugs the right relic into the socket, or finishes the sequence, and you want a payoff that reads instantly: a sacred symbol that does not just pop into existence but assembles from particles, swarming together until the glyph resolves and holds. That is the classic Niagara assemble-shape-from-particles puzzle effect in UE5, and the hard part is never the particles themselves. It is getting them to settle onto the exact silhouette of a real symbol rather than a vague blob.
The cheapest way to get that silhouette right is to start from a glyph that already ships as both a Niagara system and a matching mesh. The free Niagara Mayan Glyphs sampler is built for exactly this: it is 12 Maya glyph Niagara Systems with 12 matching static meshes, hand-picked from a larger 26-glyph Mayan set, and the product listing names glyph-based puzzle and unlock VFX where the symbol assembles from particles as an intended use case. It is free, CPU-simulated, uses only engine-default materials, and is cleared for commercial use under the standard Fab licence, so you can prototype the whole mechanic with zero spend and ship it.
It also includes a ready-to-open demo map, L_Demo_Mayan, with all 12 glyphs lit and laid out. Open that first. Seeing the finished look running in-editor tells you which glyph reads best as your unlock symbol before you write a line of Blueprint.
Step 1: Target the glyph mesh as the spawn surface
The reason the sampler is the right starting point is that every glyph ships twice: as a spawnable Niagara System and as a matching static mesh in the Meshes/Mayan folder. The mesh is what gives your particles a shape to find. Pick the glyph you want as your unlock symbol and note both its system, named in the NS_mayan_glyph_ form (the sampler ships UB, UC, UD, UH, UL, UP, UQ, UR, US, UT, UV and UZ), and its matching mesh.
1. Open the chosen glyph's Niagara System and look at how its sprite emitter is positioned. The goal of an assemble effect is to have the particles end up sampling points across the glyph mesh's surface, so the swarm spells out the symbol rather than scattering randomly.
2. To bind particles to the symbol's outline, the mechanism you rely on is sampling the glyph mesh from the emitter. In the related full library the per-glyph mechanism is documented as CPU Sprite emitters using the 'Static Mesh Location' module to sample the extruded-glyph mesh surface. If your chosen system already resolves to the glyph shape, you have nothing to add; if you are building the spawn-on logic yourself, add a 'Static Mesh Location' module in the particle spawn stage and point it at the matching mesh from Meshes/Mayan.
3. Confirm the result by dropping the system into your level next to its static mesh counterpart. The particles should occupy the same silhouette as the mesh. Once they do, you have a particle cloud that is already shaped like your symbol, which is the entire foundation of the materialize effect.
Step 2: Tune a 'materialize' feel
An assemble effect lives or dies on its timing. Particles that snap to the glyph instantly look like a switch flipping; particles that drift in over a beat and then lock look like magic resolving. You are tuning two things: how the particles travel to their target positions, and how the glow blooms as they arrive.
1. Start the particles displaced from their final glyph positions and let them converge over a short window. Practically, that means spawning a burst, scattering it slightly, and pulling it onto the mesh surface so it settles. Keep the convergence quick, on the order of a beat, so the symbol resolves with intent rather than dribbling in.
2. Drive the glow with HDR sprite colour rather than raw particle count. Across this glyph family the look comes from HDR sprite colour (values above 1.0) driving the engine's bloom post-process, so the symbol reads as lit rather than just dense. Keep your HDR modest, as the sampler's own guidance advises, so bloom tints the glyph rather than blowing it out to white. Confirm bloom is enabled in your scene, because the glow depends on it.
3. Recolour to match the puzzle's state by editing the sprite colour on the system's emitters, or duplicate the system if you want a bespoke variant. The sampler bakes its style into the system directly, so a small colour change is all it takes to move from a neutral idle to a triumphant gold solve.
4. If you want the symbol to keep breathing once assembled rather than freezing dead, leave a low ambient spawn running after the convergence so the glyph shimmers while it is held. Keep that trickle gentle, because the systems are CPU-simulated and cost scales per instance.
Step 3: Trigger and reset on solve
With the look settled, the mechanic is just spawn-on-solve and despawn-on-reset. The sampler is engine-default throughout and ships no Blueprints, so the trigger logic is yours to add, and it is short.
1. In the Blueprint that owns your puzzle, on the event that fires when the puzzle is solved, add a 'Spawn System at Location' node (or 'Spawn System Attached' if the glyph should ride a moving socket or door). Set the Niagara System input to your chosen NS_mayan_glyph_ asset and place it where the symbol should appear, typically on the lock, altar or door it unlocks.
2. Store the returned Niagara Component reference in a variable so you can address the running effect later.
3. To reset the puzzle, call 'Destroy Component' on that stored reference, or call 'Deactivate' if you would rather let the existing particles finish their lifetime and fade out gracefully before the next attempt. Deactivate gives a softer dissolve; destroy is instant.
4. If you want a re-arm flourish, fire a quick burst from the same system before deactivating so the glyph appears to scatter back into loose particles as the puzzle locks again. Because the matching static mesh exists too, you can also leave the carved, unlit mesh in the wall permanently and only spawn the particle system over it on solve, so the symbol looks dormant until the player earns it.
Why start free, then scale to the full Mayan set
The free sampler is deliberately a subset: 12 of a 26-glyph Mayan set. That is plenty to build and ship a single-symbol unlock, and it is the right place to validate your timing and trigger logic without spending anything. But if your design calls for a sequence of distinct glyphs, a codex of symbols, or several different doors each keyed to a different mark, you will want the complete alphabet.
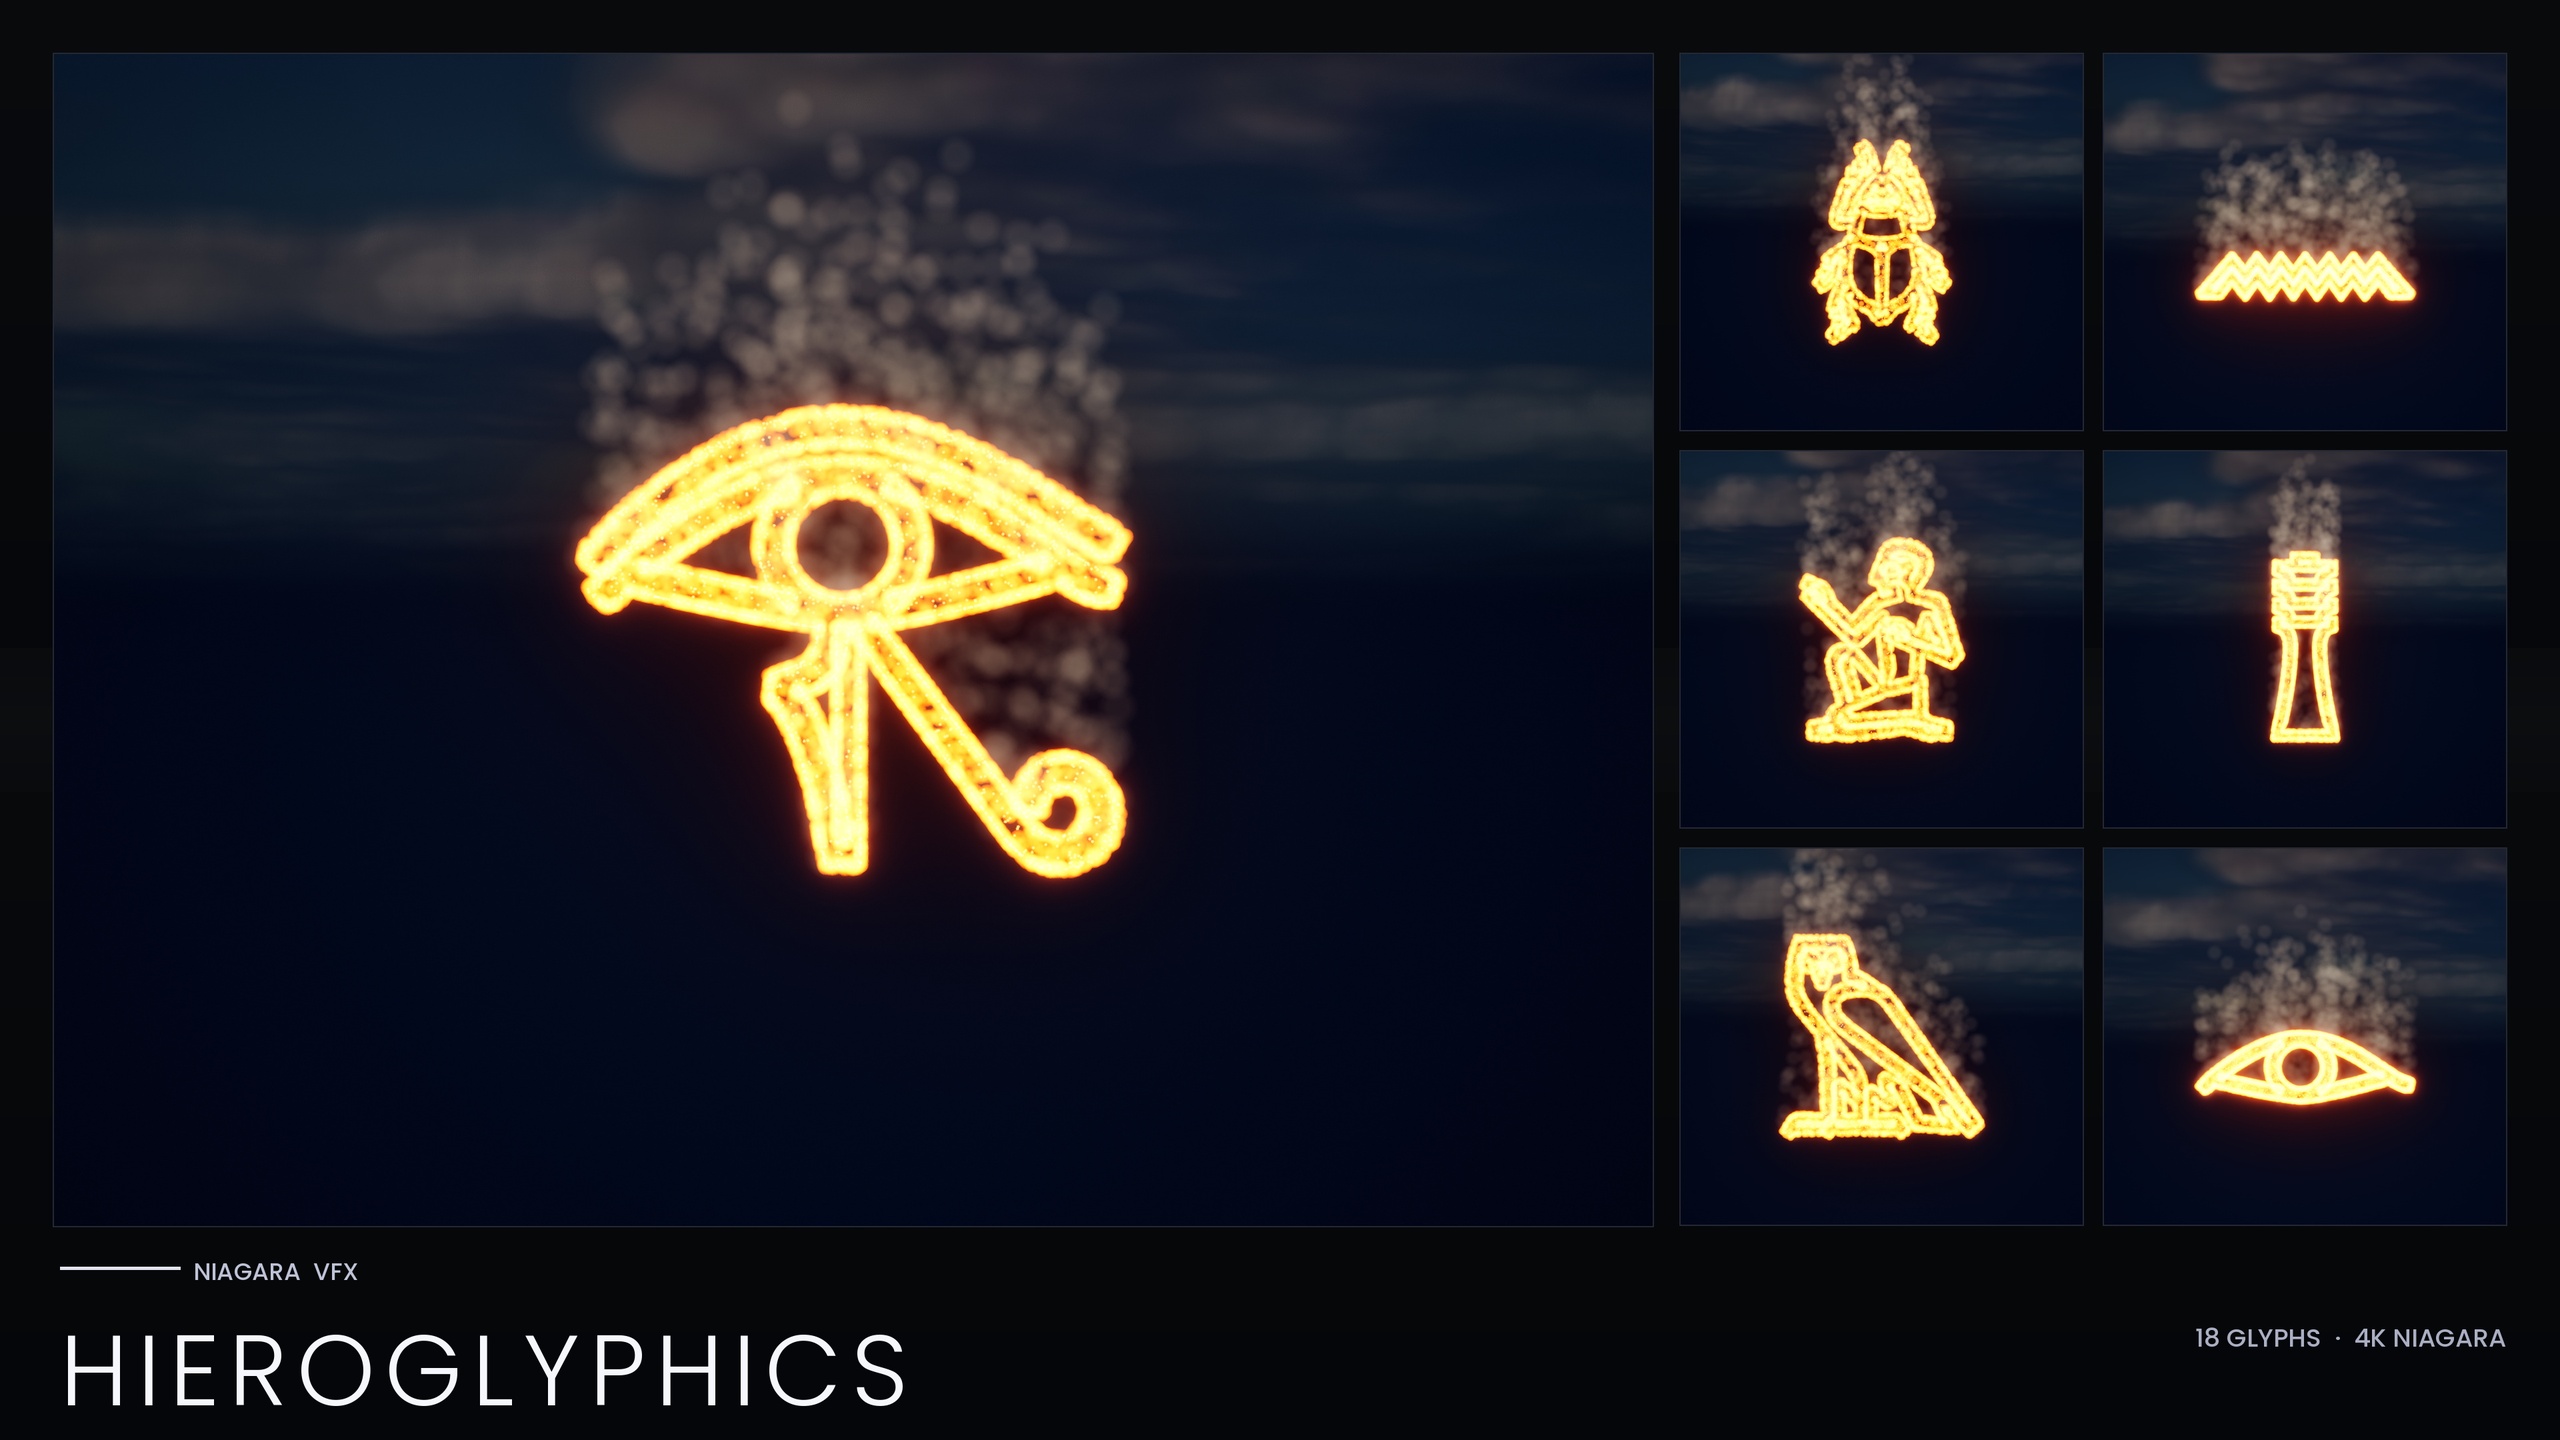
The upgrade path is direct. The full 26-glyph Mayan set lives inside the Niagara Ancient Scripts Pack, a 114-system pack spanning five real writing systems (Egyptian Hieroglyphics, Cuneiform, Mayan, Ogham and Phoenician), each glyph again shipping as both a spawnable Niagara System and a carve-able static mesh. Ancient Scripts adds a Niagara Parameter Collection per script, so you can recolour or re-time a whole writing system from a single asset edit, which matters once you have many glyphs sharing one puzzle aesthetic.
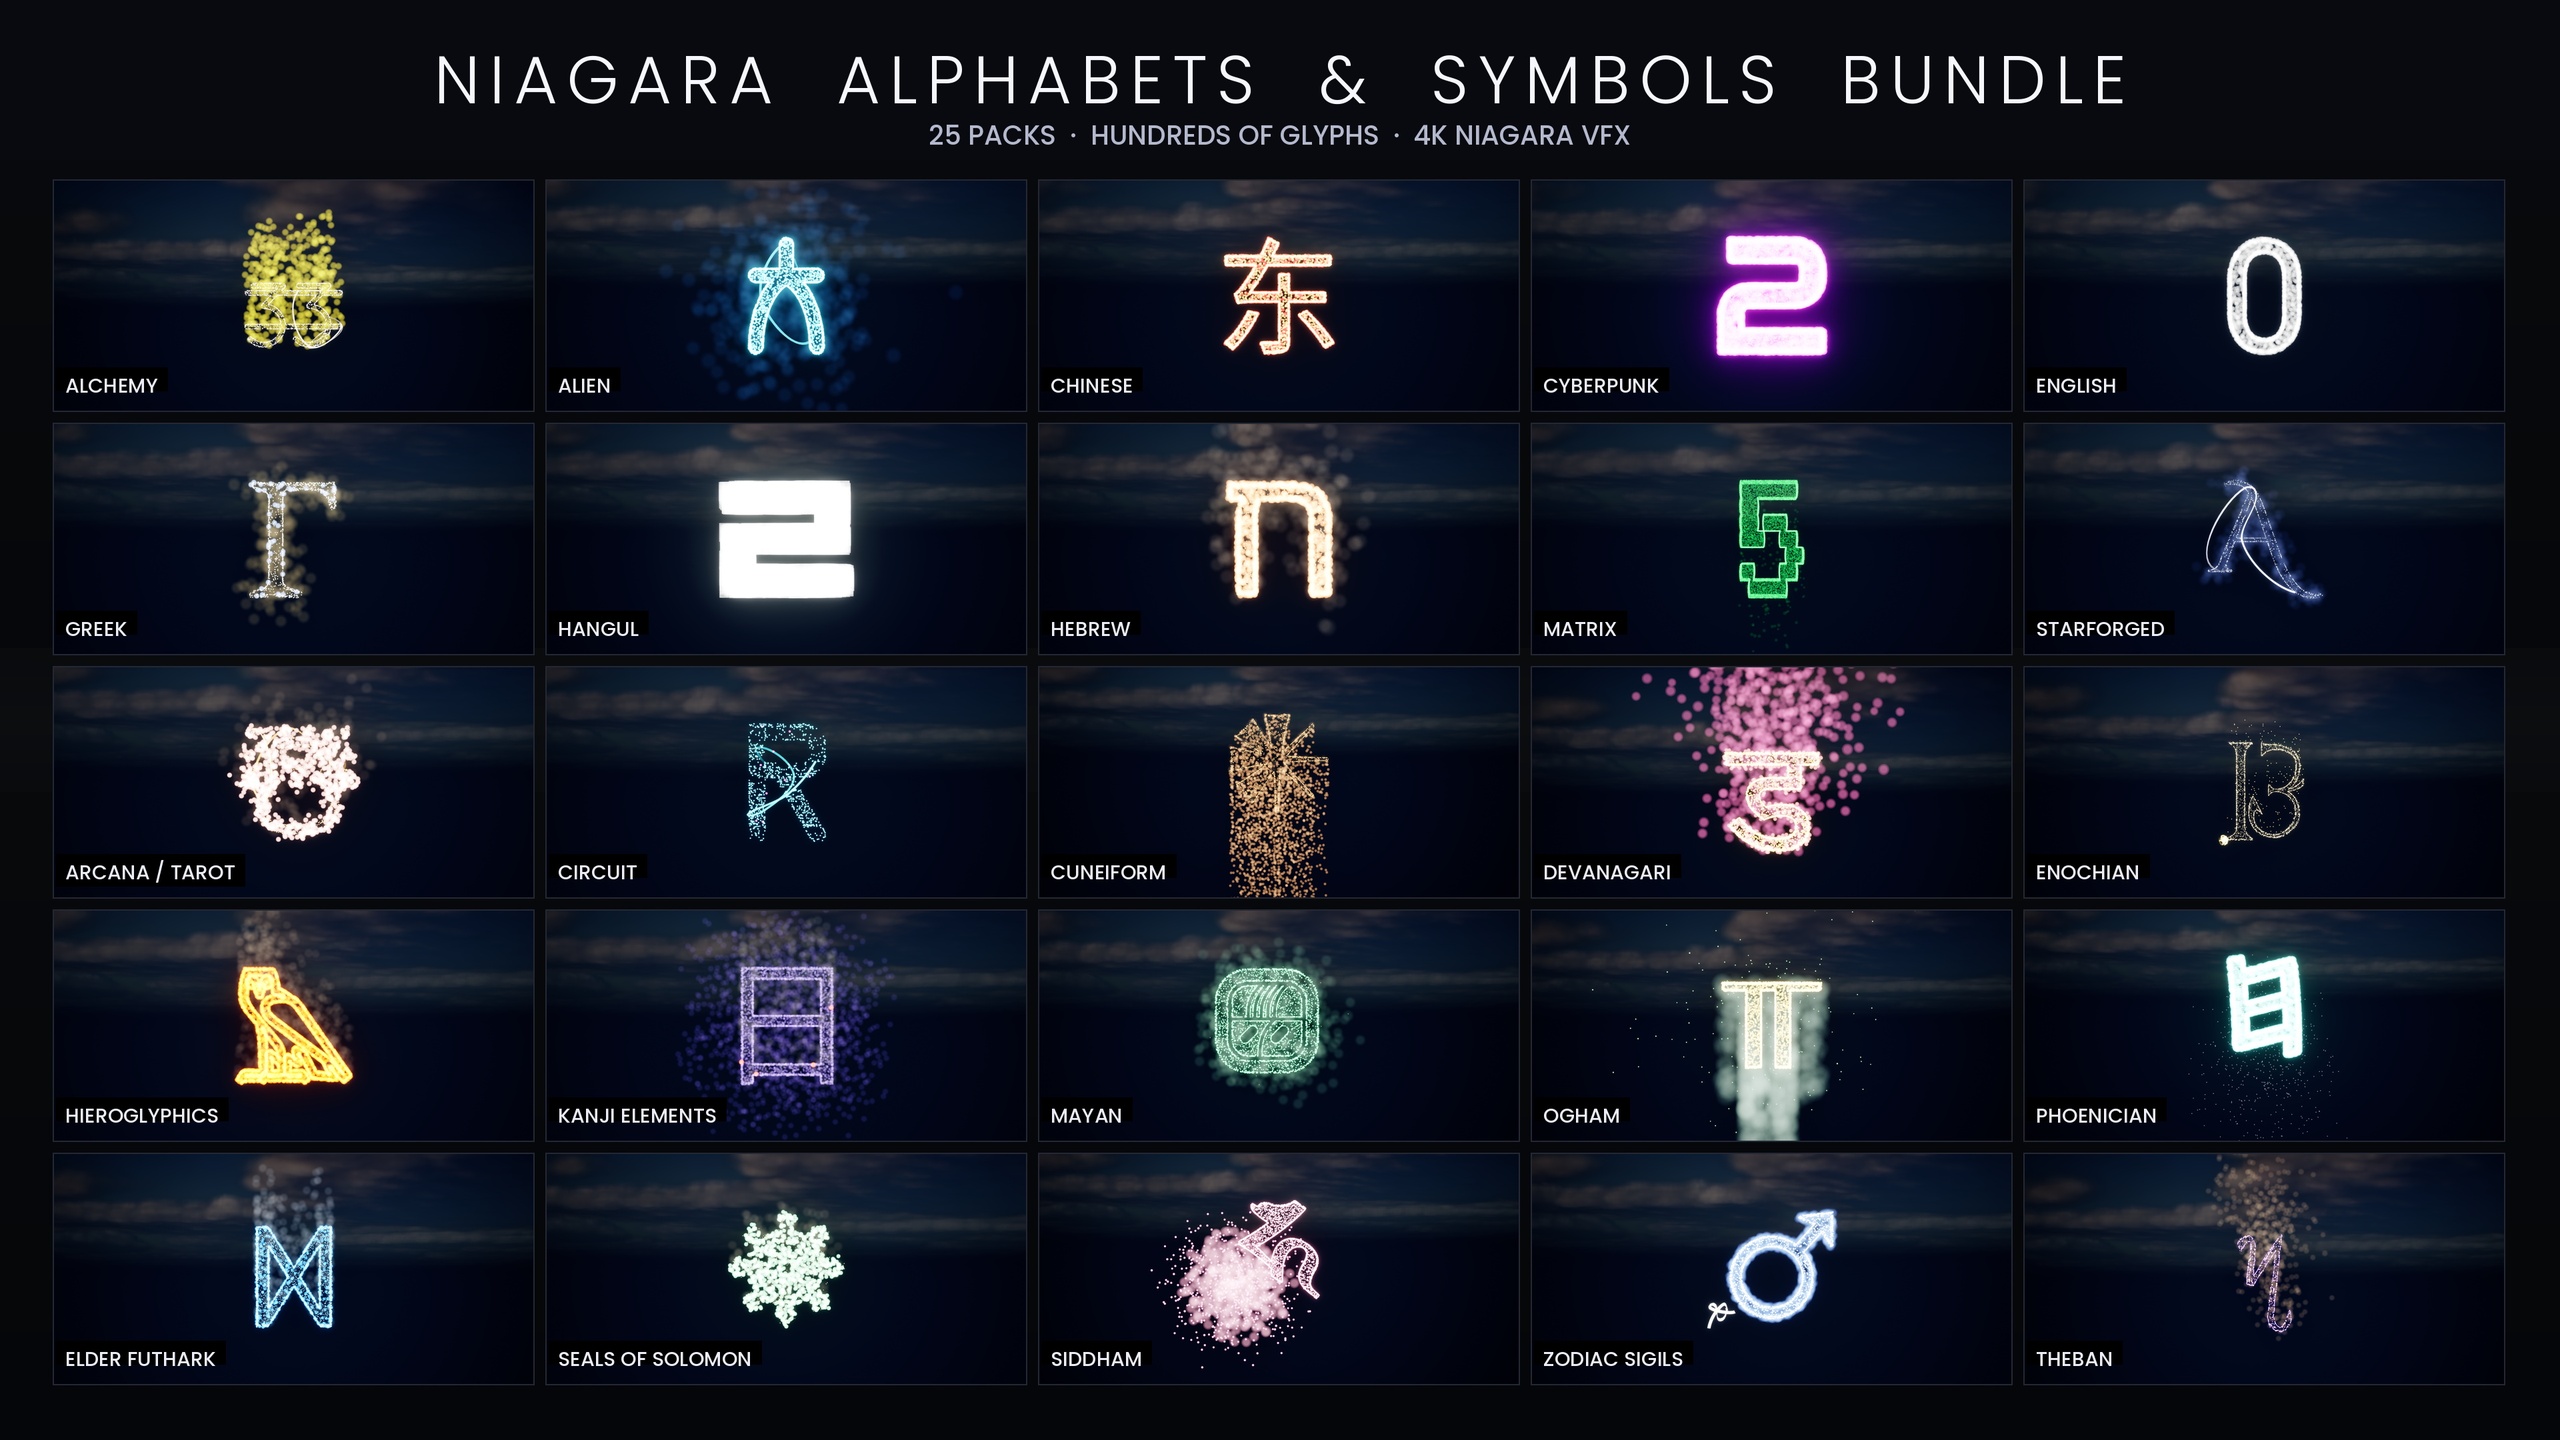
If your ambitions are broader still, the Niagara Alphabet & Symbols Bundle is the superset: 687 Niagara systems and 688 matching static meshes across 25 themed sets built from 26 source fonts, containing the Ancient Scripts, Hieroglyphics, Mayan and other packs. Everything in the line shares the same CPU-simulated, engine-default-material, zero-texture approach, so the workflow you learn on the free sampler carries straight up to the full library with no relearning.
Where the glyphs live: from free sampler to full library
| Pack | Niagara systems | Static meshes | Mayan glyphs | Price |
|---|---|---|---|---|
| Niagara Mayan Glyphs (free sampler) | 12 | 12 | 12 of 26 | Free |
| Niagara Hieroglyphics Pack | 18 | 18 | 0 (Egyptian) | Paid |
| Niagara Ancient Scripts Pack | 114 | 114 | Full 26 | Paid |
| Niagara Alphabet & Symbols Bundle | 687 | 688 | Full 26 | Paid |
Counts are from each product's listing. The free sampler is a subset; the larger packs include the full Mayan set.
FAQ
How do I assemble a shape from particles for a puzzle in UE5?
Start from a glyph that ships as both a Niagara system and a matching static mesh, then sample that mesh's surface from a CPU sprite emitter so the particles settle into the symbol's silhouette. Spawn the particles slightly displaced and converge them onto the mesh over a short window for the materialize feel, then trigger the system from Blueprint on solve with a 'Spawn System at Location' node. The free Niagara Mayan Glyphs sampler gives you 12 glyphs and their matching meshes to do exactly this.
Is the Mayan glyph pack really free, and can I ship a game with it?
Yes. The Niagara Mayan Glyphs sampler is a free product cleared for commercial use under the standard Fab licence, so you can prototype and ship with it at no cost.
How many glyphs do I get, and what if I need more?
The free sampler is 12 glyphs, a hand-picked subset of a 26-glyph Mayan set. If you need the full 26, they are included in the Niagara Ancient Scripts Pack, and the complete 687-system Alphabet & Symbols Bundle is the superset containing every theme.
Why don't my glyphs glow?
The glow comes from HDR sprite colour (values above 1.0) driving the engine's bloom post-process. If your symbol looks flat, confirm bloom is enabled in your scene, and keep the HDR colour modest so bloom tints the glyph rather than washing it out to white.
Do I need custom materials or textures to use it?
No. The sampler uses only engine-default materials and ships zero custom textures, materials or Blueprints, so it works immediately on import. You add only the small amount of Blueprint trigger logic for your specific puzzle.
Niagara Mayan Glyphs
Twelve Mayan glyph Niagara systems, free — CPU-simulated and demo-ready, using engine-default materials for a near-zero footprint. A taste of the Niagara Ancient Scripts pack.