tutorial · 2026-01-19
Build a Hacker-Terminal Reveal Effect in UE5
A practical Niagara recipe for spelling a message in falling code, glitching it, and reusing it as a loading screen.
The problem with most digital-rain effects
If you have ever tried to build a hacker terminal UI effect in Unreal Engine, you have probably hit the same wall: the classic falling-code look is almost always faked with a single scrolling shader on a flat plane. It looks fine as wallpaper, but the moment you want the rain to actually spell something - a character's name resolving out of the noise, a password decrypting, an AI waking up and addressing the player - the shader approach falls apart. You cannot react to a gameplay event, you cannot recolour one word independently, and you certainly cannot have individual characters glitch and reorganise.
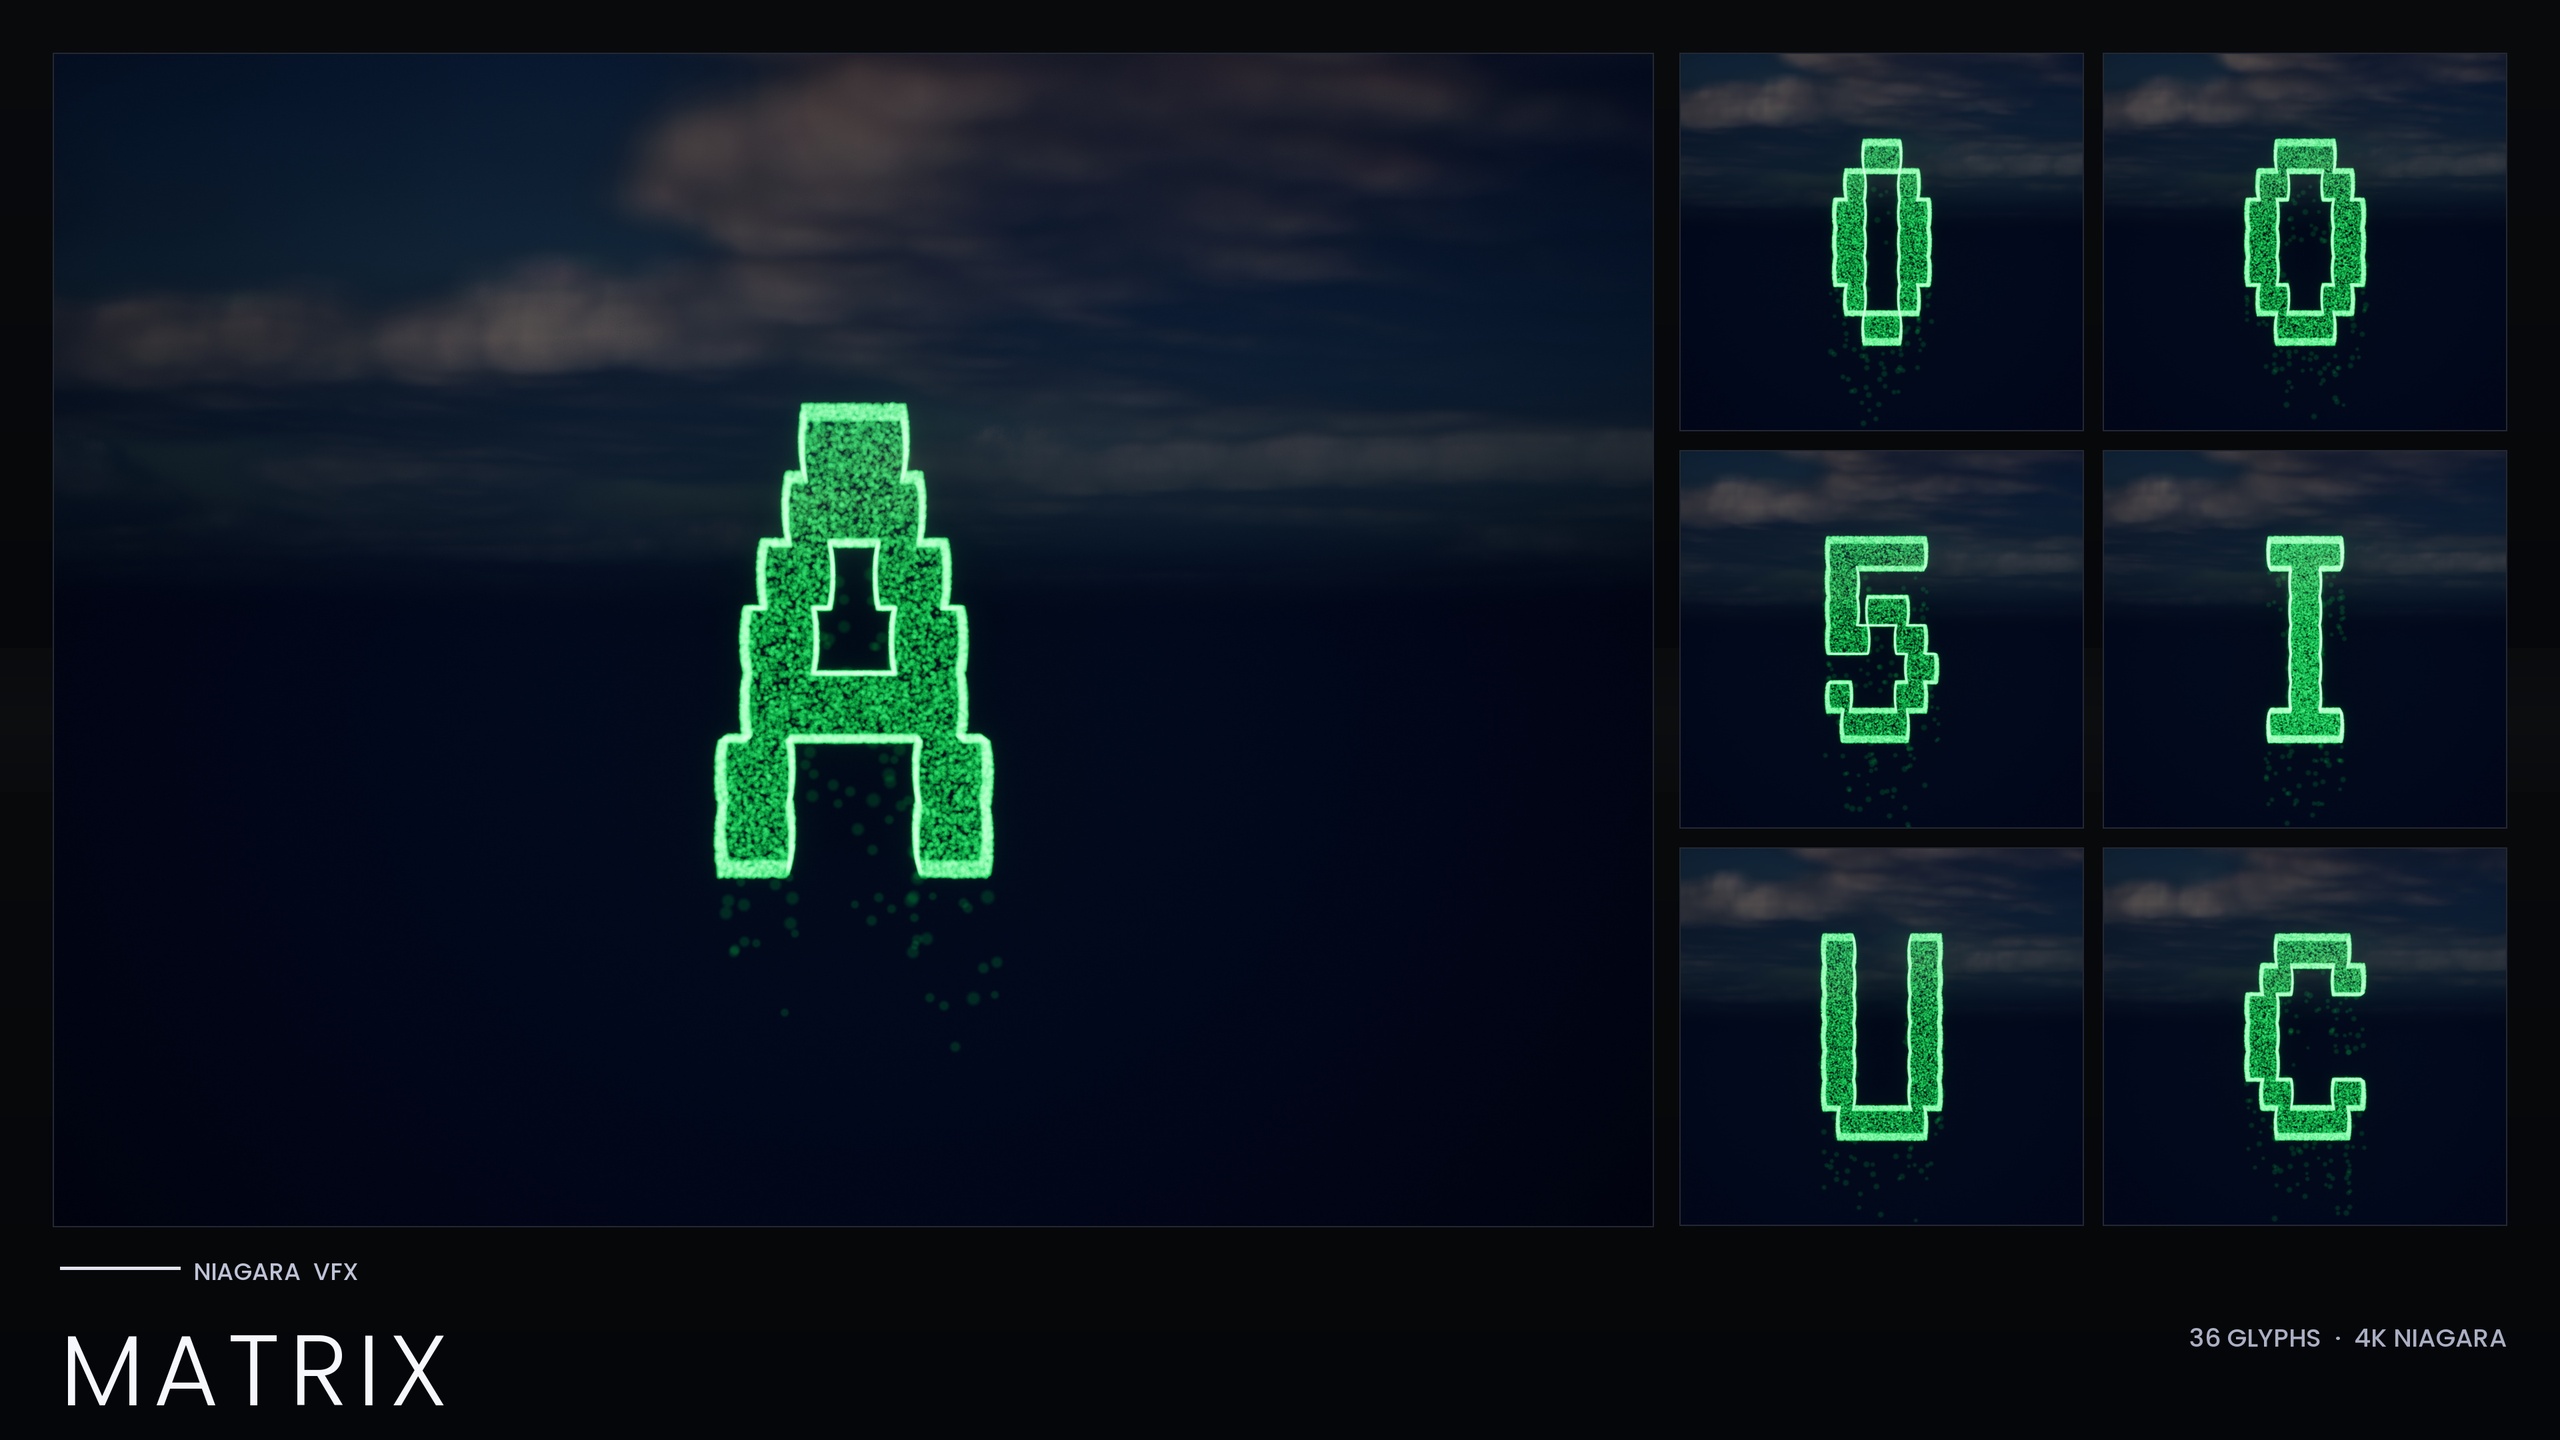
The Niagara Matrix Pack solves this from the other direction. Instead of one shader, it ships every character of the iconic code-rain script - A to Z and 0 to 9, 36 glyphs in total - as its own independently spawnable Niagara System, with a matching static mesh for each. Because each glyph is a real particle system rather than a texture, you can place them like letters, trigger them on events, recolour them, and let them fall, glitch, brighten and decay both individually and as a swarm. That is exactly what a convincing terminal reveal needs.
This tutorial walks through building that reveal step by step: laying out the message glyphs, triggering the cascade on an event, adding glitch and reorganise beats, and finally repurposing the whole thing as a loading screen or menu background.
How the glyphs are built
Before you place anything, it helps to understand what each glyph actually is, because it changes how you light and frame the shot. Every Matrix glyph is a CPU-simulated Niagara System made of two emitters that both sample the extruded glyph mesh. The first is a 'Spark' emitter: tiny, bright, short-life flicker pixels that sell the character's identity. The second is a 'Rain' emitter: dim grain that falls straight down to sell the cascade. The letter you read is the shape those particles trace, not a solid silhouette with a halo.
Two consequences follow from that design. First, the look is built from sub-pixel-to-pixel grain, so you need to render at a resolution and quality where those small particles actually read - shrink the effect too far on screen and it dissolves into mush. Second, the HDR colour is deliberately kept low (roughly 1.0 to 2.5) so that bloom tints the rain green rather than blowing it out to white. Keep bloom enabled in your post-process, and resist the urge to crank the colour values; the green glow is a bloom effect, not a saturation effect.
One more thing worth knowing up front: unlike the other sets in this glyph line, the standalone Matrix pack bakes its style as inline Constants. There is no Niagara Parameter Collection to author and no one-time setup, so the systems work immediately on import. The trade-off is that recolouring is done per system rather than from a single global asset - we will come back to that when we add variants.
Laying out the message glyphs
Start by importing the content pack and opening the demo map, which lays out all 36 glyphs so you can preview the look and confirm bloom is doing its job. Each system is named NS_alphabet_matrix_glyph_ followed by the character code (UA to UZ for letters, D0 to D9 for digits), and each matching mesh is named SM_Glyph_VT323_ with its own suffix.
1. Decide on your message. For a reveal, short and legible wins - a name, a single word like 'ACCESS' or 'AWAKE', or a short code. Every character you want must exist in the A-Z, 0-9 set, so spell with that constraint in mind.
2. For each letter, drag the corresponding NS_ system from the content browser into the level. To spell a word, place them left to right with even horizontal spacing, all at the same height and depth, so the rain columns line up like text. Treat each glyph as a letterform on an invisible baseline.
3. Frame the shot against a dark background. The grain only reads as code when it falls against darkness, so position your camera and lighting so the glyphs sit on near-black. This is also where you confirm bloom is on - without it the green glow disappears.
4. If you want the message embossed into the world rather than free-floating, drop the matching SM_Glyph_VT323_ static meshes instead, and light them with an emissive material to carve the code into a wall or terminal screen.
Once the static layout reads cleanly, you have your target image - the state the reveal resolves into. The next step is making it arrive on cue.
Triggering the reveal on an event
A terminal reveal is only convincing if it fires at the right narrative moment - the player plugs in the drive, the AI boots, the door unlocks. Drive it from Blueprint rather than leaving the systems running ambiently.
1. Rather than placing the systems statically in the level, spawn them from Blueprint at the moment of the event. In your trigger logic - an overlap, an interact, a sequence beat - call the 'Spawn System at Location' node (or 'Spawn System Attached' if the message should follow a moving terminal or actor).
2. Set the System Template on that node to the NS_ glyph you want, and feed each letter's world transform so the spawned glyphs land in the same left-to-right arrangement you designed in the editor. Spawning per letter, rather than as one blob, is what lets you stagger them.
3. To get the message resolving in over time instead of snapping on at once, add a small incremental delay between each letter's spawn - a short timed sequence, or a loop with a brief delay node between iterations. The eye reads this as the code assembling itself column by column.
4. Keep the count manageable. Because everything is CPU-simulated and stacks per instance, spell with the fewest glyphs that carry the message and avoid spawning huge walls of systems at once.
The result is a message that does not exist until the event fires, then cascades into legibility - the core hacker-terminal beat that a flat shader simply cannot do.
Glitch and reorganise beats
The reveal feels alive when the glyphs misbehave before they settle. The pack is explicitly designed for glyphs that fall, glitch, brighten and decay individually and as a swarm, which gives you several beats to play with.
For a glitch beat, spawn a few wrong characters first, let them flicker for a fraction of a second, then despawn them and spawn the correct letter in the same slot. Because each glyph is its own system, you can corrupt one slot of the word while the rest hold steady - a single letter stuttering between values reads instantly as a system error or a decryption in progress.
For a reorganise beat - the AI-awakening look where loose code coalesces into a message - spawn scattered glyphs at random nearby positions first, then move or re-spawn them into their final slots so the text appears to gather itself out of the noise. Pair that with a brighten-on-arrival cue: let each glyph's Spark intensity peak as it locks into place, then decay back to the steady cascade.
Recolouring sells the emotional register of the moment. To shift from the default green to amber for a warning, blood-red for a breach, or cyan for a clean system, edit the Spark and Rain sprite colour on the emitters, or duplicate the system with a new tint. Keep the HDR values modest - around the 1.0 to 2.5 band - so bloom tints the new colour rather than whiting it out. Because the Matrix pack uses inline constants and has no Parameter Collection, this recolour is done per system, so set up your tinted variants once and reuse them.
Loading-screen and menu-background variants
The same systems double as ambient UI without any new assets. Listed use cases include simulation-bootup sequences, AI-awakening scenes and stylized loading screens, so once your reveal works the menu and loading variants are mostly a matter of framing.
For a loading screen, fill the frame with a looping field of falling glyphs - spell nothing in particular, or spell your game's title once and let the surrounding rain churn. Keep the camera locked, bloom on, and the background black so the green grain carries the whole composition. Because there are no textures and no custom materials in the pack, the footprint stays light, which matters on a loading screen that has to come up fast.
For a menu background, run a slower, dimmer cascade behind your widgets so it never competes with the UI for attention. Lower the spawn rate and pull the colour back so the rain reads as atmosphere rather than content. If your menu has different states - main menu, settings, a 'system breached' game-over screen - recolour a duplicate system per state to shift the mood without rebuilding anything.
From here, the natural next step is to wire the reveal into your actual gameplay trigger and build a small library of tinted variants - green for idle, amber for warning, red for breach - so any future terminal moment is a one-node spawn away.
When to reach for a wider glyph set
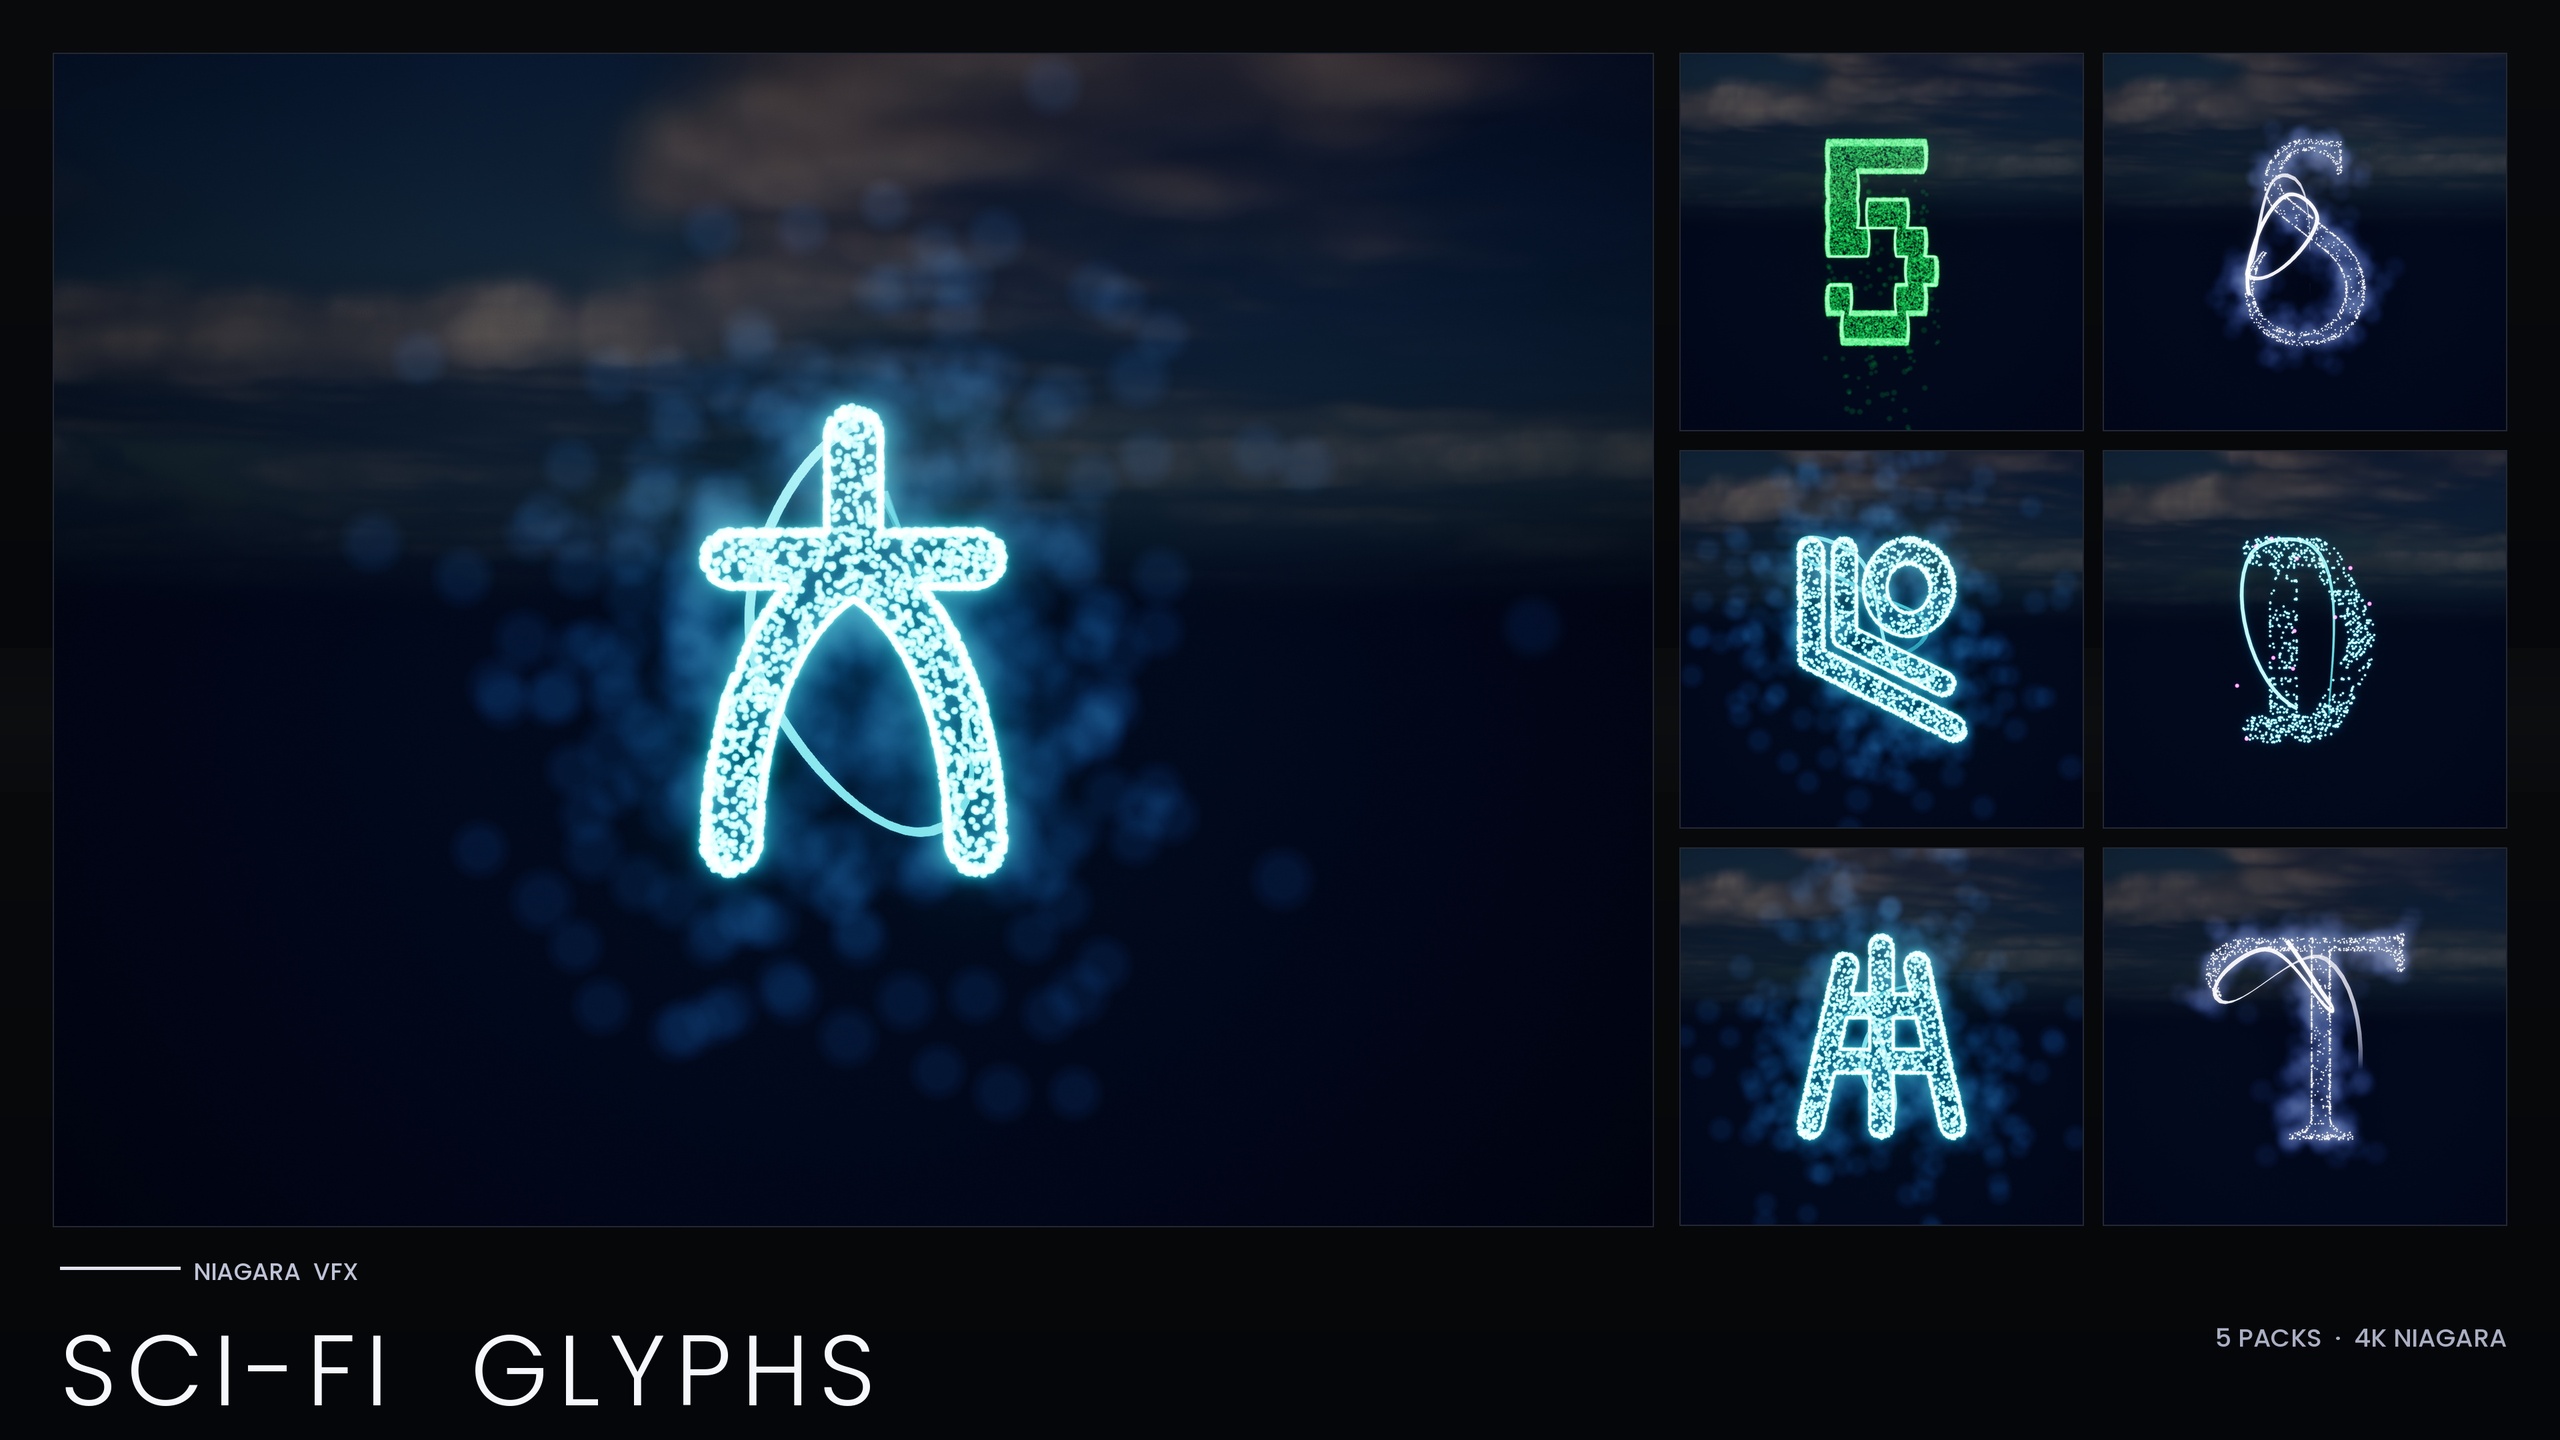
The standalone Matrix pack is the right tool when you specifically want the falling-code look. If your project also needs other sci-fi writing systems, the Matrix pack is contained within the larger Niagara SciFi Glyphs Bundle, which adds Alien, Cyberpunk, Starforged and Circuit scripts alongside it - 147 systems in total - and ships a Niagara Parameter Collection that recolours or re-times a whole script from one asset (note that the Matrix sub-pack still bakes its style inline, so that single-NPC workflow applies to the other themes rather than to Matrix).
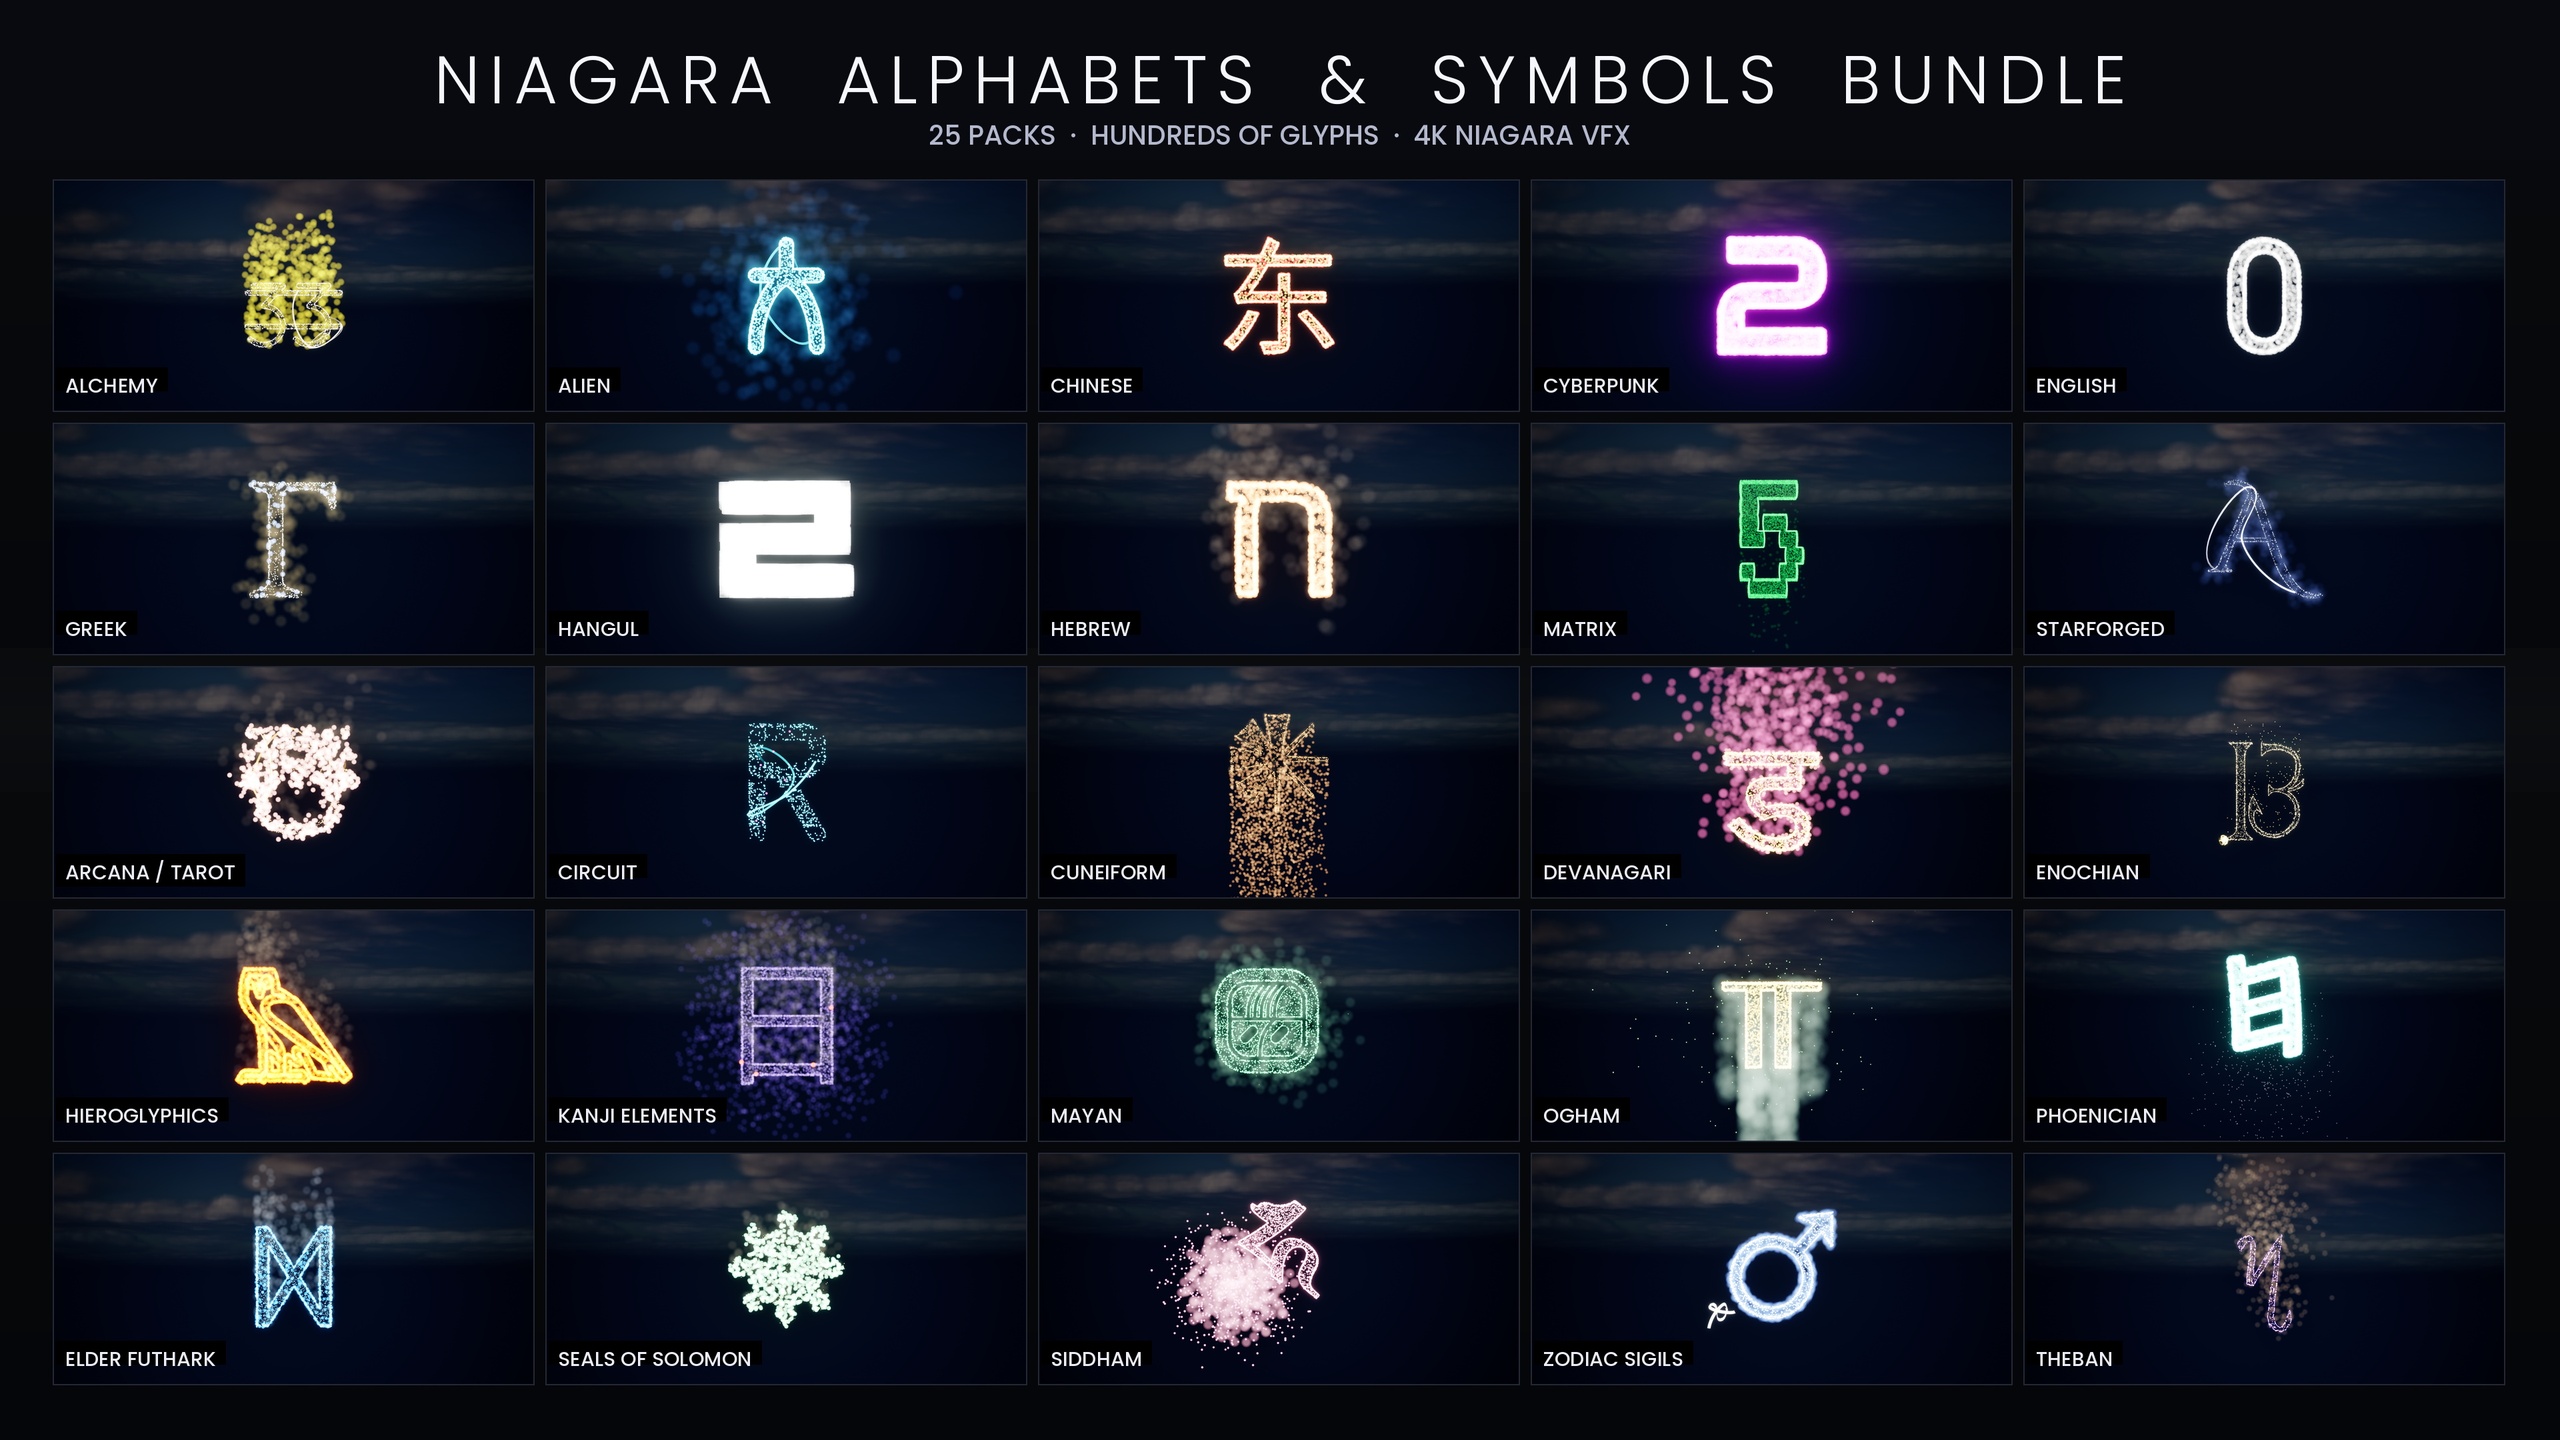
If your terminals share a world with ritual, lore or archaeology content, the full Niagara Alphabet & Symbols Bundle is the superset: 687 Niagara Systems across 25 themed writing systems, from this code-rain set through to runes, hieroglyphics and circuit traces, all CPU-simulated with no custom materials or textures. For purely ancient-world inscriptions there is also the Niagara Ancient Scripts Pack with 114 systems across five real historical scripts. For a focused hacker-terminal reveal, though, the Matrix pack is all you need - and it works the moment you import it.
Which glyph pack fits your project
| Pack | Niagara Systems | Recolour workflow | Best for |
|---|---|---|---|
| Niagara Matrix Pack | 36 | Per-system (inline constants) | A focused falling-code terminal reveal |
| Niagara SciFi Glyphs Bundle | 147 | Parameter Collection per script (not Matrix) | Mixed sci-fi: Alien, Cyberpunk, Starforged, Circuit + Matrix |
| Niagara Ancient Scripts Pack | 114 | Parameter Collection per script | Historical inscriptions across five real scripts |
| Niagara Alphabet & Symbols Bundle | 687 | Per-theme Parameter Collections (4 NPCs) | The full glyph library: runes, hieroglyphs, code-rain and more |
Counts are from each product's listing. Engine range 5.4-5.7 is from the product JSON; the Matrix pack uses inline constants with no Parameter Collection.
FAQ
How do I build a hacker terminal UI effect in Unreal Engine?
Spell your message by placing one Niagara System per character from the Matrix pack (each of the 36 glyphs A-Z and 0-9 is independently spawnable), spawn them from Blueprint with 'Spawn System at Location' on your gameplay event, and stagger the spawns with a short delay so the code resolves in over time. Keep the background dark and bloom enabled so the green grain reads.
Can I make the falling code spell an actual word?
Yes - that is the main advantage over a shader. Because every character is its own spawnable system, you place glyphs left to right like letters to spell a name, password or code, and you can corrupt or recolour individual letters without touching the rest.
How do I change the rain from green to another colour?
Edit the Spark and Rain sprite colour on the emitters, or duplicate the system with a new tint. Keep the HDR values modest (around 1.0 to 2.5) so bloom tints the colour rather than blowing it out to white. The Matrix pack uses inline constants and has no Parameter Collection, so recolouring is done per system.
Is there any setup required after importing?
No. Unlike the other sets in this line, the Matrix pack bakes its style as inline constants, so the systems work immediately on import with no Niagara Parameter Collection to author. Open the demo map to preview all 36 glyphs, then drag the systems you need into your level or spawn them from Blueprint.
Will this run well in my project?
The effects are CPU-simulated and use only Unreal's default sprite material with no custom materials or textures, which keeps the footprint light. Because systems stack per instance, spell with the fewest glyphs that carry your message and avoid spawning very large walls of systems at once.
Niagara Matrix Pack
Thirty-six Niagara systems of cascading matrix-style glyphs for hacker, cyberpunk and sci-fi scenes — CPU-simulated and demo-mapped, ready to drop into any UI or environment.
Related on Fab