tutorial · 2026-03-12
Niagara Glowing Particles: Bloom and HDR Sprite Colour in UE5
Why pushing a sprite's colour above 1.0 is all it takes to make a glyph glow — and how to keep that glow coloured instead of blowing out to white.
Why values above 1.0 trigger bloom
If you want glowing particles in Niagara with bloom and HDR colour in UE5, the single thing that does the work is the sprite's colour value going above 1.0. Most people reach for a custom emissive material first, but you don't need one. A sprite colour of (0, 1, 0) is fully saturated green at display brightness and will not glow; (0, 8, 0) is the same hue carried at eight times display brightness, and that overshoot is exactly what the bloom post-process pass picks up and bleeds into a halo.
Bloom is a thresholded effect: it finds pixels brighter than a normal monitor can display — the headroom above 1.0 — and smears that excess energy into the surrounding pixels. Anything at or below 1.0 is just a normal-brightness pixel and produces no halo. So the glow is not a property of the particle; it is a property of how far past 1.0 you push its colour.
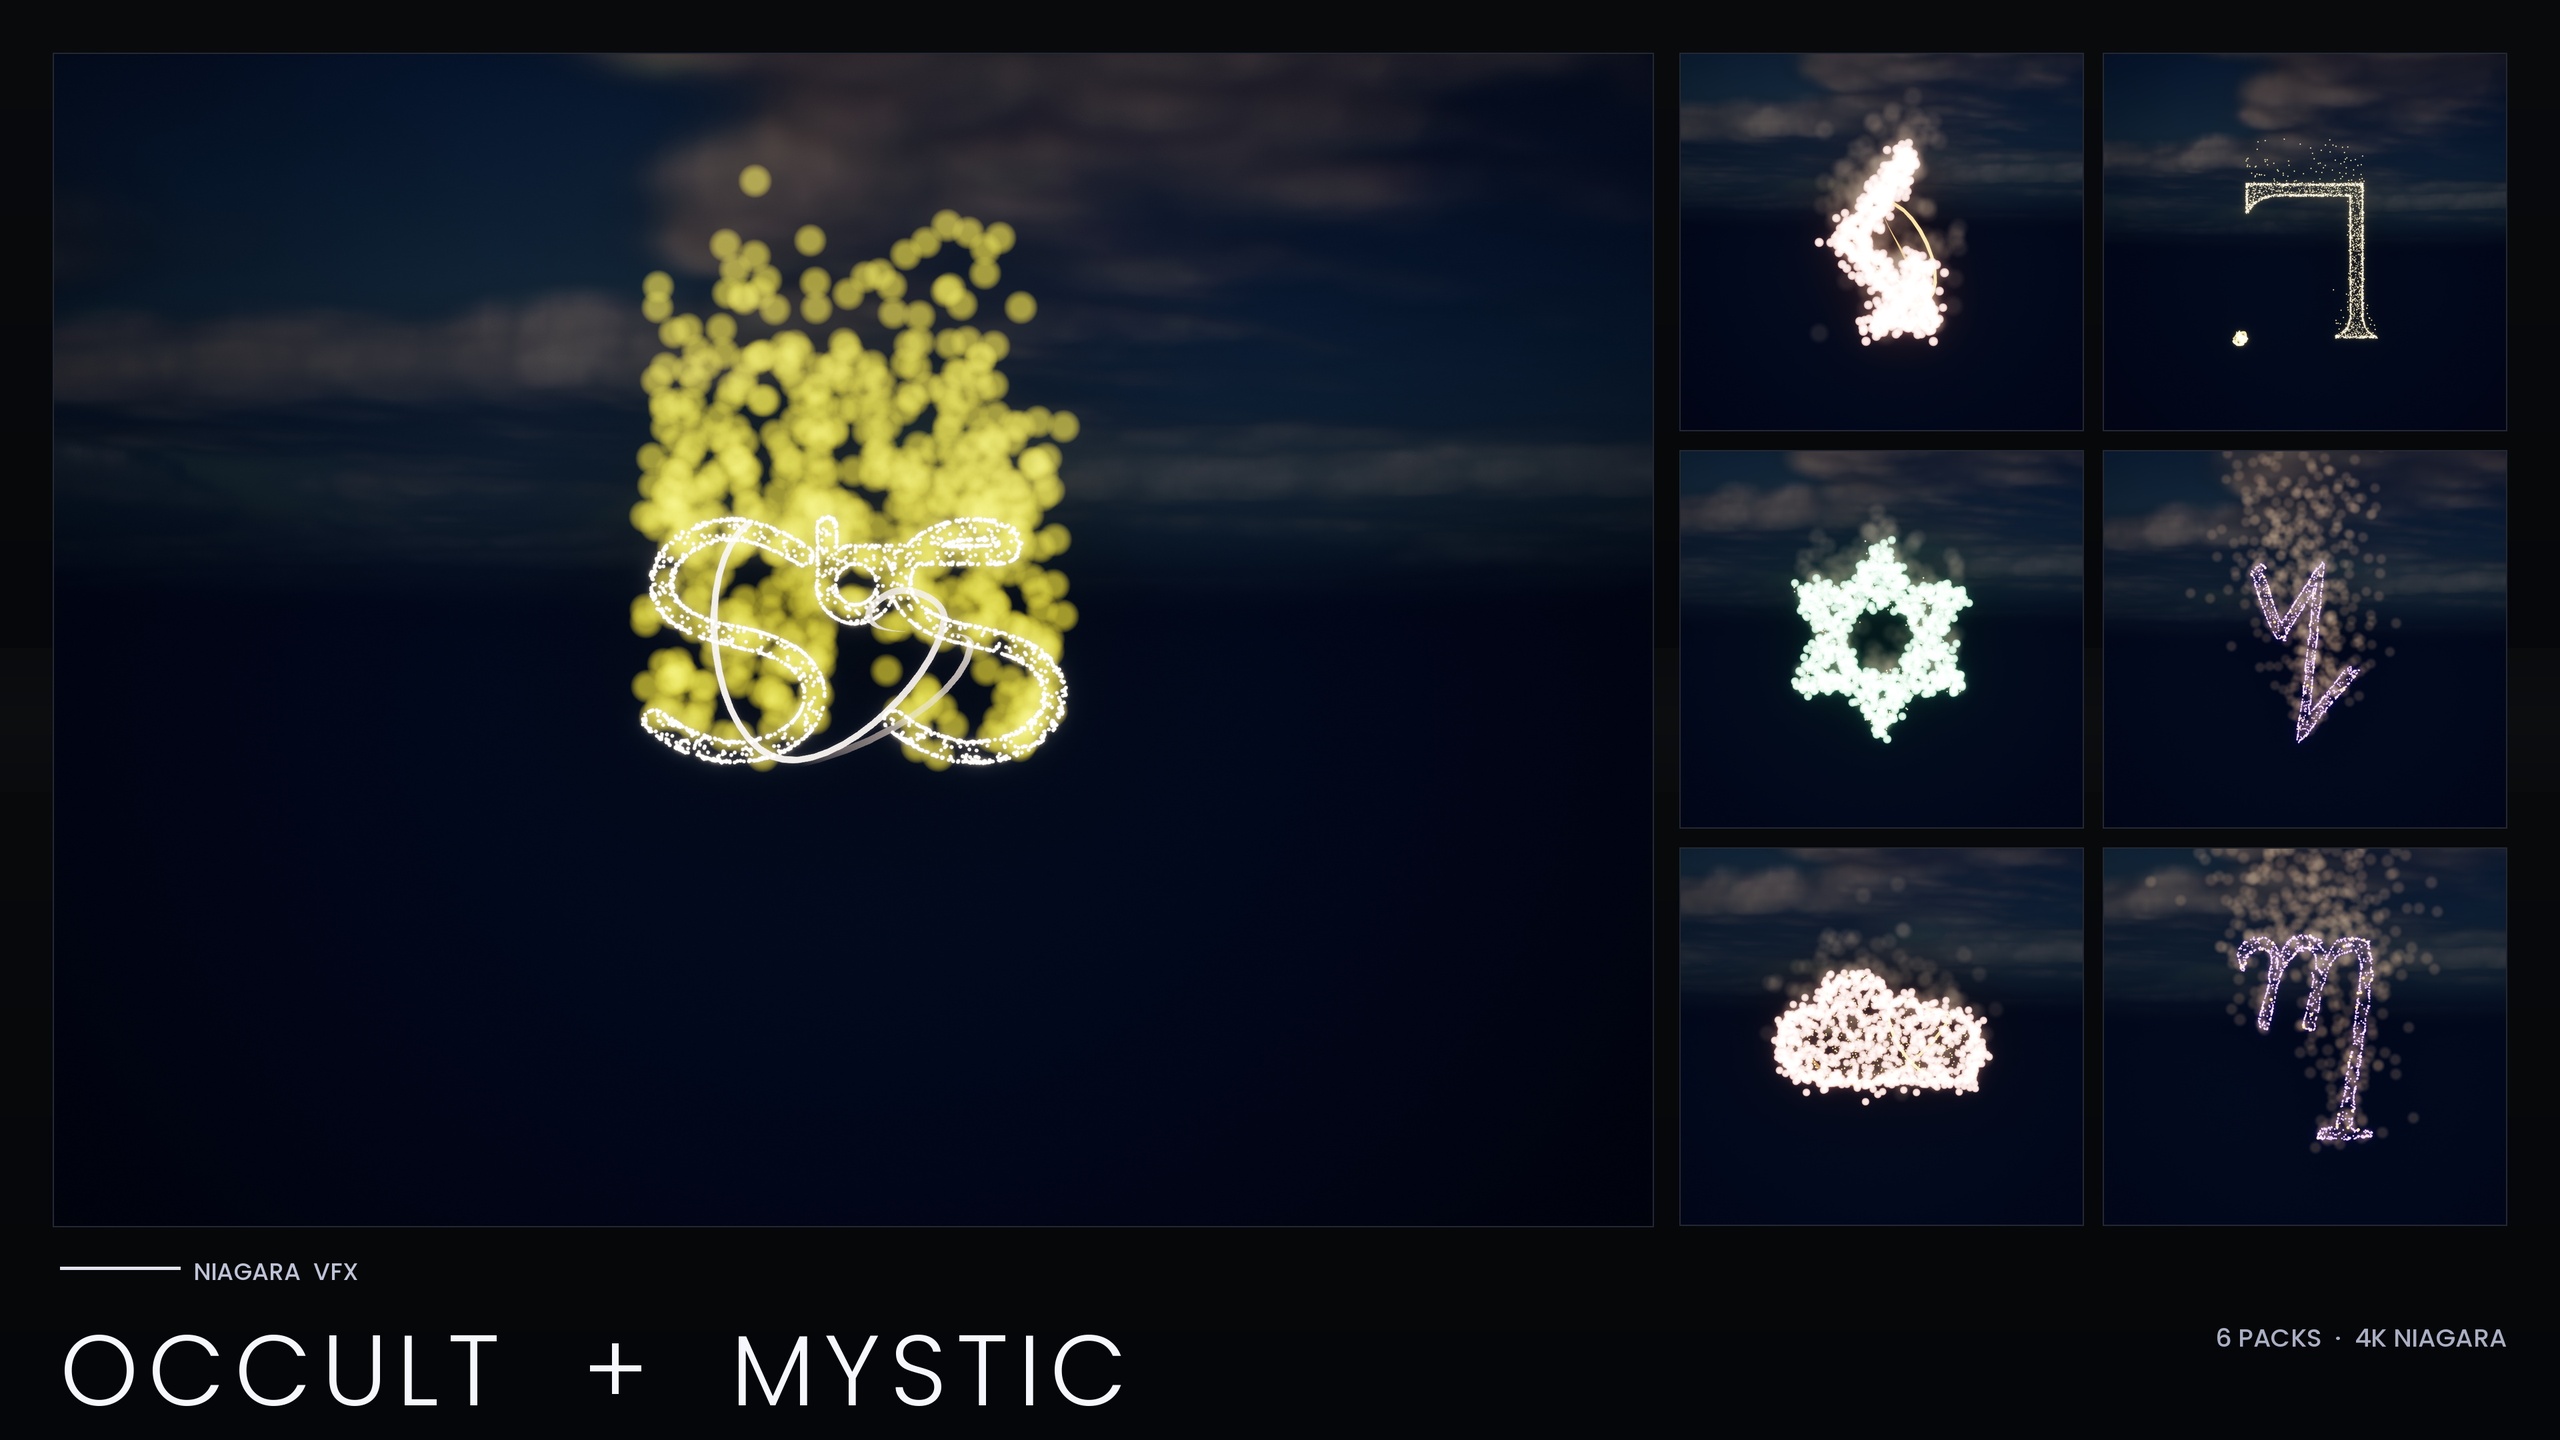
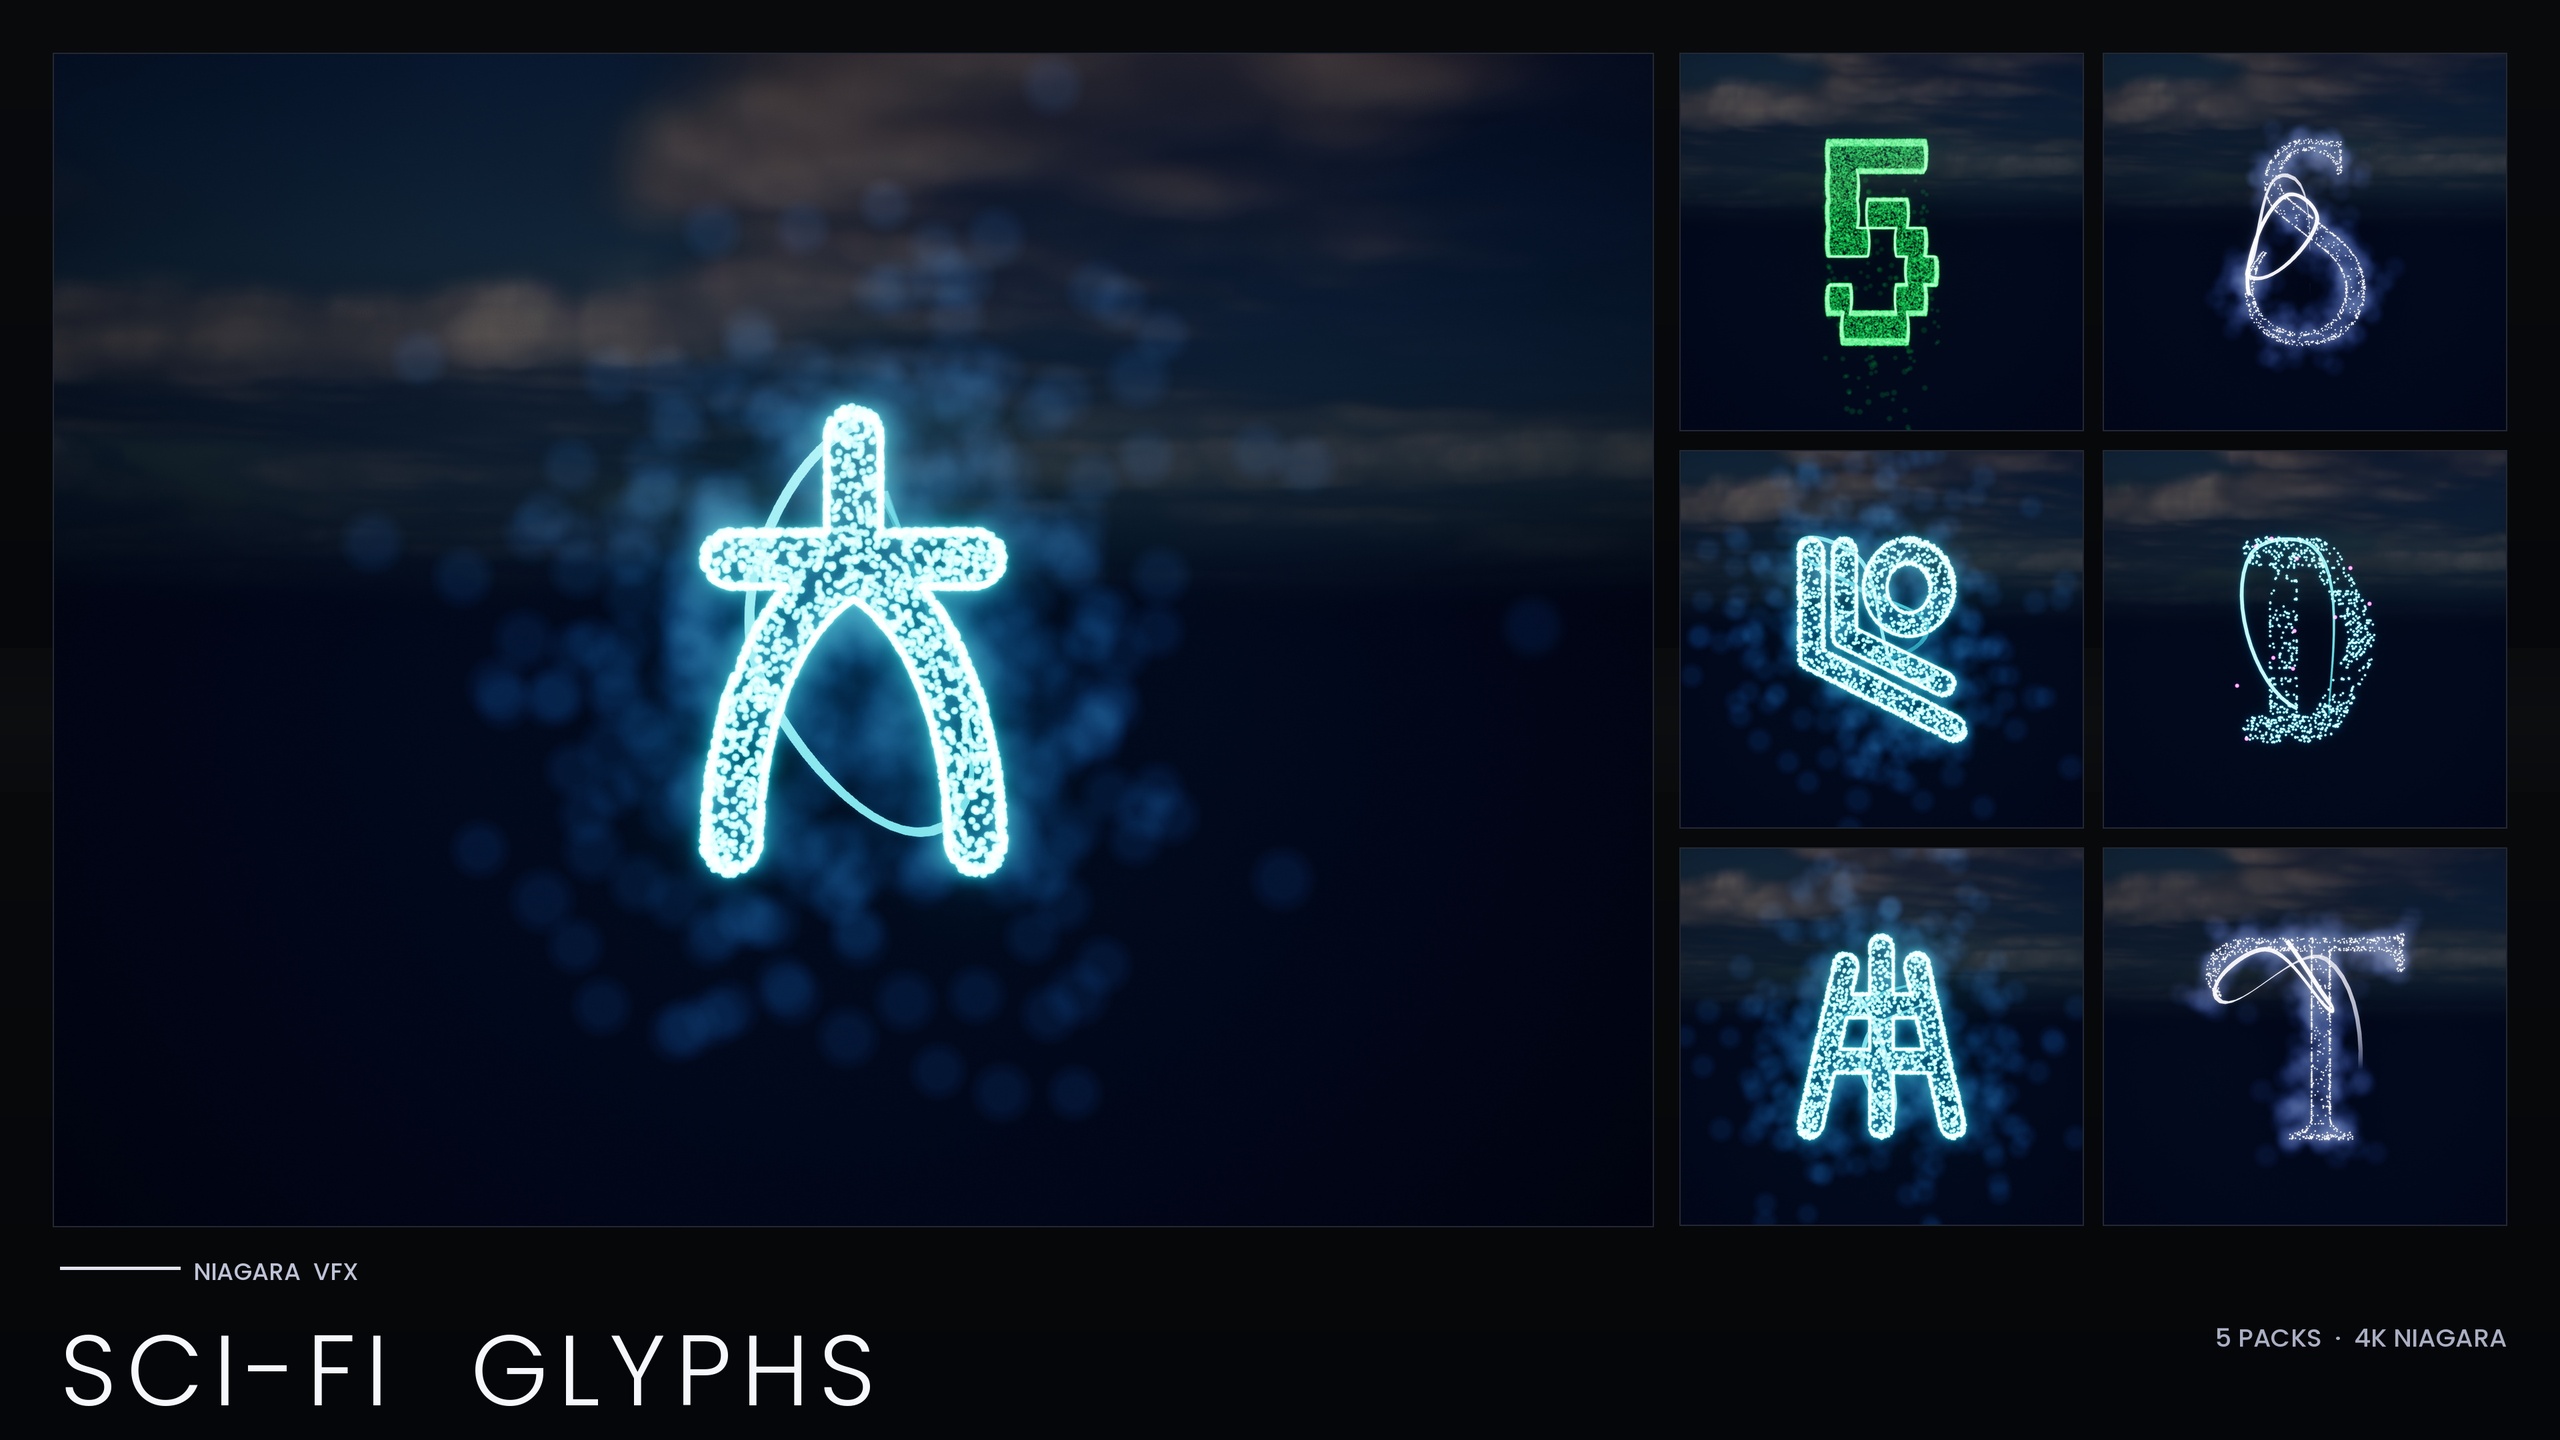
This is why the Niagara Alphabet & Symbols Bundle ships with zero custom materials and zero textures — every one of its 687 glyph systems leans on Unreal's default BasicShapeMaterial and gets its glow purely from HDR sprite colour driving bloom. The CPU Sprite emitters sample the glyph mesh surface, and the above-1.0 colour set on those sprites is what crosses the bloom threshold.
Setting an HDR colour on the sprite
1. Select your emitter and find the Initialize Particle module (or a Color module) in the Niagara stack. Click the colour swatch for the particle Color.
2. In the colour picker, the values you want live above the normal 0-1 range. Switch the picker to show raw RGB values rather than the 0-255 byte view, because you need to type numbers larger than 1.0.
3. For a green glow, leave red and blue at 0 and lift green past 1.0 — try 4.0 to start. The on-screen swatch will look the same saturated green, but the underlying value is now in HDR territory and will bloom.
4. View the result in a viewport that has a post-process volume with bloom active. If nothing glows, the value is still too low or bloom is off — push the channel higher or check your post-process settings before assuming the material is wrong.
If you are working with the bundle's themed sets, you rarely touch a single sprite at all. Each writing system reads its colour from a Niagara Parameter Collection — for example NPC_AlphabetCyberpunkStyle — so editing one Parameter Collection recolours the entire alphabet at once, with the HDR overshoot already dialled in.
Tinting vs blowing out to white
Here is the trap. Bloom does not just brighten a colour; pushed far enough, it desaturates it. When a single channel is enormous — green at 30, say — the bloom kernel spreads so much energy that the bright core reads as white and only the soft fringe keeps any hue. You wanted a green incantation and got a white smear with a faint green edge. The fix is restraint, not more brightness.
The bundle's Matrix set is the deliberate worked example. Its glyphs keep the HDR green deliberately low — roughly the 1.0 to 2.5 range — so bloom tints the falling code green rather than whiting it out. That is the difference between code rain that reads as Matrix-green and code rain that reads as a row of white blobs.
Balance across channels is the second lever. A glow that is green at 6 with red and blue at 0 stays green even at the core, because there is no other channel for the bloom to wash toward. Add red and blue to lift overall brightness and you walk the core toward white. So for a saturated coloured glow, push one channel and keep the rest near zero; for a hotter, near-white magical core with a coloured fringe, lift all three but bias one.
Bloom is a fixed-cost pass — and your bloom checklist
One reason this technique is so cheap is that bloom is a fixed-cost post-process pass. It runs once per frame over the rendered image regardless of how bright your sprites are. Doubling a sprite's HDR value does not double the bloom cost — the pass already runs, and you are simply giving it more above-threshold pixels. The expensive part of a glyph scene is the particle simulation itself, which is why the bundle is CPU-simulated and advises spawning a manageable number of systems per scene; the glow on top is essentially free.
That said, the effect is invisible if bloom is switched off, which is the most common reason a developer drops in a glyph system and sees a flat, dull sprite. Run through this checklist before you conclude the asset is broken. First, make sure a Post Process Volume covers your camera, or that bloom is enabled in your project default post-process settings. Second, confirm Bloom is enabled in that volume with its Intensity above zero. Third, check that your sprite colour is genuinely above 1.0 in raw RGB, not a saturated 0-1 value that merely looks bright. Fourth, verify you are viewing in a lit, post-processed view rather than an unlit or buffer-visualisation mode that skips post-processing.
Once those four boxes are ticked the glyphs glow with no custom material work from you. From here, the next useful step is to recolour a whole writing system at once by editing its Niagara Parameter Collection rather than touching glyphs one by one — set a tasteful HDR colour there and the entire alphabet inherits a consistent, bloom-driven glow.
HDR sprite colour: what each setting does to the glow
| Sprite colour value | Effect on glow |
|---|---|
| At or below 1.0 | No bloom — sprite reads at normal display brightness, no halo |
| Just above 1.0 (one channel) | Coloured glow — bloom tints the surrounding pixels, hue preserved (the Matrix set keeps green ~1.0-2.5 for this reason) |
| Very high on one channel | Bright coloured core risks washing toward white at the centre, hue only on the outer fringe |
| High on all three channels | Near-white hot core with a coloured fringe — use when you want a blinding magical centre |
Behaviour of a single sprite Color channel relative to the bloom threshold. Exact values depend on your bloom intensity and post-process setup.
FAQ
How do I get glowing particles in Niagara with bloom and HDR colour in UE5?
Push the sprite's Color above 1.0 in raw RGB — for example green at 4.0 instead of 1.0 — and make sure bloom is enabled in a post-process volume or your project settings. The above-1.0 overshoot is what the bloom pass detects and bleeds into a halo. You do not need a custom emissive material; the Niagara Alphabet & Symbols Bundle achieves all its glyph glows this way using only the engine's default material.
Do I need a custom emissive material for the glow?
No. The glow comes from HDR sprite colour driving the bloom post-process, not from a material. The Alphabet & Symbols Bundle ships zero custom materials and zero textures — every glyph uses Unreal's default BasicShapeMaterial and relies entirely on above-1.0 sprite colour plus bloom.
Why is my coloured glow turning white?
Your sprite colour value is too high, so bloom is spreading so much energy that the bright core desaturates. Lower the channel toward the threshold — the bundle's Matrix set deliberately keeps green around 1.0 to 2.5 so bloom tints the code green rather than whiting it out. Keep the other channels near zero to preserve the hue.
Does brighter HDR colour cost more performance?
Not for the bloom itself. Bloom is a fixed-cost post-process pass that runs once per frame regardless of source brightness, so raising a sprite's HDR value does not raise its cost. The real cost in a glyph scene is the CPU particle simulation, so manage how many systems you spawn at once rather than worrying about how bright they are.
Why don't my glyphs glow at all?
Almost always bloom is disabled or your view skips post-processing. Confirm a Post Process Volume covers the camera, that Bloom is enabled with intensity above zero, that the sprite colour is genuinely above 1.0 in raw RGB, and that you are in a lit post-processed view rather than an unlit or buffer-visualisation mode.
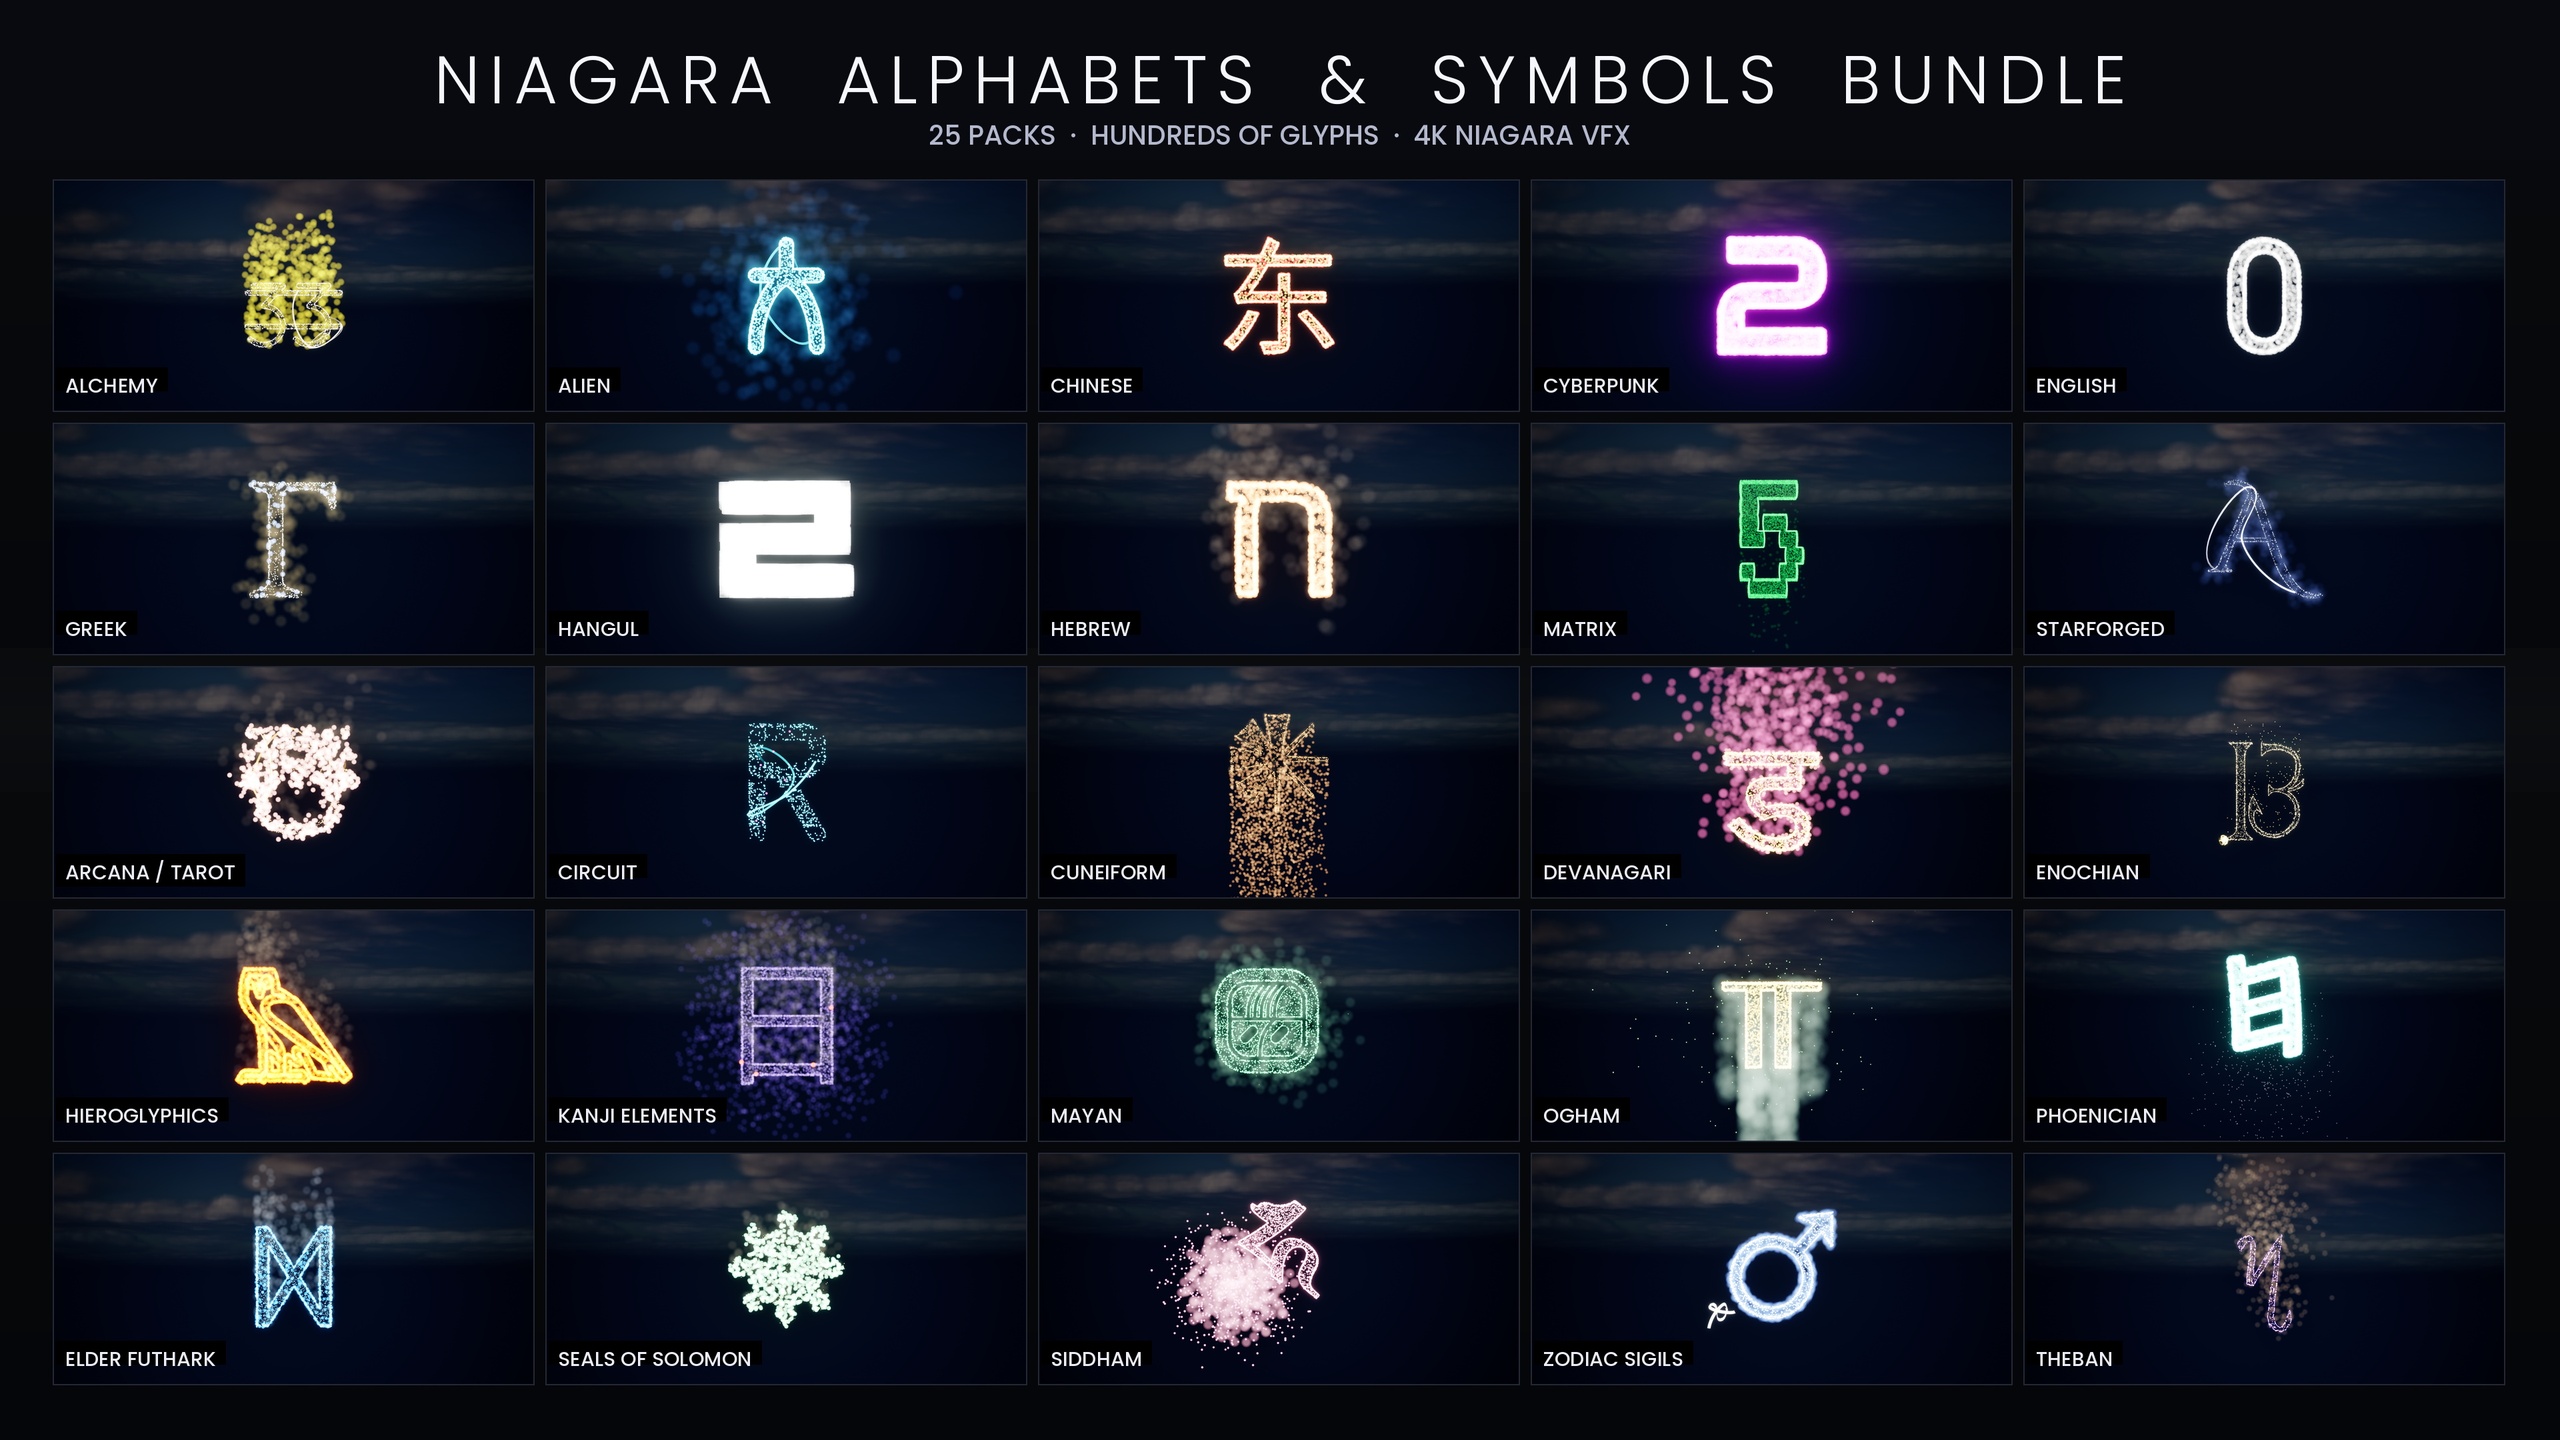
Niagara Alphabet & Symbols Bundle
The complete glyph VFX bundle — 687 Niagara systems built from 26 alphabets and symbol sets (Alchemy, Cyberpunk, Matrix, Hieroglyphics, Runes, Zodiac, Tarot and more), with per-theme Parameter Collections and two demo maps. All CPU-simulated for broad device support.
Related on Fab