tutorial · 2026-02-16
How to Make Rising Soap Bubbles in Unreal Engine 5 (Niagara)
A practical guide to building a translucent, iridescent bubble effect in Niagara — and when a ready-made system is the faster call.
What actually sells a soap bubble
If you have searched for a UE5 Niagara bubble effect tutorial, you already know the trap: a sphere with an alpha map looks like a bubble for about half a second, then the eye rejects it. Three things sell the illusion. The first is translucency that reads against both light and dark backgrounds, so the bubble has a thin soap-film edge rather than a flat grey disc. The second is iridescence — that faint rainbow sheen that shifts as the surface catches scene lighting. The third is motion: real bubbles rise, drift outward in a small radius, wobble, and then pop after an unpredictable lifetime.
Get those three right and almost any sphere becomes convincing. Get them wrong and no amount of particle count will save the shot. The rest of this tutorial walks through building that behaviour in Niagara yourself, then explains where a drop-in system such as Bubble Bloom VFX saves you the authoring time entirely.
Building a rising-bubble emitter in Niagara
Start in the Content Browser. Right-click, choose 'FX' then 'Niagara System', and pick 'New system from selected emitters'. From the templates, the 'Fountain' emitter is the closest starting point because it already spawns upward — you will reshape it rather than build from an empty emitter.
1. In the new system, open the emitter and find 'Emitter Update'. Set 'Spawn Rate' to a modest value to begin with; a dense wall of bubbles reads as foam, not floating soap film, so start sparse and add more only if the shot needs it.
2. Under 'Particle Spawn', add an 'Initialize Particle' module if it is not present, and use 'Add Velocity' or 'Add Velocity in Cone' to push bubbles upward along positive Z with a narrow cone. The cone angle is what gives you the gentle outward drift rather than a rigid vertical column.
3. Counter the default downward 'Gravity Force' so bubbles rise rather than fall. You can drop gravity to zero, or apply a small negative value, then add a light 'Drag' module so they decelerate and float instead of accelerating off-screen.
4. Add a 'Curl Noise Force' module under 'Particle Update' with a low strength. This is the single biggest win for believability: it introduces the soft, irregular wobble that real bubbles have as they drift through air currents.
5. Set the emitter's 'Sim Target' to 'CPU Sim'. For an ambient, low-count bubble effect parented to a plant or prop, CPU emitters are the natural choice and keep the system simple to scatter around a level.
Randomising size, rotation and lifetime so bubbles don't look uniform
Uniformity is the dead giveaway of a hand-rushed effect. Every bubble the same size, popping at the same instant, reads as a machine rather than a breath of soap film. Niagara solves this with random ranges set per particle at spawn.
1. In 'Initialize Particle', set 'Sprite Size' (or 'Mesh Scale' if you are using a mesh renderer) using a 'Random Range Vector' or the dice icon beside the value. Give it a sensible minimum and maximum so each bubble is born a slightly different size.
2. Drive 'Lifetime' from a random range as well. Variance here is what stops the whole field popping in sync — some bubbles should last noticeably longer than their neighbours.
3. Add an 'Initial Mesh Orientation' or sprite rotation with a random value so the iridescent highlight does not sit in the same place on every bubble.
4. For the pop and fade, drive opacity with a 'Scale Color' or 'Scale Alpha' module over the particle's normalised age, so each bubble fades out near the end of its own randomised lifetime rather than at a shared global time. Layering a tiny scale-up just before the fade sells the 'pop' read.
These four ranges — size, lifetime, rotation, and alpha-fade timing — are exactly the variance that keeps a scattered bubble field looking natural. It is the same per-bubble variance philosophy baked into the Bubble Bloom VFX systems, which randomise size, rotation and alpha-fade timing so no two of the 50 systems look mechanically uniform out of the box.
The translucent, iridescent material
The behaviour is only half the effect; the material is what makes it look like soap film rather than a glass marble. Create a new Material, set 'Blend Mode' to 'Translucent', and set 'Shading Model' to 'Default Lit' if you want the bubble to pick up scene lighting, or 'Unlit' for a flatter, cheaper read.
For the iridescence, the workhorse trick is a Fresnel-driven colour shift. Feed a 'Fresnel' node into the lookup coordinate of a thin rainbow gradient texture, so the rim of the bubble glows with shifting colour while the centre stays clear. Plug a low constant into 'Opacity' and let the Fresnel boost it at the edges — that thin, brighter rim is the soap-film silhouette your eye is looking for.
Test it deliberately against both a bright sky and a dark interior. A bubble material that only reads on one background is the most common reason a finished effect looks wrong in the actual level. The iridescent translucent materials in Bubble Bloom VFX are built specifically to pick up scene lighting and read against both light and dark backgrounds, which is the tuning that usually eats the most time when you author this by hand.
Placing bubbles on a plant, actor or location
Once the system works, placement is straightforward. Drag the Niagara System into the level to play it at a fixed location, or add a 'Niagara Particle System Component' to an actor's Blueprint so the bubbles travel with it — useful for a potion that bubbles as it is carried, or a flower that fizzes when picked up.
Mind your emitter bounds. If the bounds are too loose, scattering many bubble systems across a scene inflates significance and culling costs. Keep the bounds tight to the area the bubbles actually occupy so the systems stay cheap to place densely. This is exactly the design intent behind Bubble Bloom VFX, whose emitter range is deliberately bounded so the systems are described as safe to scatter densely without broadcasting across significance-cost queries.
For previewing, lay several instances out under your real lighting before committing — bubbles are a lighting-dependent effect and look very different under a dynamic sky versus a dim interior.
When to skip the build and drop one in
Authoring the effect yourself is the right move when you want full control of every parameter, or when bubbles are a one-off hero moment. But if you need believable bubbles across a whole garden, alchemy lab, or cozy scene, the material tuning and per-system variance add up fast.
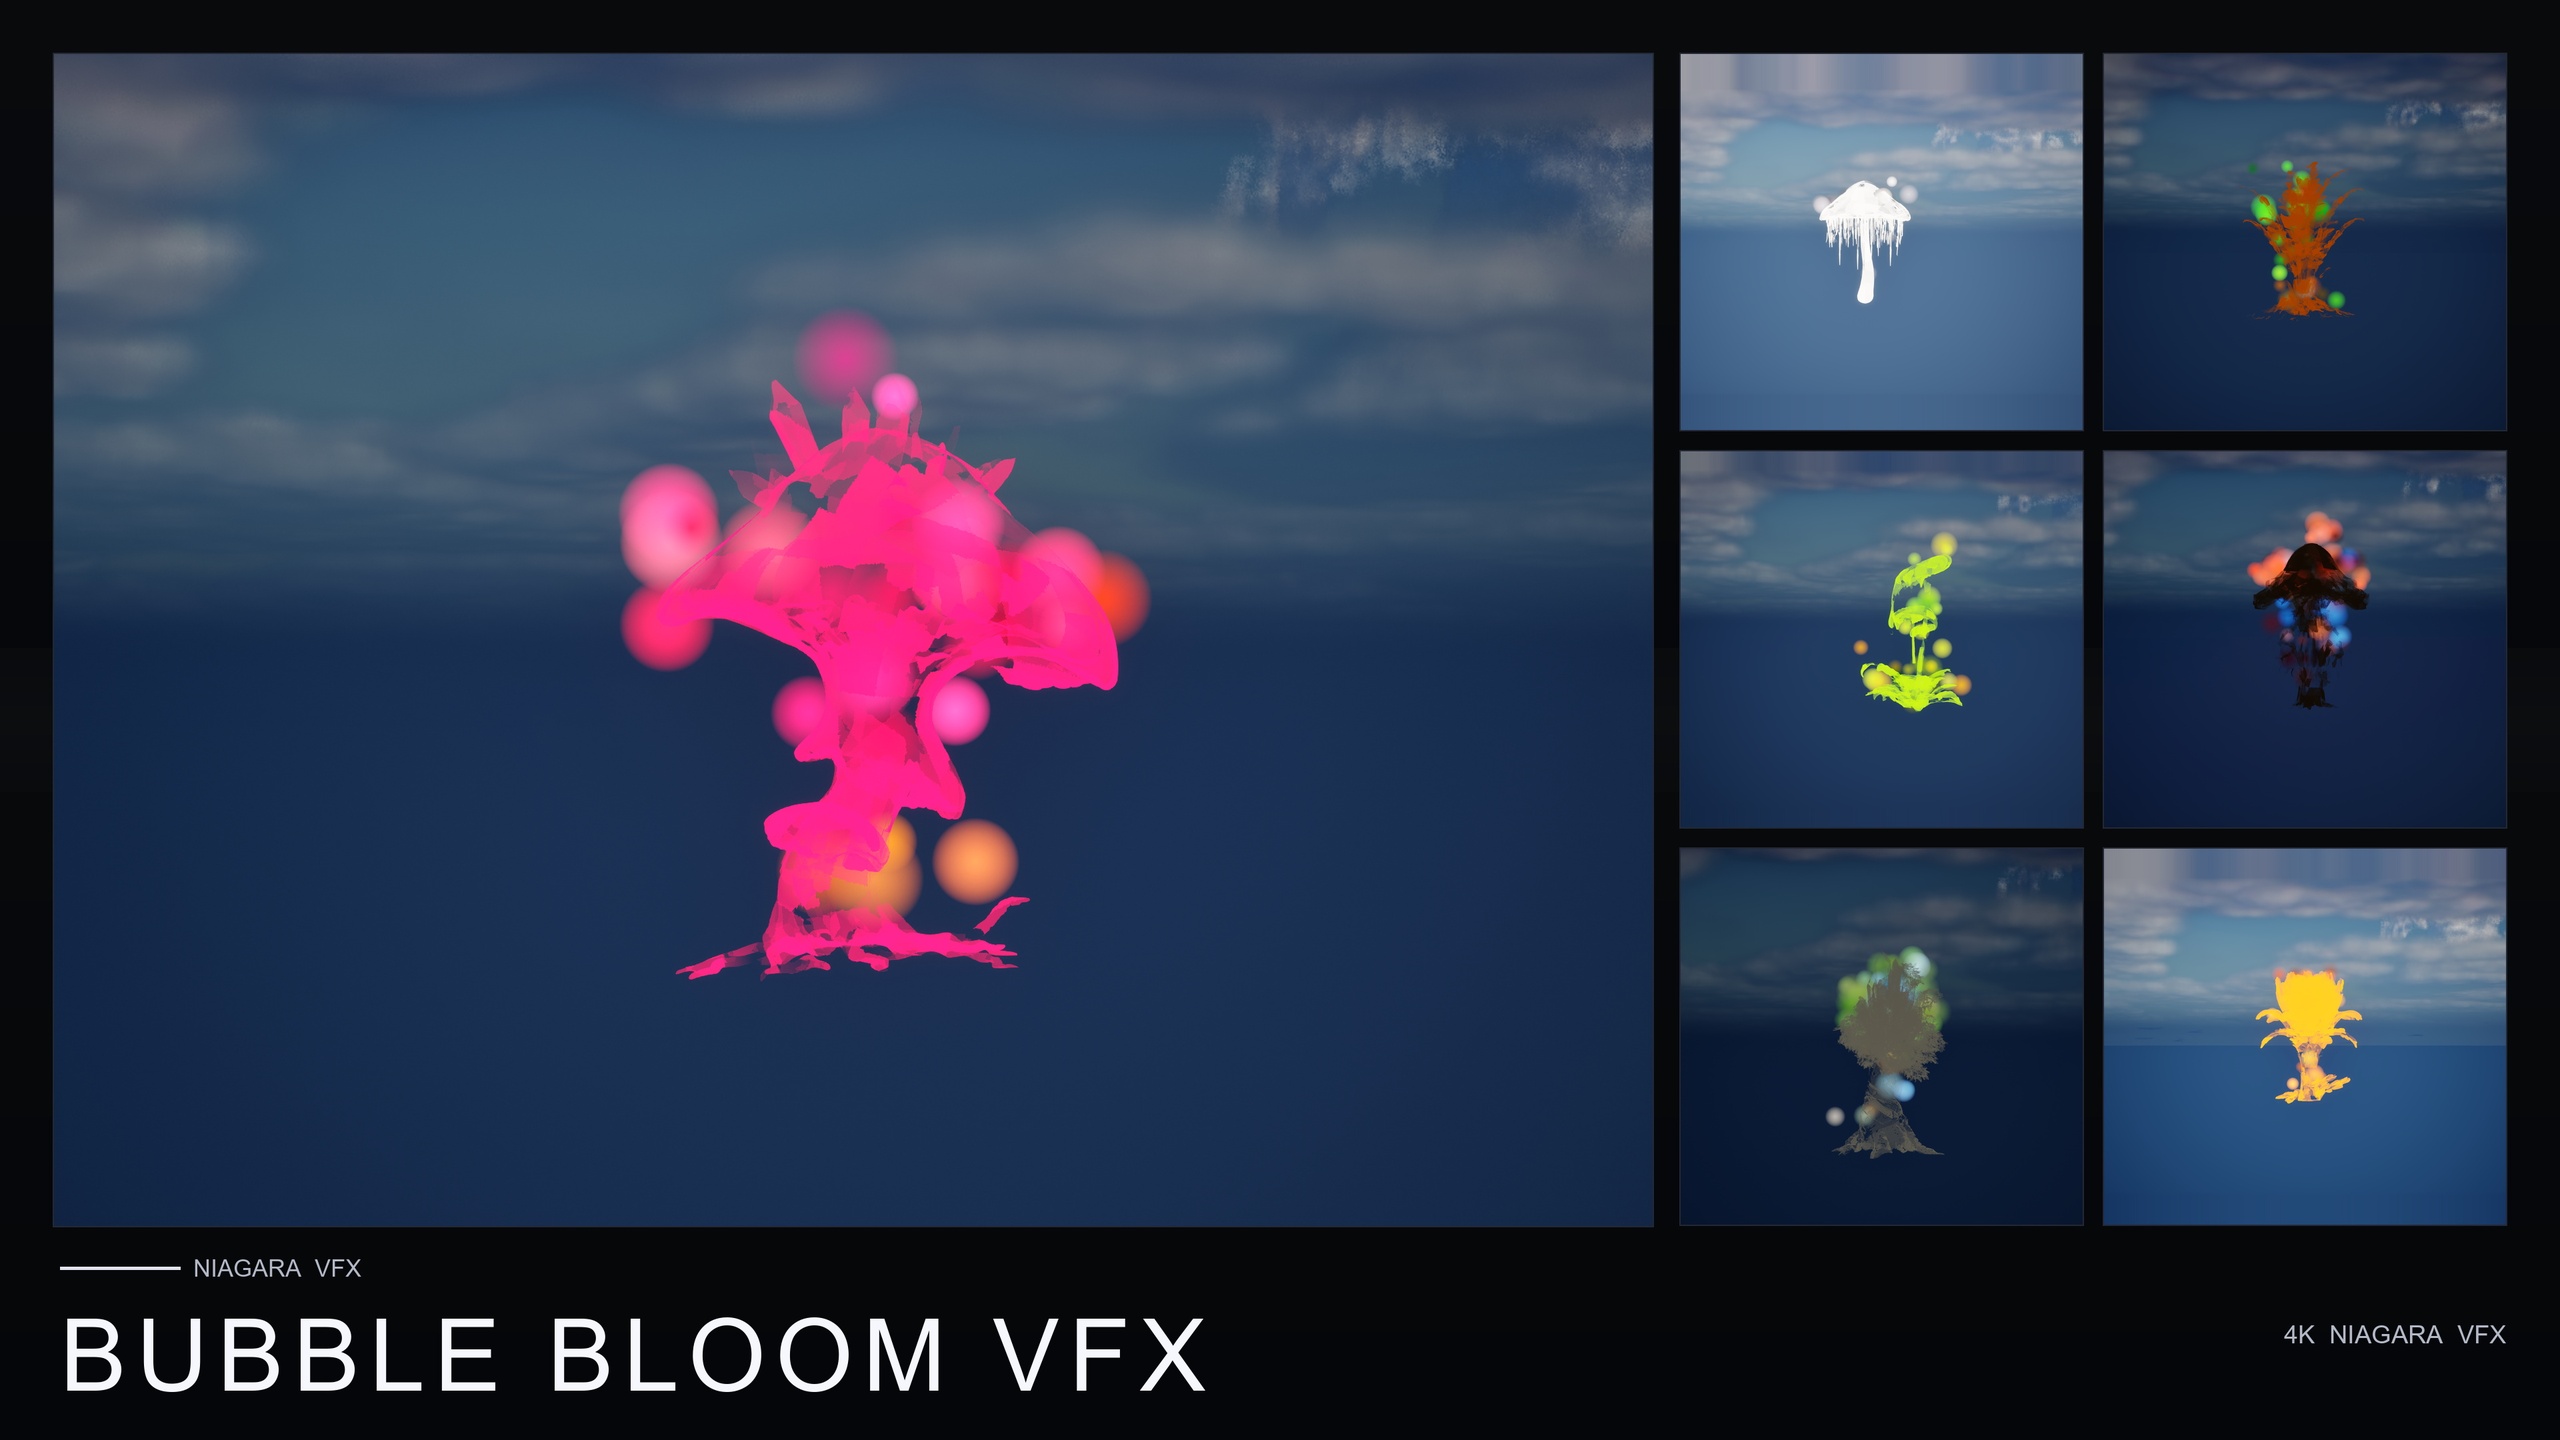
Bubble Bloom VFX is a content-only Niagara pack that ships 50 ready-to-use NiagaraSystems — one bubble system per flower mesh — across the 51 stylised flowers in the Fantasy Flower line. Bubbles rise from the flower base, drift outward in a small radius, and pop after a randomised lifetime, with per-bubble size, rotation and alpha-fade variance already built in. It is CPU Niagara, has no C++, Blueprint or plugin dependencies, is compile-clean on UE 5.4, and ships with pre-lit demo levels so you can verify the look before placing anything. To use it, add the pack, open the BubbleBloomVFX Niagara folder, and drag a Bubbles system onto a flower, actor or location — no parameter tuning required.
If your scene needs a different mood, the same Fantasy Flower line gives you sibling families to layer alongside or instead of bubbles. The next section lists them.
Fantasy Flower VFX families compared
| Pack | Effect families | NiagaraSystems | Price |
|---|---|---|---|
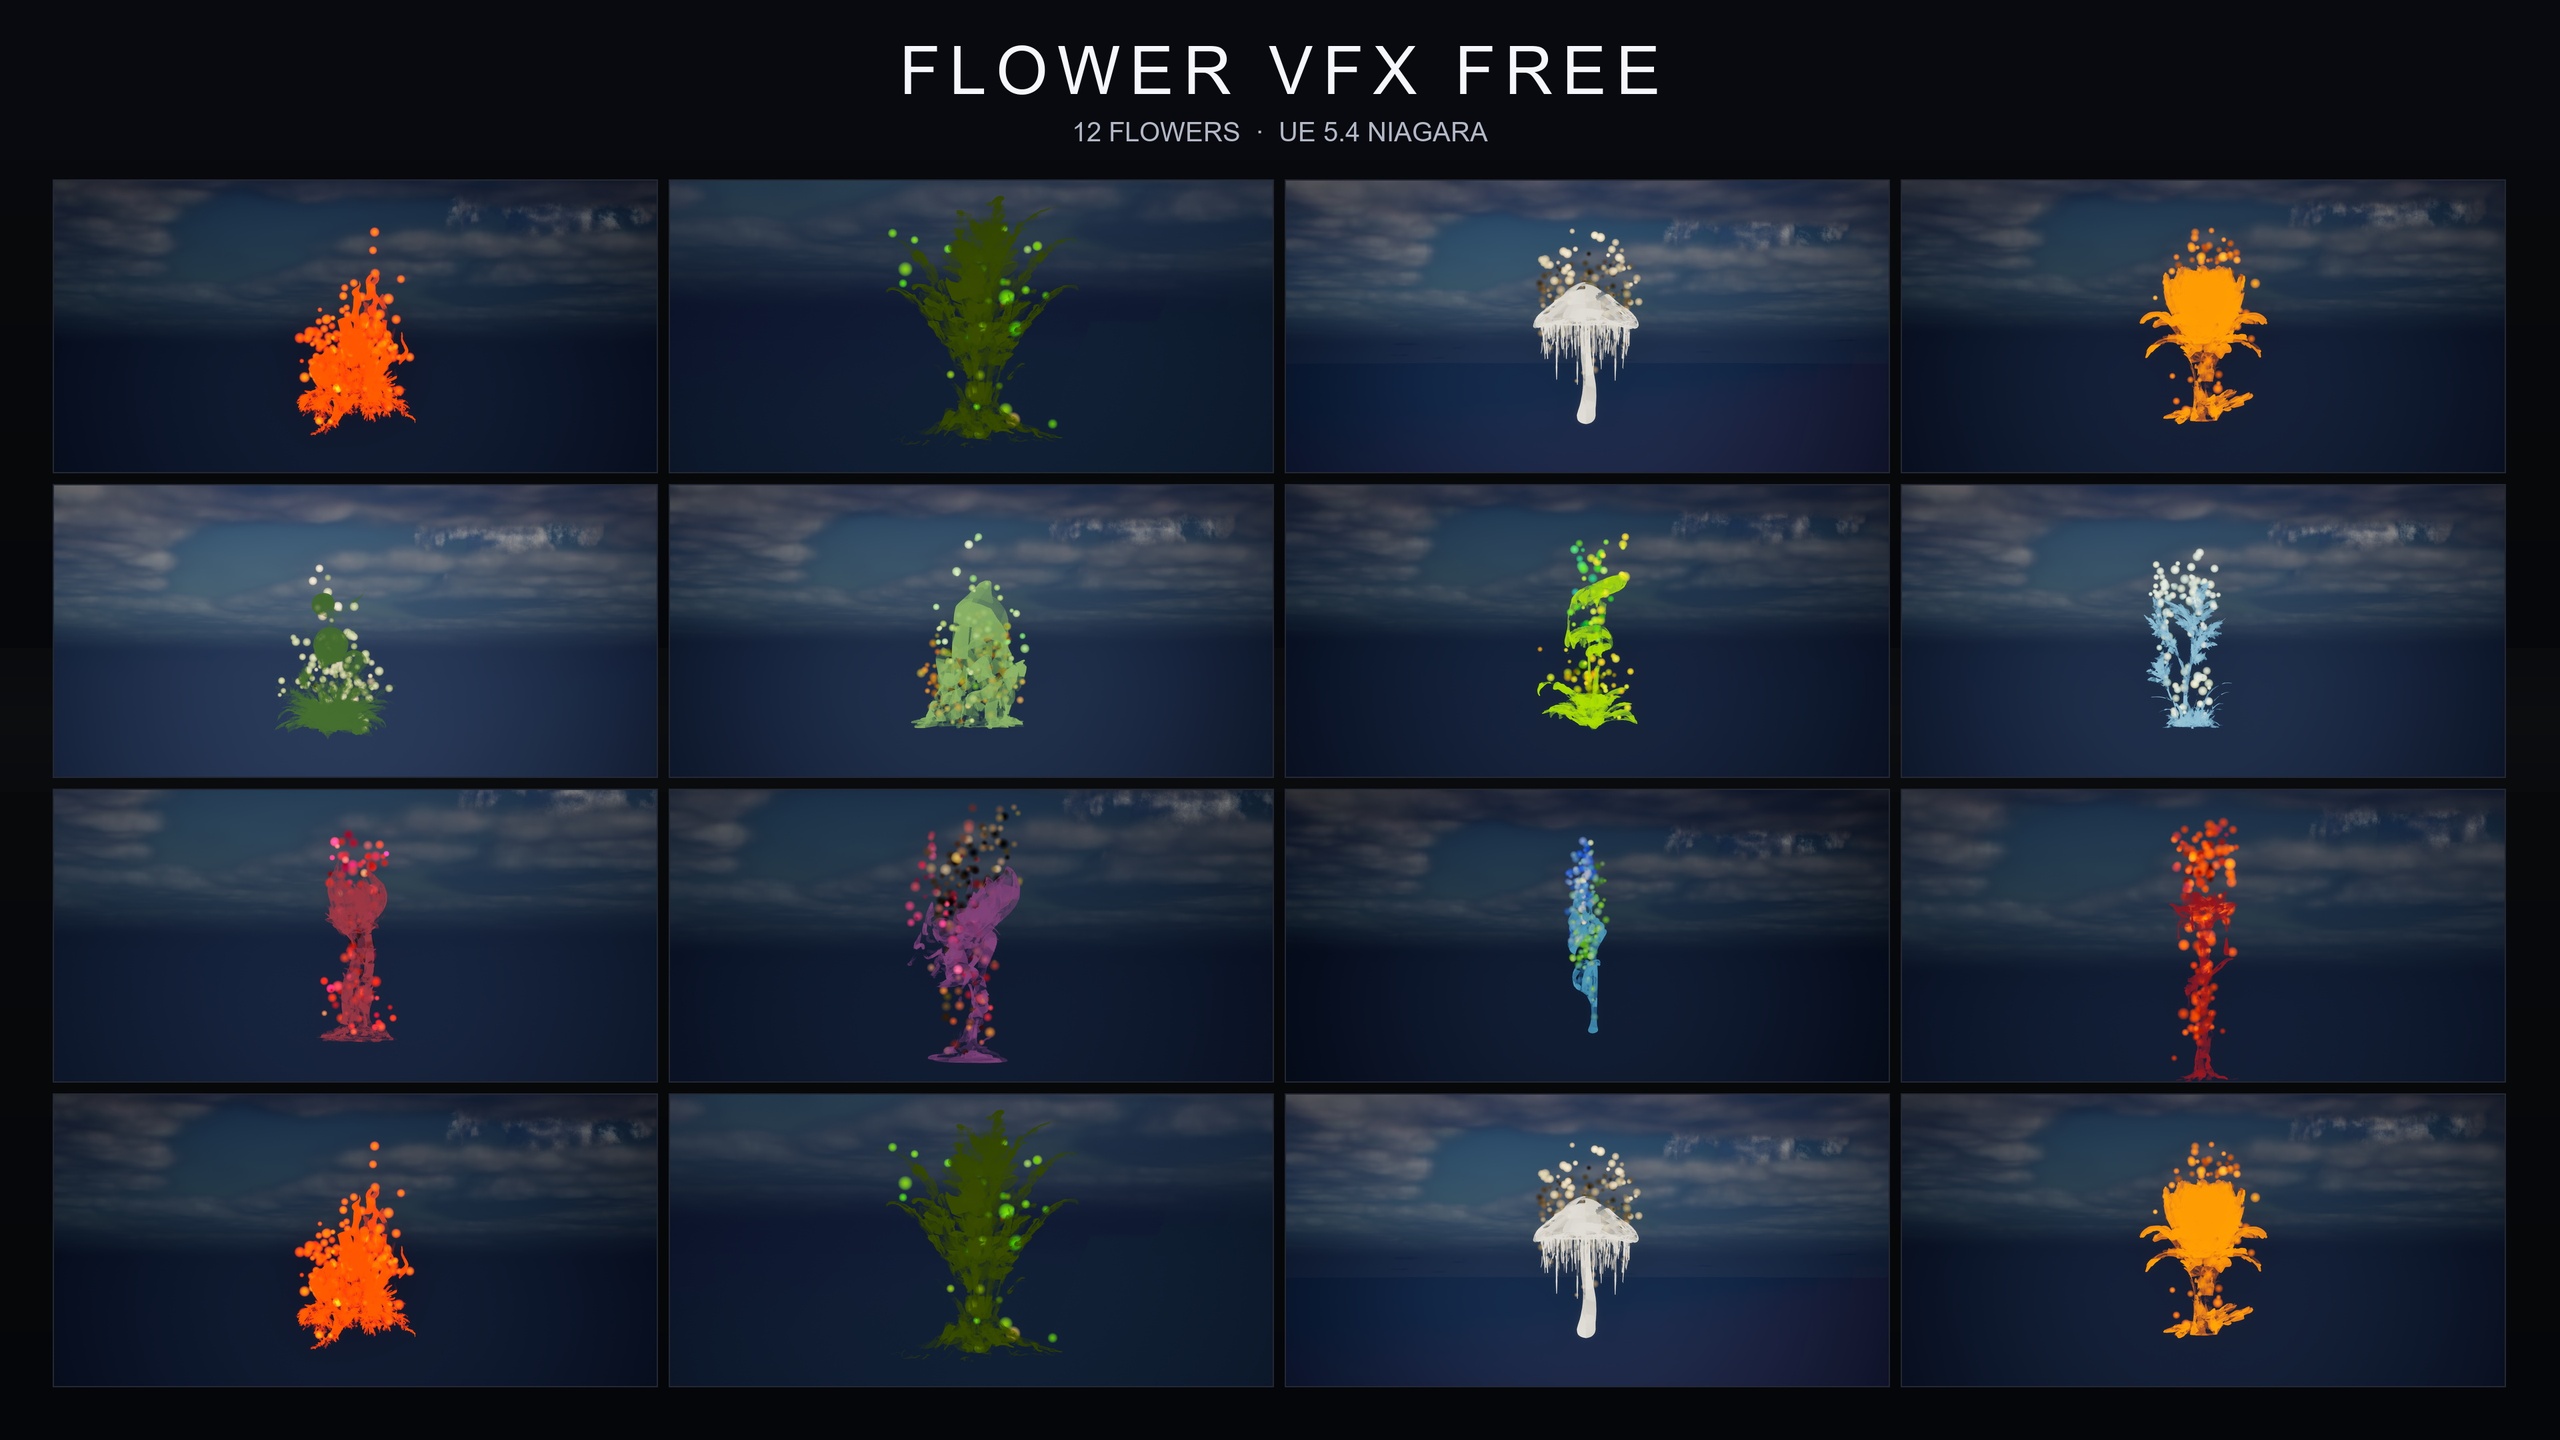
| Fantasy Flower VFX (Free Sampler) | GildedBloom golden aura | 12 | Free |
| Bubble Bloom VFX | Rising iridescent soap bubbles | 50 | $19.99 |
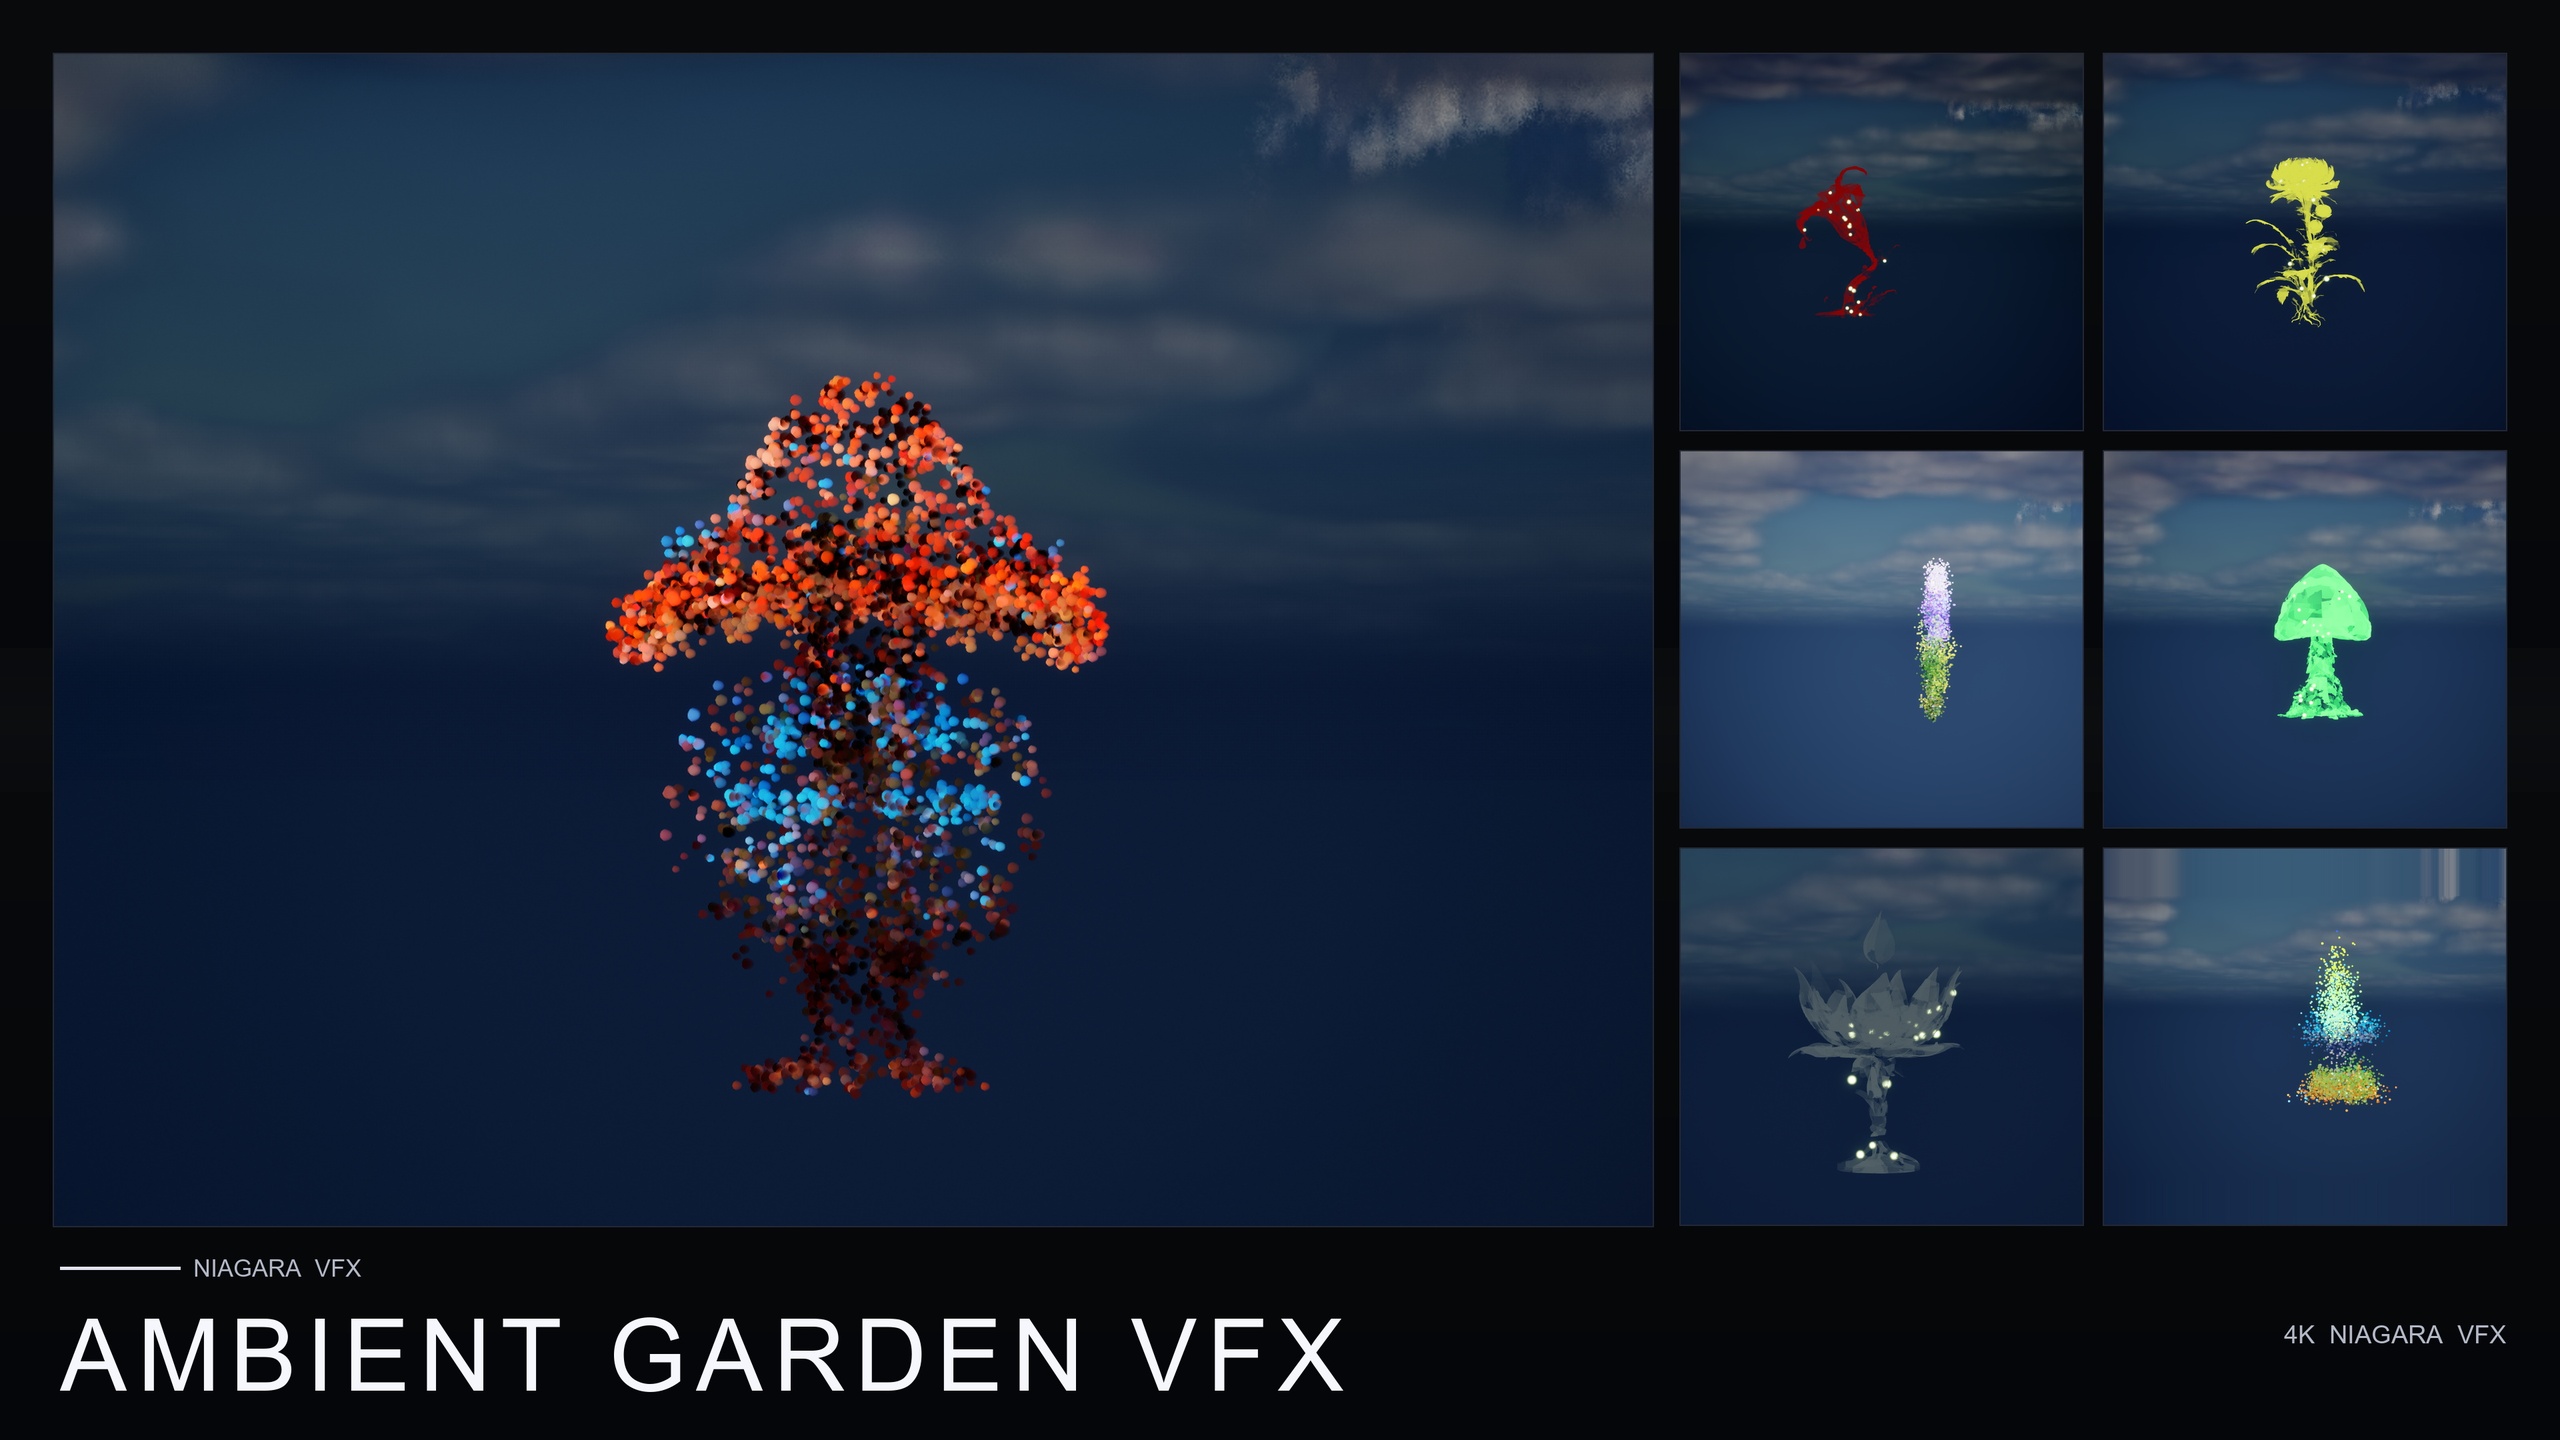
| Ambient Garden VFX | BloomingMotes, FireflySwarm, Mist | 150 | $29.99 |
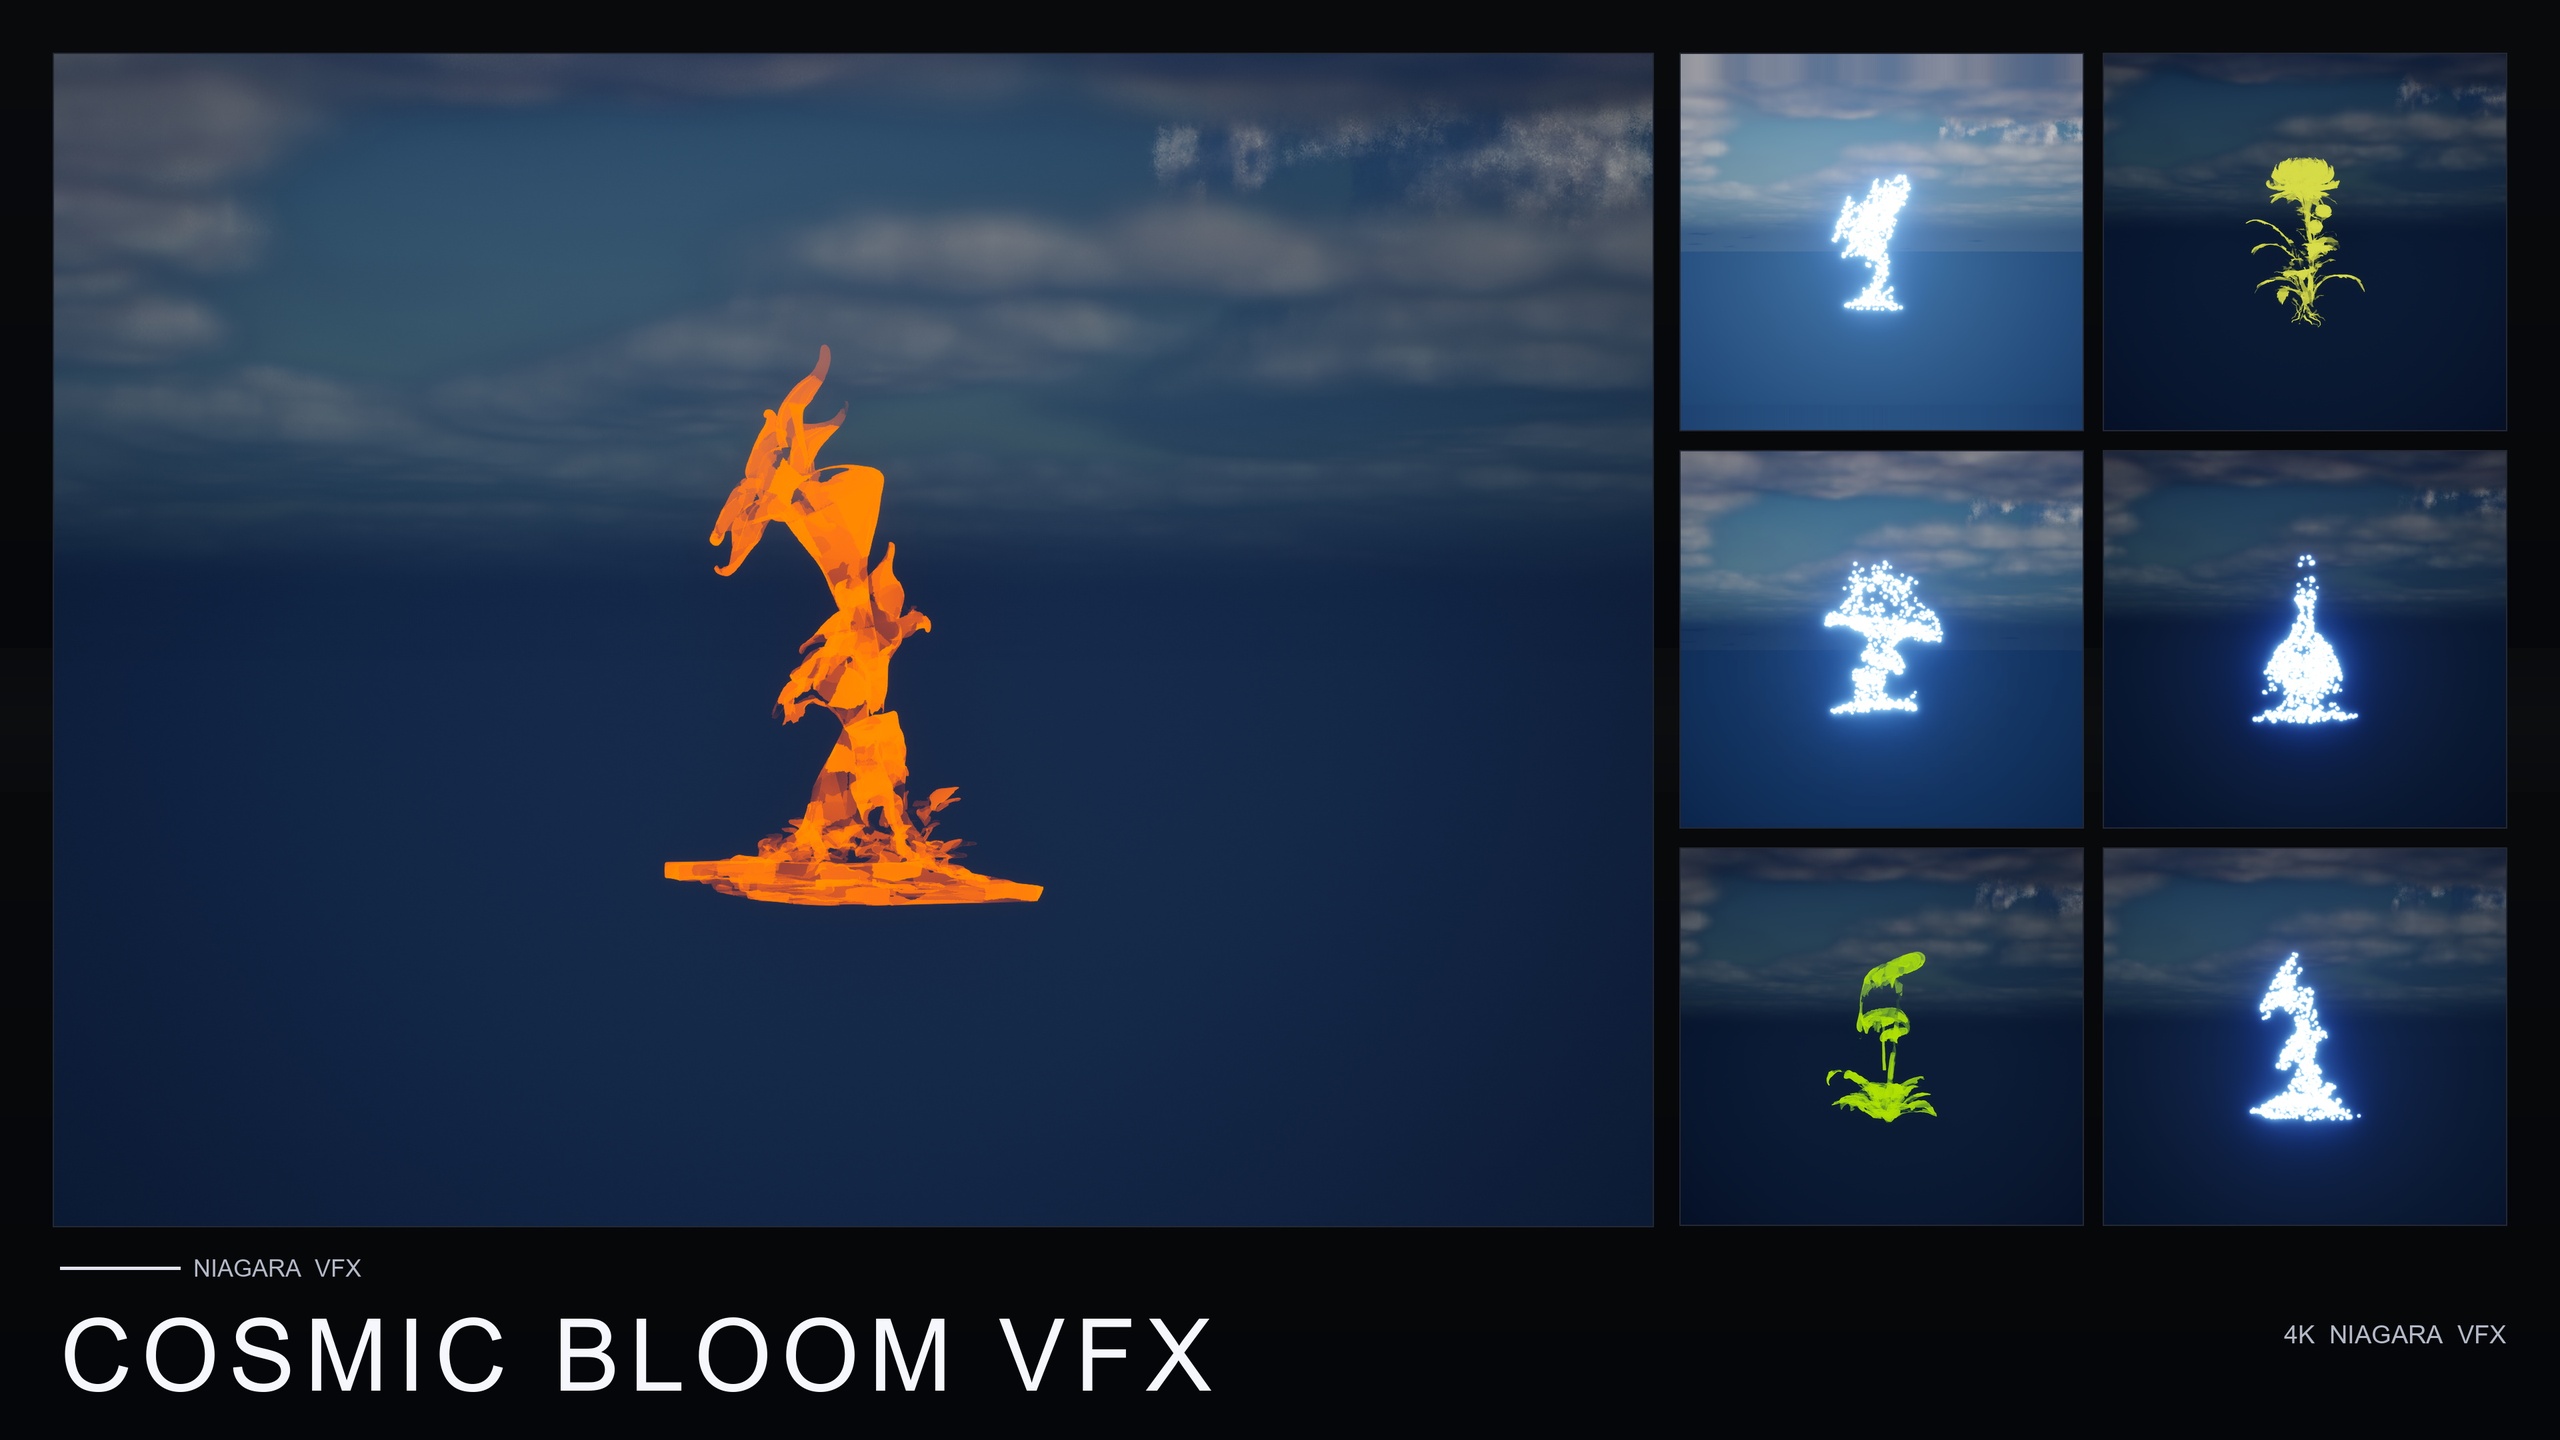
| Cosmic Bloom VFX | Constellation, LumenLight | 100 | $34.99 |
Counts and prices from each product's listing. All are content-only CPU Niagara packs sharing the same 51-flower roster, with no plugin dependencies, compile-clean on UE 5.4.
FAQ
How do I make bubbles in Unreal Engine 5 with Niagara?
Start from the Fountain emitter template, push particles upward along Z with a narrow velocity cone, cancel or reduce gravity so they rise, and add a low-strength Curl Noise Force for wobble. Randomise size, rotation and lifetime per particle so the field is not uniform, then apply a translucent material with a Fresnel-driven iridescent rim. For a ready-made result, Bubble Bloom VFX ships 50 drop-in bubble systems built exactly this way.
Why do my bubbles look fake?
Usually it is one of three things: the material is opaque or only reads against one background, every bubble is the same size and pops at the same time, or the motion is a rigid vertical line. Fix translucency and iridescence first, then add random ranges to size, lifetime and rotation, then add curl noise for drift.
Should I use CPU or GPU emitters for a bubble effect?
For an ambient, relatively low-count bubble effect parented to a plant or prop, CPU emitters are the natural choice and keep the system simple to scatter around a level. Bubble Bloom VFX uses CPU Niagara emitters for exactly this drop-in, ambient use case.
Can I scatter lots of bubble systems without hurting performance?
Keep your emitter bounds tight to the area the bubbles actually occupy, so culling and significance costs stay low. Bubble Bloom VFX is designed with deliberately bounded emitter range so the seller describes the systems as safe to scatter densely; as always, profile in your own scene.
What engine version does Bubble Bloom VFX support?
It is content-only and compile-clean on UE 5.4. The product listing notes UE 5.4 and above; the storefront JSON states a 5.4 to 5.7 range. There are no C++, Blueprint or plugin dependencies, so it drops straight into a project.
Bubble Bloom VFX
Fifty Niagara bubble effects — rising, popping, iridescent soap-film bubbles — with 51 meshes and 81 material instances. CPU-simulated and cross-platform.