tutorial · 2026-01-26
How to Make a Matrix-Style Code Rain in UE5 with Niagara
A two-emitter glyph technique for falling digital code that reads as characters, not a flat shader, and stays green under bloom.
Why most Matrix code rain in UE5 looks flat
If you have searched for how to make Matrix code rain in Unreal Engine 5, you have probably found the same answer everywhere: a scrolling material on a plane, or a UV-panning decal that fakes falling glyphs in screen space. It is quick, and from a distance it passes. The moment the camera moves, the illusion breaks. The rain is painted onto a surface, so it cannot occupy real depth, it cannot react to events in the scene, and you certainly cannot make it spell anything. You end up with wallpaper, not an effect.
The look people actually remember from the films is not a flat sheet of green. It is depth, flicker, and the sense that each falling column is made of discrete characters that brighten and decay. To get that in UE5 you want the rain built from particles in world space, where every glyph is a real thing you can place, recolour, and animate. That is the approach this tutorial covers, and it is the design the Niagara Matrix Pack ships ready-made so you can start from a working reference rather than a blank emitter.
The core idea is simple once you see it. Instead of one effect trying to be a whole wall of code, each character is its own small Niagara System built from two cooperating emitters. Get one glyph reading correctly and you have the unit you repeat to build a whole cascade.
The two-emitter approach: Spark flicker plus Rain fall
The technique that sells a glyph is splitting the job across two emitters with different personalities. The first is the Spark emitter: tiny, bright, short-life pixels that pop on and die quickly, giving you the nervous flicker of code being written and rewritten. The second is the Rain emitter: dim grain that falls straight down, giving you the cascade and the trailing tail. Neither emitter alone reads as Matrix code. Together, the bright flicker against the falling dim grain is what your eye recognises.
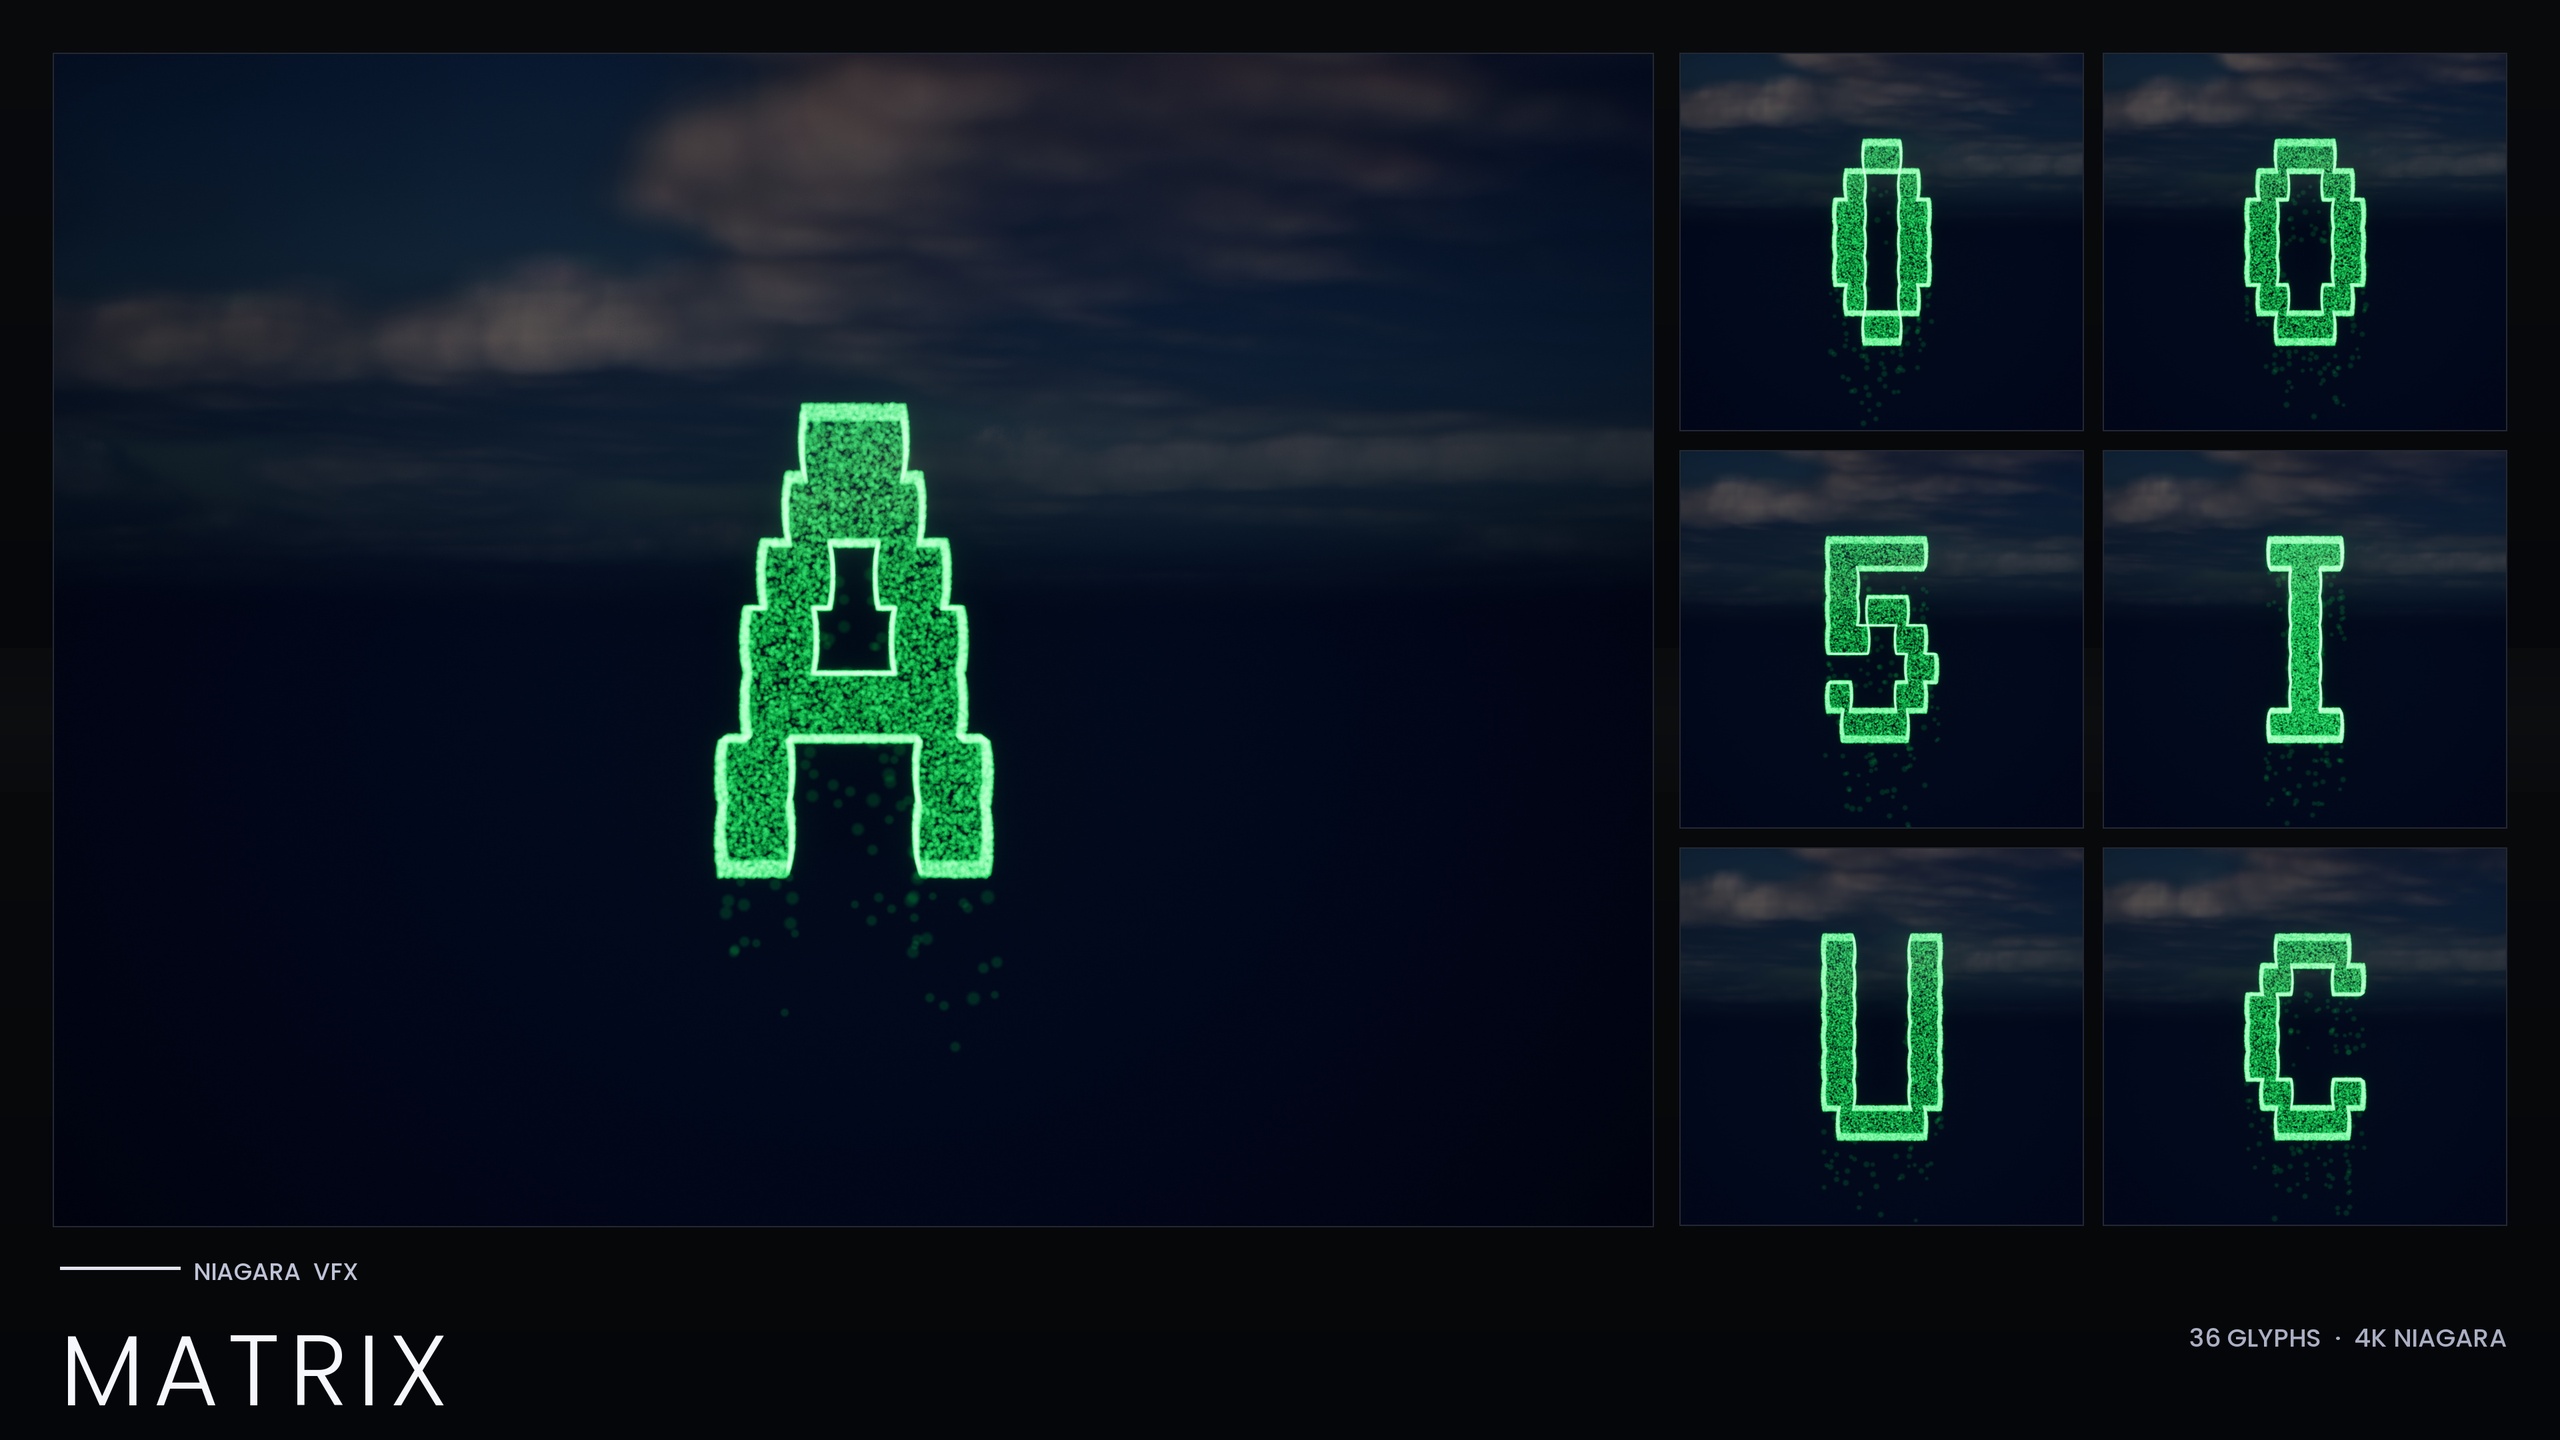
In the Niagara Matrix Pack every one of the 36 glyphs (A to Z and 0 to 9) is built exactly this way: a Spark emitter of bright short-life flicker pixels and a Rain emitter of dim grain falling straight down. Both emitters are CPU-simulated, so the work happens on the CPU rather than via a GPU sim. Opening any glyph system in the Niagara editor shows you the two-emitter stack directly, which is the fastest way to understand the technique before you adapt it.
If you are building this from scratch rather than starting from the pack, create a new Niagara System with two emitters. Give the Spark emitter a low maximum lifetime and a small sprite size so its particles are pixel-scale and gone almost as soon as they appear. Give the Rain emitter a longer lifetime, a dimmer colour, and a constant downward velocity so it streams steadily. Keeping the two roles cleanly separated is what lets you tune flicker and fall independently later.
Sampling an extruded glyph mesh so the rain forms characters
The trick that turns a generic particle column into an actual letter is where the particles are born. Rather than spawning in a box, both emitters sample the surface of an extruded glyph mesh, so every particle is placed on the shape of the character. The bright Spark pixels and the dim Rain grain both originate on the letter, which is why the glyph reads as a shape made of falling digital grain rather than a solid silhouette with a halo around it.
The Matrix Pack supplies the geometry to make this work: 36 static meshes that match the 36 systems, each an extruded version of a VT323-style code-rain font glyph. The meshes follow the naming SM_Glyph_VT323_<Ux or Dx> (U for the A to Z letters, D for the 0 to 9 digits), and the systems follow NS_alphabet_matrix_glyph_<UA to UZ, D0 to D9>. Because the emitter samples that mesh surface, the silhouette you get is the actual character, not an approximation.
If you are wiring this yourself, the mechanism is to drive particle spawn position from a static mesh location, pointing it at your extruded glyph mesh, on both the Spark and Rain emitters. The denser your spawn rate, the more completely the falling grain fills the character. The pack's value here is that the meshes, the sampling, and the two emitters are already assembled and tuned per glyph, so you spend your time composing scenes rather than rebuilding the same plumbing 36 times.
Tuning fall speed, brightness and lifetime
Once a glyph reads, the feel comes from three dials: how fast the Rain falls, how bright the Spark flickers, and how long particles live. There is no single correct setting; the right values depend on your camera distance and how frantic you want the scene to feel. The Matrix Pack bakes its tuned values as inline Constants on the emitters rather than reading them from a Niagara Parameter Collection, so there is no one-time NPC setup to do before you can edit anything. Open a system and the numbers are right there on the modules.
1. Adjust fall speed on the Rain emitter. The Rain grain falls straight down at a constant velocity. Increase it for a violent, fast cascade; decrease it for a slow, brooding drip. Keep the Spark emitter's motion separate from this, since the flicker is meant to feel jittery rather than streaming.
2. Tune the flicker on the Spark emitter. The Spark pixels are short-lived by design. Shortening their lifetime or raising their spawn rate makes the character feel like it is being rewritten faster; lengthening lifetime calms it down. This is the single most effective dial for the difference between a quiet terminal and a system in crisis.
3. Balance brightness with lifetime. Because the look is built from sub-pixel to pixel-scale grain, the effect depends on rendering at a resolution and quality where those small particles read. If the rain looks muddy, raise sprite size slightly or increase spawn density before you reach for brightness. Test at the resolution you will actually ship at, not just in a zoomed-in editor viewport.
Filling a background versus spelling a message
The reason to build code rain from individually spawnable glyphs rather than one stock loop is that you can do two very different jobs with the same asset. For an ambient background, you scatter glyphs to fill the frame; the eye reads texture and motion, not specific letters. For a narrative beat, you arrange specific glyphs so the rain actually spells something, then let it resolve on cue.
To fill a background, drag a glyph's NS_ system into the level, or spawn it from Blueprint with the Spawn System at Location or Spawn System Attached node, and repeat across the area you want covered. Vary placement and depth so columns do not line up into an obvious grid. Because each glyph is its own system, you control density precisely instead of being stuck with one prebaked wall.
To spell a message, place the specific glyph systems you need side by side so their falling grain forms the word. This is what makes hacker-terminal reveals, AI-awakening scenes where code reorganises into a name, and reality-glitch cinematics possible with the same pack. The dossier's own use cases call these out directly: spelling a name in the rain, simulation-bootup sequences, and system-breakdown moments. A flat scrolling material simply cannot do this; per-glyph systems can.
One honest caveat on scale: these are CPU-simulated systems and they stack per instance, so spawn a manageable number per scene rather than carpeting the whole level. Build the density you need where the camera is looking, not everywhere at once.
Keeping the bloom green instead of saturating to white
The most common way Matrix rain goes wrong in UE5 is colour blowout. Developers crank the emissive to get a glow, the HDR value climbs past what bloom can tint, and every bright particle clips to white. You lose the green entirely and end up with a smear of light. The fix is restraint, not more intensity.
The Matrix Pack keeps its HDR green deliberately low, in the region of roughly 1.0 to 2.5, so the post-process bloom tints the rain green rather than saturating it to white. That modest HDR ceiling is the whole secret to a glow that still reads as colour. If you push the values much higher chasing a brighter effect, you will trade the green for white, which is exactly the failure you are trying to avoid.
Recolouring is straightforward, but note how it differs from the other packs in this line. The standalone Matrix pack bakes its style as inline Constants and ships with no Niagara Parameter Collection, so the single-NPC recolour workflow does not apply here. To retint, edit the Spark and Rain sprite colour on the emitter or emitters of the system, or duplicate the system with a new tint, and keep the HDR values modest so bloom tints rather than whites out. The same low-HDR discipline lets you take the rain to amber, blood-red, or any other colour while keeping the glow under control.
Whatever colour you choose, the glow depends on having bloom enabled in your post-process settings. The colour comes from the particle, but the halo comes from bloom reading that HDR value, so confirm bloom is on in the scene before you decide the effect is too dim.
Where the Matrix Pack fits, and when to size up
The standalone Niagara Matrix Pack is the focused choice when you specifically want digital rain: 36 glyphs covering A to Z and 0 to 9, each a spawnable Niagara System with a matching static mesh, one demo map to preview them all, and no NPC setup because the style is baked inline. Open the demo map, drag the glyphs you need, and you are spelling in code. For most Matrix-style needs that is exactly the right scope.
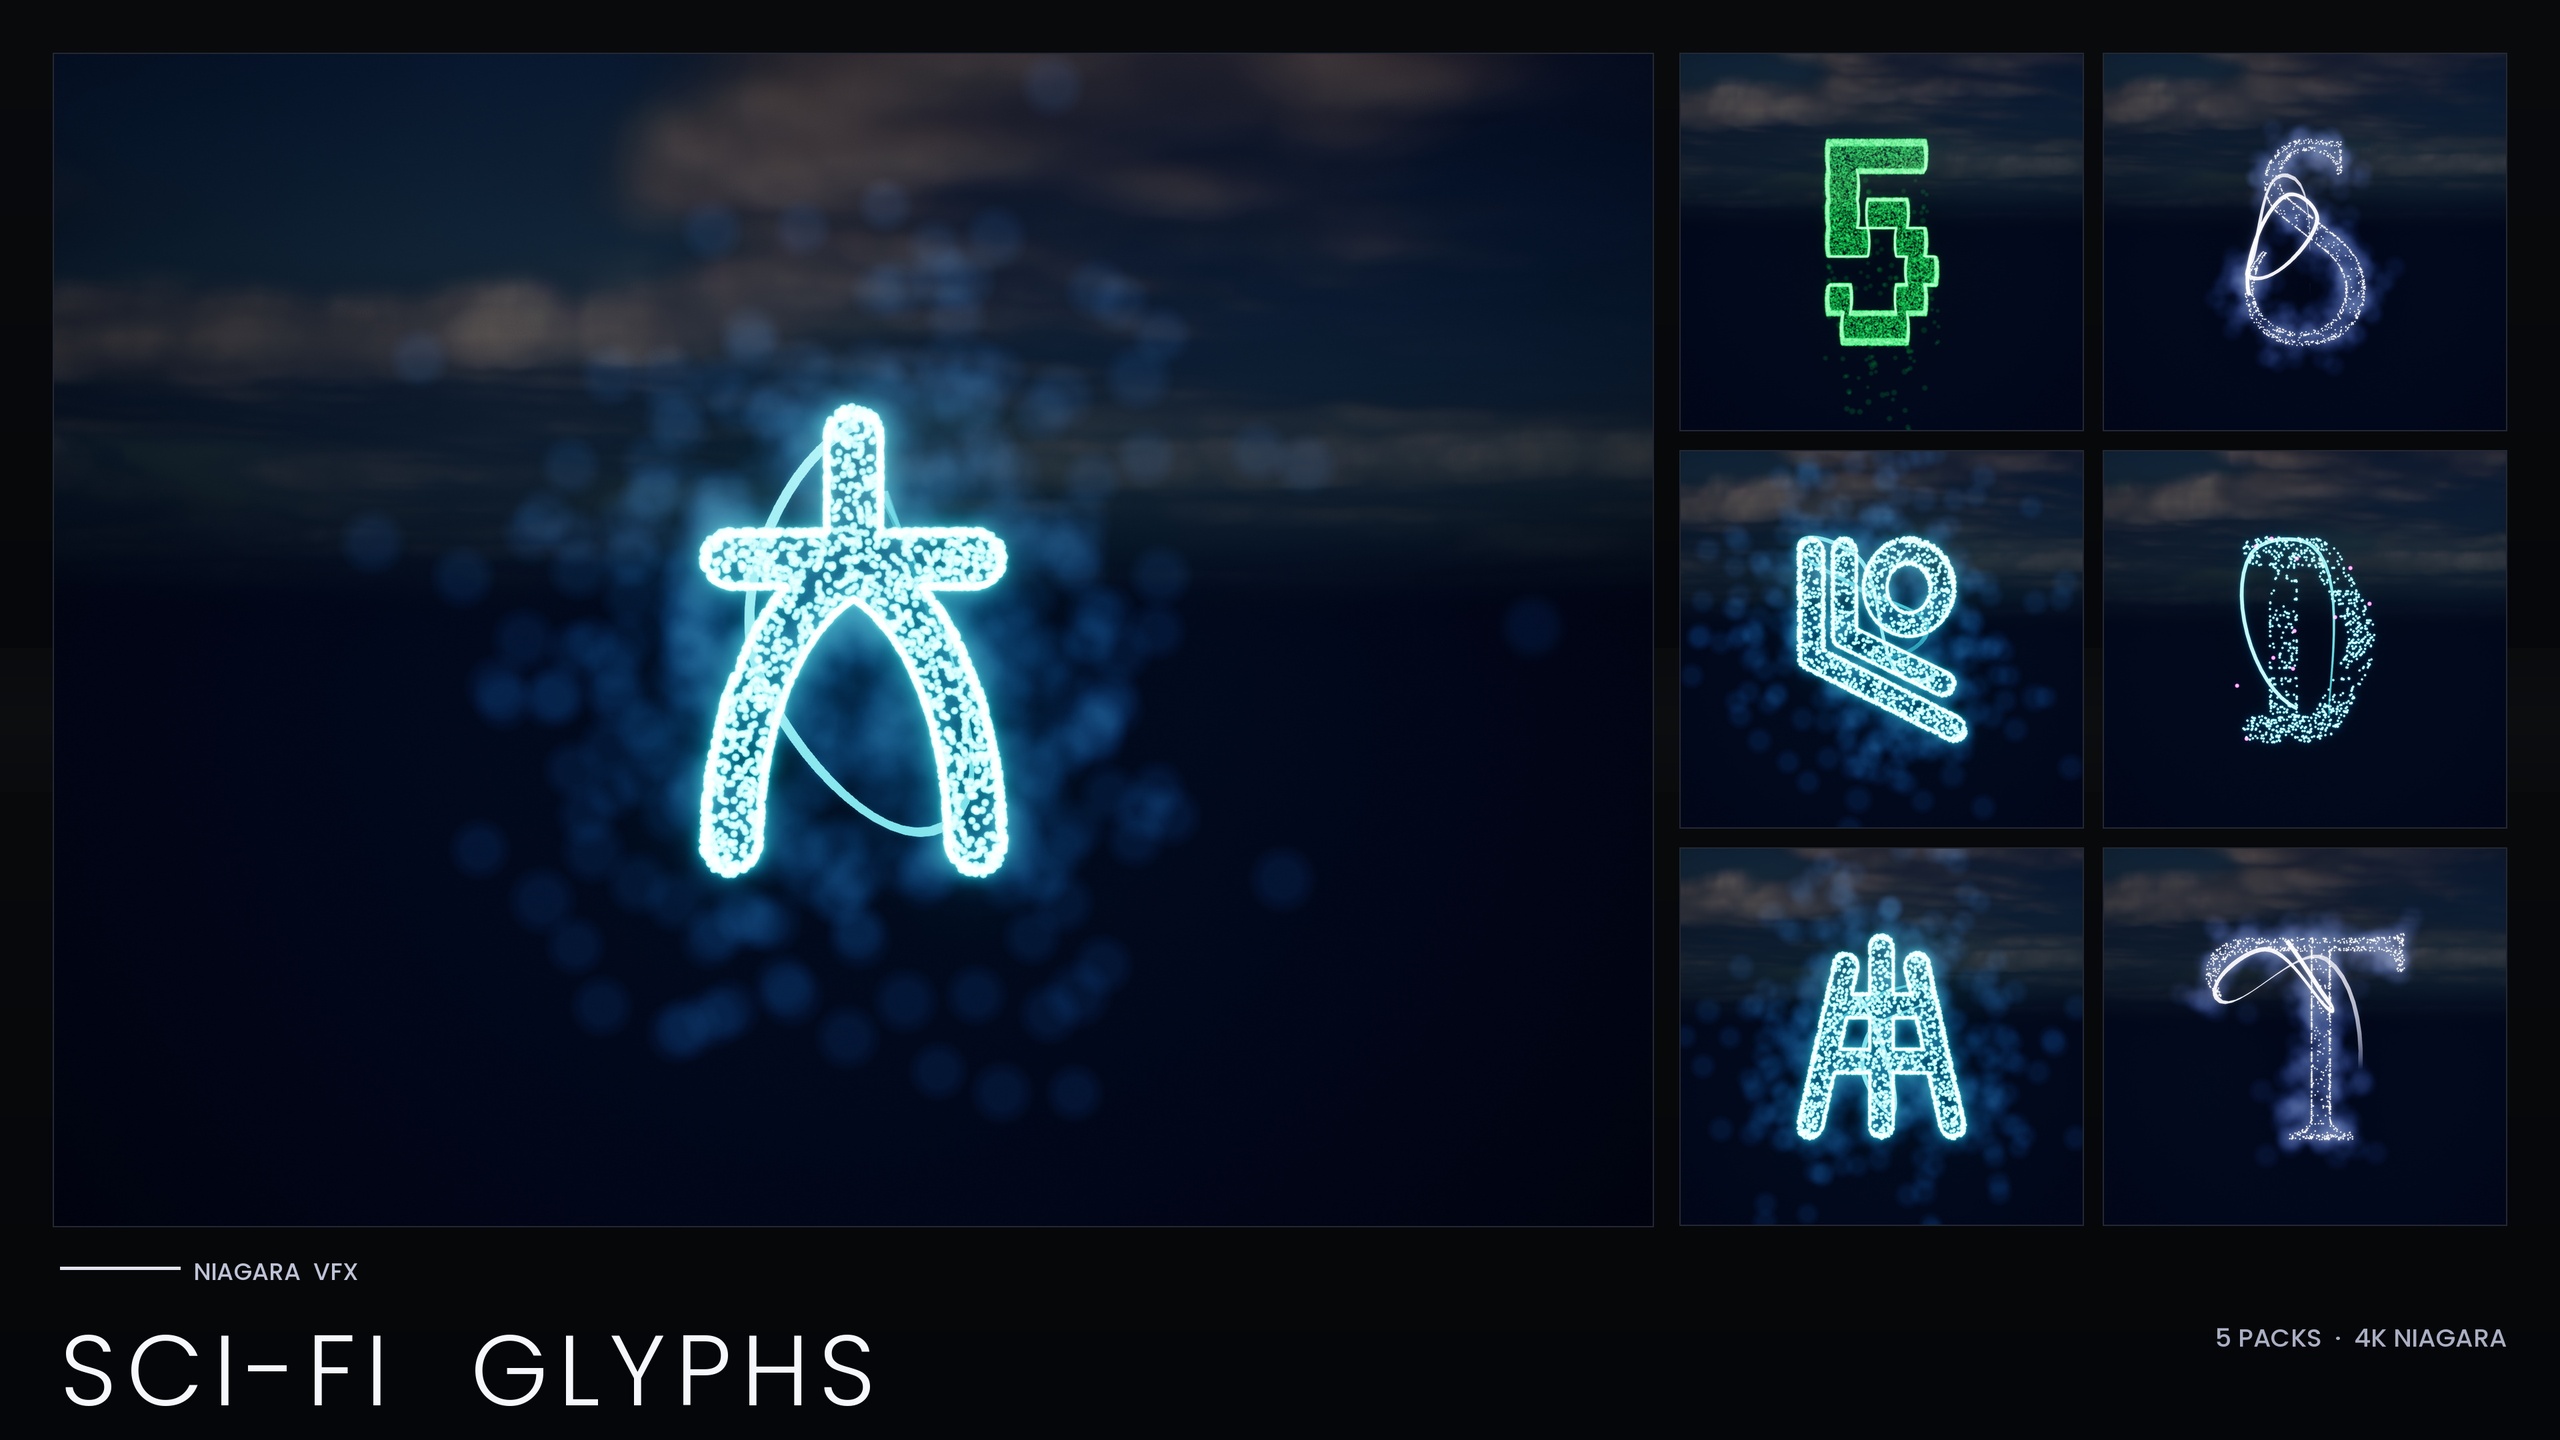
If your project leans into a broader science-fiction look, the Niagara SciFi Glyphs Bundle wraps the Matrix script together with four more, for 147 Niagara Systems and 147 static meshes across Alien, Cyberpunk, Matrix, Starforged and Circuit scripts, with per-theme demo maps. Note that the Matrix sub-pack still bakes its style inline; the bundle's single Niagara Parameter Collection recolour workflow applies to the other themes, not to Matrix.
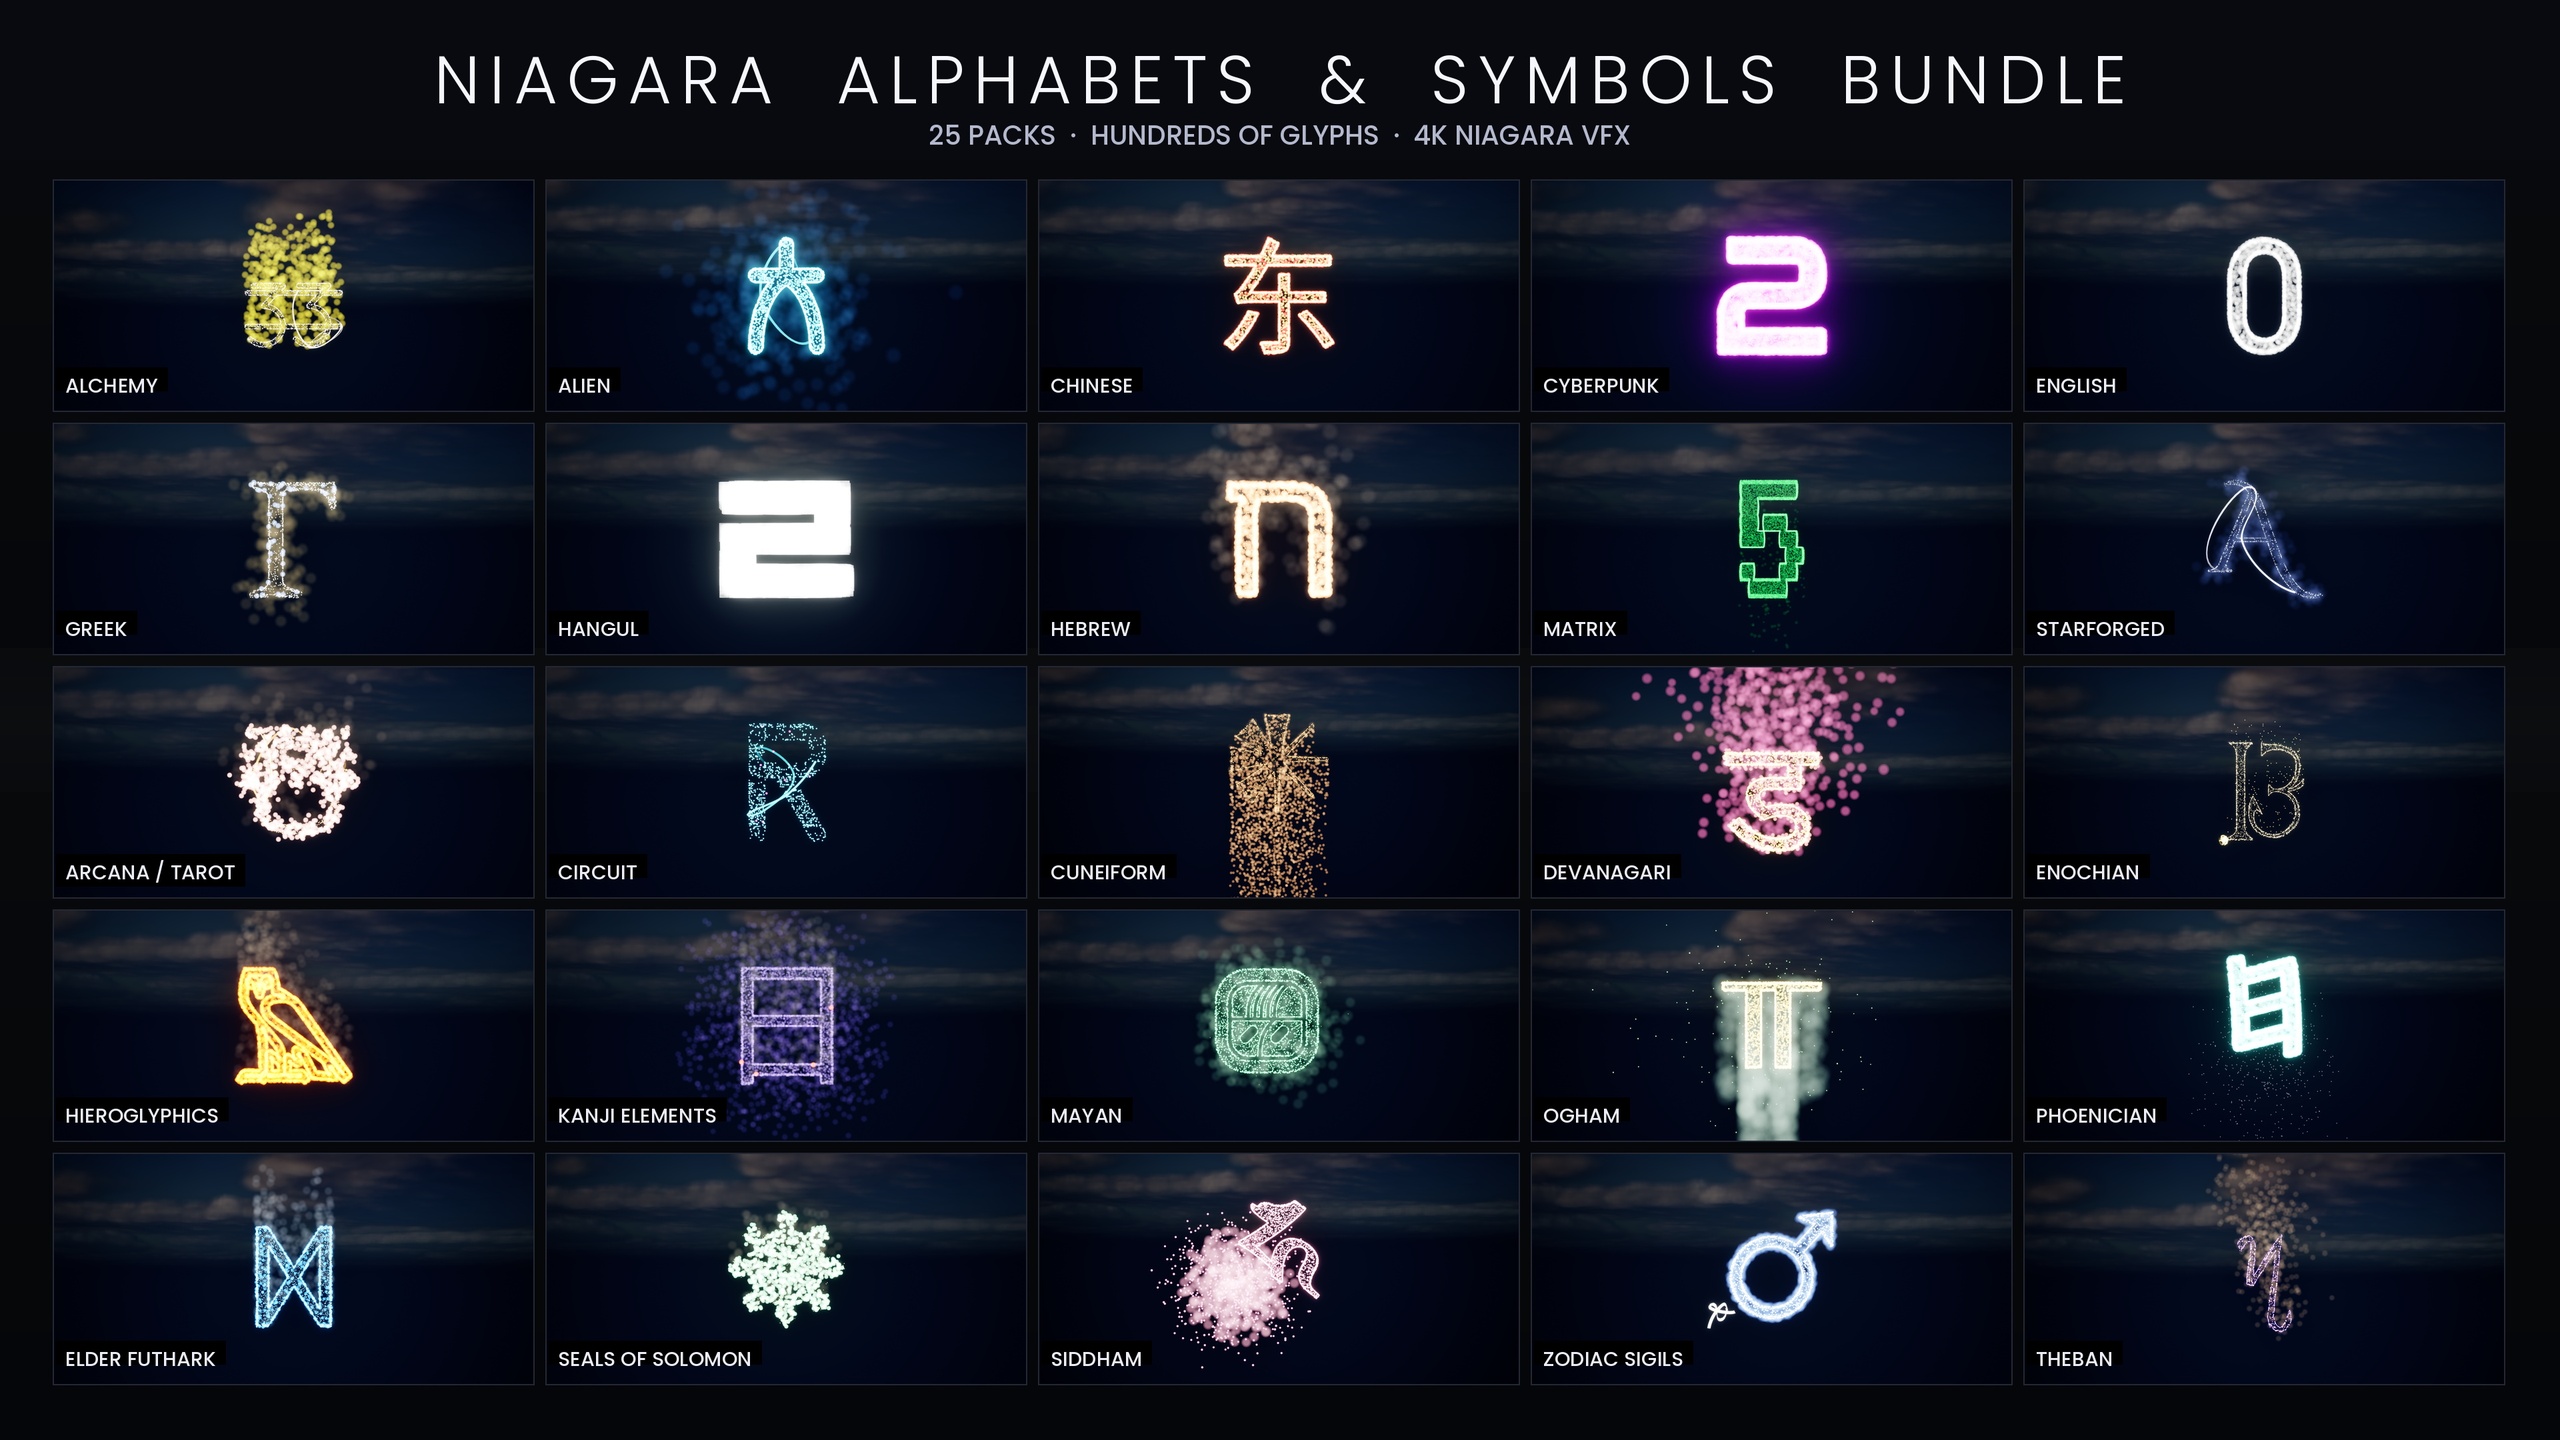
For a different genre entirely, the Niagara Ancient Scripts Pack covers five real ancient writing systems (Egyptian Hieroglyphics, Cuneiform, Mayan, Ogham and Phoenician) as 114 systems and 114 meshes for tomb inscriptions and ritual scenes. And if you want the complete glyph-VFX library, the Niagara Alphabet & Symbols Bundle is the superset, with 687 Niagara Systems and 688 static meshes across 25 themed sets, which contains the Matrix pack along with everything else in this line. If you only need green code rain, buy the Matrix pack; if you keep reaching for new alphabets, the bundle is the cheaper path overall.
Your next step
Start by opening the Matrix Pack's demo map to see all 36 glyphs running, then open a single system in the Niagara editor and study the Spark and Rain emitter pair: that two-emitter, mesh-sampled structure is the whole technique. From there, drag a few glyphs into a level, tune fall speed and Spark lifetime to taste, keep your HDR green modest so bloom stays coloured, and arrange the glyphs to spell whatever your scene needs. You will have real, depth-aware, spellable code rain in minutes rather than fighting a flat shader for hours.
Which glyph pack for which job
| Pack | Niagara Systems | Coverage | Recolour method |
|---|---|---|---|
| Niagara Matrix Pack | 36 | Matrix code rain (A-Z, 0-9) | Inline Constants, per system (no NPC) |
| Niagara SciFi Glyphs Bundle | 147 | Alien, Cyberpunk, Matrix, Starforged, Circuit | 1 Parameter Collection (non-Matrix themes) |
| Niagara Ancient Scripts Pack | 114 | Hieroglyphics, Cuneiform, Mayan, Ogham, Phoenician | 1 Parameter Collection |
| Niagara Alphabet & Symbols Bundle | 687 | Full library, 25 themed sets (contains Matrix) | 4 Parameter Collections |
Counts are from each product's listing. The Matrix script appears in the Sci-Fi and full bundles too; engine support listed as UE 5.4-5.7 (product JSON).
FAQ
How do you make Matrix code rain in Unreal Engine 5?
Build each character as its own small Niagara System from two emitters: a Spark emitter of bright, short-life flicker pixels and a Rain emitter of dim grain that falls straight down. Both sample an extruded glyph mesh so the particles form the actual letter, then you repeat glyphs across the scene. The Niagara Matrix Pack ships all 36 characters (A-Z, 0-9) built this way so you can start from a working reference.
Why does my code rain bloom out to white instead of staying green?
Your HDR colour value is too high, so the bloom clips past the green and saturates to white. Keep the HDR green low, roughly 1.0 to 2.5, so bloom tints the rain rather than blowing it out. The Matrix Pack keeps its values in that range deliberately for exactly this reason.
Can I make the rain spell out a word?
Yes. Because every glyph is an independently spawnable Niagara System rather than one flat loop, you can place specific glyph systems side by side so their falling grain forms a word, which is what makes hacker-terminal reveals and AI-awakening scenes possible. A scrolling material on a plane cannot do this.
Do I need to set up a Niagara Parameter Collection to use the Matrix Pack?
No. Unlike the other packs in this line, the standalone Matrix Pack bakes its style as inline Constants and ships with no Niagara Parameter Collection, so it works immediately on import with zero one-time setup. To recolour, edit the Spark and Rain sprite colour on the emitter, or duplicate the system with a new tint.
Which Unreal Engine versions does the Matrix Pack support?
The product was authored in UE5.4 and its product JSON lists support for UE 5.4 through 5.7. Listed platforms are Windows and Mac (the JSON also adds Linux). It is a CPU-simulated content pack that uses Unreal's default materials with no custom textures.
Niagara Matrix Pack
Thirty-six Niagara systems of cascading matrix-style glyphs for hacker, cyberpunk and sci-fi scenes — CPU-simulated and demo-mapped, ready to drop into any UI or environment.
Related on Fab