tutorial · 2026-01-09
How to Measure Local Scene Brightness in Unreal Engine (Lumen-Aware)
Read the actual light level at any point in your level — Lumen GI, shadows and skylight included — without leaving the editor.
Why eyeballing exposure fails
If you have ever tried to answer a simple-sounding question — how bright is this spot in my level, really? — you have probably discovered that Unreal does not make it easy. You can stare at the viewport, but auto-exposure is quietly fighting you: it adapts to whatever the camera is pointed at, so the same corridor looks fine from one angle and crushed-black from another. Bloom, the tonemapper and eye adaptation all sit between the lighting that actually lands on a surface and the pixels you see, which means your eyes are reading a heavily post-processed version of the truth, not the truth.
That gap matters the moment brightness becomes a gameplay or quality bar rather than a vibe. Stealth systems need to know whether the player is genuinely lit or genuinely hidden. A lighting artist trying to hit a spec needs a number, not a feeling. And after every lighting tweak you want a quick, honest answer to does this area now read too dark or too bright — without entering play and without trusting an exposure-adapted viewport.
This tutorial covers how to measure brightness / light level at a point in Unreal Engine using Lumen Meter, a drop-in tool that re-renders the local scene from its own position and reads back the average luminance before tonemapping. Because it samples the rendered scene as a post-process, the value it reports already includes global, static and dynamic lighting, shadows, skylight and Lumen global-illumination bounce — the same light the player would actually receive at that spot.
Dropping the meter into a level
Lumen Meter ships as a Blueprint actor, BP_LumenMeter, inside a self-contained Unreal project (LumenMeter.uproject, with an EngineAssociation of 5.6, plus a Demo map, the render targets and the post-process materials it depends on). The simplest way to start is to open that project and look at the Demo map, then migrate the LumenMeter content into your own project when you are ready.
1. Open the LumenMeter project, or migrate its content folder into yours. Keep the render targets and post-process materials together — the actor references them directly.
2. Drag 'BP_LumenMeter' from the Content Browser into your level and position it at the point you want to measure. It auto-configures and begins reading immediately; there are no brightness bounds to set up front.
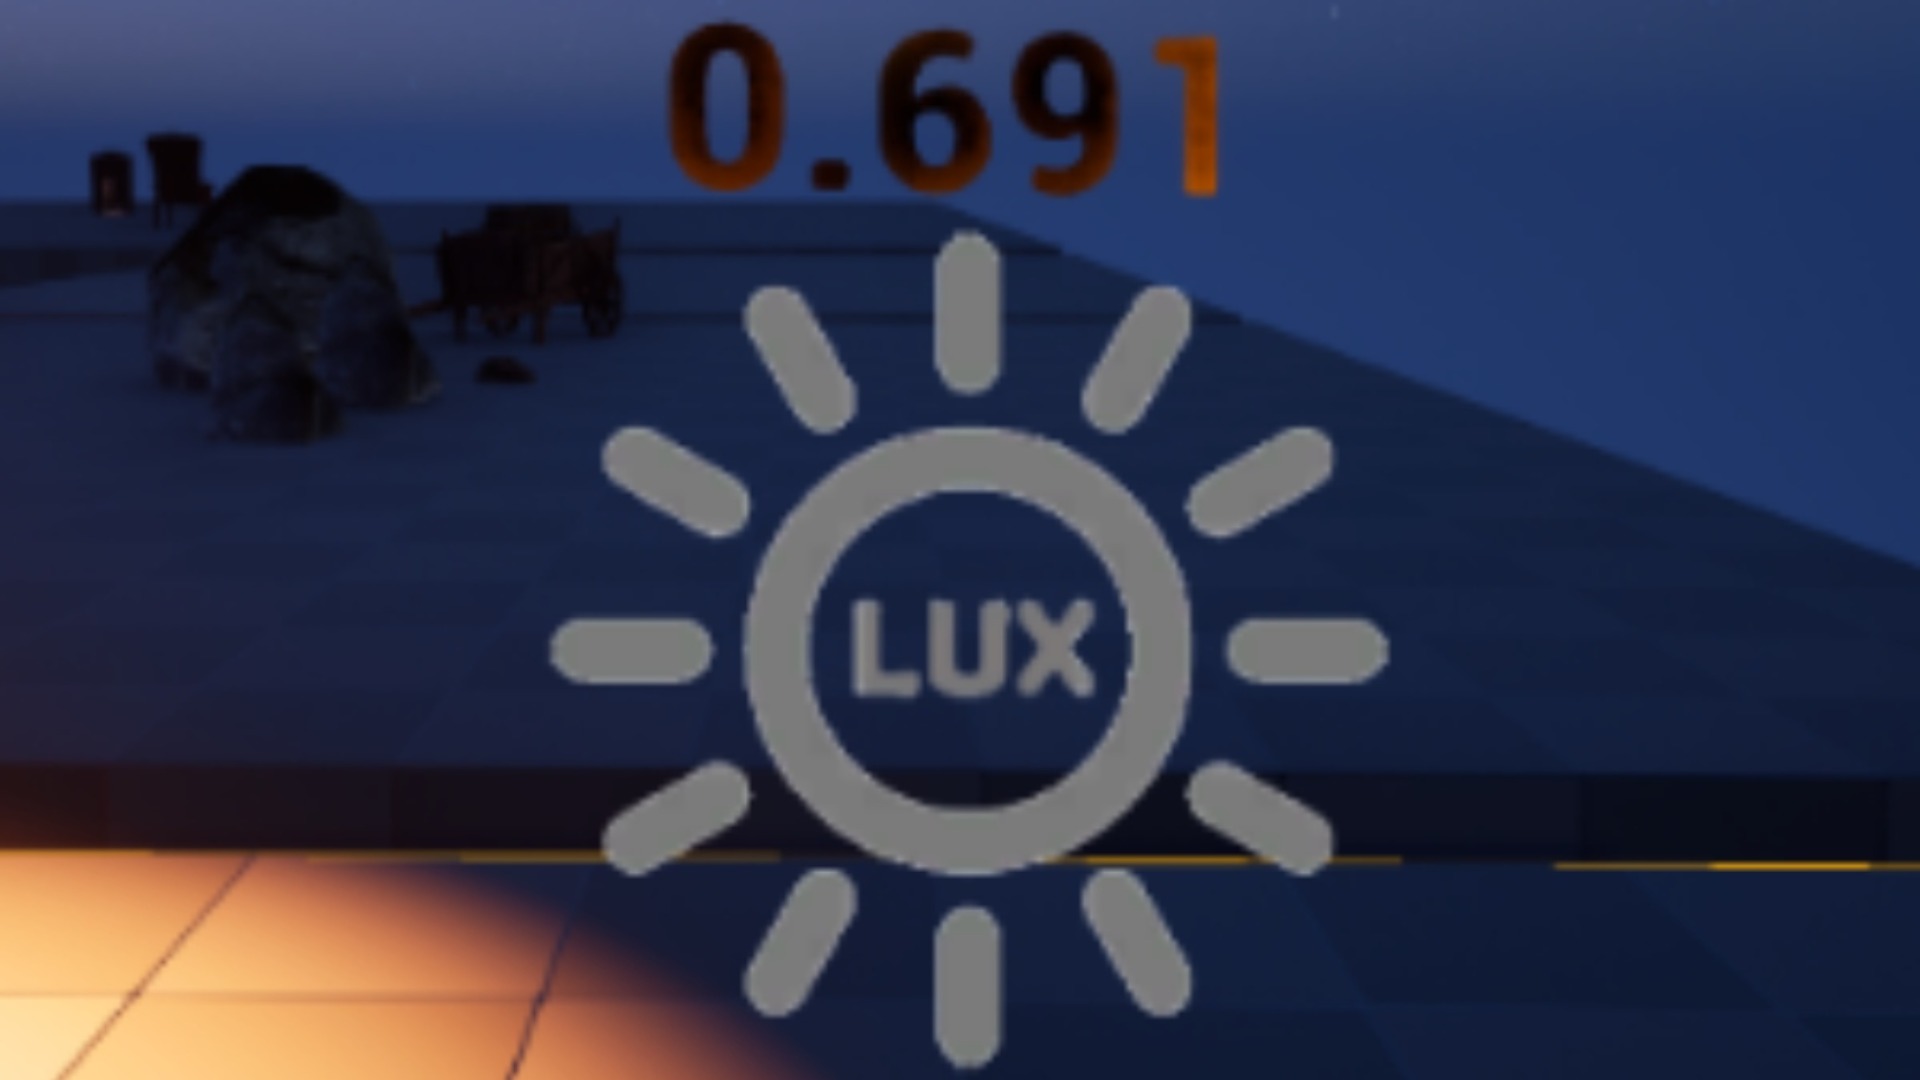
3. Look at the in-world readout. The meter renders a 'TextRender' component showing the live value right there in the viewport, and crucially it does this in the editor without entering play, so you can scrub a light's intensity and watch the number respond in real time.
To measure brightness on something that moves — a player capsule, a vehicle, a patrolling NPC — attach 'BP_LumenMeter' to that actor instead of placing it loose in the world. The reading then tracks whatever the parent passes through, which is exactly what a stealth visibility check wants. Because the meter is delivered as a Blueprint, you can open it and extend it: add your own variables, hook its events, or change the in-world display to suit your project.
Directional vs omnidirectional capture
Lumen Meter offers two capture modes, exposed through the 'Capture Mode' variable (an 'E_LumenMeterCaptureMode' enum with DIRECTIONAL and OMNIDIRECTIONAL values), and the choice is a straightforward speed-versus-accuracy trade.
Directional mode takes a single fast 2D capture along the 'Capture Direction' you set, using a SceneCaptureComponent2D rendering into a small RGBA16f render target (RT_LightMeter_32x18). It is cheap enough to run continuously, which makes it the sensible default for real-time gameplay logic where you need a brightness value every frame or two without paying a heavy cost.
Omnidirectional mode uses a SceneCaptureComponentCube to capture in all directions and averages across the cube faces (RT_LightMeter_Cube), giving the most accurate picture of how much light is actually arriving at that point from every angle. It costs more, so reach for it when accuracy genuinely matters — auditing a hero area, calibrating a lighting spec, or any case where a single forward-facing sample would miss light coming from the side or behind.
A practical rule: prototype and ship runtime checks in directional mode, then switch a meter to omnidirectional when you specifically need the ground-truth reading for that spot. Both modes feed the same downstream value pipeline, so the outputs you read are identical in shape regardless of which capture you chose.
Reading raw vs normalized brightness
The meter exposes three outputs, and knowing which one to bind to is the difference between a robust system and a brittle one. Brightness Raw is the CPU-side average linear luminance read straight back from the capture. Brightness Normalised is that value mapped into a 0-1 range. Brightness Smoothed is a temporally smoothed value (the meter eases toward new readings with an FInterpTo, governed by a 'Smoothing Speed' variable) so momentary flicker does not jolt whatever you are driving.
Raw is the honest physical-ish quantity, useful when you want absolute comparisons or are doing your own maths. But raw luminance values are awkward to author against because their useful range depends entirely on the scene. That is what the normalized output solves: Lumen Meter applies dynamic calibration, automatically tracking the lowest and highest values it has seen and normalizing against them on a log scale, so you get a meaningful 0-1 figure without ever typing in manual brightness bounds.
Smoothed is what most gameplay should consume. A stealth detection check, an adaptive UI hint, or a 'you are in shadow' state reads far better off Brightness Smoothed than off a raw value that can spike for a single frame as the capture catches a passing highlight. To react to changes rather than poll, bind the 'Brightness Level Change' event the meter fires and respond there.
There is one honest caveat with normalization. Because each meter learns its own lowest and highest values, two meters in different parts of the map can disagree about what 0.5 means. When you need a consistent normalized scale across an area, turn on 'Enable Synchronisation' and use the supplied 'BP_LumenMeterLock' actor with its 'DA_LumeMeterLock' data asset; meters then share one calibration range, either across the whole map or within a 'Sync Distance', so a normalized reading means the same thing everywhere it should.
Why sampling the rendered scene captures Lumen GI
The reason this approach is Lumen-aware comes down to where in the pipeline it samples. Rather than tracing individual lights and summing their contributions — which would force you to reason about every light type, shadow, and bounce yourself — Lumen Meter measures the rendered scene as a post-process. Whatever lighting the renderer has already resolved at that point is, by definition, included: global, static and dynamic lights, shadows, the skylight, and Lumen's indirect GI bounce all land in the captured pixels for free.
To make that capture a clean light reading rather than a stylised image, the meter reads luminance before tonemapping. A post-process material (M_PP_Luminance_PreTonemap, run as a replacing tonemapper) outputs a weighted dot product of the linear scene colour, while ShowFlags switch off the tonemapper, bloom, eye adaptation and volumetric fog, and auto-exposure is forced to manual. That last point is the one that defeats the eyeballing problem from the start of this article: by pinning exposure, the reading becomes stable and exposure-independent, so it reflects the light in the scene rather than the camera's reaction to it.
From there the spatial reduction is mechanical: the capture's top auto-generated mip is sampled (or the cube faces are averaged), the result is drawn down into a 1x1 RGBA16f target, and a single 'ReadRenderTargetPixel' pulls the average luminance back to the CPU. That CPU value is then smoothed, normalized against the dynamic bounds, and surfaced as the three outputs.
One consequence is worth stating plainly: because the value comes from the render path, it is render-path dependent. The technique itself works whether Lumen is on or off and whether your scene uses dynamic or static lighting — it is plugin- and technique-agnostic in that sense — but what it reports is whatever the active renderer actually produced. That is usually exactly what you want, because it is the same light the player sees.
Where it fits in your workflow
In authoring, keep a meter or two in the level while you light. Watch the normalized readout as you place fixtures, and you can light an area to a number instead of to a guess, then sanity-check the whole space with synchronized meters so the scale is consistent end to end. Because it all runs in the editor without play, the iteration loop is tight.
At runtime, attach a directional meter to the player and feed Brightness Smoothed into your visibility or detection logic; the player is measurably lit or measurably hidden, and your designers can tune against an actual value. The meter can capture on an interval (set 'Enable Realtime Capture' and a 'Loop Duration') or be called on demand when you only need a reading at specific moments.
If you drive Unreal with an AI coding agent, Mythic Dev Assist is the editor bridge that lets that agent spawn an actor, watch it, and read back live state via structured calls and screenshots — a natural companion when you want an agent to place a meter, run it, and confirm what the scene is actually doing rather than guess. Lumen Meter itself stays a focused brightness instrument, and the best next step is simply to drop 'BP_LumenMeter' into your worst-lit area and find out, with a number, exactly how dark it really is.
Choosing a capture mode
| Aspect | Directional | Omnidirectional |
|---|---|---|
| Capture | Single 2D capture (SceneCaptureComponent2D) | Cube capture averaged over faces (SceneCaptureComponentCube) |
| Render target | RT_LightMeter_32x18 | RT_LightMeter_Cube |
| Coverage | One direction you set | All directions |
| Relative cost | Fast | Heavier |
| Best for | Continuous real-time gameplay reads | Most accurate audit / spec calibration |
Both modes feed the same outputs; the difference is cost versus angular coverage.
FAQ
How do I measure brightness or light level at a point in Unreal Engine?
Drag the BP_LumenMeter actor into your level at that point. It re-renders the local scene from its position and reads back the average luminance, reporting Brightness Raw, a normalized 0-1 value, and a smoothed value. It works in the editor without entering play, so you can read the light level immediately.
Does the reading include Lumen global illumination?
Yes. The meter samples the rendered scene as a post-process, so whatever the renderer resolved at that point is included — global, static and dynamic lighting, shadows, skylight and Lumen GI bounce. It captures luminance before tonemapping and forces manual exposure, so the value is stable and exposure-independent.
What is the difference between directional and omnidirectional mode?
Directional takes a single fast 2D capture along a direction you set and is cheap enough to run continuously, making it the default for real-time gameplay. Omnidirectional uses a cube capture averaged across all faces for the most accurate reading, at higher cost — use it when accuracy matters.
Which output should I use for gameplay like stealth?
Use Brightness Smoothed. It is temporally smoothed, so a single-frame highlight will not jolt your logic. Bind the Brightness Level Change event to react to lighting changes, and attach the meter to the player so the reading follows them through the level.
Do I have to set brightness bounds manually?
No. The meter uses dynamic calibration, automatically tracking the lowest and highest values it sees and normalizing on a log scale to a 0-1 range. If you need the normalized scale to be consistent across an area, enable synchronisation with the supplied BP_LumenMeterLock actor so multiple meters share one calibration range.
Lumen Meter
Read local scene brightness so you can light to spec. An in-editor probe that measures and analyses Lumen lighting in real time — no more eyeballing exposure.