tutorial · 2026-03-17
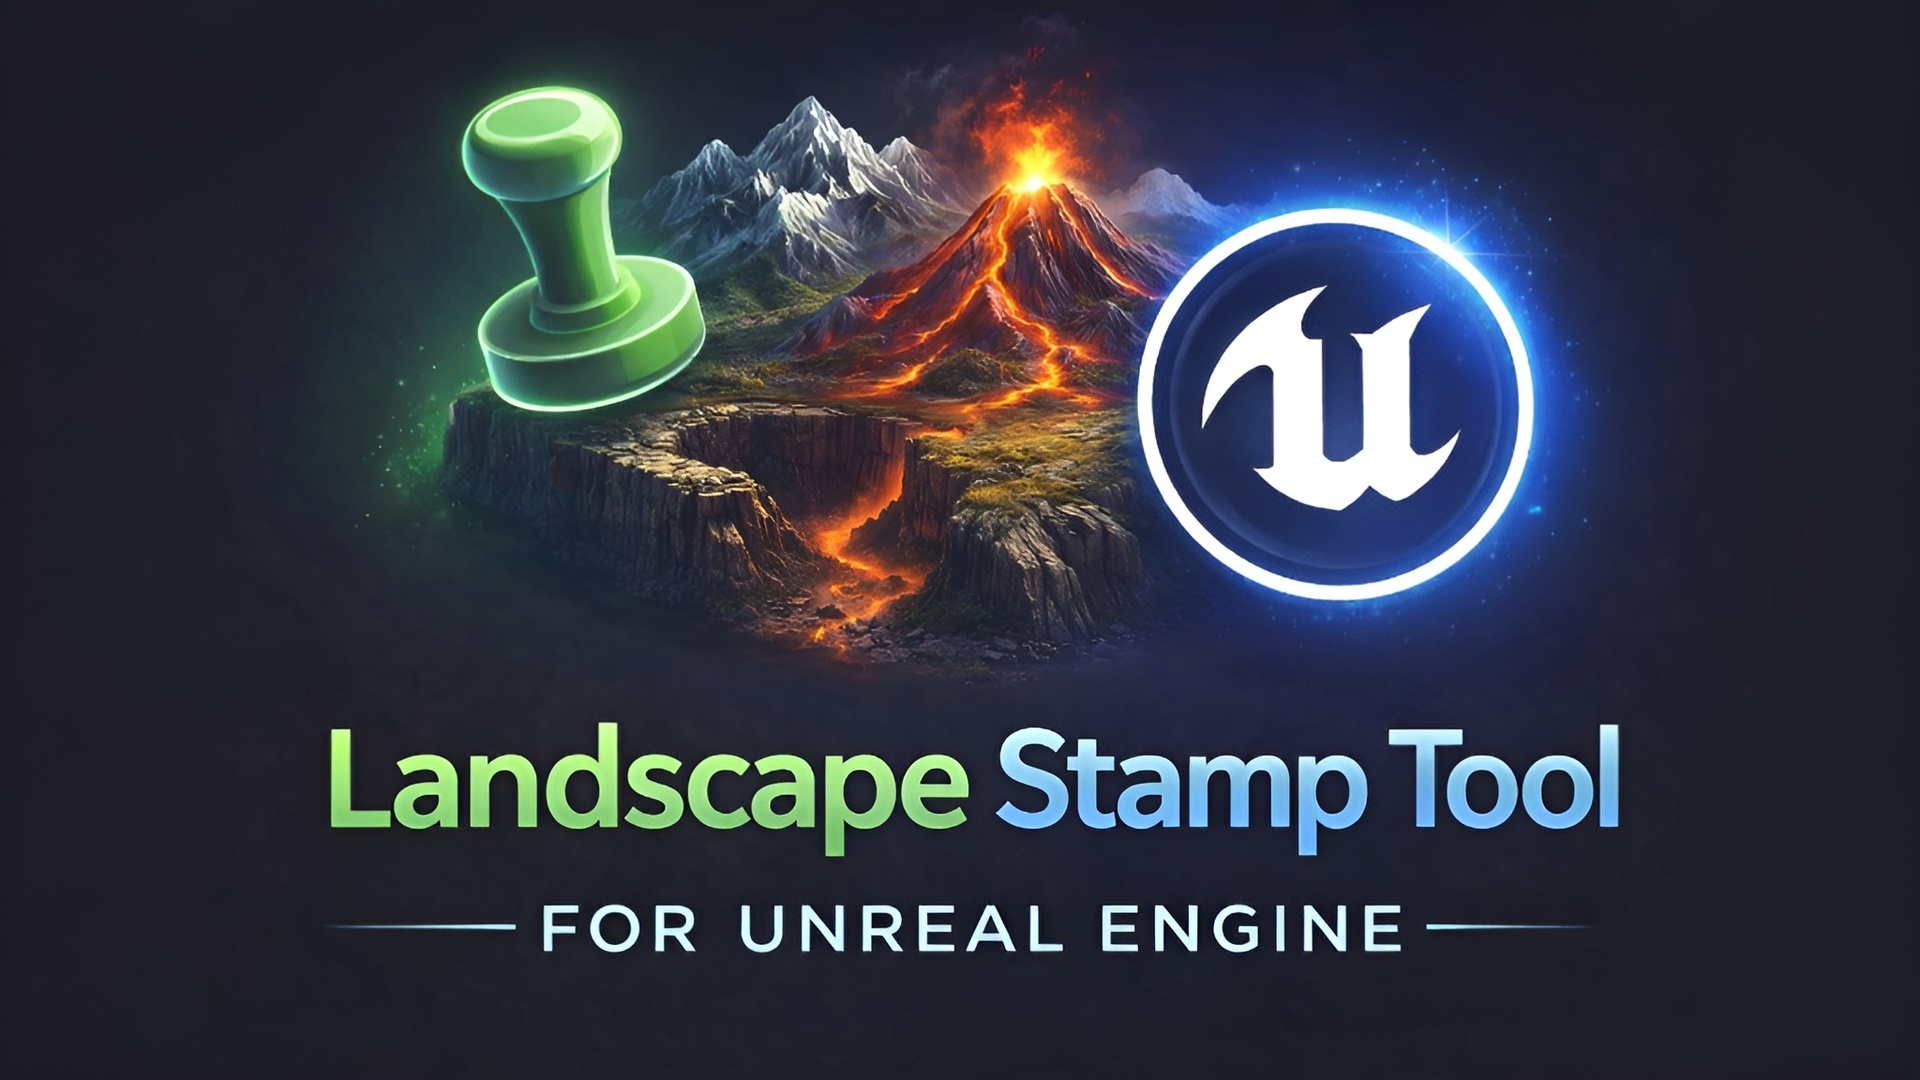
Morphing a World Partition Landscape with Blueprint Stamp Tools (No C++)
Drag a stamp-tool blueprint into a World Partition level and watch it reshape the terrain in place - no code, no sculpting brush marathon.
Why World Partition makes some terrain workflows awkward
World Partition is brilliant for streaming a large open world, but it quietly changes how you touch the terrain. The single big landscape you used to sculpt with a brush is now split across cells, and any heavy hand-sculpting session means loading regions, painting heights tile by tile, and hoping the result still reads as one continuous landform once the cells stream back in. For a solo developer or a small Blueprint team, that is a lot of fiddly, destructive work before you even know whether the layout is right.
If your search intent is to edit a World Partition landscape with a Blueprint, no code, and a proper terrain tool, the cleaner approach is to stop sculpting by hand and start stamping. Instead of pushing vertices around, you drop a tool into the level that carries a heightmap and lets the engine blend that shape into the landscape underneath it. The Landscape Stamp Tool does exactly this: it is a Blueprint-only pack that morphs a World Partition landscape in place using heightmap textures, with no C++ required.
It works because it leans on Unreal's own Landscape Patch system. The included project enables the engine's LandscapePatch and Water plugins, so when a stamp tool sits over your terrain it drives a non-destructive patch rather than baking changes into the heightmap. That is the key difference from manual sculpting: the landform is a thing you placed, not damage you committed, so you can move it, retune it, or pull it back out.
Getting set up: project, plugins and your landscape
You have two ways in. The simplest is to open the project that ships with the pack - it targets Unreal Engine 5.6 or 5.7, with a separate project per version, and the included uproject is associated with 5.7. Everything is already wired: the LandscapePatch and Water plugins are enabled and the demo content is in place.
The alternative is to migrate the LandscapeStampTool content into your own World Partition project. If you go this route, make sure your project also enables the engine's Landscape Patch plugin (and Water, if you want the water-related demo content to function), because the stamp tools depend on Landscape Patch to apply their changes. Without that plugin enabled the tools have nothing to drive.
Either way you need a landscape in the level to stamp onto. Create or import a base World Partition landscape first - even a flat one works as a canvas. If you want a worked reference before you build your own, open L_Demo.umap from the pack, which lays out every tool type so you can see what each one does to the terrain.
It is worth being clear about scope up front. This is a Windows, editor-time Blueprint pack. It shapes terrain in the editor; it is not a runtime gameplay system, and macOS is not part of the stated support. If you are on Windows building an open world in 5.6 or 5.7, you are in the supported lane.
Dragging a stamp-tool blueprint into the level
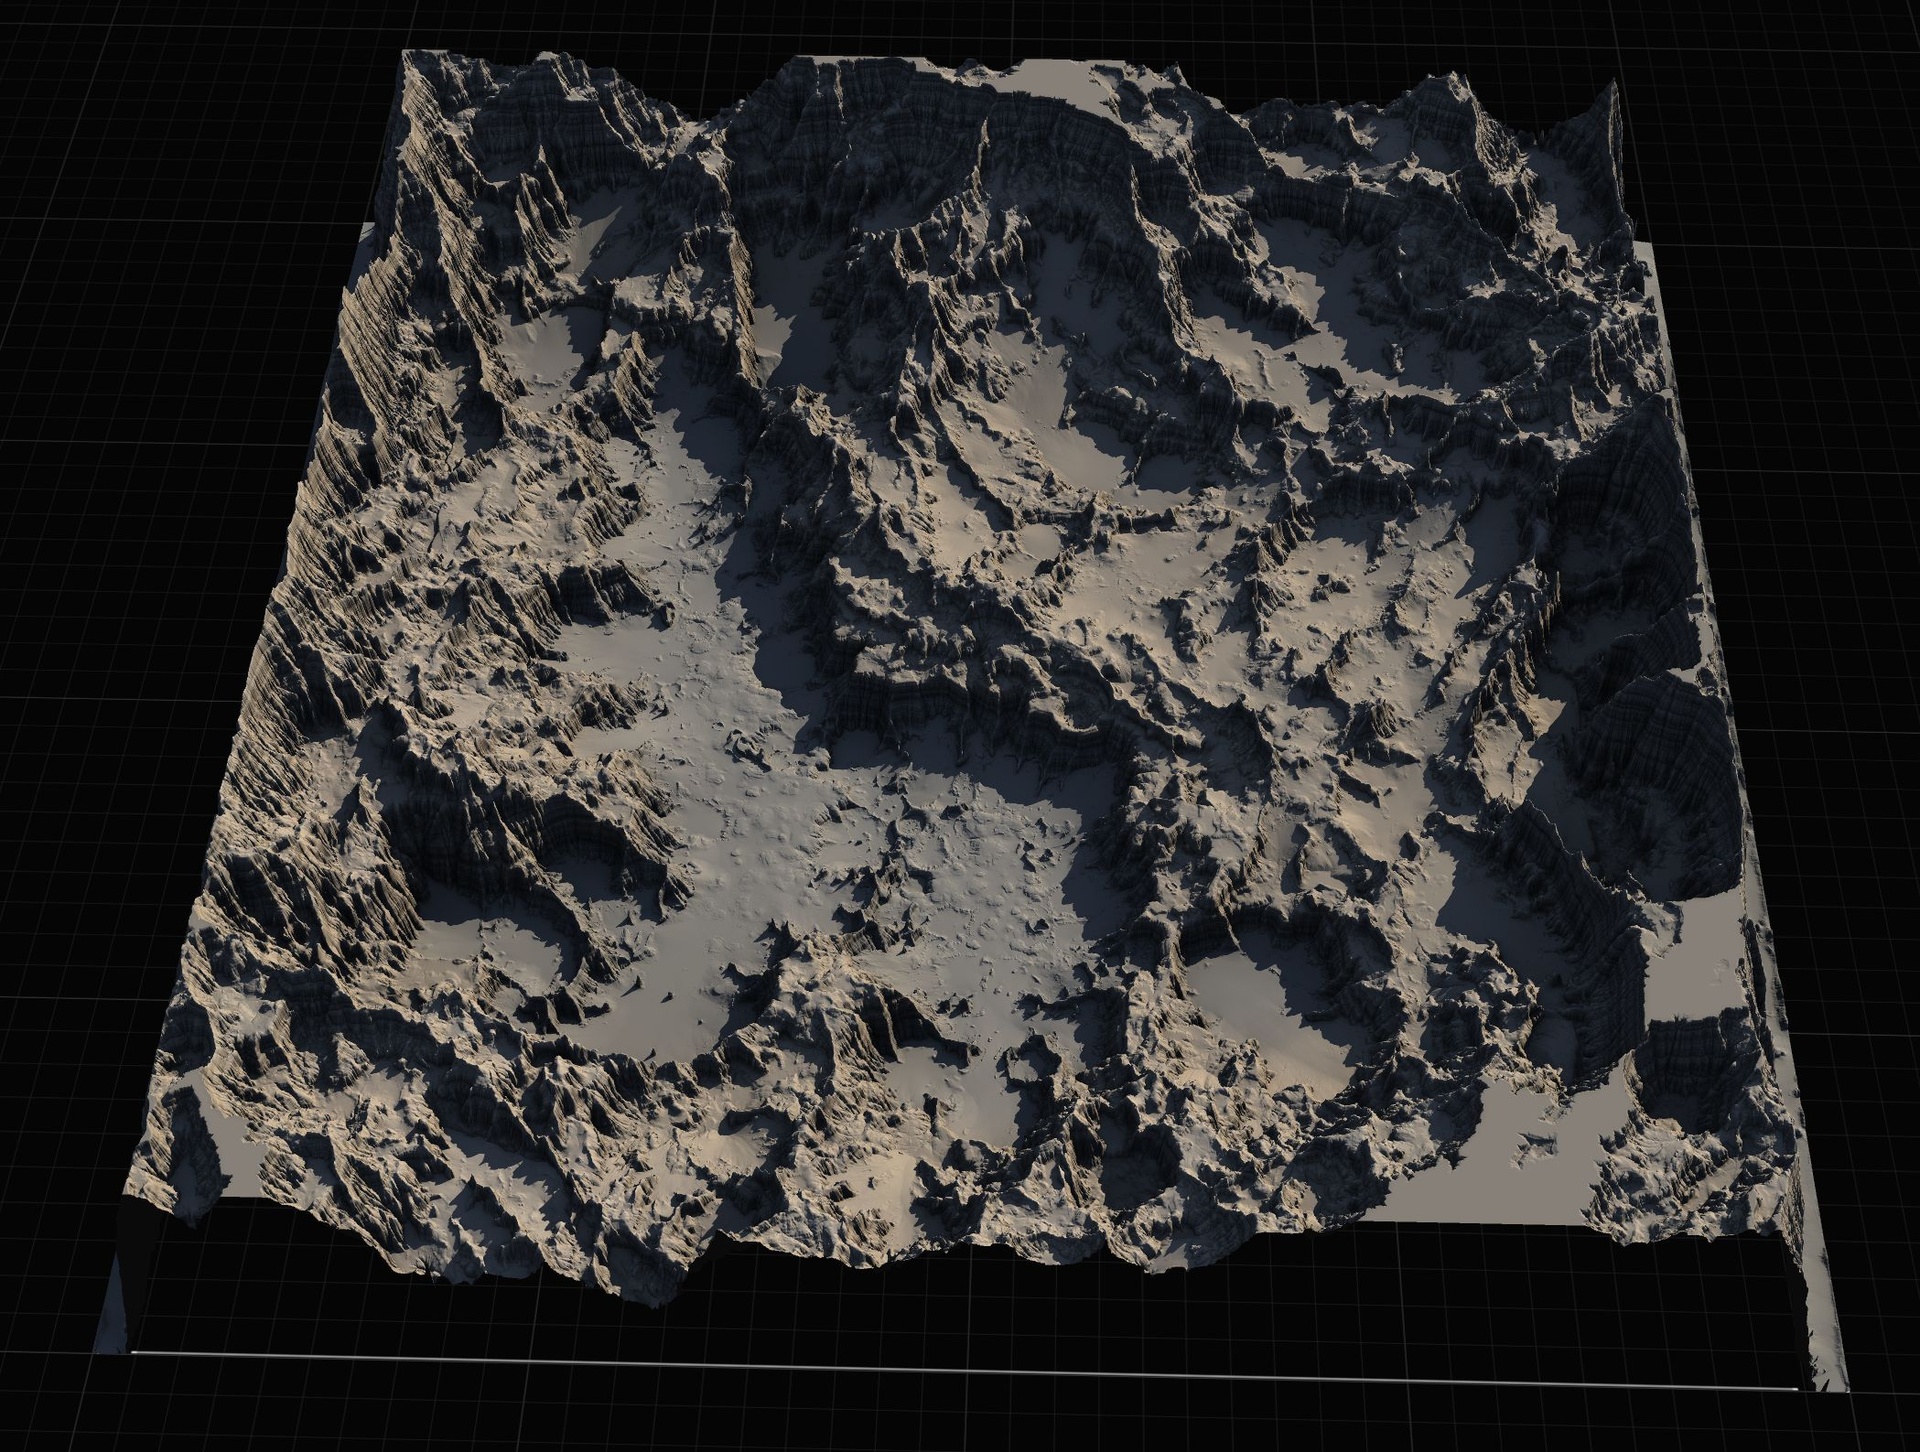
The core loop is genuinely drag-and-drop. The pack provides tool blueprints derived from a BP_StampTool base, covering seven geological types: Canyon, Crater, Directional (paths, roads and crossings), Hill, Mountain, River and Volcano. Each is a placeable actor that carries a heightmap and applies it to the landscape beneath it.
1. From the Content Browser, open the LandscapeStampTool content and find the tool blueprints, for example BP_MountainTool, BP_CanyonTool or BP_RiverTool.
2. Drag the tool you want into the viewport and position it over the part of your landscape you want to reshape. The tool morphs the terrain directly underneath it, so placement is your composition.
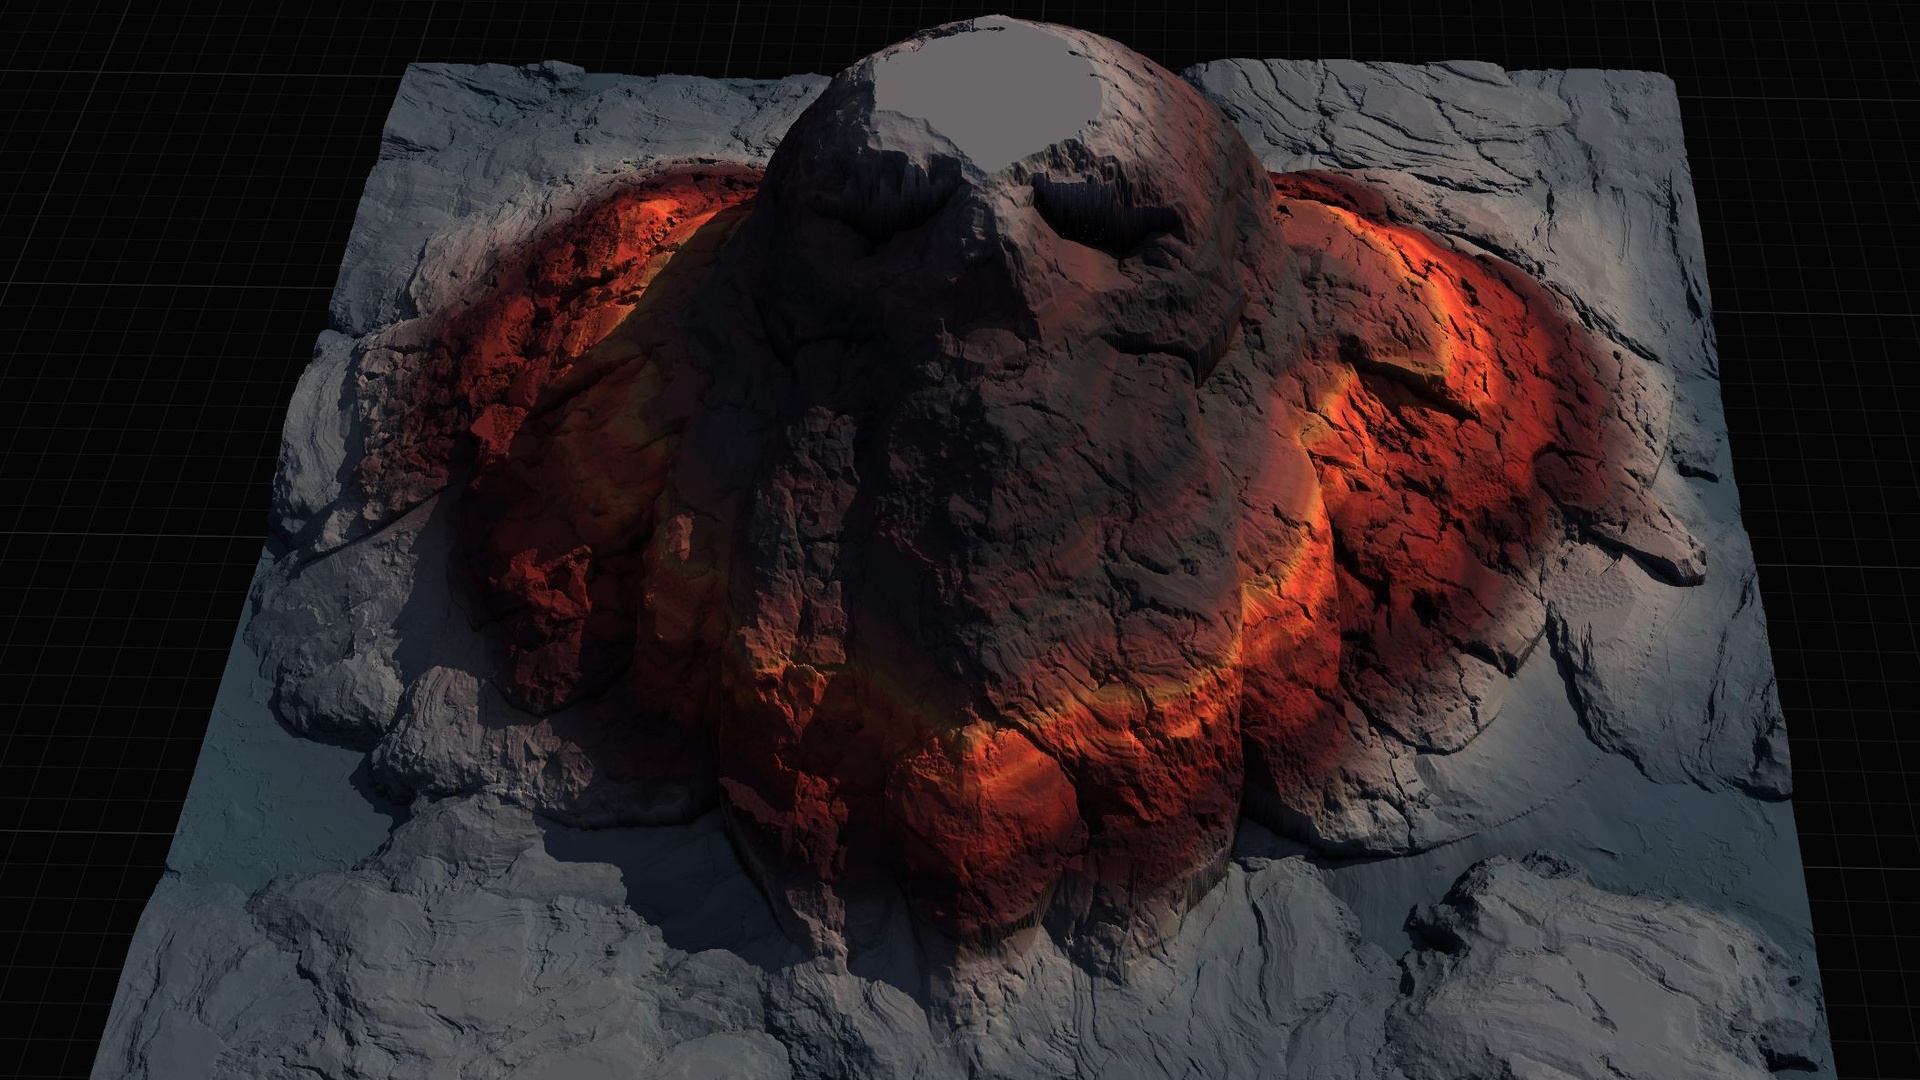
3. With the tool selected, open the Details panel and configure its exposed properties. Pick the stamp's type and style - the Mountain tool, for instance, exposes an 'E_MountainType' with options such as Alpine, Basic, Eroded, Old and Strata, while the Canyon tool offers a 'Classic', 'Both', 'Eroded' or 'Strata' shape via 'E_CanyonType'.
4. Choose a texture size from 'E_TextureSizes', which offers 512, 1K, 2K and 4K. Larger textures give you more heightmap detail at the cost of memory, so match the size to how prominent the feature is.
5. Set the stamp's priority via 'E_StampPriority' and tune its falloff so the edges blend into the surrounding terrain rather than cutting a hard seam.
Because the whole thing rides on Landscape Patch, what you see is the landscape genuinely changing shape in place as you adjust the tool - and because it is a patch, nothing is permanently carved. Reposition the actor and the terrain follows.
Stacking tools to combine features
One stamp gives you one landform. The pack gets interesting when you stack several, because the stamps are blendable - multiple tools combine to shape the terrain together. This is how you compose a region rather than place a single hill.
A practical sequence is to lay down the big shapes first and refine downward. Drop a Mountain tool to raise a ridge, set a River tool to carve a valley through it, then add a Directional tool to cut a road or crossing along the base. Where two stamps overlap, the priority value you set on each decides which one wins on top, and the falloff settings control how cleanly they feather into one another. That priority-and-falloff combination is what stops a stack of stamps from looking like a pile of separate decals and makes it read as one coherent landform.
Use this to prototype biomes fast. Because every tool is non-destructive, you can stack craters for a battlefield set-piece, swap a Volcano tool (which ships With_Snow and Without_Snow styles) into the middle of a mountain range, or pull tools out and try a different arrangement - all without ever damaging the base landscape. When the geology cooperates, the iteration loop is just drag, tune priority, retune falloff, repeat.
If the built-in shapes do not cover what you need, the pack includes a custom-stamp path. A BP_CustomStampTool with its BP_CustomStamp lets you bring in your own heightmap textures and stamp them the same way as the geological tools, so your bespoke landforms join the same blendable, priority-aware workflow. The shipped stamps themselves come from a sizeable library - the live 5.7 project carries roughly 110 heightmap texture assets organised by tool, then style, then variant - so there is a lot to combine before you need your own art.
When to step up to the C++ Landstamp Pro
The Landscape Stamp Tool is deliberately the lighter, Blueprint-based sibling of Landstamp Pro, and the two share the same underlying Landscape Patch approach. If you are Blueprint-only and want to morph a World Partition landscape without touching code, the Blueprint pack is the right tool and may be all you ever need.
Step up to Landstamp Pro when you want a more industrial workflow. It is a C++ editor plugin that places ALandstampActor stamps, each driving a Landscape Texture Patch, and it adds machinery the Blueprint pack does not: a visual Stamp Browser with categories, search and drag-and-drop placement; explicit blend modes (Additive, Subtractive, Replace, Maximum, Minimum); a ten-level priority system; and a mesh-to-heightmap extractor that turns any static mesh into a reusable stamp at 512, 1K, 2K or 4K. Its live listing cites 370-plus stamp data assets and 100-plus high-resolution heightmaps up to 4K. Both products are Windows editor tools, and Landstamp Pro states compatibility with Unreal Engine 5.5, 5.6 and 5.7-plus.
If your real need is finished terrain rather than tooling, the landscape content packs are the other branch. The Massive Open World Landscape Pack ships 14 open-world heightmaps, each at 1K, 2K, 4K and 8K, plus a height-and-slope AutoMaterial and a Gaea source file per map - useful when you want a ready-made continent to stamp detail onto. The Mythic Relic Landscape Pack offers 14 fantasy landscapes whose terrain forms iconic shapes (skull islands, a hand of god, a broken blade), each at the same four resolutions with the same AutoMaterial and bonus relic meshes. Stamp tools shape; heightmap packs supply the canvas. Many open worlds use both.
Blueprint Landscape Stamp Tool vs C++ Landstamp Pro
| Aspect | Landscape Stamp Tool (Blueprint) | Landstamp Pro (C++) |
|---|---|---|
| Implementation | Blueprint only, no C++ | C++ editor plugin (Runtime + Editor modules) |
| Placement workflow | Drag a tool blueprint into the level | Stamp Browser with categories, search, drag-and-drop |
| Stamp library | ~110 heightmap textures (live 5.7 project) | 370+ stamp assets, 100+ heightmaps up to 4K |
| Blend control | Blendable stamps, priority and falloff | Blend modes (Additive/Subtractive/Replace/Max/Min), 10-level priority |
| Custom stamps | BP_CustomStampTool for your own heightmaps | Mesh-to-heightmap extractor (512/1K/2K/4K) |
| Engine versions | UE 5.6 - 5.7 | UE 5.5, 5.6, 5.7+ |
Both build on Unreal's Landscape Patch system and are Windows editor tools. Figures are from each product's listing and source.
FAQ
Can I edit a World Partition landscape with a Blueprint and no code in Unreal?
Yes. The Landscape Stamp Tool is a Blueprint-only pack: you drag a tool blueprint such as BP_MountainTool or BP_RiverTool into a World Partition level and it morphs the terrain in place using heightmap textures. No C++ is required - it relies on the engine's Landscape Patch plugin to apply the changes.
Is the terrain change permanent, or can I undo it?
It is non-destructive. Because the tools drive Landscape Patch components rather than baking into the heightmap, the landform stays editable - you can reposition the tool, retune its type, priority and falloff, or remove it entirely, and the landscape follows.
Which Unreal Engine versions and platforms are supported?
The pack ships projects for Unreal Engine 5.6 and 5.7 (a separate project per version; the included uproject is associated with 5.7) and is a Windows, editor-time Blueprint tool. macOS support is not claimed.
How do I combine multiple landforms in one area?
Stack the tools. The stamps are blendable, so you can place a Mountain tool, carve through it with a River tool, and add a Directional path tool on top. Where they overlap, the priority value on each stamp decides which renders on top, and the falloff settings control how they feather together.
When should I use Landstamp Pro instead?
Use the Blueprint pack if you want to stamp terrain without touching code. Step up to the C++ Landstamp Pro when you want a Stamp Browser UI, explicit blend modes, a ten-level priority system, a mesh-to-heightmap extractor and a much larger stamp library (370+ assets). Both share the same Landscape Patch foundation.
Landscape Stamp Tool
Sculpt terrain by dragging blueprint tools into a World Partition level — seven geological stamp types (mountains, canyons, rivers, volcanoes and more) that blend together to morph the landscape in place. 8 tool blueprints, no code.