tutorial · 2026-06-05
Scale VFX Per Platform with Niagara System Scalability Overrides
Use Niagara scalability settings for Low, Medium and High so the same effect ships safely from a phone to a workstation, with no code.
The problem: one effect, many devices
You author a glowing summoning circle on a workstation, it looks perfect, and then someone runs the project on a weaker target and the frame time falls apart. The effect itself is fine. The mistake is shipping the same particle budget to every device. A high-count emitter that a desktop GPU shrugs off can dominate the frame on a laptop, and a wall of stacked systems that holds up in isolation can stall once several are placed together.
This is exactly what Niagara scalability settings for Low, Medium and High exist to solve in UE5. Rather than authoring three copies of a system, you author one and declare per-platform overrides that the engine applies automatically based on the effects-quality bucket the device is running in. The visual identity stays the same; the count, the spawn rate and the cull distance scale down where they need to.
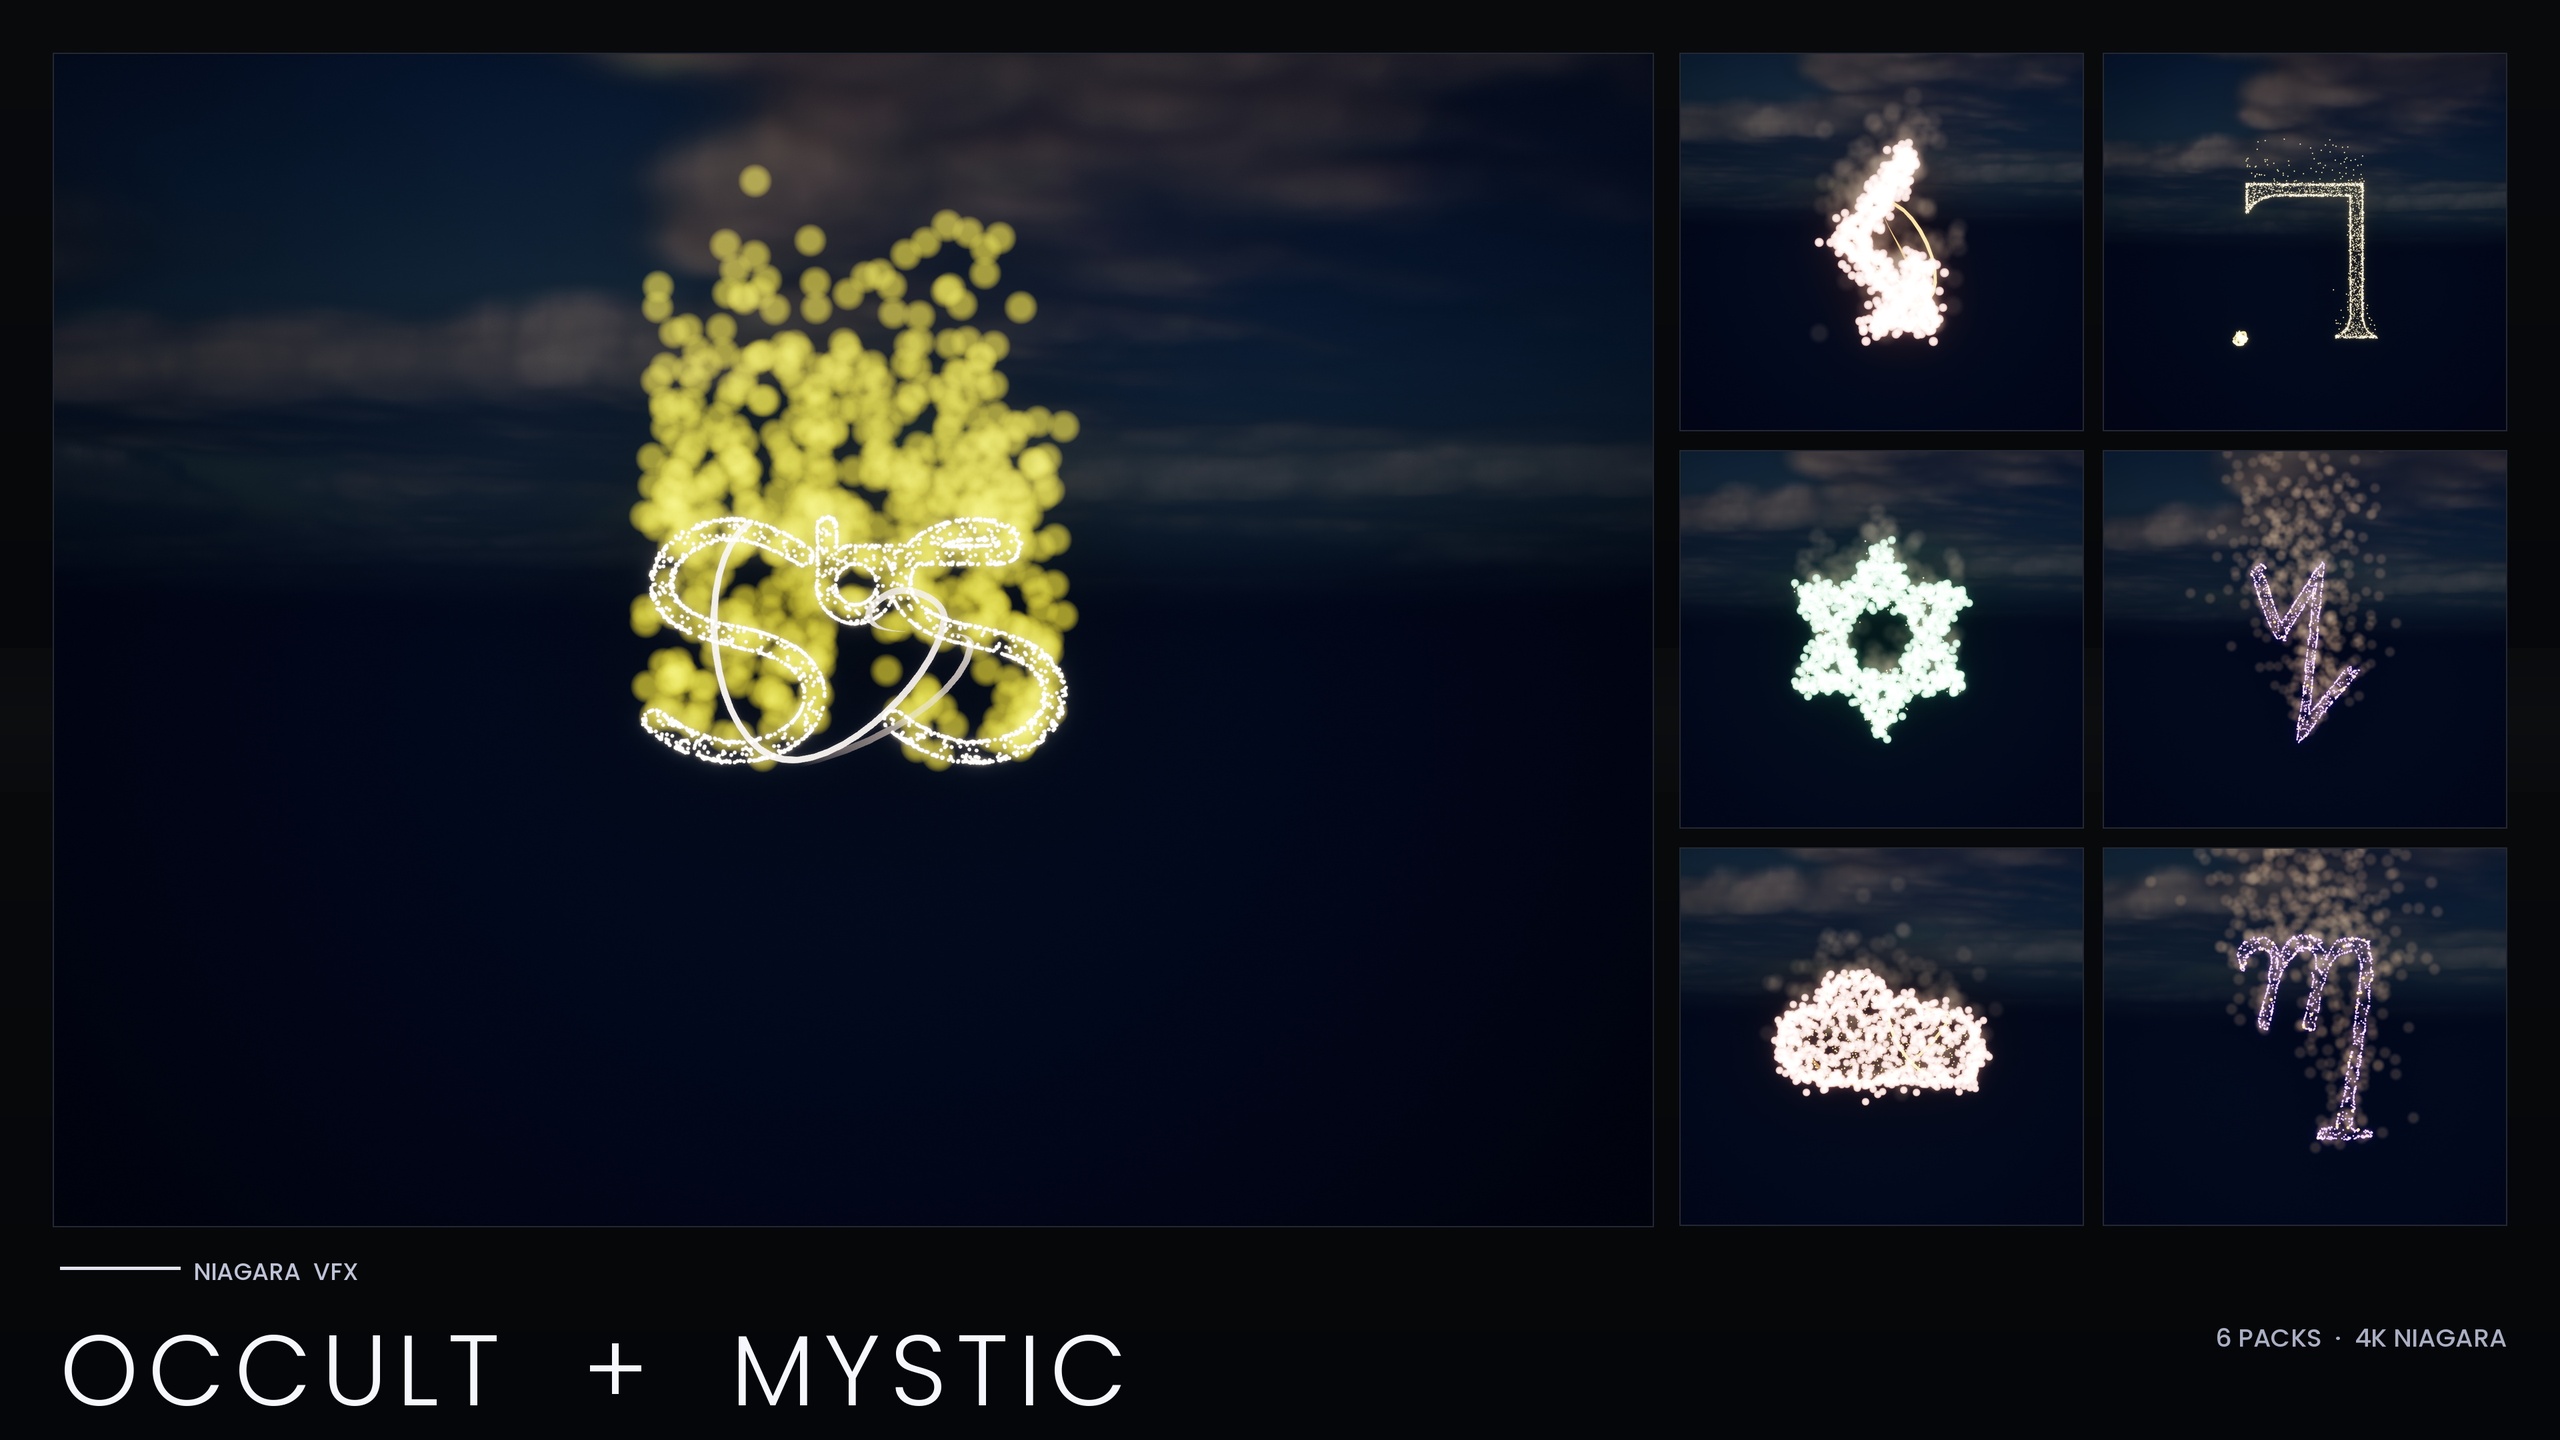
Throughout this guide the worked example is the Niagara Occult & Mystic Bundle, a 115-system pack of esoteric symbol systems (Alchemy, Arcana Tarot, Seals of Solomon, Sigils of the Zodiac, Theban and Enochian). It is a useful reference precisely because it already ships per-system scalability overrides for Low, Medium and High, so you can open a finished system, see how the overrides are wired, and copy the pattern onto your own effects.
What system scalability overrides actually do
A Niagara System exposes a System Scalability Settings section, and inside it you can add overrides keyed to one or more effects-quality levels: Low, Medium and High. Each override is a small set of properties Niagara enforces when the active quality matches. The two that move the needle most are spawn-count scaling, which multiplies how many particles the system is allowed to produce, and a maximum-distance cull, which stops simulating and rendering the system once the camera is far enough away.
The mental model is simple. On High you let the system run at its authored budget because the hardware can afford it. On Low you trade fidelity for headroom: fewer particles per system, and anything beyond a chosen radius switches off entirely rather than burning cycles on something the player can barely see. Medium sits between the two as the sensible default for most mid-range targets.
Crucially these overrides live on the asset, not in gameplay code. There is no per-frame Blueprint logic deciding how big the effect should be and no C++ tick adjusting counts. You declare the intent once on the system, and the engine resolves it from the platform's effects-quality setting at runtime. That is what makes the approach scale across a catalogue: in the Occult & Mystic Bundle the same override pattern is applied across all 115 systems rather than hand-tuned scene by scene.
Halving spawn count and adding a distance cull on Low
Here is the concrete recipe the bundle uses for its Low tier, which you can apply to any CPU-simulated Niagara System. The goal is a system that on Low halves its spawn count again and adds a roughly 25 m distance cull, so a crowded ritual scene stays affordable on weak hardware.
1. Open the Niagara System asset and select the System node at the top of the System Overview (the root, not an individual emitter).
2. In the Details panel find the 'System Scalability Settings' section and expand 'Overrides'. Add an entry and tick the 'Low' platform bucket so this override only applies at Low effects quality.
3. Enable the spawn-count scale for this override and set the multiplier so the system produces about half its normal particles. If your effect already drops counts at a lower tier, this halves it again from there, which is what the bundle does for its densest core emitters.
4. Enable the distance culling option on the same Low override and set the 'Max Distance' to roughly 25 m (2500 units). Beyond that radius the system stops simulating and rendering instead of spending budget on a glyph the player cannot read at range.
5. Add a second override entry for 'Medium' with a gentler spawn scale and a longer cull distance, and leave 'High' at the authored budget so capable hardware shows the full-fidelity effect.
6. Save the asset. Because the override is stored on the system, every place that spawns it, whether dragged into a level or spawned from Blueprint, inherits the scaling automatically.
One detail worth keeping: scaling counts changes density, not the silhouette of the effect. The Occult & Mystic Bundle leans on this by boosting HDR sprite colour so the engine's bloom recovers the glow even when there are fewer particles, which means a Low system reads as the same symbol rather than a thinner, dimmer version of it. Keep bloom enabled or the look will fall flat at every tier.
Letting the engine auto-apply by platform
Once the overrides are on the system you do not select them manually in shipping code. Niagara reads the active effects-quality level from the platform's scalability configuration and applies the matching override. You drive that level the normal UE5 way: through device profiles and the scalability settings (the same mechanism behind the engine's Low/Medium/High/Epic quality buckets), so a mobile or low-spec profile lands on Low while a desktop profile lands on High.
The payoff is that there is no per-platform branching to maintain. You are not writing 'if this is the weak target, spawn the small version' anywhere. The system carries its own scaling policy and the engine resolves it. For a content pack this is the only practical model, which is why the bundle ships the overrides baked in: dropping 115 systems into a project would be unmanageable if each needed bespoke platform code.
It also keeps your gameplay code honest. A Blueprint that calls 'Spawn System at Location' to place a tarot reveal does not need to know what hardware it is on; it spawns the one system and trusts the override to do the right thing. The same spawn call behaves differently on a phone and a workstation because the asset, not the call site, owns the scalability decision.
Testing on a Low preset before you ship
Overrides are only worth anything if you actually run the Low path, and the easy trap is authoring everything on a workstation that always resolves to High. Before shipping, force the effects quality down and look at the result. You can set the effects-quality scalability group to Low from the editor's scalability settings, or use the console to switch quality so the editor evaluates the Low override exactly as a low-spec device would.
With Low active, place the effect the way it will really be used and watch two things. First, confirm the cull behaves: walk the camera past your chosen distance and check the system switches off cleanly rather than popping or lingering. Second, confirm the reduced count still reads as the intended symbol; if it looks too sparse, nudge the HDR sprite colour up rather than adding particles back, so you keep the saving while restoring the glow.
Stress-test density too, not just a single instance. The Occult & Mystic Bundle is explicit about this in its own pre-ship checklist: spawn five to ten systems together and confirm frame time stays stable, because an earlier build of the pack hit a renderer crash on UE5.4 when many per-particle-light systems were placed at once. That crash was a specific RDG-handle-overflow root cause that the performance-optimised V2 rebuild addresses, and it is a good reminder that the failure mode to design against is many systems together, not one in isolation. Test crowds on Low, and you ship something that holds up on the hardware you do not have on your desk.
Where the bundle fits and how to extend it
The Niagara Occult & Mystic Bundle is a working reference for everything above: 115 esoteric symbol systems and 115 static meshes, each an independently spawnable CPU system, all carrying Low/Medium/High overrides and fixed bounds so the scaling is reproducible. It uses only engine-default materials with zero custom textures, so the footprint stays small and the scalability work is about counts and culling rather than texture budgets. The 15 demo maps are deliberately split to hold at most around ten systems each, which mirrors the crowd-testing advice rather than fighting it.
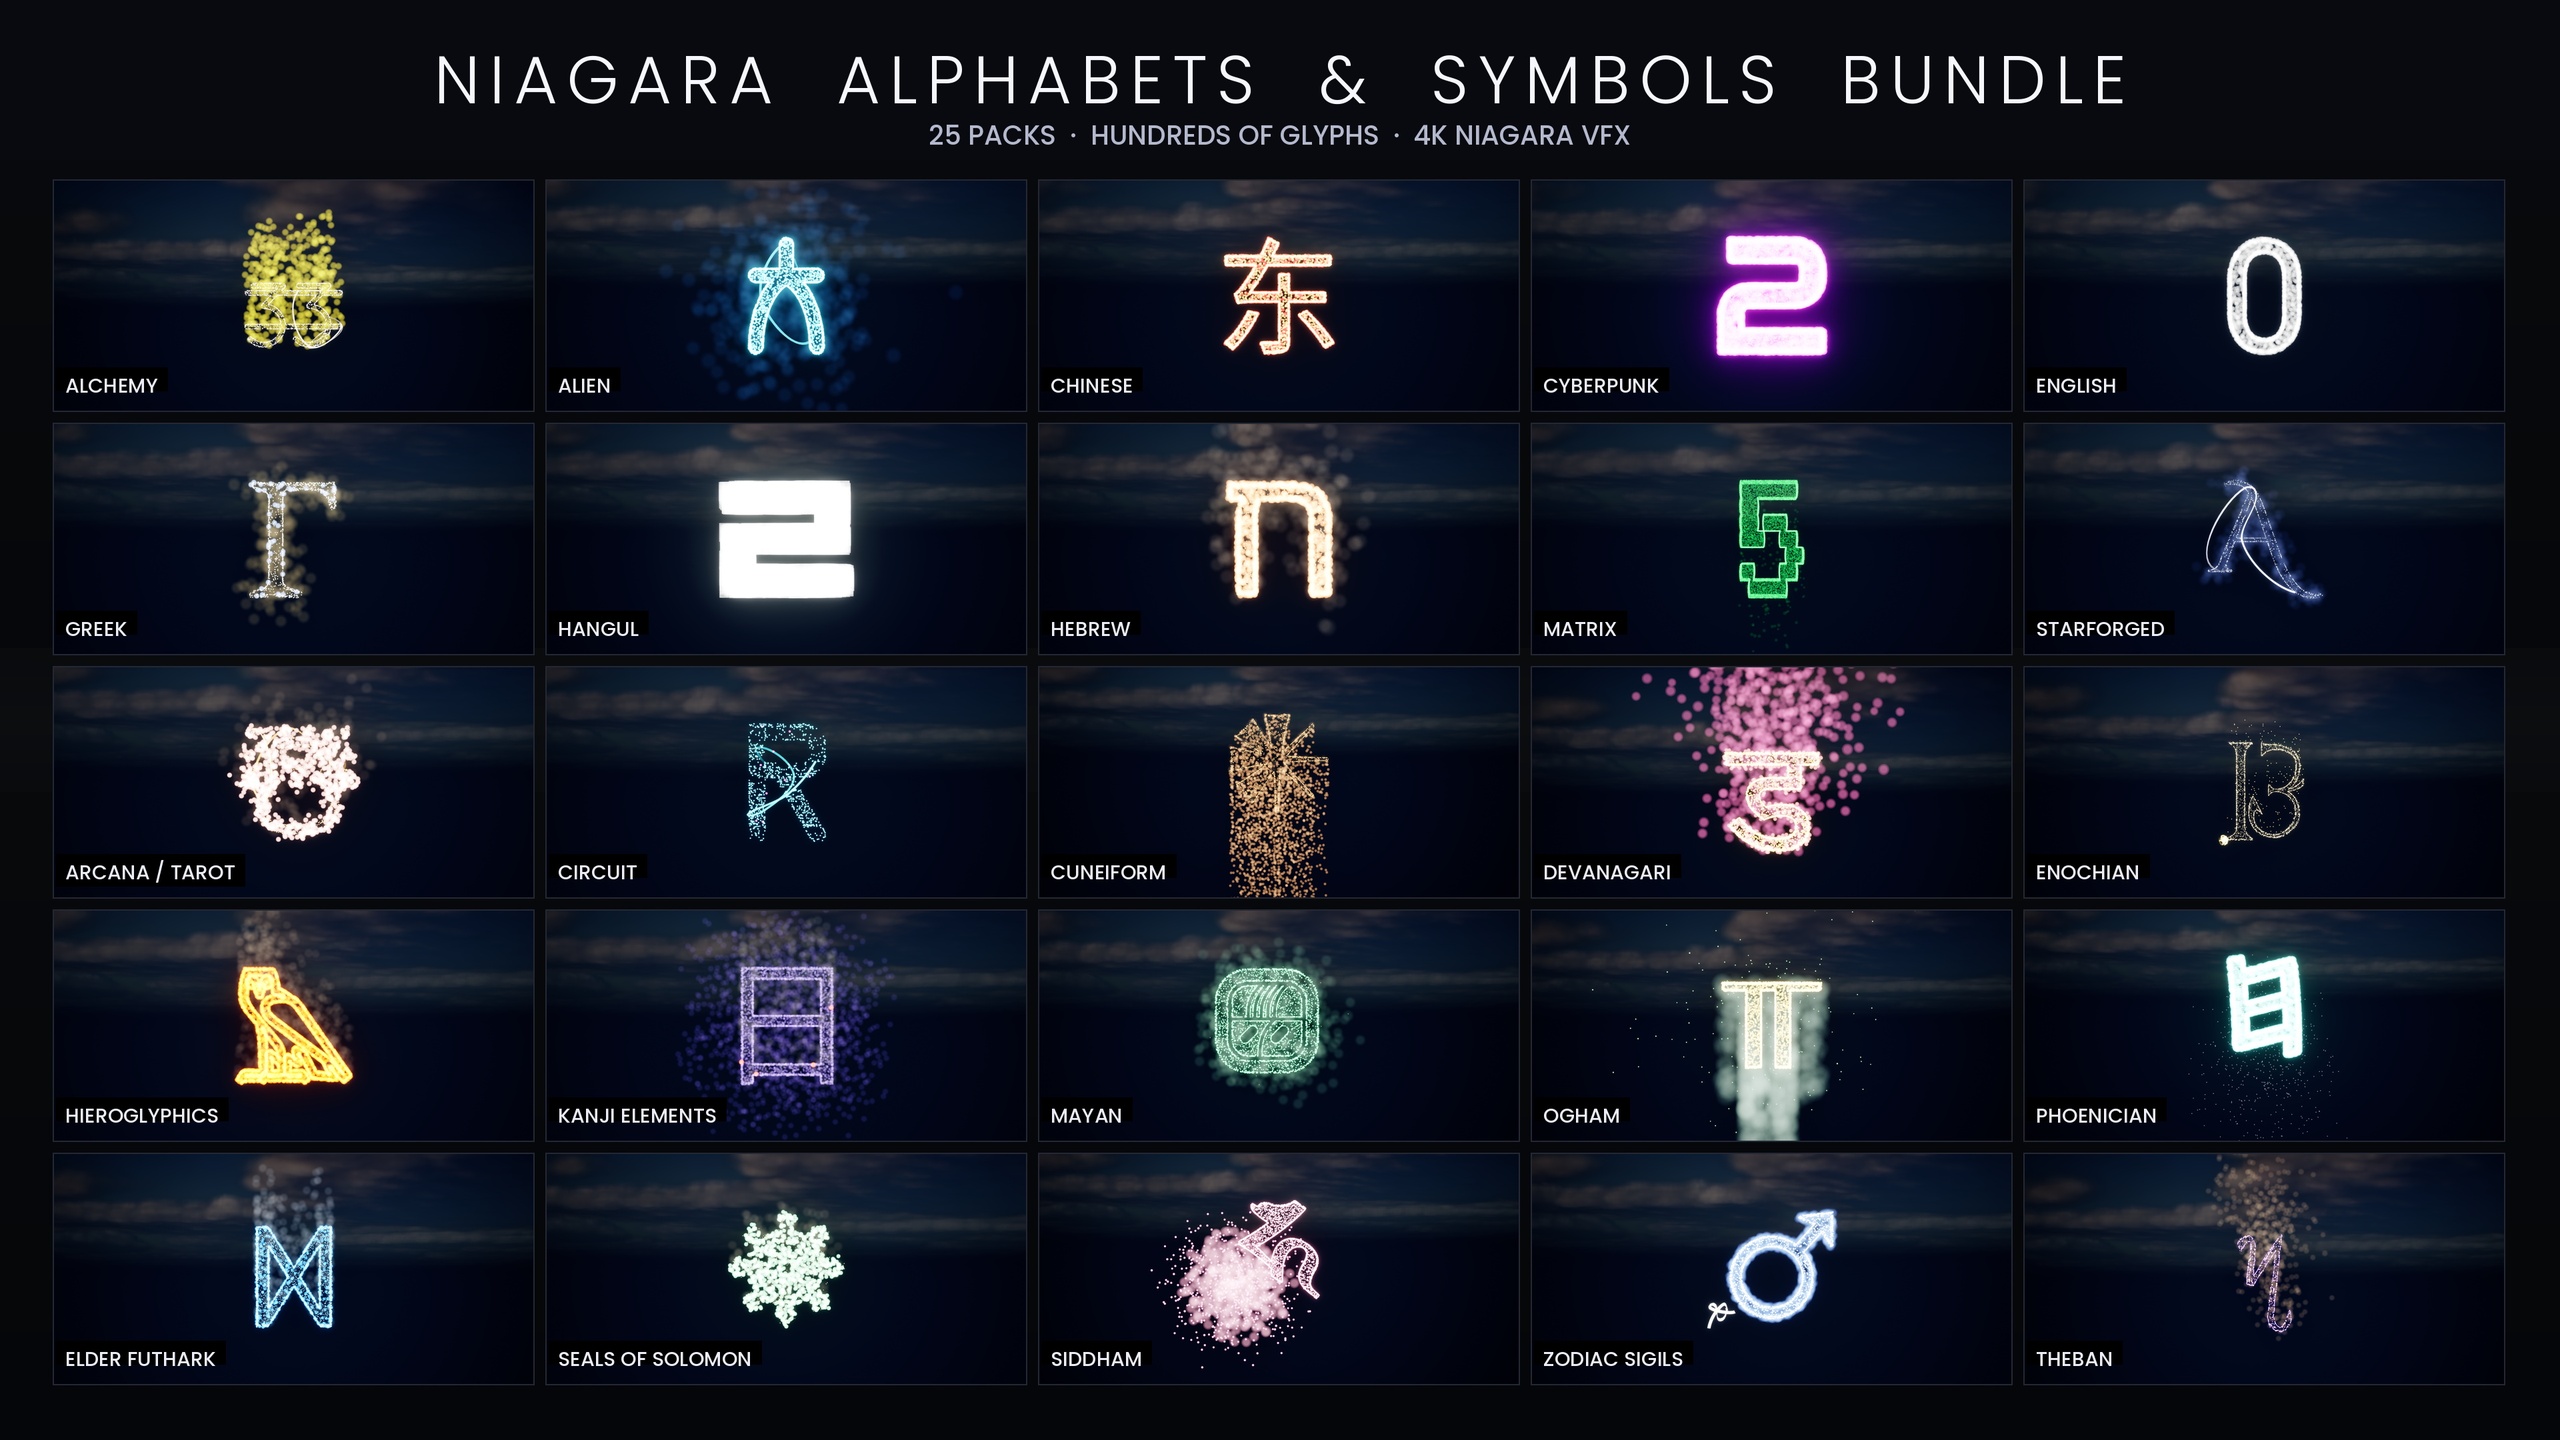
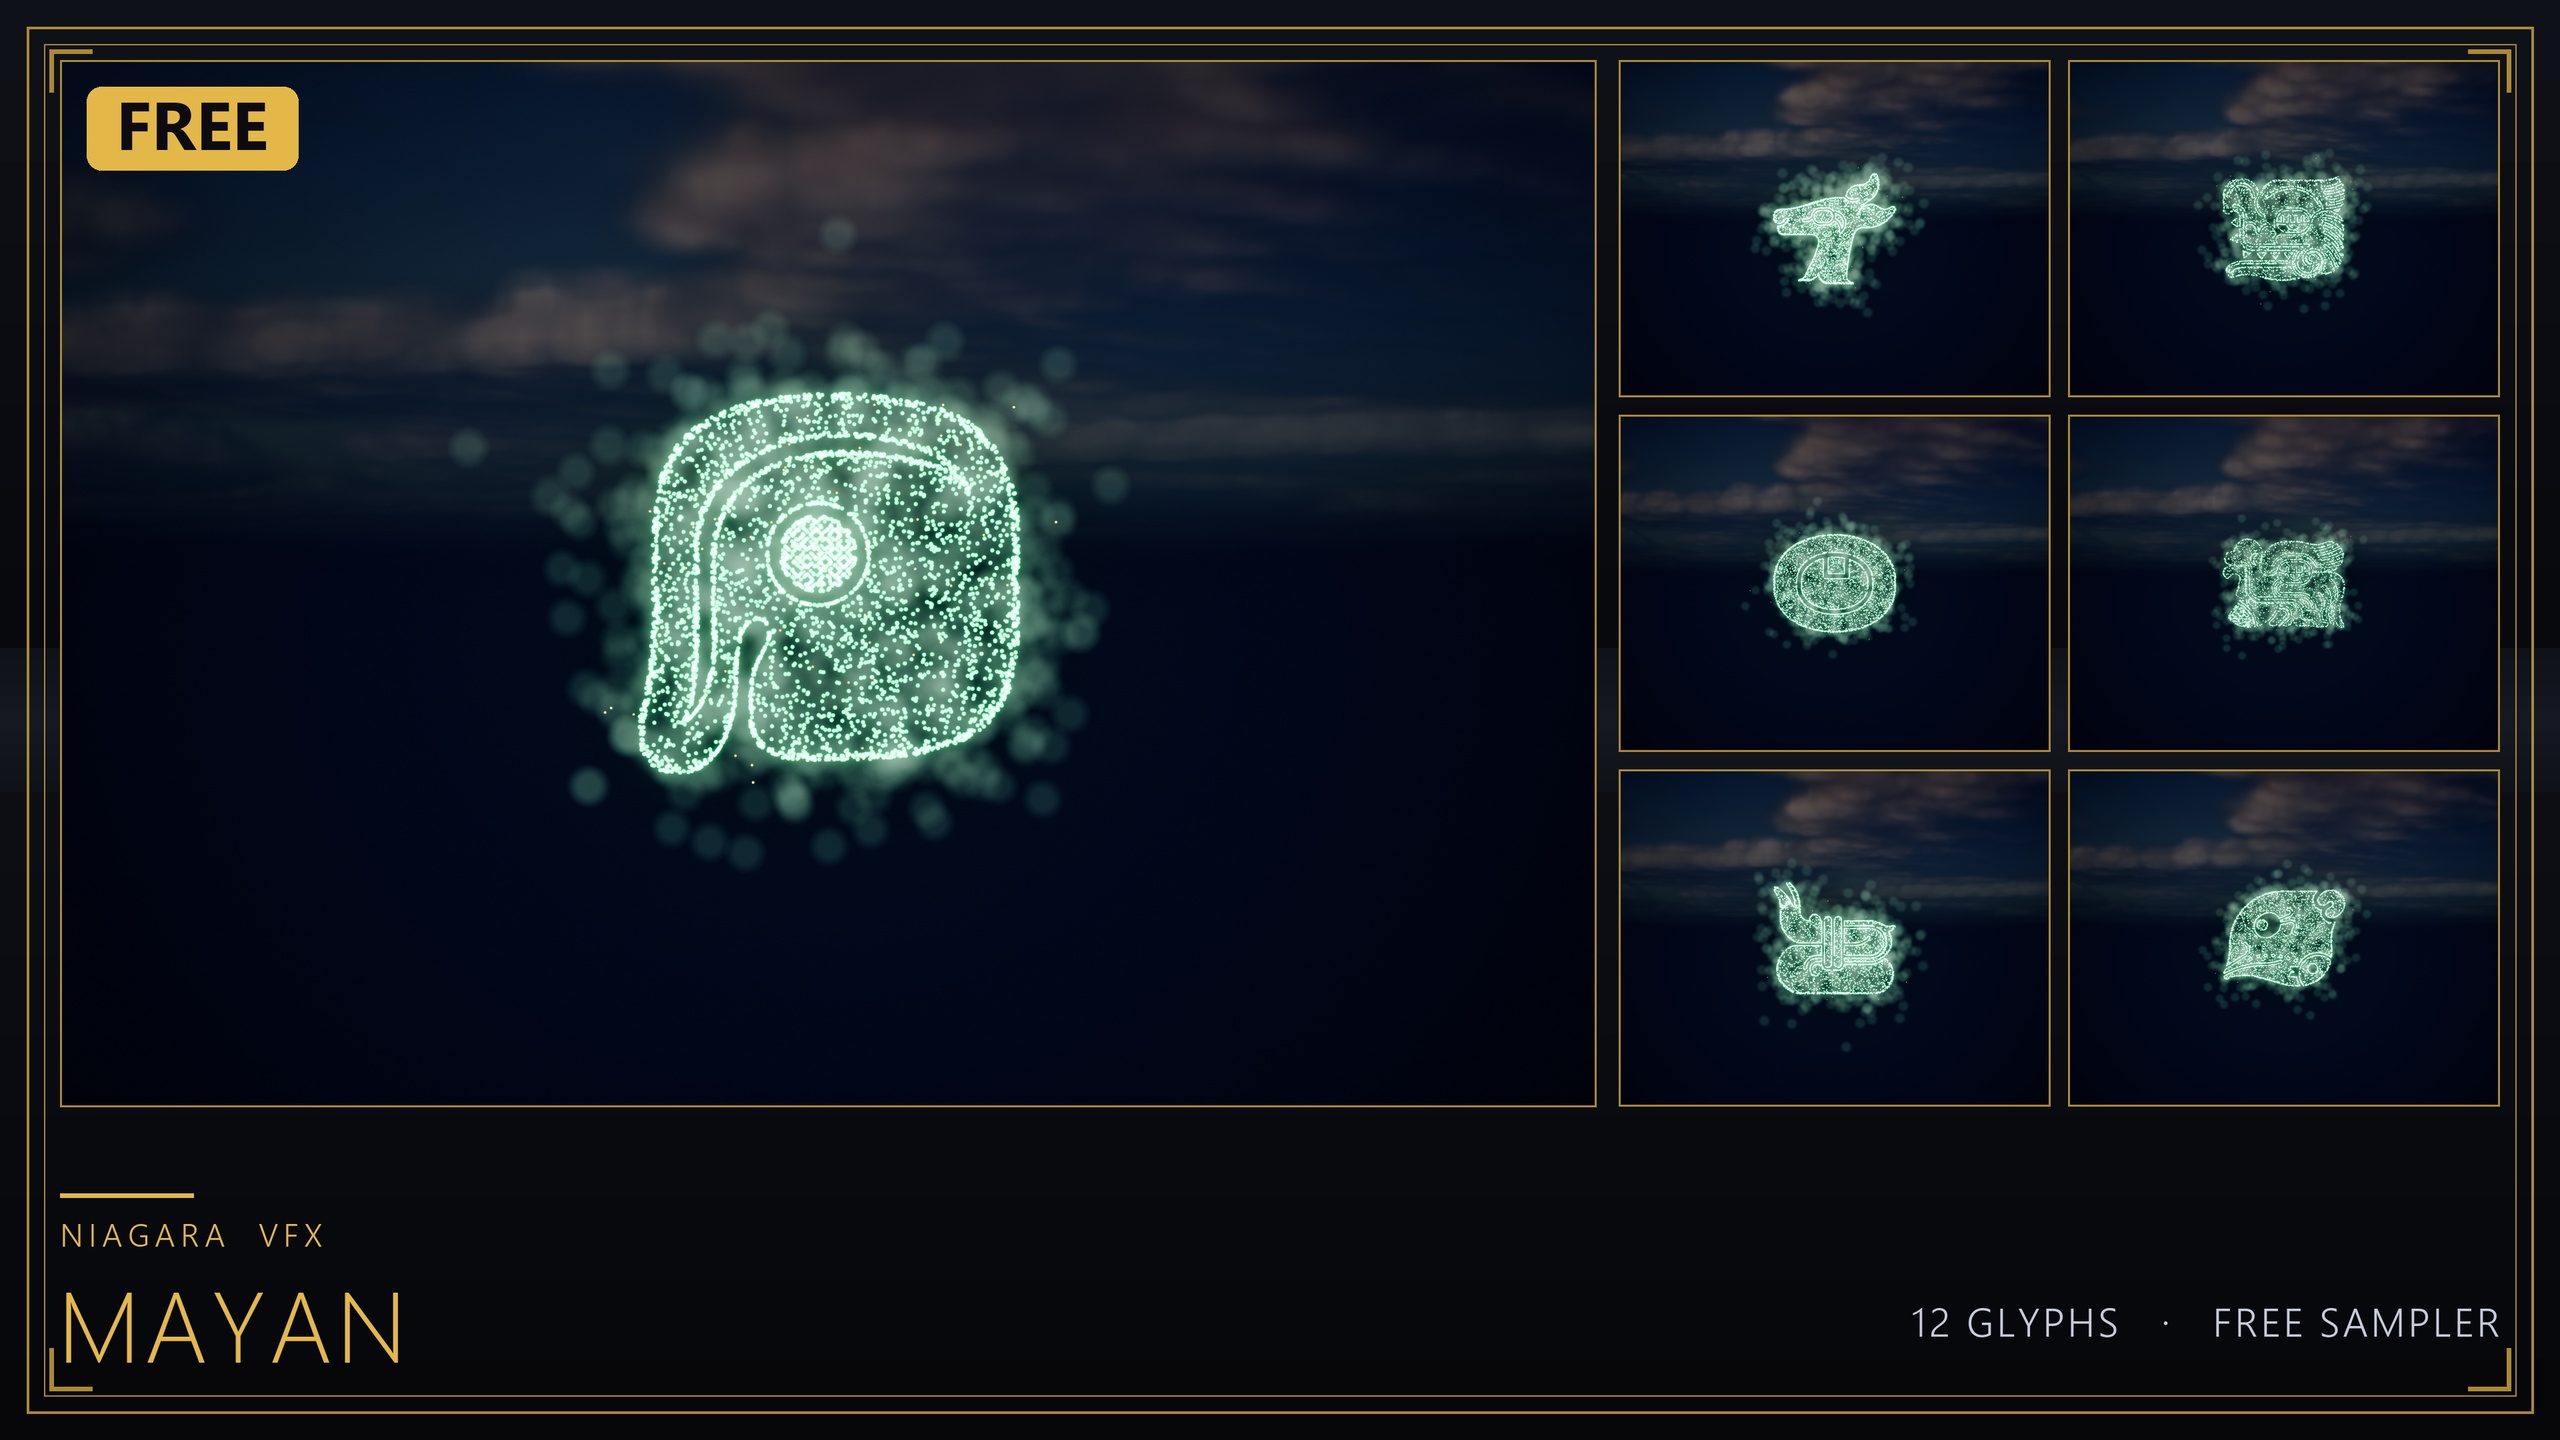
If your project needs a wider script library to apply the same override pattern to, the bundle sits inside a family that shares the workflow. The Niagara Ancient Scripts Pack covers 114 systems across Egyptian Hieroglyphics, Cuneiform, Mayan, Ogham and Phoenician. The full Niagara Alphabet & Symbols Bundle is the superset, 687 systems and 688 static meshes across 25 themed writing systems, and the free Niagara Mayan Glyphs sampler gives you 12 systems to trial the spawn-and-scale workflow at no cost before you commit. All of them are CPU-simulated and use the same default-material backbone, so the scalability technique you set up once transfers straight across.
The next step is concrete: open one finished system in the bundle, read its Low override, and replicate the spawn-halve plus 25 m cull on one of your own effects. Then force the editor to Low and watch it behave. Once that loop feels natural, rolling the same overrides across an entire effects library is just repetition, not new engineering.
Suggested per-tier override behaviour
| Effects quality | Spawn count | Distance cull | Intended target |
|---|---|---|---|
| High | Authored budget (full) | None / authored | Desktop and workstation GPUs |
| Medium | Gentle reduction | Longer max distance | Mid-range hardware |
| Low | Halved again | ~25 m max distance | Weak / low-spec devices |
The pattern the Occult & Mystic Bundle follows; tune the exact values to your own systems.
FAQ
How do Niagara scalability settings for Low, Medium and High work in UE5?
You add System Scalability overrides on the Niagara System asset, each keyed to an effects-quality bucket. At runtime the engine reads the platform's effects-quality level and applies the matching override, so the same system spawns its full budget on High and a reduced, distance-culled version on Low without any code changes.
Do I need C++ or Blueprint to apply per-platform overrides?
No. The overrides live on the asset and the engine auto-applies them from the platform's scalability configuration. A Blueprint 'Spawn System at Location' call spawns one system and inherits the correct scaling for whatever device it runs on.
What does the Low tier change in the Occult & Mystic Bundle?
Per the product's documentation, the Low override halves the spawn count again and adds a roughly 25 m maximum-distance cull, so a crowded ritual scene stays affordable on weak hardware while keeping the symbol readable.
How do I test the Low path before shipping?
Force the effects-quality scalability group to Low from the editor's scalability settings or the console, then place the effect as it will really be used. Check the cull switches off cleanly past your chosen distance and that the reduced count still reads as the intended symbol; also spawn five to ten systems together to confirm frame time stays stable.
Why does the effect still look bright with fewer particles on Low?
The bundle boosts HDR sprite colour so the engine's bloom recovers the glow even at a lower particle count. Scaling counts changes density, not the silhouette, so as long as bloom is enabled the Low system reads as the same glyph rather than a dimmer one.
Niagara Occult & Mystic Bundle
115 Niagara systems of occult and mystic symbology — sigils, runes, ritual glyphs and arcane marks — CPU-simulated with engine-default materials for a tiny footprint.