tutorial · 2026-05-07
Non-Destructive Terrain Stamping in UE5 with the Landscape Patch System
Stop baking sculpts you can never take back. Drive UE5's Landscape Patch system with editable stamp actors and re-tune your terrain whenever you like.

Why hand-sculpting a landscape is so painful to iterate on
Sculpting an Unreal landscape by hand is destructive by nature. Every pass of the Sculpt brush writes directly into the heightmap, and once you have stacked twenty minutes of mountain ridge, river valley and crater work on top of each other, there is no clean way to pull one of those landforms out and move it three hundred metres to the left. The undo stack runs out, the layers have merged into a single height field, and the only honest option is to flatten and start the offending area again.
That is fine for the final detailing pass, but it is a terrible way to block out a world. Blocking out is precisely the stage where you most want to be loose: try a mountain range here, decide it crowds the spawn, drag it over there, scale it down, change the falloff so it reads more like foothills. With a baked heightmap, each of those decisions costs you a re-sculpt, so in practice you stop iterating long before the layout is actually good.
If you have been searching for how to edit an Unreal landscape non-destructively, the answer in UE5 is the Landscape Patch system - and the fastest way to drive it is with editable heightmap stamps. This tutorial walks through that workflow using Landstamp Pro, a C++ editor plugin that turns heightmap images into stamps you can re-position and re-tune at any time, because nothing gets baked until you decide it should.
What the Landscape Patch system actually does
Unreal ships a built-in plugin called Landscape Patch. Instead of writing permanently into the landscape's stored heightmap, a Landscape Texture Patch sits over a region of terrain and contributes a height offset that is composited on top of the base landscape at render time. The patch is a live component: change its texture, its intensity or its position, and the terrain underneath updates without the original heightmap ever being altered.
Landstamp Pro builds a stamp workflow directly on this system. Each stamp you place spawns an ALandstampActor, and that actor drives a ULandscapeTexturePatch from the engine's Landscape Patch plugin. The grayscale heightmap image becomes the patch's height source; the actor's properties decide how that height is blended into the terrain beneath it. Because the heightmap lives in a patch and not in the landscape, the edit stays fully editable for as long as you leave the actor in the level.
This is the load-bearing distinction. A traditional stamp tool blends a heightmap into the landscape and then it is gone - baked. A Landscape Patch stamp is a persistent object you can select, nudge, scale, re-blend or delete, and the terrain follows it. Landstamp Pro declares LandscapePatch as a required dependency in its .uplugin and enables it for you, so the plumbing is in place the moment the plugin loads.
Placing your first stamp and previewing before you commit
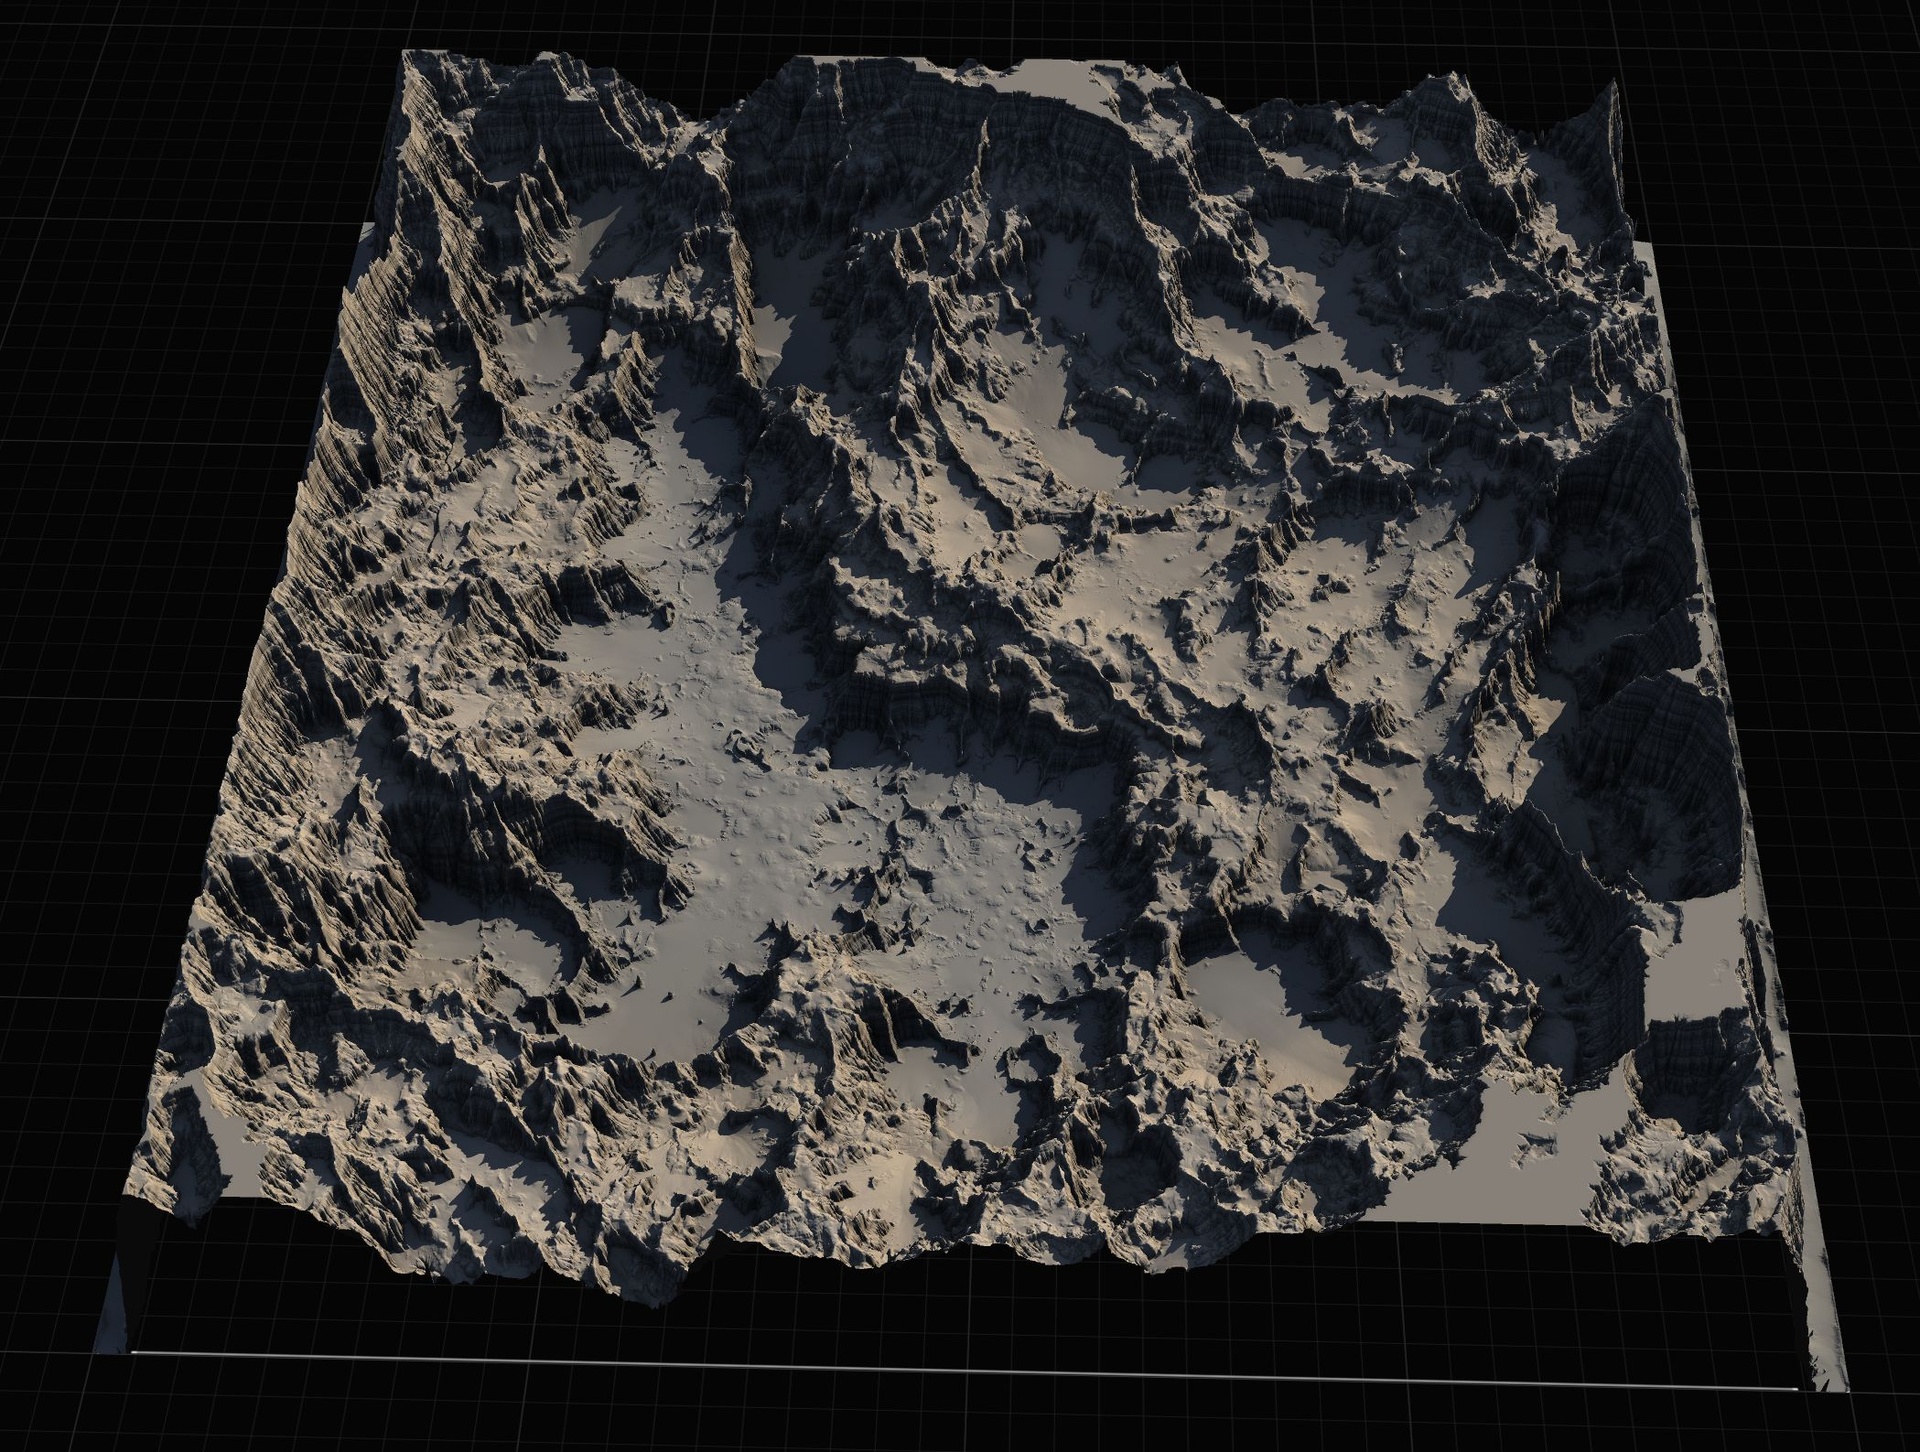
Open the Stamp Browser from the toolbar. It is a visual thumbnail browser organised by category - the EStampCategory enum covers Mountain, Canyon, Hill, Crater, River, Volcano, Directional, Creatures and Custom - with search, filtering and a recently-used tracker so you can find a landform fast. The live listing ships over 370 stamp data assets backed by more than 100 high-resolution heightmap textures up to 4K, so there is a deep library to pull from before you ever make your own.
1. In the Stamp Browser, pick a stamp - say a mountain - and drag it onto your landscape. This spawns an ALandstampActor that automatically resolves the landscape beneath it. The actor binds to whichever landscape's XY footprint contains it, or the nearest one, using its FindLandscapeBelow and ResolveTargetLandscape logic.
2. With the actor selected, open the Details panel and set the broad strokes. 'StampSize' is in world units and has presets via EStampSize - Small at 1000m, Medium at 2500m, Large at 5000m, Extra Large at 10000m and Massive at 20000m. Set 'HeightIntensity' to scale the displacement; it runs from -2 to 2, and a negative value inverts the stamp so a mountain becomes a basin.
3. Choose how the stamp combines with the terrain under it. 'BlendMode' (EStampBlendMode) offers Additive, Subtractive, Replace, Maximum and Minimum. Additive piles the height on top of whatever is there; Maximum and Minimum are useful when you want a stamp to win or lose against existing terrain rather than sum with it.
4. Shape the edges with 'FalloffMode' (EStampFalloffMode) - Circle, Rounded Rectangle or Square - and a blend distance. You can use the size-relative presets that scale with the stamp (Tiny at 5% of the stamp through Massive at 75%) or dial in a manual blend distance for precise control over how the edges feather into the surrounding land.
5. When the settings look right, call 'PreviewStamp'. This is a CallInEditor function exposed on the actor, so it appears as a button in the Details panel - no Blueprint wiring required. It shows the result on the terrain without committing anything. If you do not like it, call 'ClearPreview' to discard the preview, change a value, and preview again. Only when you are happy do you call 'ApplyToLandscape'.
The point of this loop is that none of it is expensive to change. Preview, clear, re-tune, preview again - you are auditioning the landform, not carving it.
Re-positioning and re-tuning stamps later, without baking
Here is where the non-destructive promise pays off. Because each stamp is a Landscape Patch component carried by its actor, you can come back days later, select the stamp in the viewport, and move it. Drag the mountain four hundred metres east and the terrain deformation moves with it; the patch under the old position simply stops contributing. There is no flatten-and-re-sculpt, because the original landscape heightmap was never written to.
The same is true of every property. Decide the mountain is too aggressive after you have placed your foliage and lighting? Drop its 'HeightIntensity', tighten the falloff, or rotate it with 'StampRotation' to face a different valley. Switch the 'BlendMode' from Additive to Maximum so it no longer stacks awkwardly on a neighbouring hill. Each change re-composites live - you are tuning a control, not redoing labour.
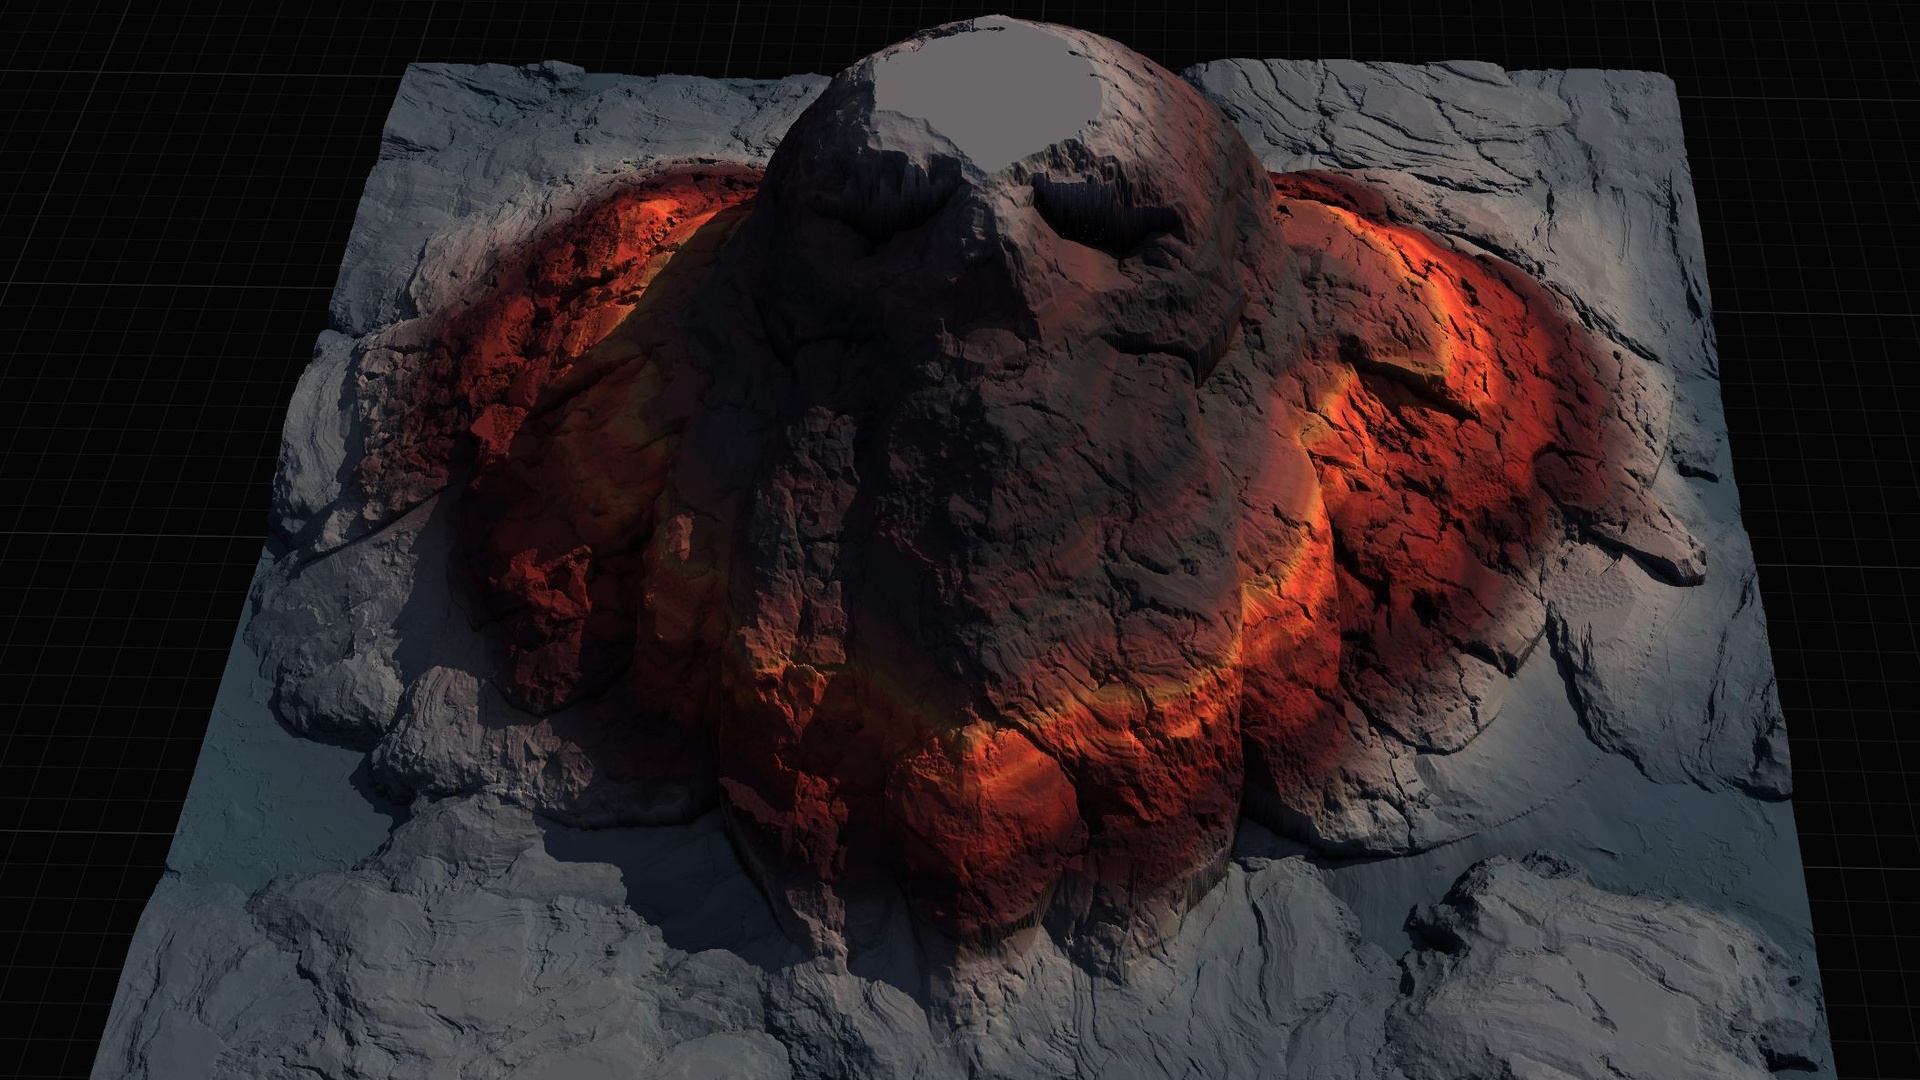
Overlapping stamps are resolved by a ten-level priority system, EStampPriority: where two stamps cover the same ground, the higher priority renders on top. This is what lets you compose genuinely complex terrain from simple pieces - punch a volcano stamp into the middle of a mountain-range stamp, give the volcano higher priority, and it reads as a caldera rather than a muddle. Adjust the priority later if the composition fights itself, and again, nothing bakes.
If you are working with several adjacent landscapes - common in World Partition - and a stamp sits across a seam, turn off 'bAutoTargetLandscape' and set 'TargetLandscape' explicitly so the stamp drives the landscape you intend rather than the one auto-resolution happens to pick.
Turning your own meshes into custom stamps
The shipped library is large, but the workflow that makes Landstamp Pro genuinely yours is mesh-to-heightmap extraction. The plugin includes FMeshHeightmapExtractor, which converts any UStaticMesh into a grayscale heightmap. Point it at a sculpted rock formation, a hero terrain feature you already modelled, or even a logo, and it renders the mesh down to a top-down height field with automatic bounds detection.
1. Run the mesh heightmap extractor on a static mesh in your project. It detects the mesh bounds automatically and gives you a live 3D preview with axis visualisation so you can confirm the orientation before you commit.
2. Choose an output resolution for the heightmap - 512, 1K, 2K or 4K. Higher resolutions preserve finer surface detail at the cost of texture memory; 1K or 2K is a sensible default for most landforms.
3. Save the result as a new stamp. Stamps are data-driven UStampAsset records (a UPrimaryDataAsset) that store the heightmap texture, a thumbnail, the category, the pack, tags, default blend mode, intensity and scale, and an invert-height flag. The asset records an MD5 SourceFileHash of the heightmap so the plugin will not silently re-import the same PNG twice.
Once saved, your custom stamp appears in the Stamp Browser alongside the built-in library, and you place it exactly like any other - drag it in, preview, tune, apply. Your bespoke landform is now a reusable, non-destructive stamp you can drop into any project.
When to reach for Landstamp Pro versus hand sculpting
Non-destructive stamping is not a replacement for the Sculpt brush; it is the layer above it. Use stamps for macro form - the mountain ranges, canyons, river courses and craters that define the silhouette of a world - precisely because those are the decisions you most want to keep changing. Then drop down to hand sculpting for the fine, one-off detailing that gives a specific location its character once the layout is locked.
Landstamp Pro is a C++ editor plugin: two modules, LandstampPro at runtime and LandstampProEditor loading PostEngineInit, comprising around 20 C++ classes and no Blueprints. The live listing states compatibility with Unreal Engine 5.5, 5.6 and 5.7 and up, and it is Windows 64-bit only, with editor-focused features and a stated zero runtime cost in packaged builds since the patch work happens in-editor. It depends on the bundled engine plugins ProceduralMeshComponent, LandscapePatch and EditorScriptingUtilities, all declared in its .uplugin.
If you do not write C++ and want the same Landscape Patch approach through a pure Blueprint workflow, the Landscape Stamp Tool is the lighter sibling: you drag a tool Blueprint into a World Partition level and it morphs the terrain in place, with seven geological tool types derived from a BP_StampTool base. It uses the same underlying patch technique but trades the C++ tooling, the Stamp Browser and mesh extraction for a no-code, drag-and-drop experience.
Sometimes you do not want to generate landforms at all - you want a ready-made world to start from. For that, MythicLemon's heightmap packs import a complete terrain in one step: the Massive Open World Landscape Pack provides 14 open-world landscapes as 16-bit grayscale heightmaps at four resolutions each with an auto-painting landscape material, and the Mythic Relic Landscape Pack offers 14 fantasy-shaped landscapes the same way. Import one as your base landscape, then stamp non-destructively on top of it - the two workflows compose neatly.
Landstamp Pro vs hand sculpting vs heightmap packs
| Approach | Editable after placement? | Workflow | Best for |
|---|---|---|---|
| Landstamp Pro (C++ plugin) | Yes - stamps stay live as Landscape Patches | Stamp Browser, drag/place ALandstampActor, preview then apply, mesh-to-heightmap extraction | Iterative macro blockout where landforms must keep moving |
| Hand sculpting (built-in brushes) | No - writes into the heightmap permanently | Sculpt/Smooth/Flatten brushes in the Landscape tool | Final fine detailing once the layout is locked |
| Landscape Stamp Tool (Blueprint) | Patch-based, no C++ tooling | Drag a tool Blueprint into a World Partition level; morphs terrain in place | Blueprint-only devs who want the patch approach without code |
| Heightmap pack (e.g. Massive Open World) | Imports as a normal landscape (then stamp on top) | Create new landscape From File, apply the auto-material | Starting from a complete ready-made world |
Which terrain workflow fits which job. Feature claims are taken from each product's verified listing.
FAQ
How do I edit an Unreal landscape non-destructively?
Use UE5's built-in Landscape Patch system rather than the Sculpt brush. A Landscape Texture Patch composites a height offset over the terrain at render time instead of writing into the stored heightmap, so the edit stays editable. Landstamp Pro drives this with ALandstampActor stamps you can re-position, re-blend and delete at any time without baking.
What is the difference between previewing and applying a stamp?
PreviewStamp shows the stamp's effect on the terrain without committing it, and ClearPreview discards that preview. ApplyToLandscape commits the stamp. All three are CallInEditor functions, so they appear as buttons in the actor's Details panel with no Blueprint wiring. Even after applying, the stamp remains a live Landscape Patch you can move or re-tune.
Can I turn my own meshes into terrain stamps?
Yes. Landstamp Pro's mesh-to-heightmap extractor (FMeshHeightmapExtractor) converts any static mesh into a grayscale heightmap with automatic bounds detection and a live 3D preview. Pick an output resolution of 512, 1K, 2K or 4K, then save it as a UStampAsset that appears in the Stamp Browser like any built-in stamp.
How are overlapping stamps resolved?
Through a ten-level priority system (EStampPriority): where two stamps cover the same ground, the higher priority renders on top. Combined with the blend modes (Additive, Subtractive, Replace, Maximum, Minimum), this lets you compose complex terrain - for example punching a higher-priority volcano stamp into a mountain-range stamp - and re-order it later without baking.
Which Unreal Engine versions and platforms does Landstamp Pro support?
The live listing states compatibility with Unreal Engine 5.5, 5.6 and 5.7 and up. It is a Windows 64-bit editor plugin and depends on the bundled engine plugins ProceduralMeshComponent, LandscapePatch and EditorScriptingUtilities, which it declares in its .uplugin.
Landstamp Pro
Sculpt production terrains in minutes, not hours. Landstamp Pro is a professional heightmap stamping system for Unreal Engine — combine, layer and blend stamps with precise control and real-time preview, fully non-destructive.