tutorial · 2026-05-23
How to Make Niagara Particles Form a Glyph Shape for an Unlock-Puzzle Reveal in UE5
Spawn particles across a glyph mesh so the symbol materialises out of nothing the instant a player solves the puzzle, then decays cleanly once the lock opens.

The effect you actually want
Unlock puzzles live or die on their payoff. The player aligns the rings, matches the runes, presses the last plate, and in that half-second you need the lock to feel like it acknowledged them. A static glyph that simply switches on reads as a toggle, not a reward. What sells the moment is the symbol resolving out of loose particles, as if the magic only now agreed to take a shape.
This is the classic case where you want Niagara particles to form a shape for a reveal effect in UE5: the particles spawn scattered across the form of the glyph, hold the shape long enough to be unmistakable, and then either persist as a glowing seal or dissolve once the door swings open. The trick is not a bespoke shader. It is sampling a mesh that is already glyph-shaped and letting particle lifetime and spawn rate do the storytelling.
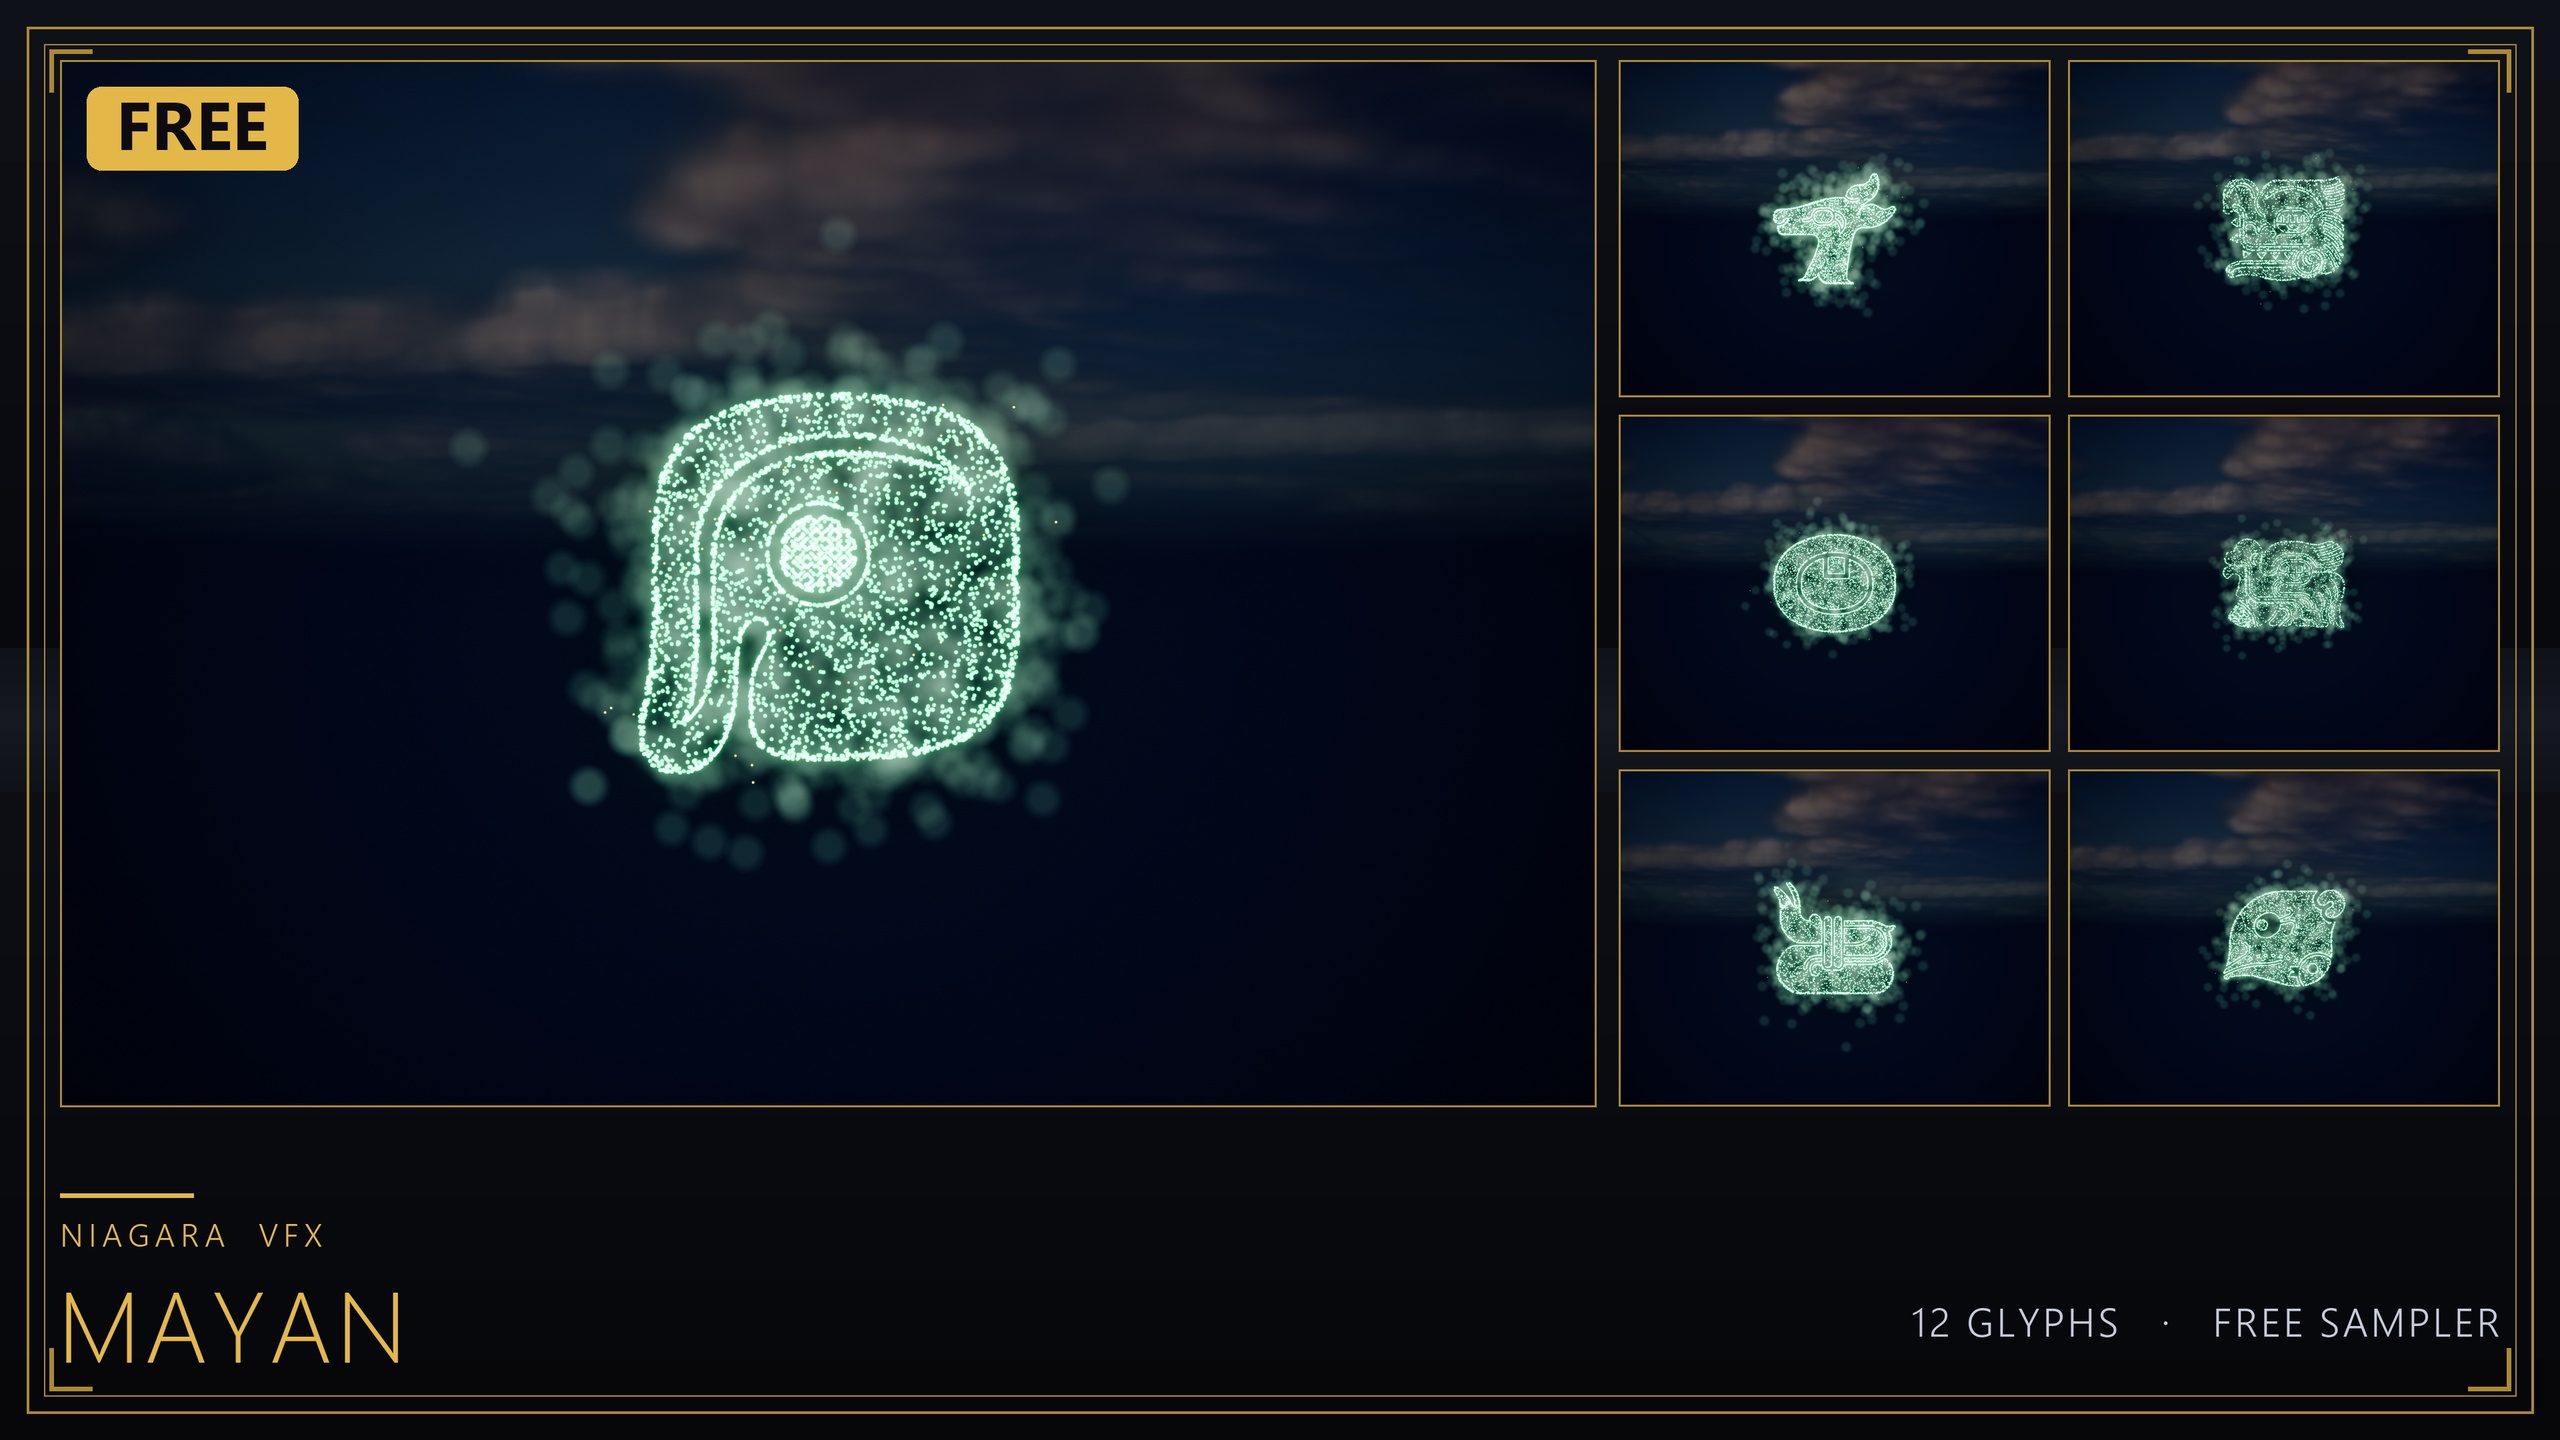
The Niagara Ancient Scripts Pack is built around exactly this workflow. It is a 114-system Niagara pack covering five real ancient writing systems: Egyptian Hieroglyphics, Cuneiform, Mayan, Ogham and Phoenician, and every glyph ships as both an independently spawnable Niagara System and a matching static mesh. The systems sample the extruded glyph mesh surface to form the symbol, which is precisely the mechanism a particle-reveal needs. The pack's own listed use cases include glyph-based puzzle and unlock VFX where the symbol assembles from particles, so you are not bending the asset to an unintended purpose.
Using the glyph mesh as the target surface
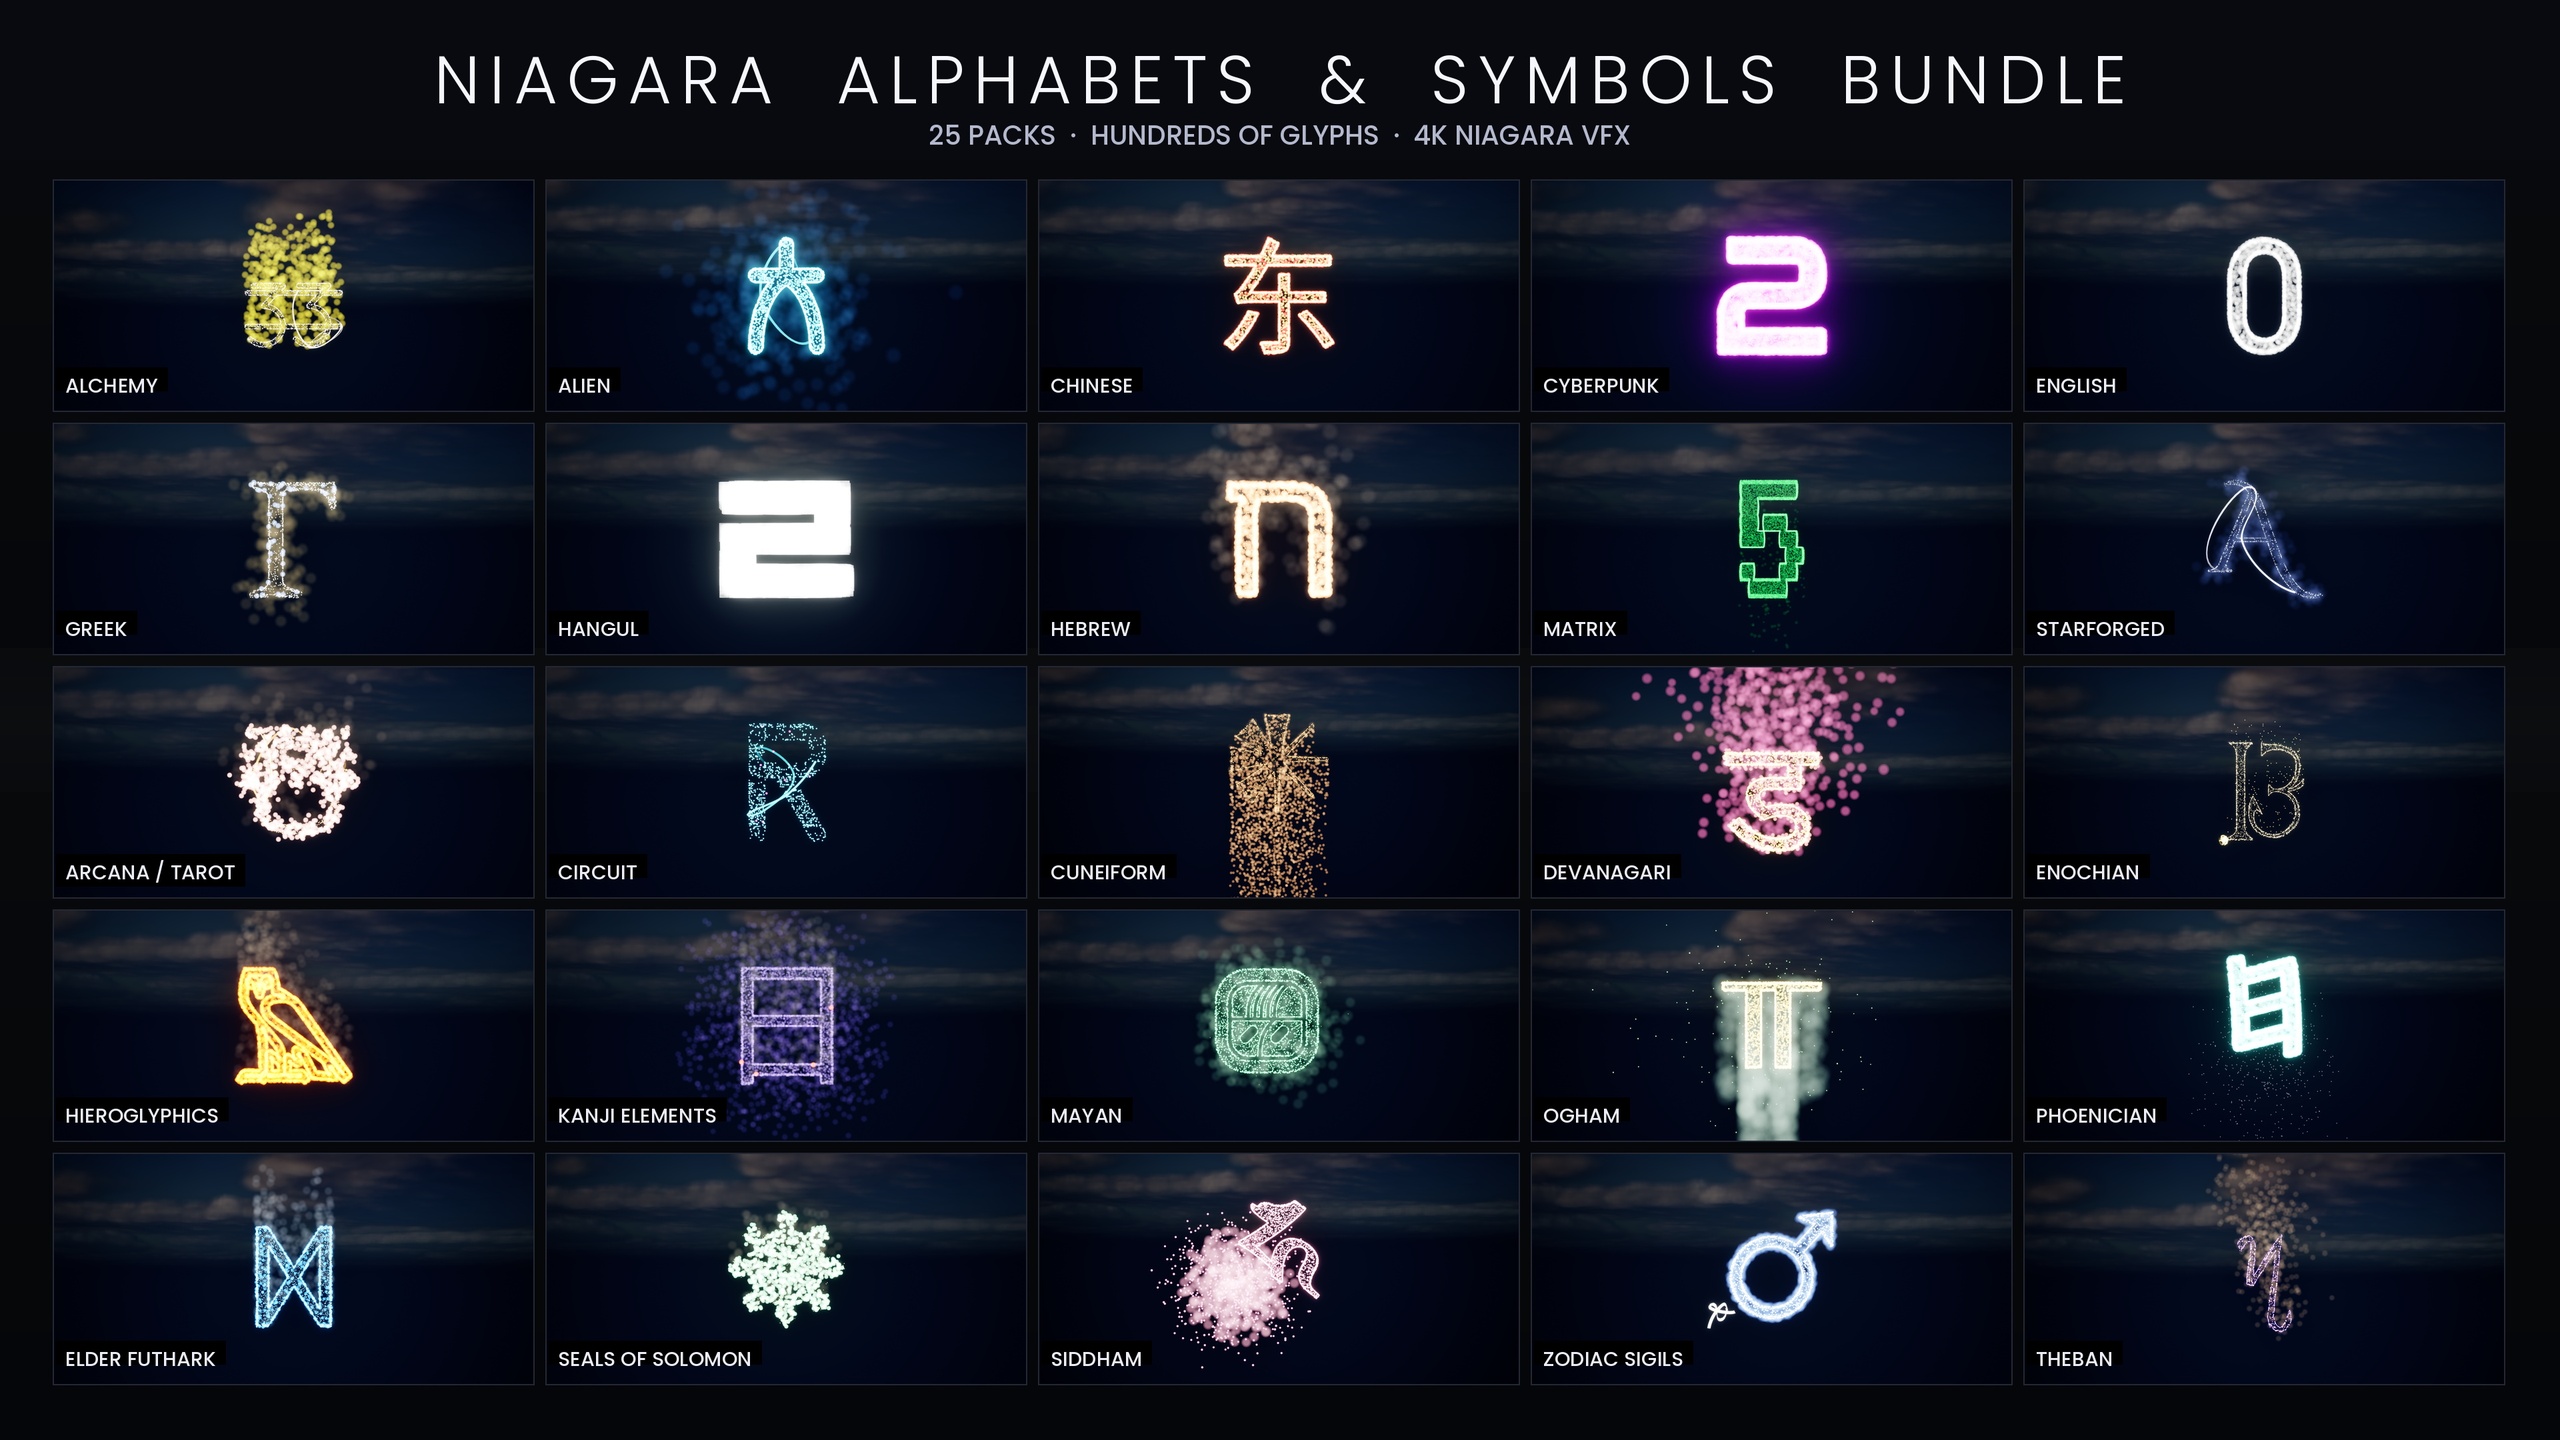
The shape comes from the mesh, not from hand-placed emitter points. Each glyph in the pack has a matching static mesh, and the Niagara backbone samples that mesh surface so particles only ever appear where the symbol is. If you have used the full Niagara Alphabet & Symbols Bundle, this is the same per-glyph mechanism: CPU Sprite emitters use 'Static Mesh Location' to sample the extruded-glyph mesh surface, and HDR sprite colour above 1.0 drives bloom for the glow.
Start by adding the content pack to your project and opening the per-script demo map for the script you want. The pack ships five demo maps, one per script, deliberately split that way to keep per-map particle load manageable while you preview. Pick the glyph that matches your puzzle's lore: a Mayan logogram for a jungle temple, Phoenician for a merchant's strongbox, Ogham for a standing-stone seal.
Drag that glyph's 'NS_' Niagara System into the level, or note its asset path for spawning from Blueprint later. Because the system already references the correct glyph mesh as its sampling surface, the shape is solved for you the moment you place it. You do not need to author a mesh-sampling emitter from scratch.
Because every script shares one unified Niagara backbone driven by the pack's Niagara Parameter Collection, you can recolour or re-time an entire script from a single asset. Open the Niagara Parameter Collection and adjust the shared style there once: a calm amber burn for a benign reveal, or a cold curse-blue for a trapped lock. Every glyph in that script picks up the change, so a wall of inscriptions stays visually consistent without you touching each system.
Spawn rate and lifetime tuning for a materialise feel
The difference between a glyph that snaps on and one that materialises is entirely in two exposed parameters: spawn rate and particle lifetime. Both are exposed per emitter in the pack, so you can tune the feel without rebuilding anything.
1. Select the placed system and open it in the Niagara editor. Find the emitter that drives the visible sprites and locate its spawn-rate and lifetime values. To get a build-up that reads as assembly, you want particles to arrive faster than they expire for the duration of the reveal, so the shape fills in rather than appearing all at once.
2. Stretch particle lifetime so a particle survives long enough to register as part of the symbol. Too short and the glyph shimmers as a sparse cloud that never settles; too long and old particles linger after the shape should have crisped up. Aim for a lifetime that comfortably outlasts your intended reveal beat.
3. Shape the spawn rate over the reveal: a brief high burst as particles rush onto the mesh surface, easing toward a lower sustain once the symbol is fully formed. The rush sells the gathering, the sustain holds the readable shape.
4. Keep bloom enabled in your post-process volume. The glyphs glow because HDR sprite colour drives the engine's bloom, not because of a custom material; the pack is CPU-simulated and uses engine-default materials with no custom textures. If bloom is off, the glow disappears and the effect falls flat. Keep the HDR colour modest so bloom tints the glyph rather than blowing it out to white.
Triggering on a gameplay event
A reveal only feels earned if it fires at the exact instant the puzzle resolves, so drive it from your puzzle logic rather than letting it loop in the background. The cleanest pattern is to spawn the system on demand from Blueprint at the moment of success.
1. In your puzzle actor's Blueprint, find the branch that runs when the lock is solved, for example the node that fires after the final correct input is confirmed.
2. From that success path, add a 'Spawn System at Location' node (or 'Spawn System Attached' if the glyph should ride a moving door or rotating ring). Set its 'System Template' to the glyph's 'NS_' asset.
3. Drive the 'Location' and 'Rotation' from a scene component or socket placed where the seal should appear, so the glyph lands flush against the door, plate or stone face.
4. Promote the return value to a variable. You will need that reference in the next step to decay or destroy the effect once the puzzle is consumed, so do not let it fall out of scope.
If you would rather not spawn at runtime, place the system in the level already and leave its emitters paused or its spawn rate at zero, then raise the spawn rate from the same success branch. Either route keeps the reveal tied to the gameplay beat instead of running on a timer the player can't see the cause of.
Decaying the effect once the puzzle is solved
Once the lock has opened, the glyph has done its job. Leaving it burning forever clutters the scene and dilutes the next reveal, so decide deliberately whether it persists as a quiet seal or dissolves away.
For a clean dissolve, take the stored system reference and stop new particles spawning, then let the already-living particles age out naturally. Setting the emitter spawn rate to zero (or deactivating the component) means no fresh particles arrive, and because each existing particle still respects its lifetime, the glyph fades over roughly that lifetime window rather than vanishing in a single frame. Tuning lifetime in the earlier step therefore also tunes how gracefully the symbol leaves.
If you need the glyph to linger as a now-solved marker, simply lower the sustain spawn rate to a faint trickle instead of zero. A sparse, slow emission keeps a soft glow on the seal so the player can see the puzzle is permanently open, without the full reveal-intensity particle cost continuing to run.
When you finally need the actor gone, destroy or deactivate the spawned system through the reference you promoted. Because the pack is CPU-simulated with engine-default materials and no custom textures, there are no extra material instances or render targets to clean up; releasing the system is enough.
From here, build out the rest of the inscription. The matching static meshes can be carved into the surrounding wall and lit with emissives so the reveal lands inside a believable carved frame, and mixing scripts on one map lets you stage comparative or trade-route puzzles. The five-map split exists precisely so you can preview heavy scenes without overloading a single level.
Which glyph pack fits your reveal
| Pack | Niagara systems | Best for |
|---|---|---|
| Niagara Mayan Glyphs (free sampler) | 12 | Trying the mesh-sampling reveal workflow at no cost |
| Niagara Ancient Scripts Pack | 114 | Egyptian, Cuneiform, Mayan, Ogham and Phoenician puzzle seals |
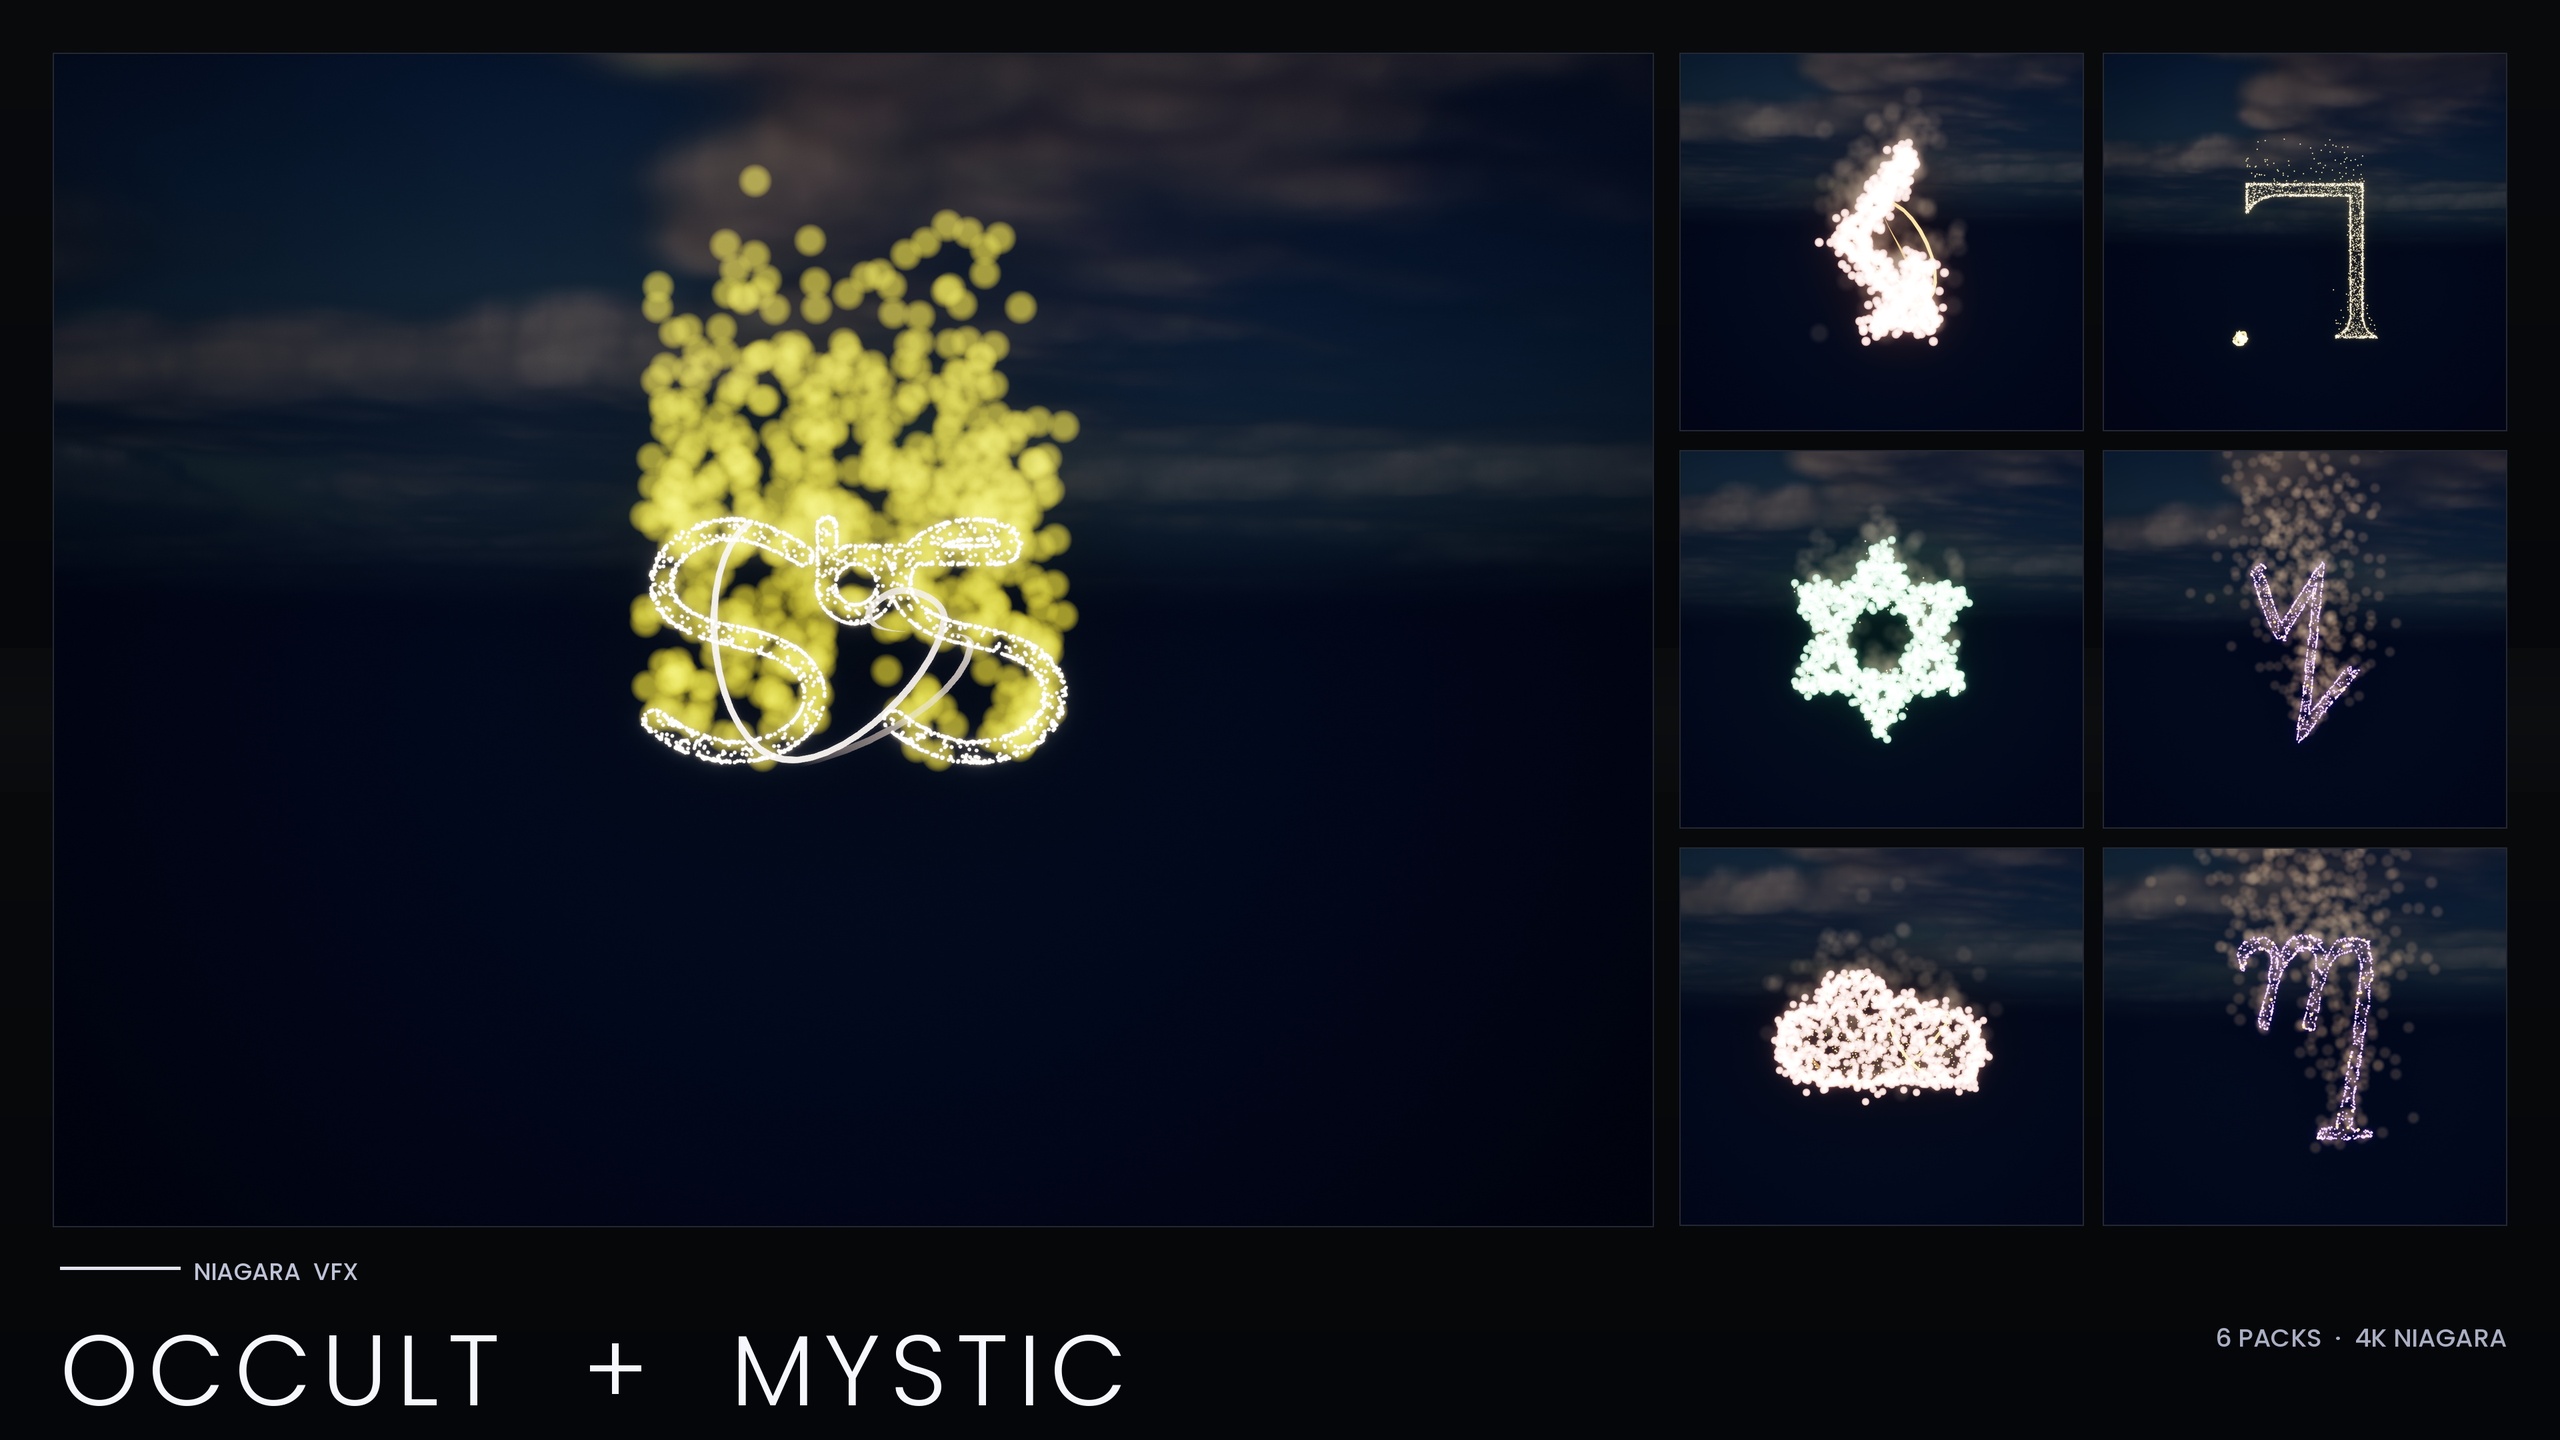
| Niagara Occult & Mystic Bundle | 115 | Summoning circles, tarot and ritual sigil reveals |
| Niagara Alphabet & Symbols Bundle | 687 | The full glyph library across 25 themed sets |
Counts are from each product's listing. Per-script splits within Ancient Scripts are approximate; the documented standalone total is 114.
FAQ
How do I make Niagara particles form a shape for a reveal effect in UE5?
Sample a mesh that is already shaped like the symbol you want. In the Niagara Ancient Scripts Pack each glyph system samples its matching extruded glyph mesh surface, so particles only spawn where the symbol is. Tune spawn rate and lifetime so particles gather faster than they expire, and the loose cloud resolves into a readable glyph.
Which parameters control the materialise feel?
Spawn rate and particle lifetime, both exposed per emitter. A short high spawn burst eased into a lower sustain creates the gathering motion; a lifetime that outlasts the reveal beat keeps the shape readable. Lower the spawn rate toward zero afterwards and the existing particles age out, dissolving the glyph over its lifetime.
How do I trigger the reveal from my puzzle logic?
From the success branch of your puzzle Blueprint, call 'Spawn System at Location' (or 'Spawn System Attached') with the glyph's NS_ system as the template, positioned by a socket or scene component on the lock. Promote the return value so you can stop or destroy the system once the door is open.
Why isn't my glyph glowing?
The glow comes from HDR sprite colour driving the engine's bloom post-process, not from a custom material. If bloom is disabled in your post-process volume the effect looks flat. Enable bloom and keep the HDR colour modest so it tints the glyph rather than blowing it out to white.
Can I recolour a whole script at once?
Yes. Each script shares one unified Niagara backbone driven by the pack's Niagara Parameter Collection, so editing that one asset recolours and re-times the entire script, for example swapping an amber tomb-burn for a curse-blue trapped-lock glow without touching each system individually.
Niagara Ancient Scripts Pack
114 Niagara glyph systems across five ancient scripts — Cuneiform, Hieroglyphics, Mayan, Ogham and Phoenician — for rituals, spells and mystical UI. CPU-simulated with a Parameter Collection and demo map.