tutorial · 2026-03-10
How to Record Unreal Engine Gameplay to MP4 Without OBS
Capture PIE and runtime gameplay straight to an H.264 MP4 from inside UE5, with one hotkey and no external recorder.
Why built-in capture beats an external recorder
If you have ever tried to record Unreal Engine gameplay to a video MP4, you know the usual ritual: alt-tab to OBS, line up a window or display capture, fight with scaling, hit record, then crop and re-encode afterwards because the framing was off. For a quick PIE clip, a bug repro, or a marketing grab, that overhead is wildly out of proportion to the result. The recorder lives outside the engine, so it has no idea what your viewport is doing and no way to start when your game does.
Simple Screen Recorder removes that whole detour. It is a lightweight, Windows-only capture plugin for UE5 that records the editor viewport, PIE sessions, and runtime gameplay directly to an H.264 MP4 using Windows Media Foundation. There are no external dependencies to install and no separate application to manage: Media Foundation and WASAPI are already part of Windows, so the plugin uses what is already on the machine and encodes hardware-accelerated when the GPU supports it.
Because the recorder is inside the engine, capture is one click or one hotkey from the editor, and it is fully scriptable from Blueprints at runtime. You can toggle a recording with the 'Ctrl+Shift+R' hotkey, drive Start, Stop, Pause and Resume from a Blueprint node, or drop a Screen Recorder component on an actor and have it auto-start on Begin Play. This guide walks you through the fastest path: install, record a PIE session, and find your MP4.
Installing and enabling the plugin
Copy the Simple Screen Recorder folder into your project's Plugins directory (Project/Plugins), or into Engine/Plugins if you want it available to every project on the machine. The plugin sits in the 'Media' category and is enabled by default once present, but it is worth confirming the toggle.
1. Restart the editor so it picks up the new plugin.
2. Open 'Edit' then 'Plugins' and search for Simple Screen Recorder under the 'Media' category. Make sure it is ticked, then restart again if the editor prompts you.
3. Confirm you are on Windows 64-bit. The plugin is Windows-only because it encodes through Windows Media Foundation and captures audio via Windows WASAPI loopback; it ships packaged builds for Unreal Engine 5.3, 5.4, 5.5, 5.6 and 5.7.
Once enabled, the editor module adds a toolbar button for one-click recording and registers the 'Ctrl+Shift+R' toggle. If you prefer a tidier toolbar, there is a minimal icons-only option, and you can open the plugin settings to set your resolution, frame rate, quality, audio and capture source before you ever press record.
Recording a PIE session with Ctrl+Shift+R
With the plugin enabled, recording a Play In Editor session is genuinely a single keystroke. Press 'Ctrl+Shift+R' to start the recording, play your scene, then press 'Ctrl+Shift+R' again to stop. The same toolbar button toggles the identical behaviour if you prefer clicking. Note that this hotkey and toolbar are editor-only conveniences.
Before you record, open the plugin settings to choose how the clip is captured. Resolution presets cover Match Viewport, 720p, 1080p, 1440p and 4K, plus a Custom option that accepts anything from 320 to 7680 wide and 240 to 4320 tall. Frame rate is clamped from 15 to 120 FPS and defaults to 30. Quality is selected from presets that map to fixed bitrates: Small Files at 10 Mbps, Default at 20 Mbps, High Quality at 50 Mbps, and Professional at 100 Mbps.
You can also pick the recording source from Game Window, Editor, or Entire Screen, toggle whether the mouse cursor appears, and enable system audio. When 'bIncludeAudio' is on, the plugin captures system audio through Windows WASAPI loopback and encodes it as AAC alongside the H.264 video. One honest caveat to plan around: that audio is system loopback only, so it cannot isolate your game's audio from other applications playing through the same output. Mute other sources before you record if you want a clean track.
Prefer to drive capture from gameplay rather than a hotkey? Add the 'SimpleScreenRecorder' Blueprint node, set its Action to Start along with the Resolution and Frame Rate inputs (both under Advanced Display), and read back the returned output path; call it again with Stop, Pause or Resume as needed. For fully automated capture, add a Screen Recorder actor component, set its recording settings, and enable auto-start-on-Begin Play with an optional MaxRecordingDuration cap, then bind the 'OnRecordingStarted', 'OnRecordingStopped' and 'OnRecordingError' events.
Finding your MP4 in the output folder
When you stop a recording, the finished file is written as an H.264 MP4 with the AAC audio track muxed in. Output files are named using the pattern [Prefix]_YYYYMMDD_HHMMSS.mp4, so the timestamp keeps successive takes from overwriting each other and makes it easy to grab the latest clip.
To jump straight to the file, use 'OpenOutputFolder', which reveals the recordings in Windows Explorer. From the toolbar this is the 'Open Recordings Folder' command. If you need the path programmatically, call 'GetOutputDirectory' to retrieve the folder; both the directory and the filename prefix are configurable, so you can point captures at a project-relative folder and brand the filenames for a specific build or feature.
If you are building HUD or tooling around capture, query 'GetRecordingInfo' for an FScreenRecordingInfo struct that exposes whether a recording is active, its duration, the number of frames captured, the output file path, and the settings in use; 'IsRecording' and 'IsPaused' give you quick boolean checks. For stills rather than clips, 'SimpleScreenshot' saves an image into the same output folder, which is handy for batching store or Fab listing assets next to your video.
That is the whole loop: enable the plugin, press 'Ctrl+Shift+R' to capture a PIE session, and open the output folder to collect a ready-to-share MP4 — no OBS, no external recorder, and no third-party encoder to license.
Where it fits in your pipeline
Once you can record gameplay to MP4 without leaving the editor, the workflow opens up. Trailer and clip capture happens straight from PIE; editor viewport walkthroughs become tutorial footage; auto-start-on-Begin Play turns the recorder into an unattended QA repro or demo-loop tool; and exposing the Blueprint API to players gives you a simple 'record my run' feature that exports to video.
It also pairs naturally with other Blueprint-first tools in the same toolkit. If your capture pipeline needs to phone home — uploading a clip reference, posting a telemetry event when a recording finishes, or pulling remote config before a demo loop — EasyHTTP wraps the engine's HTTP module so you can make those REST calls from Blueprints without boilerplate. For in-editor documentation of your capture setup or any other system, Markdown 4 Blueprints lets you write WYSIWYG notes attached to the relevant Blueprint, saved as Markdown files inside the project. And if you want to visualise the metrics behind a recorded session, Fast Chart Widgets draws runtime charts in Slate from a Blueprintable UMG widget. Each is Windows-only and Blueprint-friendly, the same as Simple Screen Recorder.
Three ways to start a recording
| Method | How you trigger it | Best for |
|---|---|---|
| Ctrl+Shift+R hotkey | Editor-only toggle; press to start, press to stop | Quick PIE clips and editor walkthroughs |
| SimpleScreenRecorder node | Blueprint node with Action Start/Stop/Pause/Resume, returns output path | Runtime capture driven by gameplay logic |
| Screen Recorder component | Actor component with StartRecording/StopRecording, optional auto-start on Begin Play | Automated QA repro, demo loops, in-game record features |
All three paths produce the same H.264 MP4 output; choose by context.
FAQ
Can I record Unreal Engine gameplay to a video MP4 without OBS?
Yes. Simple Screen Recorder captures the editor viewport, PIE, and runtime gameplay directly to an H.264 MP4 using Windows Media Foundation, with no external recorder or third-party encoder required. Enable the plugin, press Ctrl+Shift+R to record, and open the output folder for the file.
What format and codec are the recordings?
Recordings are H.264 (AVC) video in an MP4 container, with optional AAC system audio. The output is MP4 only; there is no alternative codec or container option in the plugin.
Does it capture game audio?
It captures system audio through Windows WASAPI loopback and encodes it as AAC when you enable the include-audio toggle. Be aware this is system loopback, so it cannot isolate your game's audio from other applications playing through the same output device.
Which platforms and engine versions are supported?
It is Windows 64-bit only, because it relies on Windows Media Foundation for encoding and WASAPI for audio. It ships packaged builds for Unreal Engine 5.3, 5.4, 5.5, 5.6 and 5.7.
How do I find the file after recording?
Files are named [Prefix]_YYYYMMDD_HHMMSS.mp4. Use OpenOutputFolder (the Open Recordings Folder command) to reveal them in Explorer, or GetOutputDirectory to fetch the path in Blueprints. Both the output directory and filename prefix are configurable.
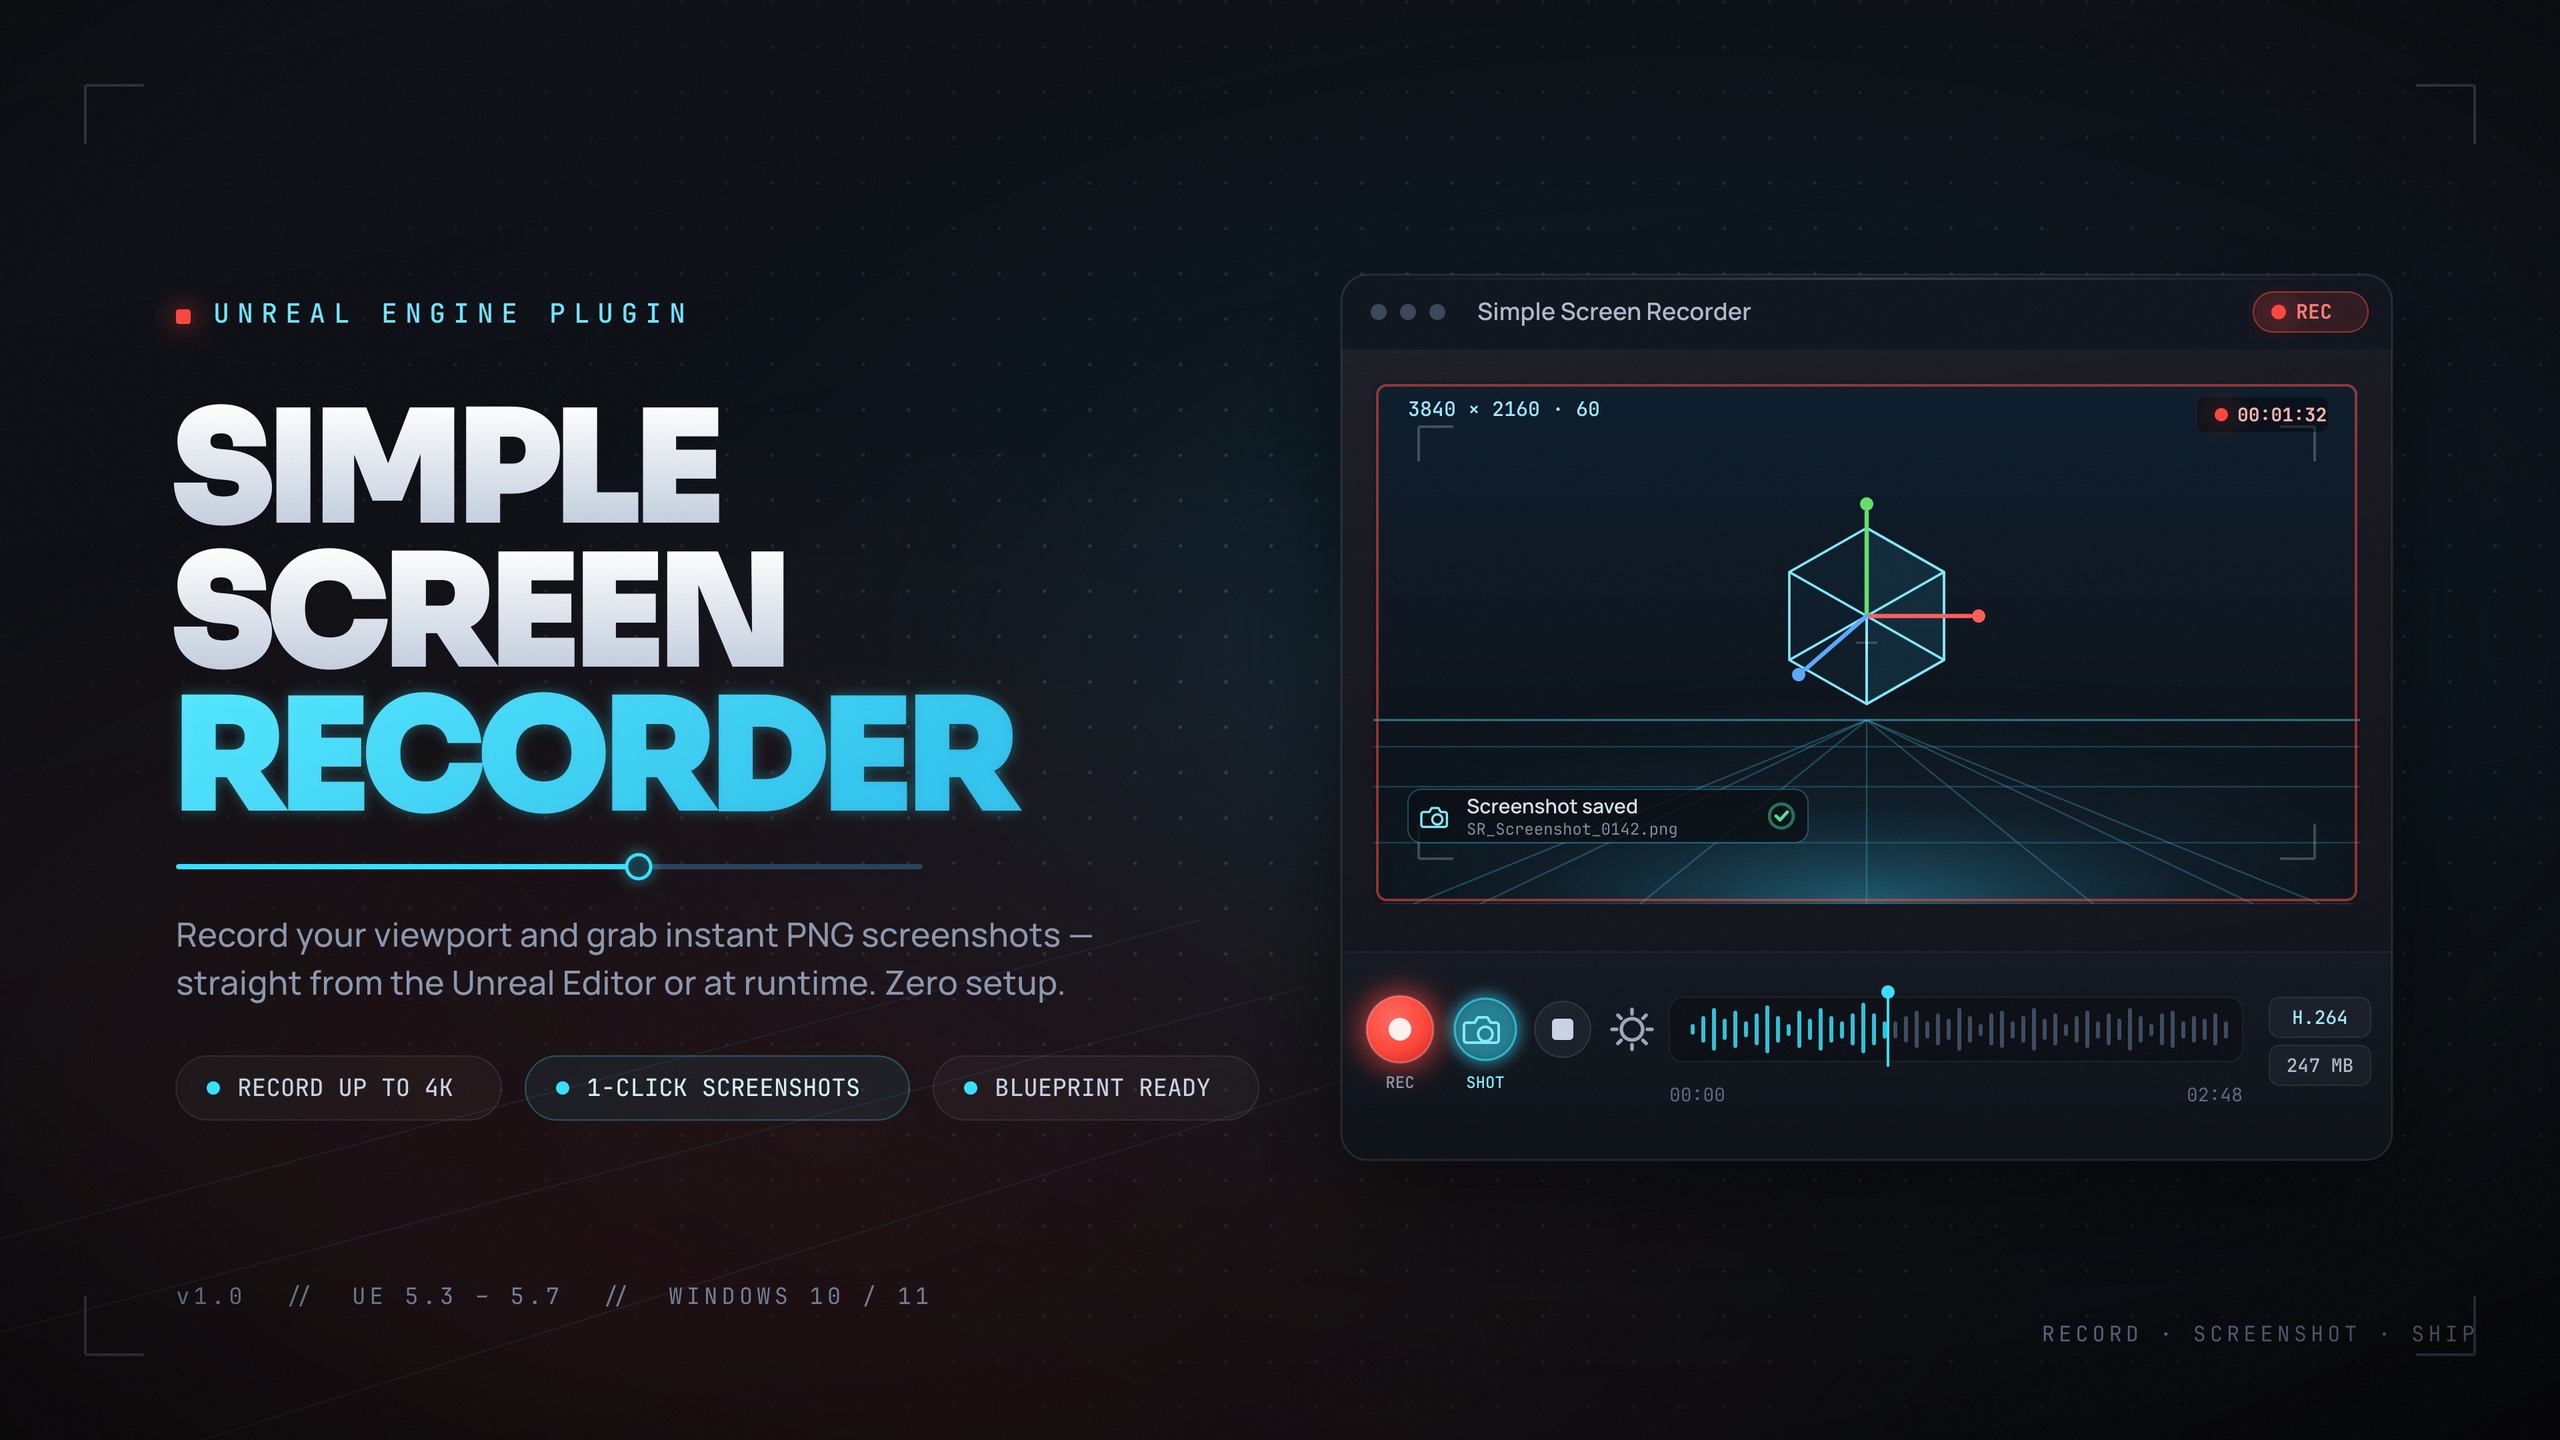
Simple Screen Recorder
Record the editor viewport or runtime gameplay to H.264 MP4 with system audio — one click (Ctrl+Shift+R) from the toolbar, or Start/Stop/Pause/Resume from Blueprints. Resolution presets up to 4K, 15–120 FPS, no external dependencies.