article · 2026-04-23
Using Runtime Virtual Textures to Keep Big Landscapes Fast in UE5
How RVT offloads the cost of texturing a huge auto-painted terrain so your open world stays responsive.
Why a big auto-painted landscape gets expensive
An 8K open world is wonderful right up until you try to texture every square metre of it. A height-and-slope auto-material has to evaluate its blend logic across the whole landscape, and on a continent-sized terrain that is a lot of pixels to keep shading every frame. The Massive Open World Landscape Pack is explicit about this cost: its AutoMaterial is intended for large landscapes, and the included guide warns that texturing a large landscape may freeze the editor briefly while the work is done. That pause is the symptom of a real problem you do not want recurring at runtime.
This is exactly the situation runtime virtual texture landscape Unreal performance and RVT setup are designed to address. Rather than re-running the full material every time the camera looks at a hillside, you let the engine bake the result of the expensive blend into a virtual texture once, cache it, and read back from the cache. The heavy height-and-slope work stops being a per-frame tax and becomes a render-once, sample-many operation. For a world built from the pack's 16-bit heightmaps imported at 1K through 8K, that shift is what keeps the frame budget intact as the playable area grows.
The pack ships the pieces you need for this already wired in. Alongside the M_AutoLandscape material and its MI_AutoLandscape_Inst instance, you get two Runtime Virtual Texture assets - RTV_Height and RTV_Colour - and the MF_RVTBlend material function that consumes them. You do not have to author the RVT plumbing from scratch; you configure it.
What an RVT actually does for a landscape material
A Runtime Virtual Texture is a render target the engine fills on demand, tile by tile, only where the camera can see. Instead of storing one giant texture for the whole continent, it caches a small set of tiles near the view and re-renders them as you move. For a landscape this means the costly part of your material - the layered, slope-aware blend - is evaluated into the RVT cache, and downstream readers sample that cache cheaply.
The most common payoff is decoupling other objects from the landscape's material cost. Meshes that sit on the terrain - roads, rock outcrops, the bases of buildings - can sample the landscape's colour RVT so they blend seamlessly into the ground without each running the full auto-material themselves. The terrain pays for the blend once, into the cache, and everything that touches the ground reads the same answer. That is the difference between a visible seam where a path meets the grass and a path that simply melts into it.
It is worth being precise about scope. An RVT trades per-frame shading cost for a one-time render and a cache lookup, plus the memory the cache occupies. It is a streaming-and-caching technique, not a magic switch. The pack does not claim Nanite or Lumen support and neither should you - RVT is an orthogonal feature that helps regardless, by attacking the texturing cost specifically.
Height RVT versus colour RVT
The pack provides two distinct virtual textures because they carry different data for different jobs. Knowing which is which keeps your setup honest.
RTV_Colour caches the shaded surface result - the base colour the auto-material produces after it has blended snow, cliff, mid-high, mid-low and ground tiers by height and slope. This is the texture other meshes sample when you want them to inherit the terrain's look. It is the workhorse for visual blending across the world.
RTV_Height caches elevation data rather than colour. Height information is what lets a mesh know where the terrain surface sits beneath it, so a decal, a puddle, or a placed object can react to the ground's shape without re-deriving it. The pack's height-aware effects - its snow mask and puddle functions live in the same material family - are the kind of features that benefit from having height available cheaply through an RVT rather than recomputed everywhere.
Keep the two assets in their intended roles. Pointing a colour reader at the height RVT, or vice versa, produces nonsense rather than an error, and those are slow bugs to track down on a large map.
How the AutoMaterial uses MF_RVTBlend
The bridge between the auto-material and the virtual textures is the MF_RVTBlend material function, shipped in the pack alongside the other functions for snow mask, puddles, colour variation, tiling variation and layer creation. MF_RVTBlend is what reads from RTV_Height and RTV_Colour and feeds the cached result back into the shading, so the expensive blend is sampled rather than recomputed.
Because the RVT machinery is already assembled inside the material, your job at the material level is mostly configuration through the instance. You edit MI_AutoLandscape_Inst - per layer base colour and normal, plus the height and slope intensity that drive where each tier appears - exactly as you would when texturing without RVT. The RVT path does not change how you author the look; it changes how that look is delivered to the GPU.
Treat the material instance as the single source of truth, as the pack's own guidance insists. The auto-material extracts named target layers - AutoMaterial Base Layer plus Snow, Cliff, Mid-High, Mid-Low and Ground - and you are told not to edit those extracted layers directly. Tune the instance and re-create the layers if you need to. Keeping that discipline matters even more with RVT in the loop, because the cache reflects whatever the material produces; edit it in one place and the cached result stays coherent.
Setting it up on a large world: step by step
The workflow below assumes you are starting from the pack's heightmaps and AutoMaterial. It mirrors the import-and-paint process the pack documents, with the RVT pieces slotted in.
1. Import your terrain. Open the 'Landscape' panel, switch to the 'Manage' tab, and choose to create a new landscape 'From File', selecting one of the pack's grayscale heightmaps. Pick a smaller size such as 1K or 2K for a sub-region and the 8K heightmap for a full open world; in World Partition you can create several landscapes and patch them together.
2. Place the Runtime Virtual Texture volumes. Add a 'Runtime Virtual Texture Volume' actor for each RVT you intend to use, and assign the pack's RTV_Colour and RTV_Height assets to the relevant volumes. Size each volume so its bounds enclose the landscape it should cache.
3. Tell the landscape to write into the RVTs. Select the landscape, and in its details under the Virtual Texture settings add RTV_Colour (and RTV_Height where you want cached elevation), so the terrain renders its shaded result into the cache.
4. Assign and paint the auto-material. Put M_AutoLandscape (or your MI_AutoLandscape_Inst instance) in the landscape's material slot. The surface may appear black at first - that is expected. Go to the 'Paint' tab, use 'Create Layers from Assigned Material' to extract the target layers, then right-click 'AutoMaterial Base Layer' and choose 'Fill Layer' to paint the whole landscape by height.
5. Let MF_RVTBlend close the loop. With the RVTs assigned, the material's MF_RVTBlend node reads the cached height and colour and feeds them back into shading. Any meshes you want to blend with the ground can now sample RTV_Colour so they inherit the terrain look without running the full auto-material themselves.
6. Tune in the instance. Edit MI_AutoLandscape_Inst to set per-layer base colour and normal and to adjust the height and slope intensities until the tiers - snow, cliff, mid-high, mid-low, ground - fall where you want them. The pack also exposes five custom layers for hand-painting detail on top of the automatic result.
Practical tips for keeping a continent responsive
Match the RVT volume to the work it is doing. An RVT that blankets your entire 8K world at high tile resolution will spend a lot of memory caching ground the camera will never see up close. Scope the volumes and their resolution to the area and detail you actually need, and let the rest of the world fall back to standard sampling.
Use small heightmaps where you can. The pack gives you each map at 1K, 2K, 4K and 8K precisely so you can right-size. A sub-region stitched from 1K or 2K tiles in World Partition costs far less to texture and to cache than dropping an 8K landscape everywhere out of habit. Reserve 8K for the genuinely vast, fully open areas.
Lean on the cache for blending, not as a crutch for an expensive material. RVT makes a heavy blend affordable to sample widely; it does not make a wasteful material free. The pack only includes basic, starter-content-style textures and expects you to bring your own, so as you swap in higher-fidelity art keep an eye on what the auto-material is doing per tier and trim anything you are not using.
Finally, remember the editor freeze the pack warns about is a one-time cost of doing the texturing work, not a sign something is broken. Plan your import-and-paint pass deliberately, set up the RVTs once, and the per-frame picture is what stays smooth while you build out the world.
The RVT assets shipped in the pack and what each is for
| Asset | Type | Role in the landscape material |
|---|---|---|
| RTV_Colour | Runtime Virtual Texture | Caches the shaded surface colour of the auto-material so meshes can blend with the terrain |
| RTV_Height | Runtime Virtual Texture | Caches terrain elevation so objects and effects can react to the ground shape cheaply |
| MF_RVTBlend | Material function | Reads RTV_Height and RTV_Colour and feeds the cached result back into shading |
All three assets ship inside the Massive Open World Landscape Pack and are wired into the AutoMaterial.
FAQ
What is the simplest runtime virtual texture landscape Unreal performance and RVT setup for this pack?
Import a heightmap as a new landscape, add Runtime Virtual Texture Volume actors and assign the pack's RTV_Colour and RTV_Height, enable Virtual Texture write on the landscape, then assign M_AutoLandscape and paint by height. The included MF_RVTBlend already reads the cached height and colour, so you mostly configure rather than author the RVT plumbing.
Do I need both RTV_Height and RTV_Colour?
Not always. RTV_Colour caches the shaded look and is what other meshes sample to blend with the ground, so most projects want it. RTV_Height caches elevation for height-aware effects and objects that need to react to the terrain shape; add it when you use those, otherwise the colour RVT alone may be enough.
Will RVT fix the brief editor freeze the pack warns about?
No, and it is not meant to. That freeze is the one-time cost of doing the auto-texturing work on a large landscape. RVT addresses the ongoing per-frame texturing cost by caching the blend result, which is a different problem from the initial paint pass.
Does this pack support Nanite or Lumen with RVT?
The pack does not state Nanite or Lumen support, so we do not claim it. Runtime Virtual Textures are an independent feature that help with texturing cost regardless of whether those systems are enabled.
Can I use a smaller heightmap to reduce the RVT cost?
Yes. Each map ships at 1K, 2K, 4K and 8K. Using 1K or 2K tiles for sub-regions in World Partition means less surface to texture and less to cache, so reserve the 8K heightmap for genuinely large open areas.
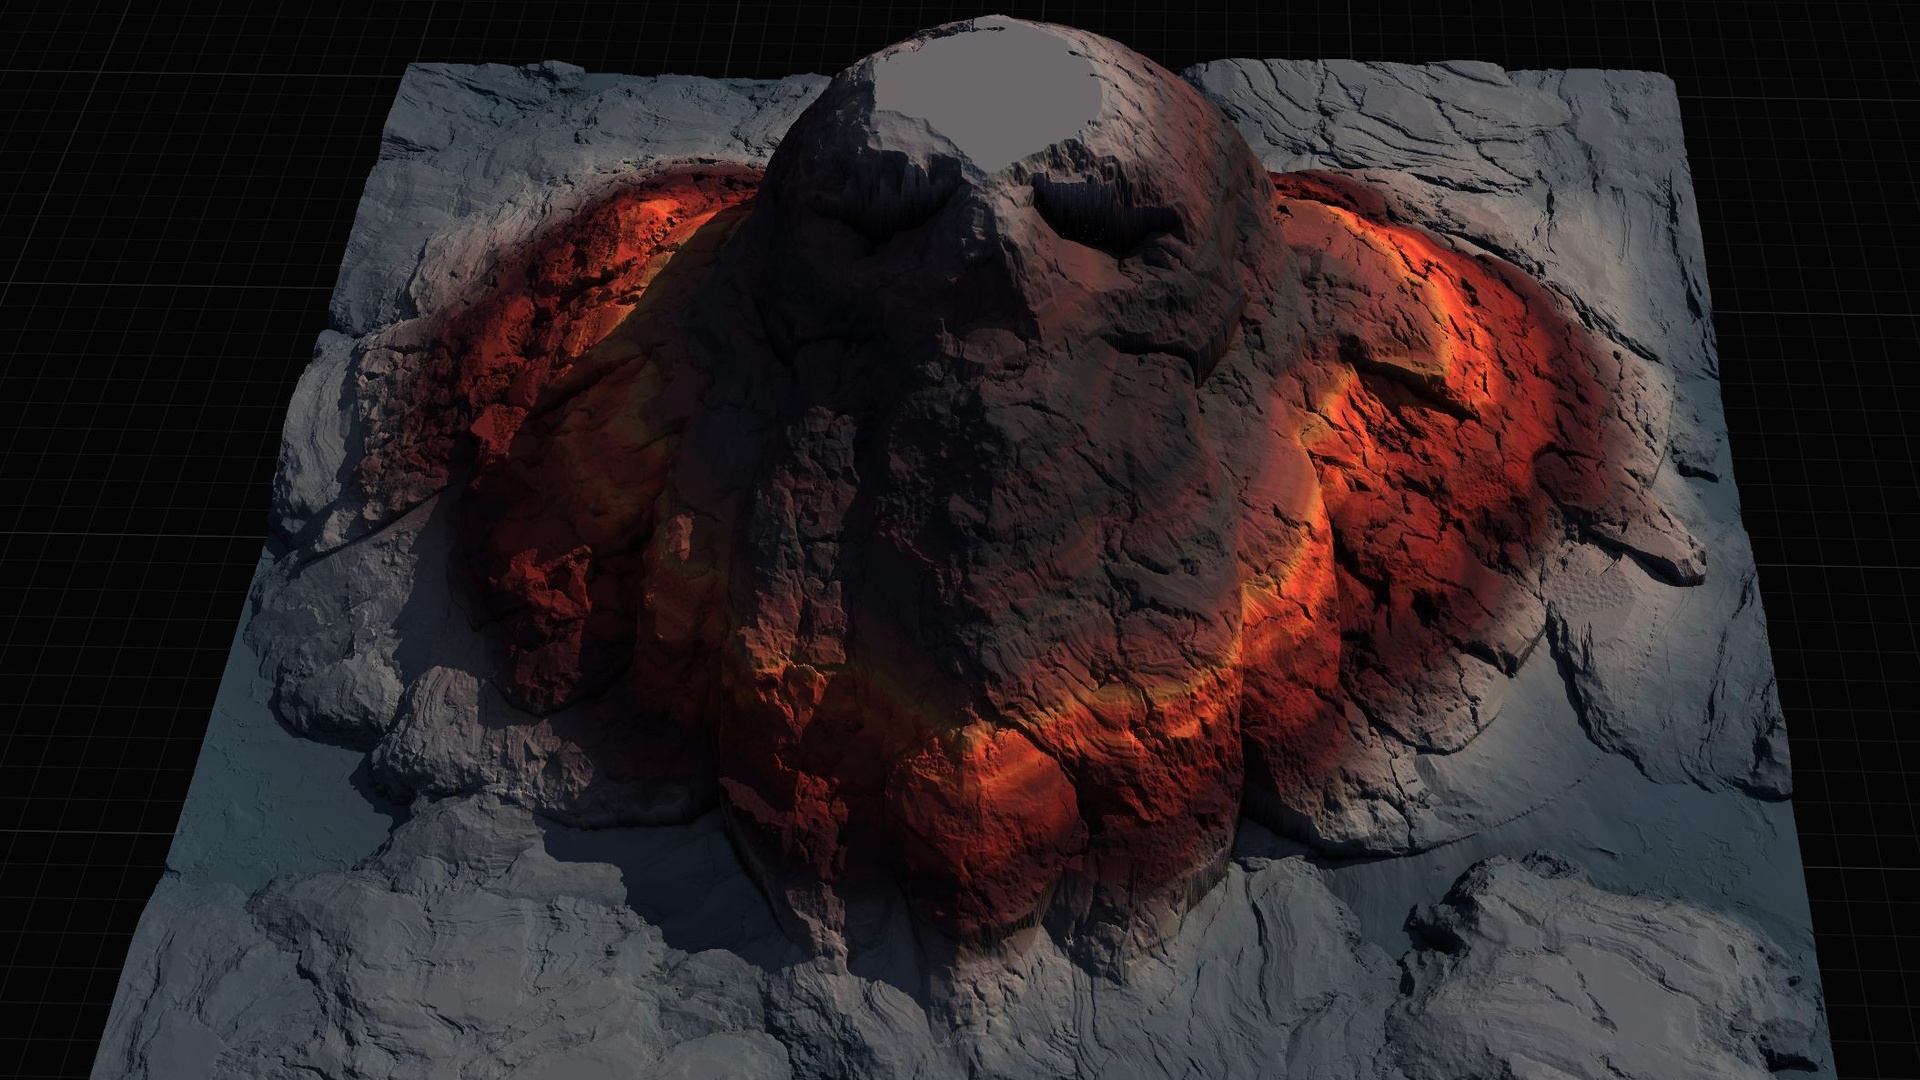
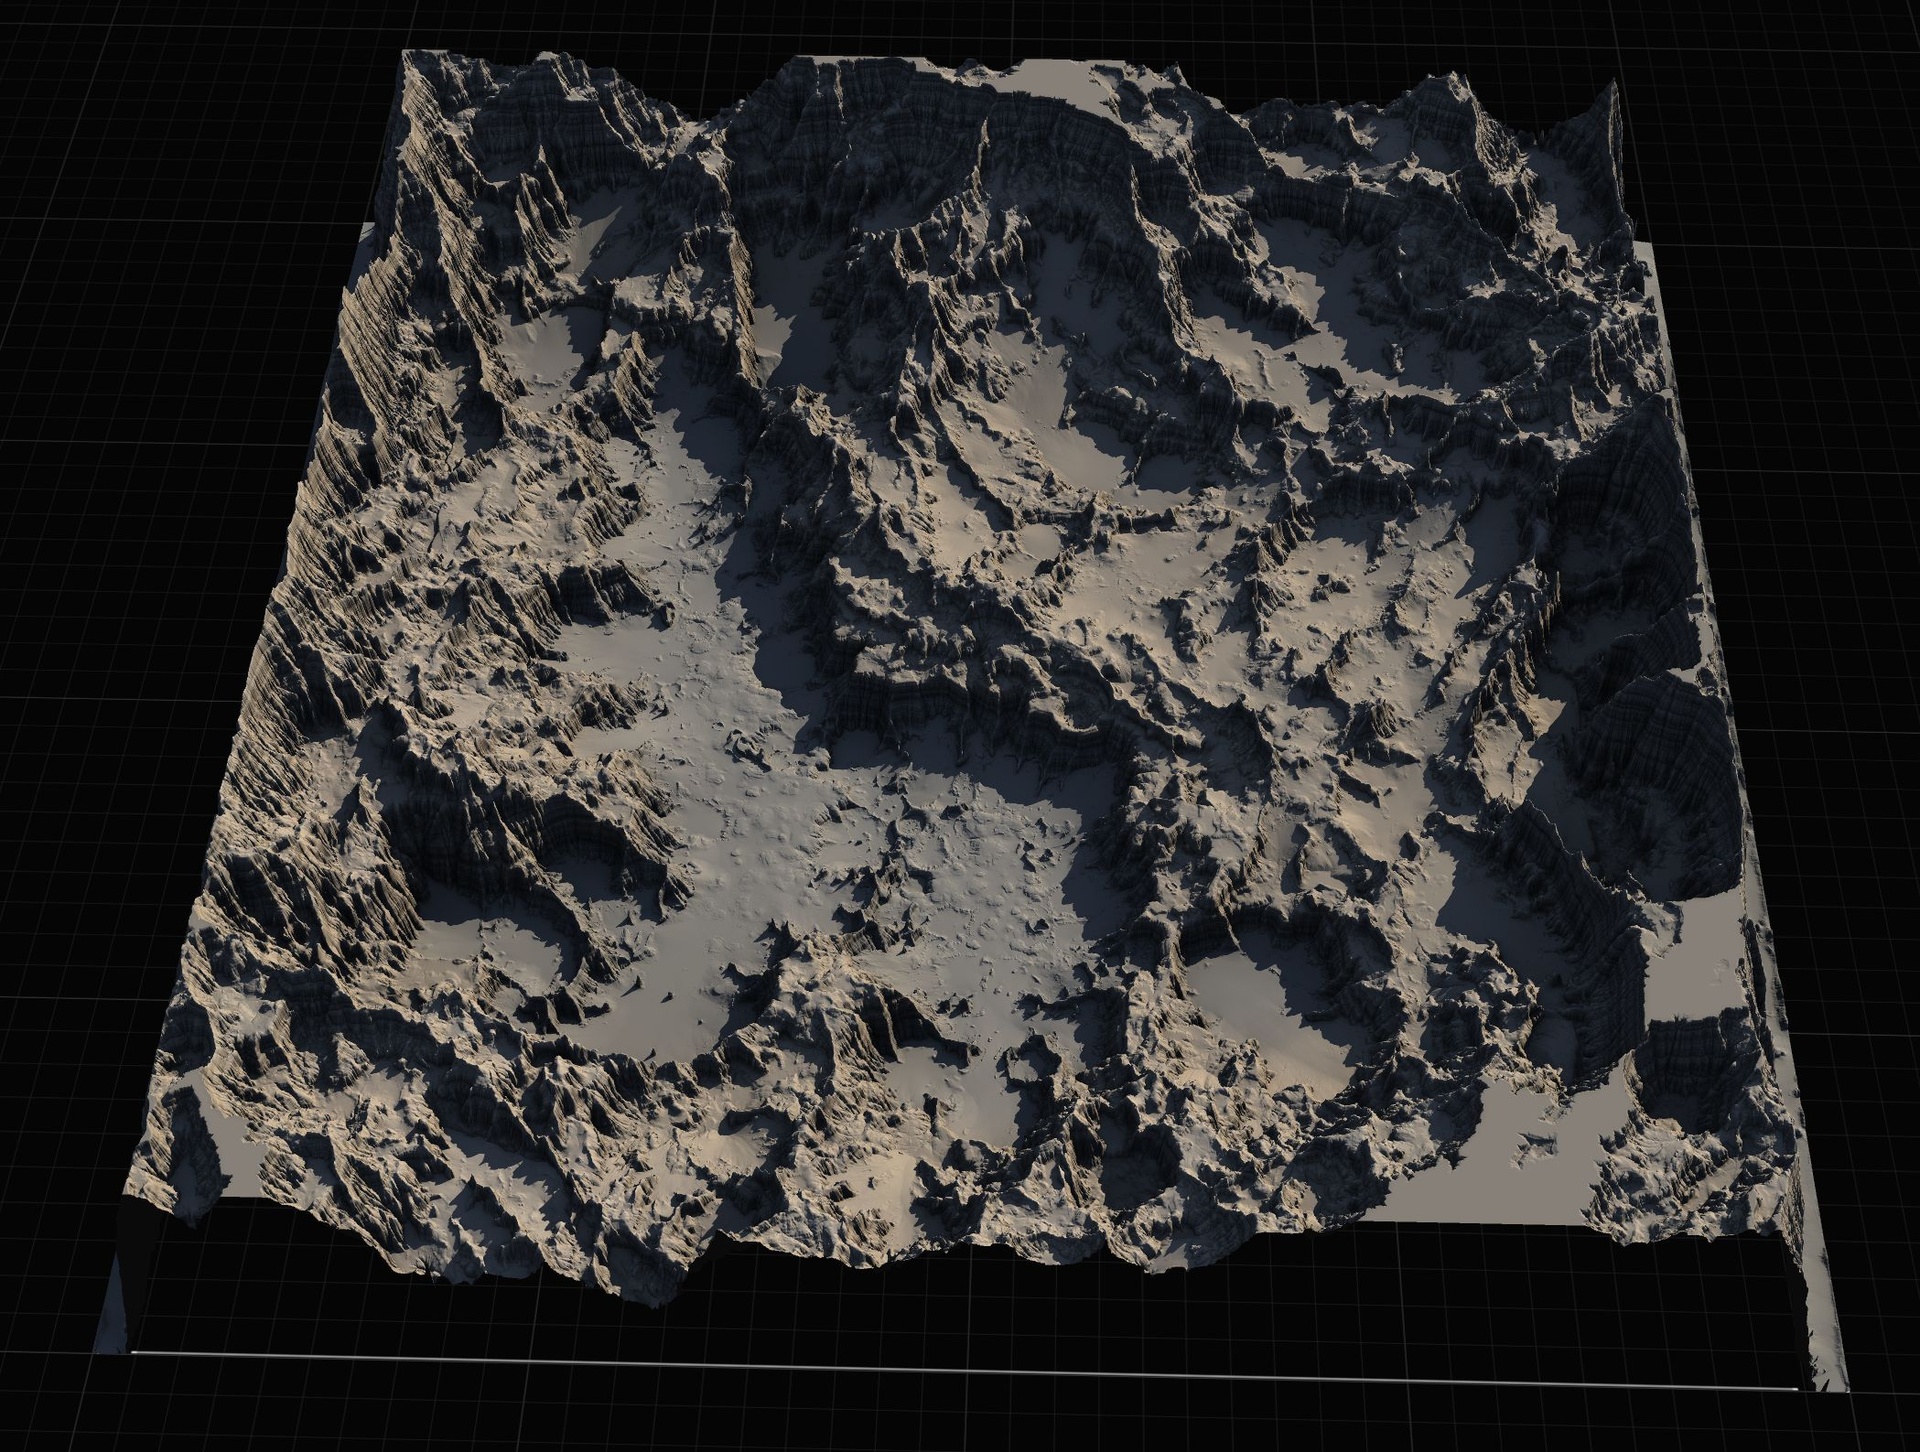
Massive Open World Landscape Pack
Fourteen ready-to-play open-world landscapes with an auto-material setup — 56 heightmaps from 1K to 8K, including volcanic islands and oceans. Drop in, paint your own textures and build your world.