tutorial · 2026-05-18
Reading True Linear Luminance with a Pre-Tonemap Scene Capture in UE5
How to use a SceneCapture and a replacing-tonemapper post-process material to read brightness before the tonemapper in Unreal Engine.
Why you must read brightness before the tonemapper in Unreal
If you have ever tried to measure how bright a spot in your level actually is, you have probably reached for the rendered image and been burned. Sample the colour Unreal puts on screen and you are not reading the light in the scene at all — you are reading the light after the tonemapper, bloom, and auto-exposure have already mangled it. The tonemapper deliberately compresses highlights and lifts shadows so the frame looks pleasant; eye adaptation then quietly re-scales everything based on what the camera is pointed at. Both are doing their job, and both make the on-screen pixel a liar if what you want is the true, physically-meaningful luminance of a location.
This is the core problem behind scene capture luminance: to read brightness before the tonemapper in Unreal, you have to intercept the linear scene colour earlier in the post-process chain, before any of those view-dependent transforms run. The good news is that UE5 gives you exactly the hooks to do it — a SceneCaptureComponent that re-renders the scene from a chosen point, a post-process material that can replace the tonemapper outright, and ShowFlags that let you switch off the effects that would otherwise contaminate the value. Wire those together and you get a stable number that tracks the actual light reaching a point, independent of where the player camera happens to be looking.
That linear value is what you want for anything that has to reason about light: lighting an area to spec while you author, driving stealth logic from whether a character is lit or hidden, or simply auditing whether a scene reads too dark after a change. Lumen Meter packages this entire technique as a drop-in actor, but the pipeline underneath is worth understanding whether you buy the tool or build your own — so this guide walks the whole chain end to end, the same way the shipped Blueprint does it.
Setting up the SceneCapture render target
Start with the capture itself. The reading has to come from a re-render of the local scene, not the main view, so you attach a capture component to the actor whose position you care about. There are two sensible choices, and they trade speed against accuracy. A SceneCaptureComponent2D takes a single fast 2D capture in one direction — cheap enough for real-time use and the right default when you are reading from a moving actor every frame. A SceneCaptureComponentCube renders all six faces around the point and lets you average them, which costs more but gives you an omnidirectional reading that does not depend on which way the capture happens to face.
Whichever you choose, the render target format matters enormously. Capture into an RGBA16f (16-bit float) render target — in the shipped Lumen Meter these are RT_LightMeter_32x18 for the 2D path and RT_LightMeter_Cube for the cube path. A floating-point target is non-negotiable here because scene luminance is high dynamic range: real light values blow well past 1.0, and an 8-bit LDR target would clip them to white and silently destroy the very signal you are trying to measure. Sixteen-bit float keeps the linear values intact across the whole range.
Note the deliberately tiny 32x18 resolution on the directional target. You are not going to look at this image — you are going to reduce it to a single average — so there is no reason to pay for a large capture. A small target keeps the re-render cheap, which is what makes a continuous, real-time reading practical. Set the capture source so it delivers scene colour through the post-process pipeline (rather than a raw colour pass), because the next step lives inside that pipeline.
A replacing-tonemapper post-process material for luminance
The heart of the technique is a post-process material with its blendable location set to 'Replacing Tonemapper' (BL_ReplacingTonemapper). That blend location is special: a material placed there runs in the slot the tonemapper would normally occupy, receiving the linear scene colour as its input instead of the tonemapped result. In other words, it lets you read the frame at exactly the moment before tone mapping happens — which is precisely the moment you want.
Inside the material you collapse colour to a single luminance value. The shipped material, M_PP_Luminance_PreTonemap, outputs dot(linearSceneColor.rgb, weights) — a weighted dot product of the linear RGB channels. A dot product with a set of weights is just a weighted sum: it folds red, green, and blue into one scalar that represents perceived brightness, with green contributing most because the eye is most sensitive to it. The output is written back as the emissive colour of the post-process material, so every pixel of the capture now carries the local luminance rather than its colour.
Replacing the tonemapper is necessary but not sufficient, because other post-process stages would still skew the reading. You disable them with ShowFlags on the capture: turn off Tonemapper, Bloom, EyeAdaptation, and VolumetricFog. Bloom would bleed bright pixels into their neighbours and inflate the average; eye adaptation would auto-scale the exposure based on scene content and make the value drift; volumetric fog would add a view-dependent haze on top of the actual lighting. With those off, the capture delivers the underlying linear light and nothing else.
The final piece is exposure. Auto-exposure is the enemy of a stable, comparable reading, so force the capture's exposure to manual — AEM_Manual — and pin it to a fixed value. With manual exposure the capture no longer rescales itself based on what it sees, which means a reading taken in a dark room and a reading taken in bright sun sit on the same absolute scale. That exposure-independence is what makes the numbers actually comparable from place to place and frame to frame.
Reducing a whole frame to one value via the top mip
After the capture you have a small image where every pixel holds a luminance value, but what you actually want is a single number: the average brightness at this point. The efficient way to average an entire render target on the GPU is to lean on its mip chain. Each successive mip level is a downsampled, box-filtered version of the level above it, so the very top mip — the smallest, ultimately 1x1 level — is effectively the average of every pixel below it. Reading that top mip hands you the mean of the frame for almost no cost.
For the directional path, a small material samples the highest auto-generated mip of the 32x18 target — in the shipped product this is M_SampleHighestMip — to pull out that average. For the cube path, a companion material, M_CubeAverage, averages across the six cube faces instead, giving you the omnidirectional mean. Either way the goal is the same: collapse the captured frame down to one representative luminance value without dragging the whole image back to the CPU.
You then write that single value into a 1x1 RGBA16f render target — RT_LightMeter_1x1 — with a DrawMaterialToRenderTarget call. This is a deliberate funnel: render the scene into a small float target, reduce it to its average via the top mip, and stamp that one number into a one-pixel float target ready to be read back. Keeping everything in floating point right up to this final pixel preserves the HDR range end to end, so nothing clips on the way down.
Reading the pixel back on the CPU
With the average sitting in a 1x1 float target, the last step is to get it onto the CPU where your gameplay or editor logic can use it. Call ReadRenderTargetPixel on the 1x1 target and you get the raw average luminance as a value your Blueprint or C++ can read. Because the target is a single pixel, this read-back is about as cheap as a GPU-to-CPU transfer gets — there is no full-frame copy and no large buffer to stall on.
One thing to be aware of: any read-back of GPU work introduces latency, because the CPU has to wait for the relevant render commands to complete. In practice this is why a continuous meter runs its capture-reduce-read loop on an interval rather than trying to produce a fresh value inside the same frame it was requested. Capture this frame, read the result a frame or so later, and repeat on a loop you control — that keeps the cost predictable and the value flowing.
The raw number you read back is the linear average luminance, which is honest but not always convenient to consume directly. Lumen Meter wraps it in a small value pipeline: it temporally smooths the raw reading with an FInterpTo so it does not jitter frame to frame, and it produces a normalised 0-to-1 value by log-scaling the raw reading against the lowest and highest values it has observed. That dynamic calibration means you never have to hand-tune brightness bounds — the meter learns the level's range as it runs and normalises against it, so the same 0-to-1 scale is meaningful whether you are in a cellar or on a rooftop.
Why the rendered-scene approach captures everything
The reason this technique is worth the plumbing is that it reads the rendered scene as a post-process, which means the value already includes everything that contributes to how bright a spot looks. Global, static, and dynamic lighting, shadows, the skylight, and Lumen GI bounce are all baked into the captured frame before you ever sample it. You are not tracing individual lights or summing contributions by hand — you are measuring the composited result, the same light the renderer would have shown the player.
Because the measurement happens at the render level, it is also technique-agnostic. It works the same whether your scene is lit dynamically or with baked static lighting, and the approach holds whether Lumen is switched on or off — what changes is simply the picture the renderer produces, which the meter then reads. The flip side worth keeping in mind is that the reading is render-path dependent by nature: it reflects what the rendering pipeline actually produced, so it is a faithful measure of the rendered scene rather than an abstract photometric quantity.
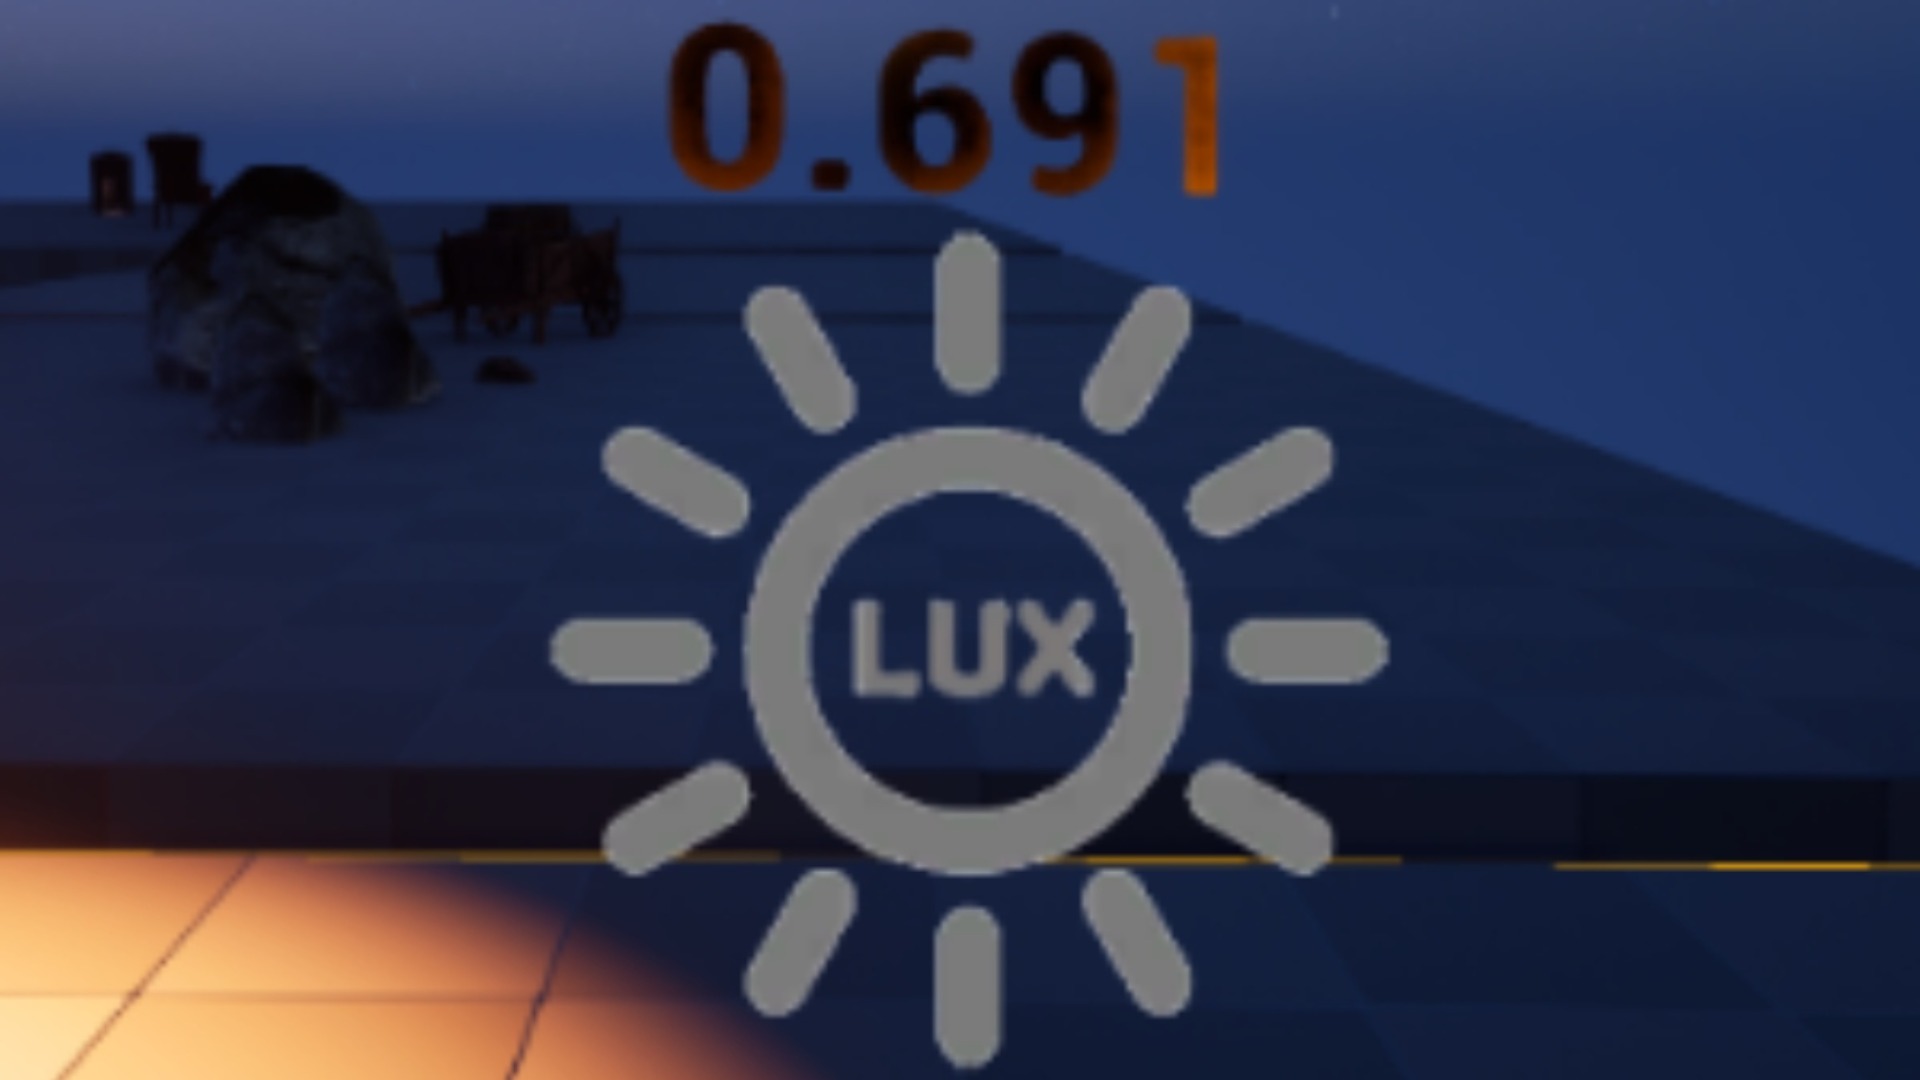
Lumen Meter is delivered as a project you can open directly or migrate into your own, and the meter itself is a Blueprint actor, so the whole pipeline above is open for you to inspect and extend. Drop BP_LumenMeter into a level, or attach it to an actor to read brightness as it moves, and it auto-configures and starts reading immediately — no manual bounds, thanks to the dynamic calibration. An in-world TextRender shows the live value in the editor without entering play, which is exactly what you want when you are lighting an area to spec.
Putting it to work in your level
To use the shipped tool rather than rebuild the chain, open the Lumen Meter project or migrate its content into yours, then drag BP_LumenMeter into the level. Pick a capture mode to match the job: Directional is a single fast 2D capture and the right choice for real-time reads on a moving actor, while Omnidirectional uses the cube capture and is the most accurate when the precise value matters more than the cost. The relevant configuration is exposed on the Blueprint — Capture Mode, Capture Direction, Enable Realtime Capture, Loop Duration, smoothing speed, and synchronisation options among them.
Read whichever output suits your use case. Brightness Raw is the unprocessed linear average, Brightness Normalised is the dynamically-calibrated 0-to-1 value, and Brightness Smoothed is the temporally-smoothed reading. For reactive logic, bind the Brightness Level Change event so your gameplay responds when the local lighting crosses a threshold — the natural way to drive stealth visibility from measured brightness rather than guesswork.
If you are comparing brightness across a wider area, enable synchronisation so multiple meters share a single calibration range and therefore a single consistent normalised scale. The shipped product handles this through BP_LumenMeterLock and a DA_LumeMeterLock data asset, with sync controlled by distance or an explicit lock — so a reading of 0.6 means the same thing everywhere it is measured. From there, the natural next step is to attach a meter to a character or probe actor, watch the live readout in the editor as you tune your lights, and wire the normalised value into whatever system needs to know how lit the world really is.
Directional vs Omnidirectional capture
| Aspect | Directional (2D) | Omnidirectional (Cube) |
|---|---|---|
| Capture component | SceneCaptureComponent2D | SceneCaptureComponentCube |
| Render target | RT_LightMeter_32x18 | RT_LightMeter_Cube |
| Reduce step | Top mip (M_SampleHighestMip) | Average of faces (M_CubeAverage) |
| Cost | Lower (single capture) | Higher (six faces) |
| Best for | Real-time reads on a moving actor | Most accurate, direction-independent reading |
The two capture modes Lumen Meter offers, and when to pick each.
FAQ
How do I read brightness before the tonemapper in Unreal?
Re-render the local scene with a SceneCaptureComponent into an RGBA16f render target, and apply a post-process material set to the Replacing Tonemapper blend location. Because that blend location runs in the tonemapper's slot, the material receives the linear scene colour before tone mapping, so outputting a weighted luminance there gives you a true pre-tonemap reading. Disabling Tonemapper, Bloom, EyeAdaptation, and VolumetricFog via ShowFlags and forcing manual exposure keeps the value clean and comparable.
Why does the render target have to be RGBA16f?
Scene luminance is high dynamic range — real light values exceed 1.0. An 8-bit LDR target clips those to white and destroys the signal you are trying to measure, whereas a 16-bit float (RGBA16f) target preserves the full linear range from capture through to the final read-back.
How is a whole captured frame reduced to a single brightness value?
By sampling the top auto-generated mip of the render target. Each mip level is a downsampled average of the level above it, so the smallest 1x1 mip is effectively the mean of every pixel. Lumen Meter samples that top mip for the directional path, or averages the six cube faces for the omnidirectional path, then draws the result into a 1x1 float target and reads it back with ReadRenderTargetPixel.
Does this work with both Lumen and baked static lighting?
Yes. Because the technique measures the rendered scene as a post-process, the reading already includes global, static, and dynamic lighting, shadows, the skylight, and Lumen GI bounce. It is technique-agnostic — the approach is the same whether Lumen is on or off, since it simply reads whatever the renderer produced.
Which engine version does the shipped Lumen Meter use?
The version currently live on Fab is the Blueprint product, delivered as a UE project whose uproject is associated with engine 5.6. It ships BP_LumenMeter, the render targets, the post-process materials, and the sync-lock data asset. Migrate the content into your own project, or open the shipped project directly, to use the meter.
Lumen Meter
Read local scene brightness so you can light to spec. An in-editor probe that measures and analyses Lumen lighting in real time — no more eyeballing exposure.