tutorial · 2026-06-01
How to Spawn a Niagara System at Runtime in UE5 (Blueprint and C++)
The two spawn nodes that matter, the transform and auto-destroy settings that trip people up, and a complete trigger-volume worked example.
Two ways to spawn: at a location versus attached
If you are searching for how to spawn a Niagara system from Blueprint in UE5, the first thing to know is that there are two distinct nodes and picking the wrong one is the most common source of effects that fire in the wrong place or refuse to follow a moving actor. Both live under the Niagara category in the Blueprint context menu, both return a Niagara Component reference you can hold on to, and both take a Niagara System asset as their first input.
The first node is 'Spawn System at Location'. It drops a one-shot effect into the world at an absolute world transform. Once spawned, it stays put. This is what you want for an explosion at a hit location, a glyph that materialises where a player stands, or any effect that does not need to track a moving object after it appears.
The second node is 'Spawn System Attached'. Instead of a world location it takes a component to attach to and a socket or bone name, then follows that component for the rest of its life. Use this when the effect must ride along with something that moves: a rune circling a character's hands, a trail bound to a weapon socket, or a code-rain glyph parented to a flying drone. If you attach to a socket name that does not exist, the system simply spawns at the component's origin, so double-check socket names against the skeletal mesh.
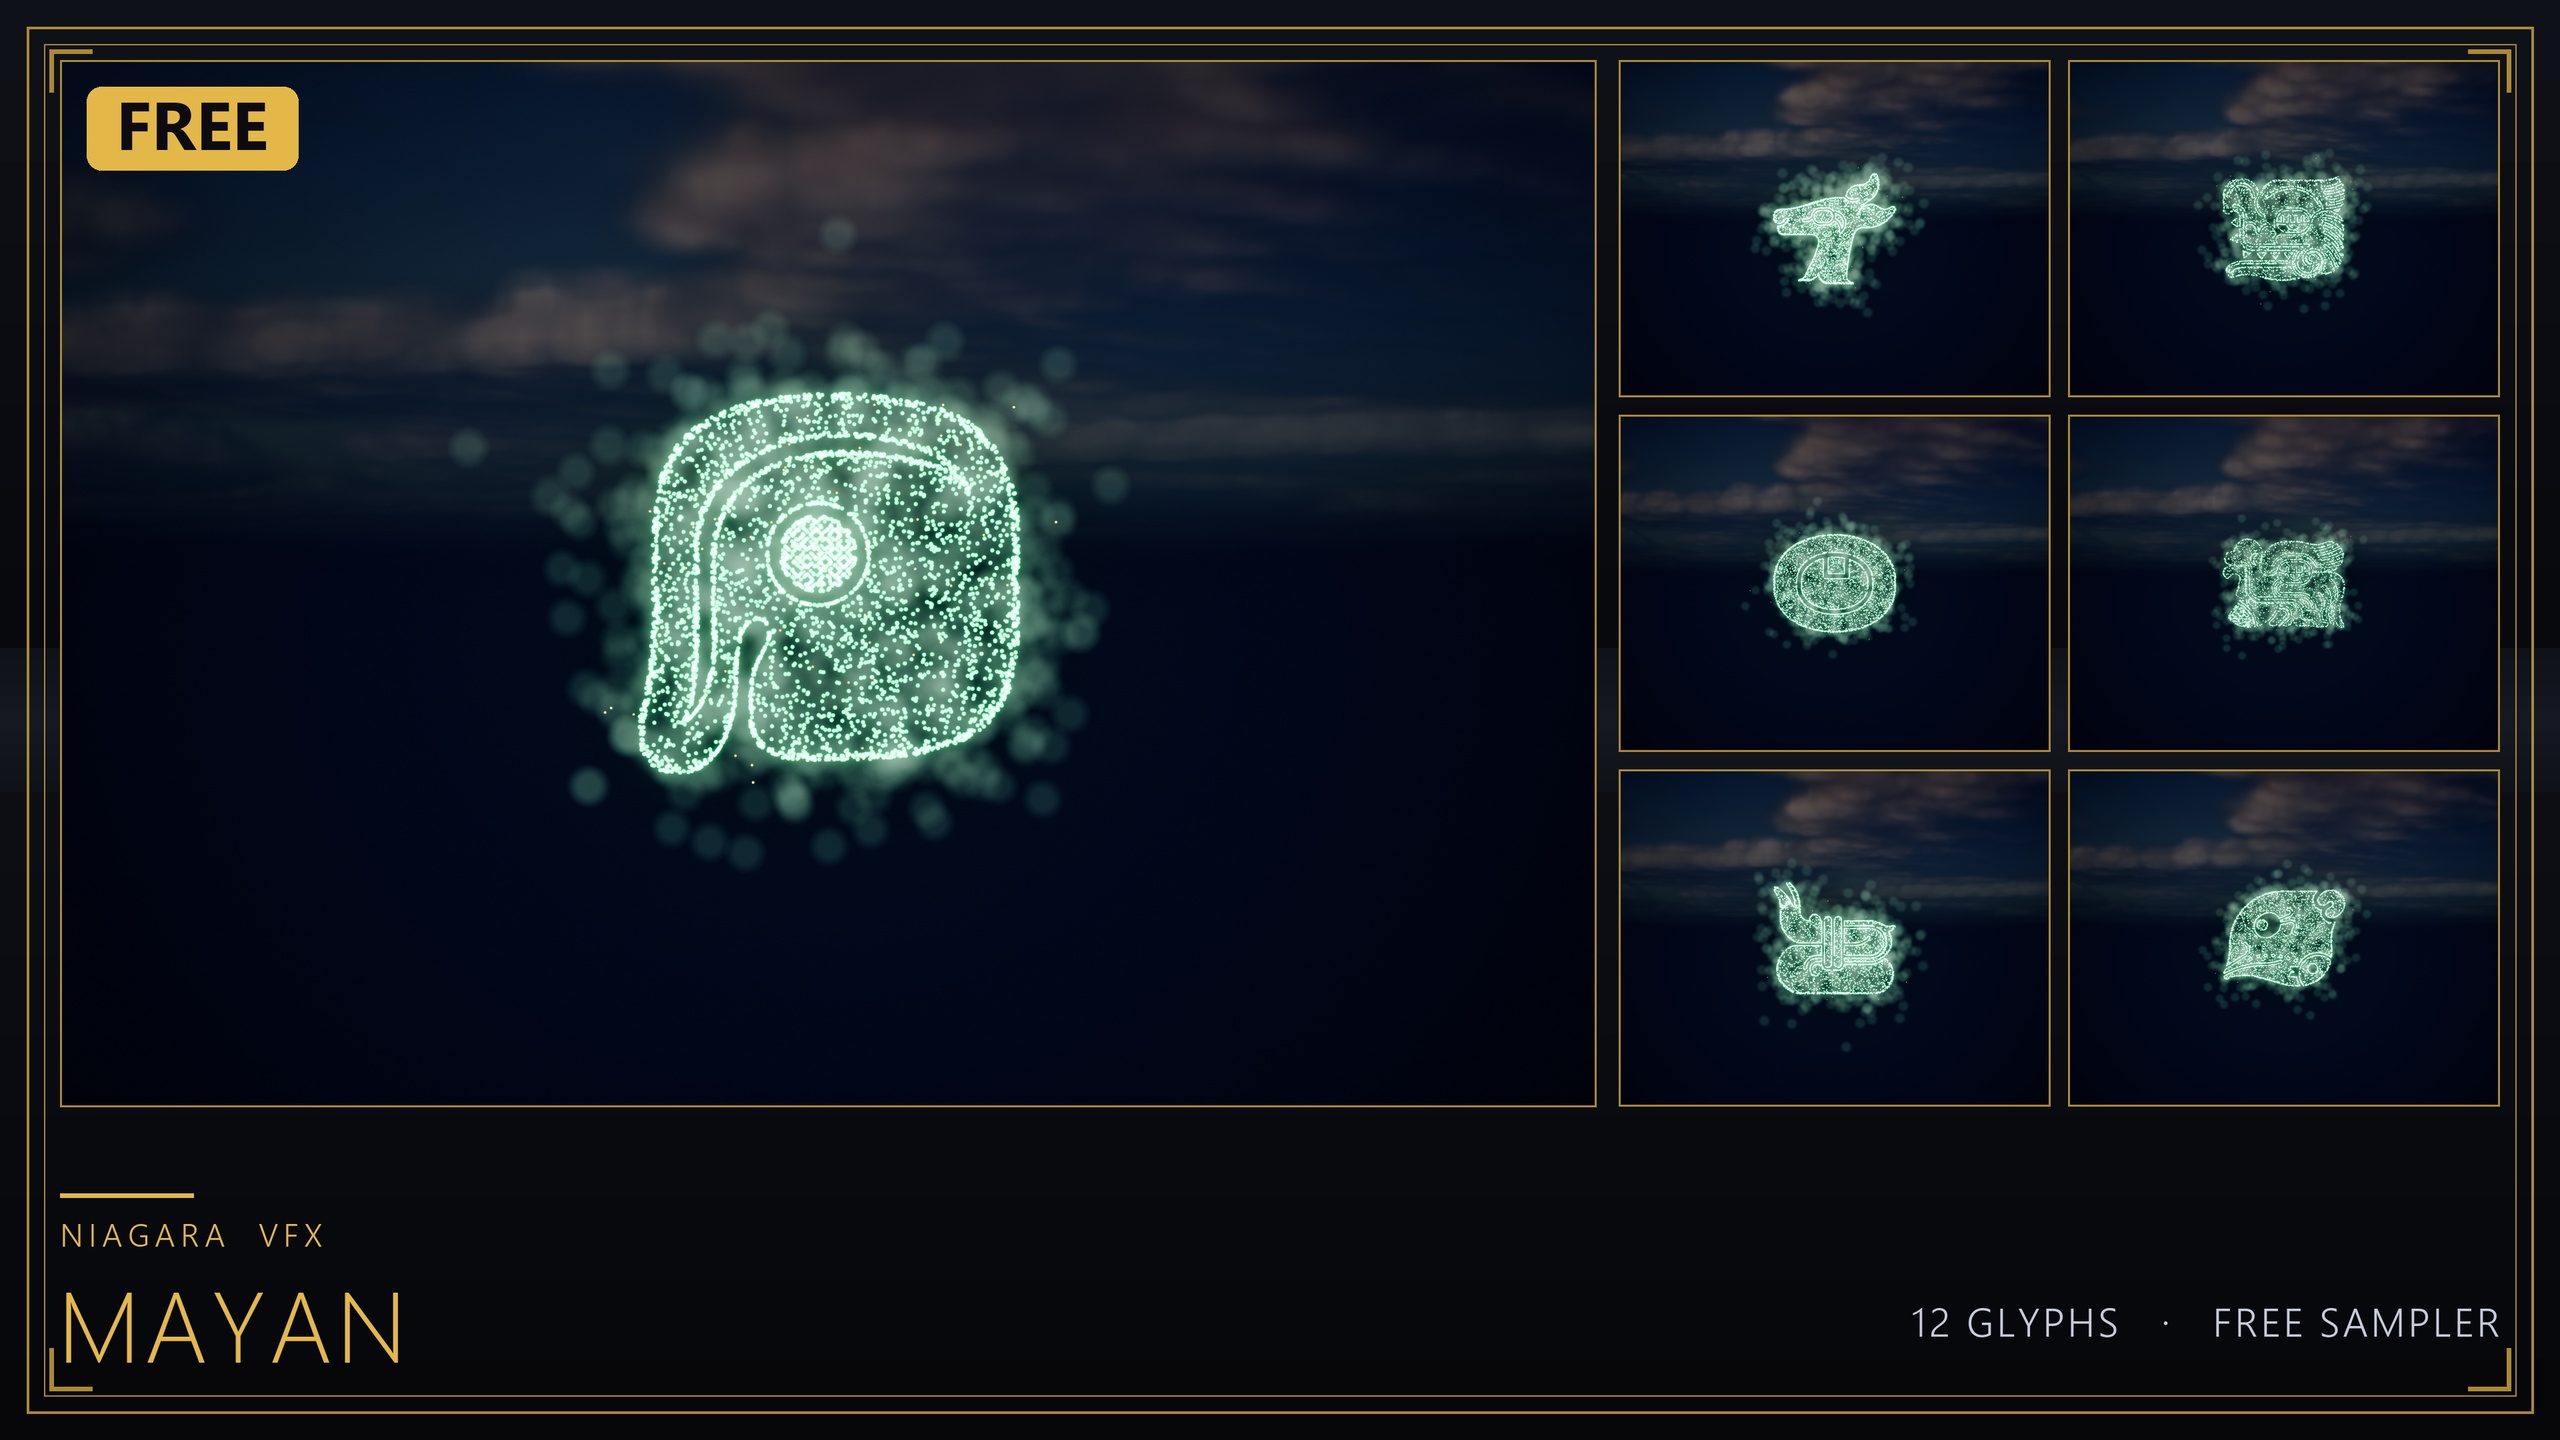
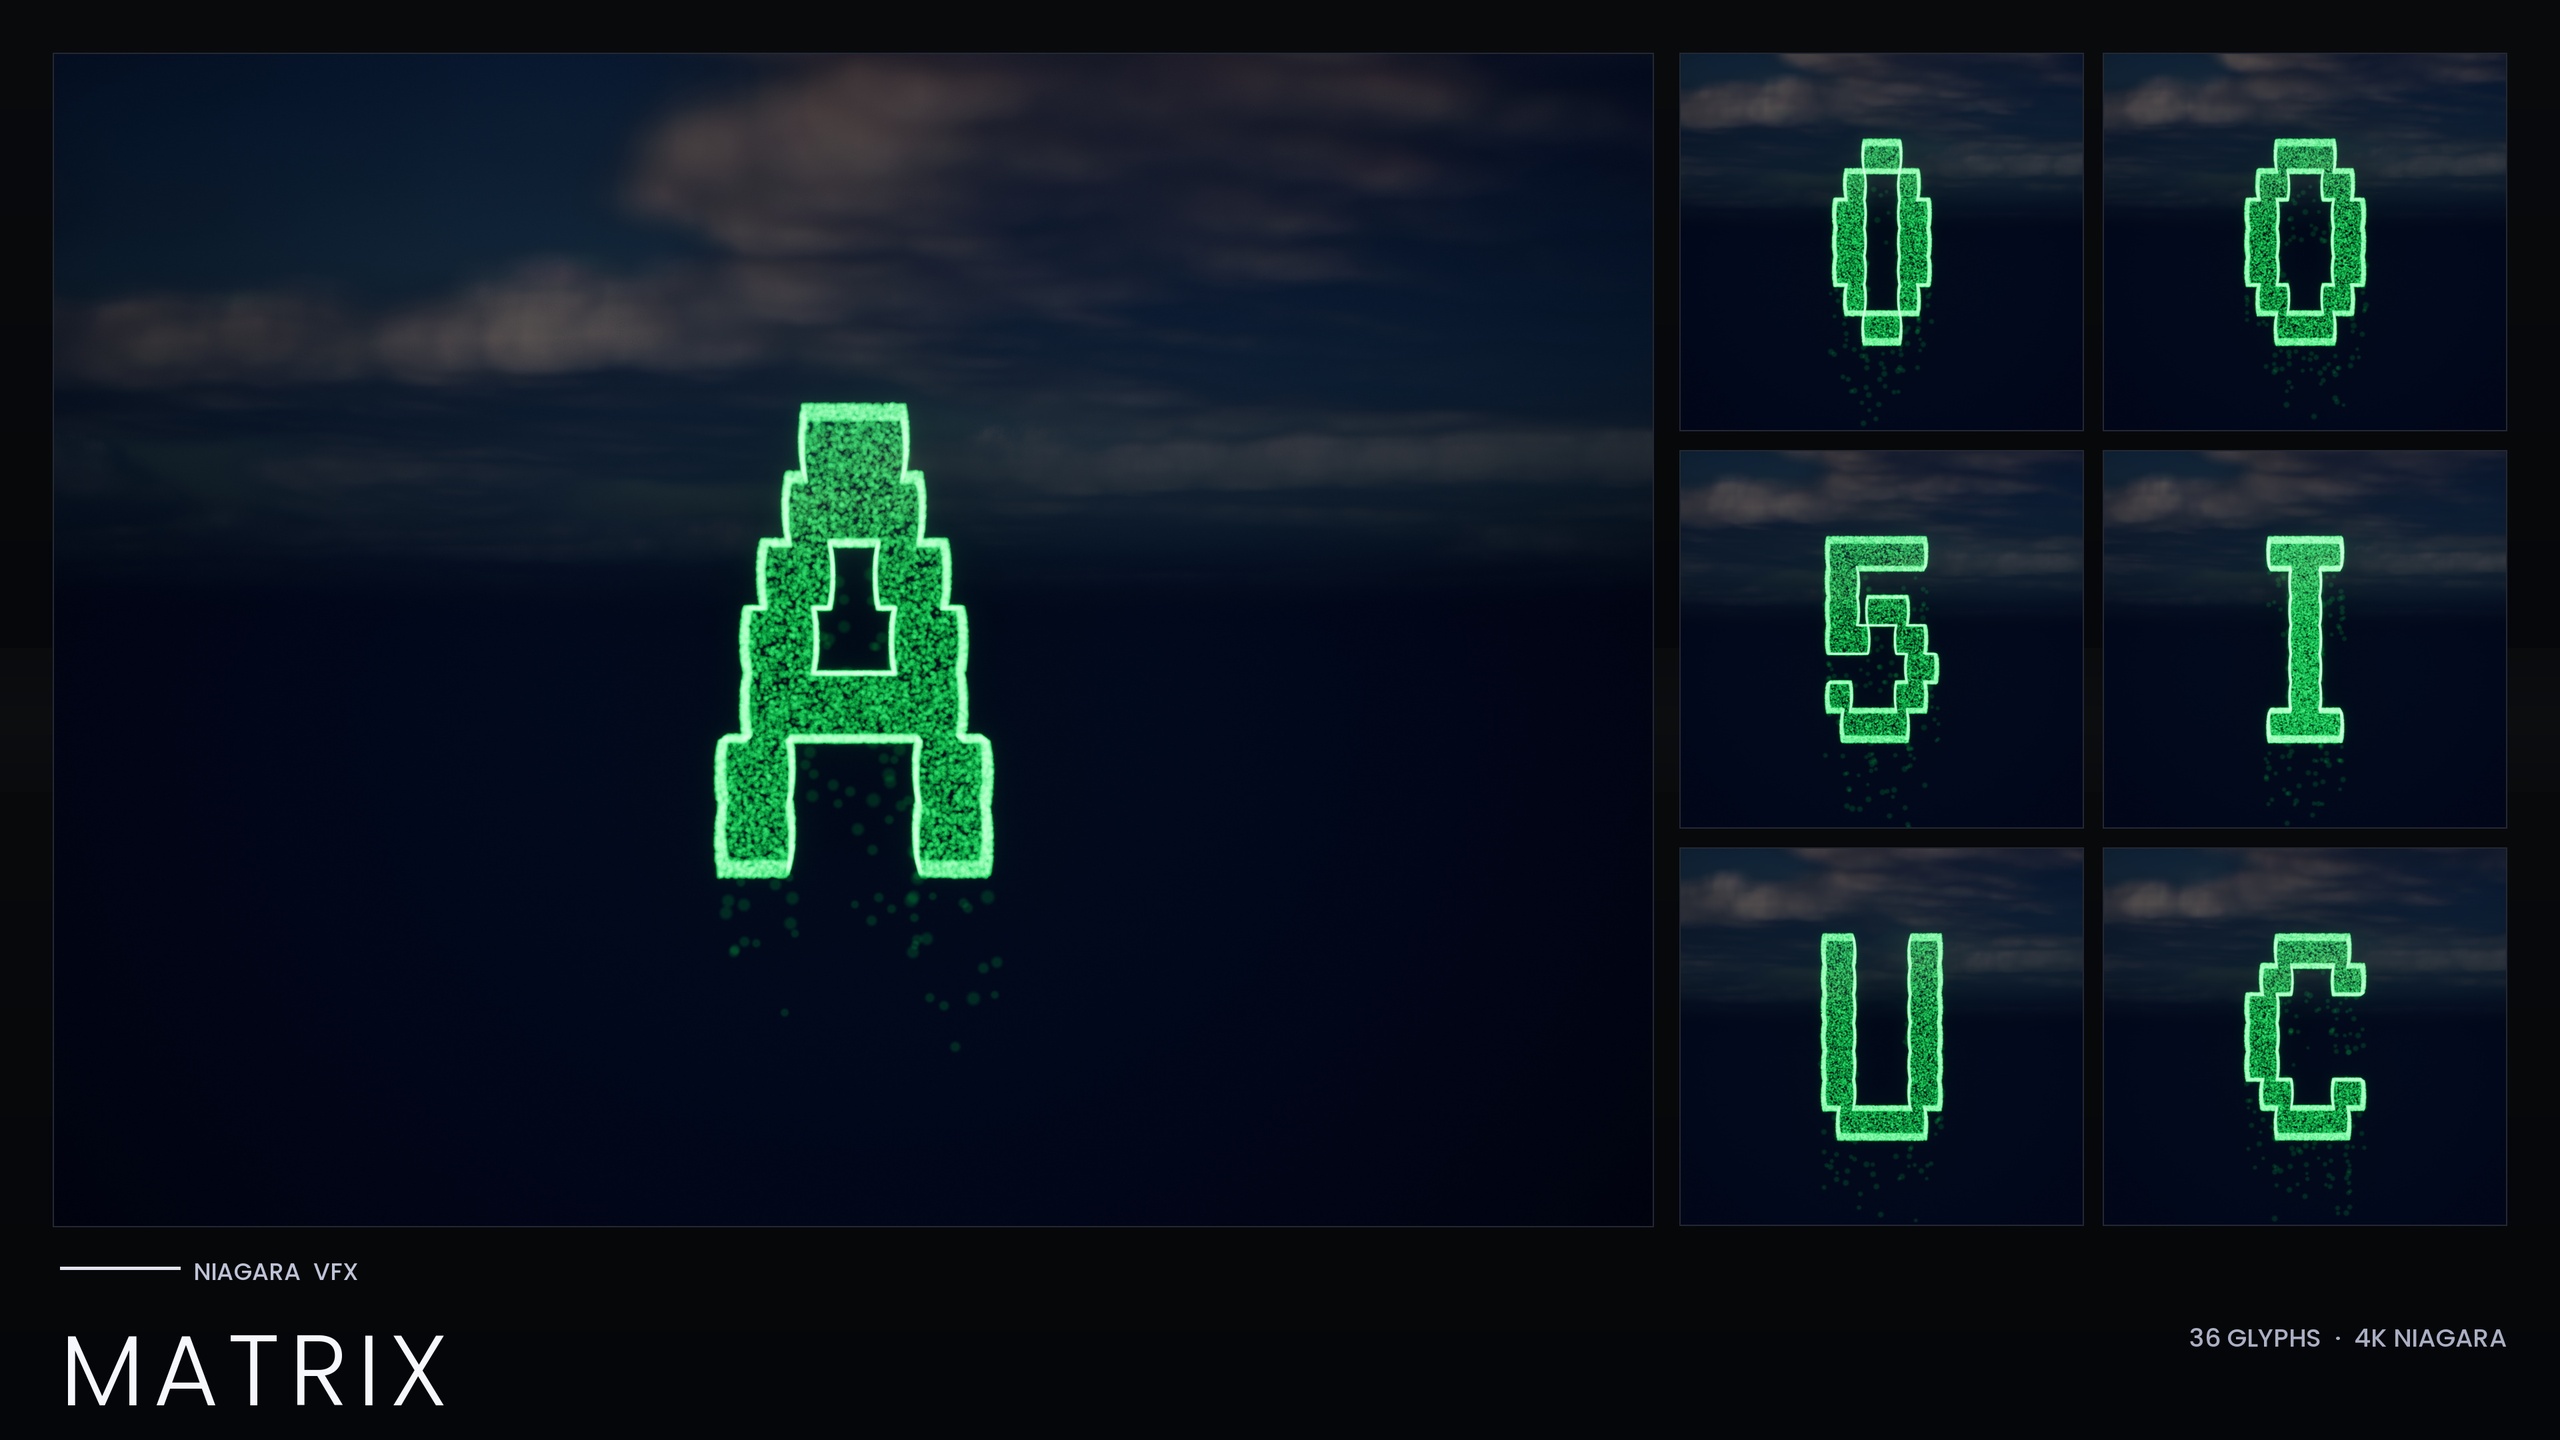
Every glyph in the Niagara Alphabet & Symbols Bundle ships as an individual NS_ Niagara System asset, and each one is independently spawnable through exactly these nodes. That means any of the 687 systems in the bundle can be the System input on either node with no extra wrapper Blueprint required.
Setting the transform: location, rotation and scale
'Spawn System at Location' exposes Location, Rotation and Scale as separate pins, which keeps simple cases readable. Feed it a Vector for where, a Rotator for facing, and a Vector scale if you need the effect larger or smaller than its authored size. Leaving Scale at its default of (1, 1, 1) plays the system exactly as it was built.
When you need a full transform in one go, both spawn nodes accept the pieces of a transform individually rather than a single Transform struct, so break a Transform with the 'Break Transform' node and wire Location, Rotation and Scale across. A frequent mistake is spawning at an actor's location but forgetting its rotation, which leaves a directional effect pointing along world axes instead of along the actor. If facing matters, pass 'GetActorRotation' into the Rotation pin.
Scale is worth a specific note for glyph effects. The systems in this bundle are CPU-simulated and read their look from sprite colour and size, so scaling the spawn transform scales the emitter's spatial footprint but does not by itself change particle counts. If you scale a glyph up dramatically and it looks sparse, the cleaner fix is to adjust the system itself rather than over-scaling the spawn.
Auto-destroy, pooling and keeping the component reference
Both spawn nodes carry an 'Auto Destroy' boolean. When it is true, the spawned Niagara Component cleans itself up automatically once the system finishes and has no live particles, which is exactly what you want for one-shot bursts so you do not leak components into the level. When it is false, the component persists after the effect ends and you are responsible for destroying or reusing it.
Set Auto Destroy to false whenever you intend to deactivate and later reactivate the same effect, or when you want to drive its parameters over time. In that case, promote the returned Niagara Component to a variable so you can call back into it later. If you let an auto-destroying system finish and then try to reactivate the stored reference, the component is already gone and the call does nothing.
There is also a 'Pool Method' pin for reuse. Leaving it at None spawns a fresh component each time; selecting 'Auto Release' lets the engine recycle components from a pool, which is the right choice for effects you fire frequently, such as a glyph that spawns on every footstep or every projectile impact. Because the bundle is CPU-simulated with no custom materials or textures, the per-system cost is light, but pooling still saves the allocation churn of constant spawn-and-destroy.
Activating and deactivating a placed system
Not every effect needs to be spawned from code. You can drag an NS_ Niagara System straight into a level, which creates a Niagara Actor wrapping a Niagara Component, and then control it at runtime through that component. This is the right approach for ambient effects that exist for the whole level but switch on and off, like an inscription wall that lights up only when the player approaches.
To start a placed system on demand, set its 'Auto Activate' property to false in the Details panel so it stays dark on level load, then call 'Activate' on the component when you want it to play. 'Activate' has a 'Reset' input: pass true to restart the system cleanly from its first frame, which matters for one-shot reveals where you want the glyph to assemble from scratch each time rather than resume mid-animation.
To stop a system, you have two options with different behaviour. 'Deactivate' tells emitters to stop spawning new particles but lets existing ones finish their lifetime, so the effect fades out naturally. 'Deactivate Immediate' kills everything on the spot with no fade. For a glyph that should gracefully dissolve when the player leaves, prefer 'Deactivate'; for an instant cut, use 'Deactivate Immediate'.
The bundle ships two demo maps, L_Demo_AllPacks and L_Demo_PackRows, that lay out systems placed directly in a level. Opening one of those is the fastest way to see a placed Niagara Component before you wire any activation logic, and to confirm a given glyph reads the way you expect at the scale and lighting you are working in.
Worked example: spawn a glyph when a player enters a volume
Here is a complete, grounded example: a trigger volume that spawns a glowing glyph above its centre the moment a player walks in. It uses 'Spawn System at Location' because the glyph should appear in the world and stay put rather than follow the player.
1. Create a new Blueprint Actor and add a 'Box Collision' component as the root. Size the box to cover the area you want to react to, and confirm its collision is set to generate overlap events with the pawn.
2. Add a Niagara System variable to the Blueprint of type 'Niagara System Object Reference', mark it Instance Editable, and in any placed instance assign one of the bundle's NS_ glyph systems to it. Exposing it this way lets level designers swap which glyph fires without touching the graph.
3. On the Box Collision component, add an 'On Component Begin Overlap' event. From the Other Actor pin, cast to your player character (or check it implements the right interface) so the volume only reacts to the player and not to every overlapping object.
4. After the cast succeeds, drag off the execution pin and add a 'Spawn System at Location' node. Wire your Niagara System variable into the System pin.
5. For the Location pin, call 'GetActorLocation' on self and add a small upward offset with a 'Vector + Vector' node, for example adding (0, 0, 100), so the glyph floats above the volume rather than clipping into the floor. Leave Rotation at default unless the glyph is directional, and leave Scale at (1, 1, 1) to start.
6. Set 'Auto Destroy' to true so the one-shot glyph cleans itself up after it finishes. If instead you want it to linger and switch off when the player leaves, set Auto Destroy to false, promote the returned component to a variable, add an 'On Component End Overlap' event, and call 'Deactivate' on the stored component there.
7. Place the Blueprint in the level, assign a glyph in its Details panel, and play. Walking into the box spawns the chosen glyph above it. Because these systems read colour, sprite size and spawn rate from their theme's Niagara Parameter Collection, editing that NPC restyles the whole writing system at once without re-touching this Blueprint.
One rendering caveat to remember: the glow on these systems comes from HDR sprite colour driving the engine's bloom post-process. If your spawned glyph looks flat, confirm bloom is enabled in your post-process settings rather than assuming the spawn failed.
Spawn System at Location vs Spawn System Attached
| Aspect | Spawn System at Location | Spawn System Attached |
|---|---|---|
| Placement | Absolute world transform | Relative to a component / socket |
| Follows movement | No, stays where spawned | Yes, tracks the parent component |
| Key inputs | Location, Rotation, Scale | Attach component, socket name, location type |
| Best for | One-shot world effects, impacts, reveals | Trails, hand/weapon effects, effects on moving actors |
Both nodes return a Niagara Component and take an NS_ system as input. The difference is what they bind to.
FAQ
How do I spawn a Niagara system from Blueprint in UE5?
Use the 'Spawn System at Location' node for a fixed world position or 'Spawn System Attached' to bind the effect to a moving component. Feed the node an NS_ Niagara System asset, set the transform, and choose whether Auto Destroy cleans the component up when the effect finishes.
What is the difference between Spawn System at Location and Spawn System Attached?
'Spawn System at Location' places the effect at an absolute world transform and leaves it there. 'Spawn System Attached' parents the effect to a component and an optional socket so it follows that component as it moves. Use the attached node for trails and hand effects, and the location node for one-shot impacts and reveals.
When should I turn Auto Destroy off?
Turn Auto Destroy off whenever you need to keep talking to the component after spawn: to deactivate and reactivate it later, or to drive its parameters over time. Promote the returned Niagara Component to a variable so you can call Activate, Deactivate or parameter setters on it. For pure one-shot bursts, leave Auto Destroy on so the component cleans itself up.
Can I spawn the glyph systems in this bundle the same way?
Yes. Every glyph ships as an individual NS_ Niagara System that is independently spawnable, so any of the 687 systems can be the System input on either spawn node. They are CPU-simulated and use engine-default materials, and the glow relies on HDR sprite colour, so keep bloom enabled in your post-process settings.
How do I make a placed Niagara effect start only when triggered?
Set the placed system's Auto Activate to false in the Details panel so it stays dark on load, then call Activate on its Niagara Component from your trigger logic. Pass Reset = true to restart it cleanly from the first frame, and use Deactivate (for a fade) or Deactivate Immediate (for an instant stop) to switch it off.
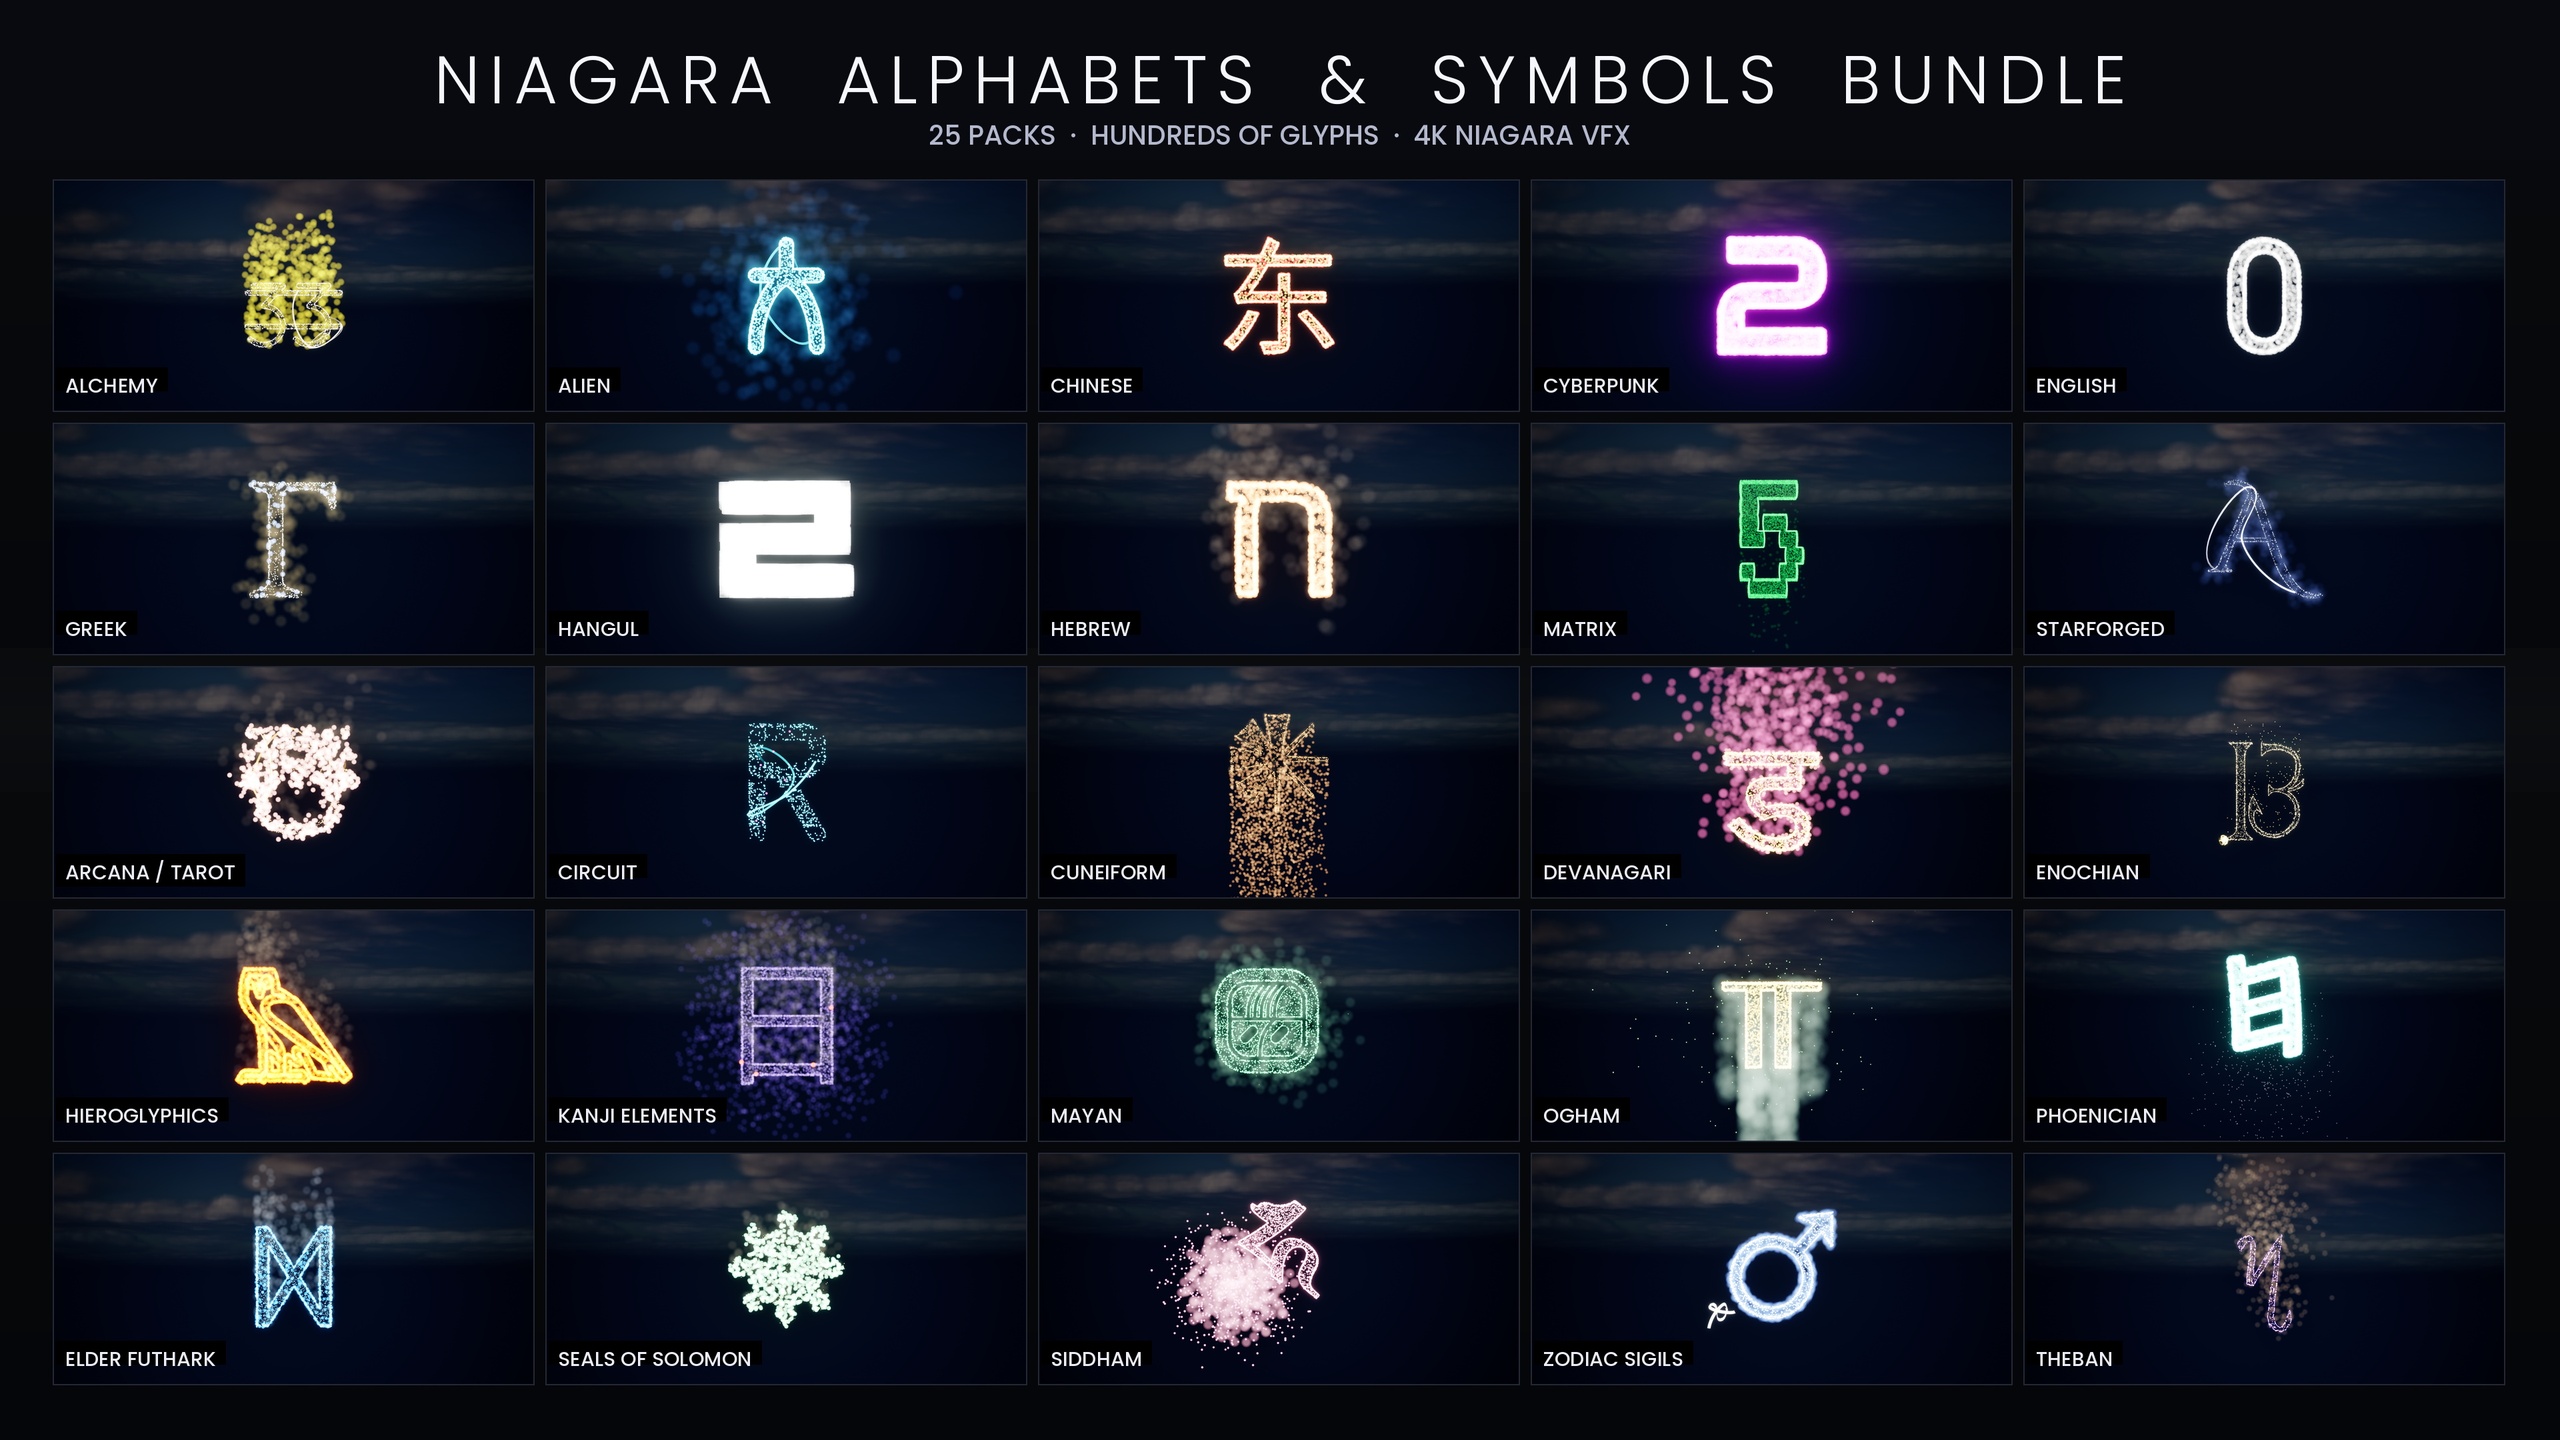
Niagara Alphabet & Symbols Bundle
The complete glyph VFX bundle — 687 Niagara systems built from 26 alphabets and symbol sets (Alchemy, Cyberpunk, Matrix, Hieroglyphics, Runes, Zodiac, Tarot and more), with per-theme Parameter Collections and two demo maps. All CPU-simulated for broad device support.