tutorial · 2026-01-18
How to Change Landscape Auto-Material Textures in UE5 to Your Own
Re-theme a Fantasy Landscape Pack terrain from starter-content placeholders to your own fantasy art, layer by layer, inside the Material Instance.
Why the demo terrain looks generic out of the box
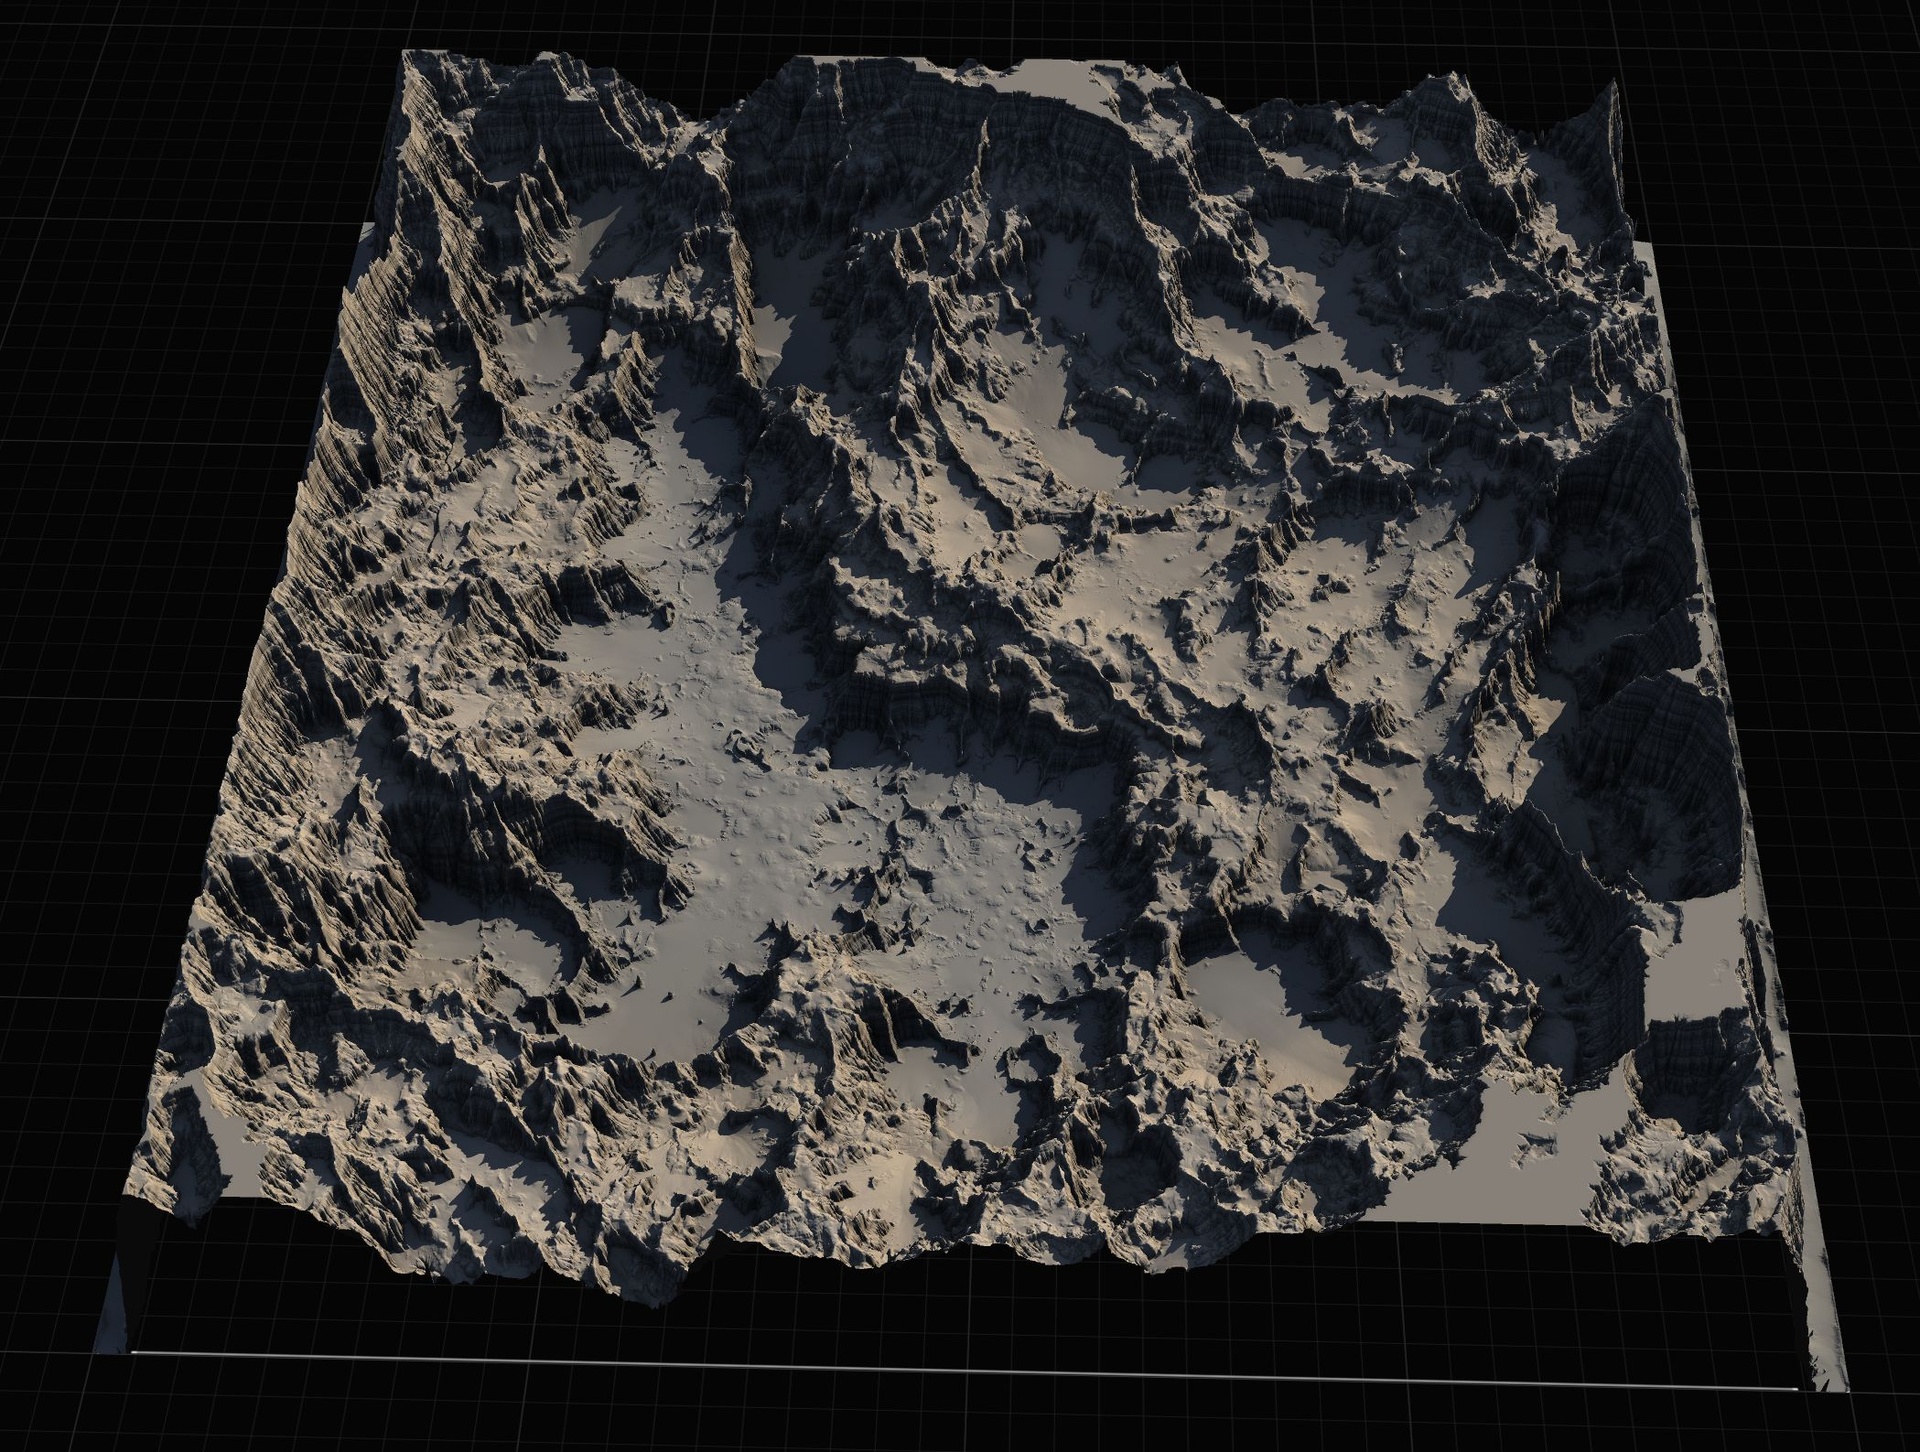
You imported a heightmap from the Fantasy Landscape Pack, applied the included AutoMaterial, painted by height, and got an instantly textured terrain. It works, but it does not look like your game. That is by design. The demo levels in this pack reference Unreal's starter-content textures as placeholders, and they are meant to be swapped for your own art. The AutoMaterial gives you the auto-painting logic for free; the textures are the part you bring.
This tutorial walks through how to change the landscape auto material textures in Unreal to your own textures, one named layer at a time. You are not rebuilding the material graph or learning a node editor. Everything you need lives in the Material Instance: each height and slope layer takes a base colour texture and a normal map, and you replace them in the details panel. We will also tune the height and slope thresholds so your textures land where you want them, and finish with the five custom layers reserved for hand-painting.
The same workflow applies across the MythicLemon landscape line because every pack ships the same height/slope AutoMaterial. Learn it once here on a Fantasy Landscape Pack map and you can re-theme any of them the same way.
Finding the Material Instance to edit
The first rule of re-theming is to never edit the parent material graph. You edit the Material Instance, where every texture and threshold is exposed as a parameter. This keeps your changes isolated and lets you reset cleanly if you go too far.
1. Import your chosen grayscale heightmap as a landscape first. In the 'Landscape' panel, go to the 'Manage' tab and use 'create from file', picking the resolution you want: 512, 1K, 2K or 4K for the regular maps, or 8K for the huge open-world maps.
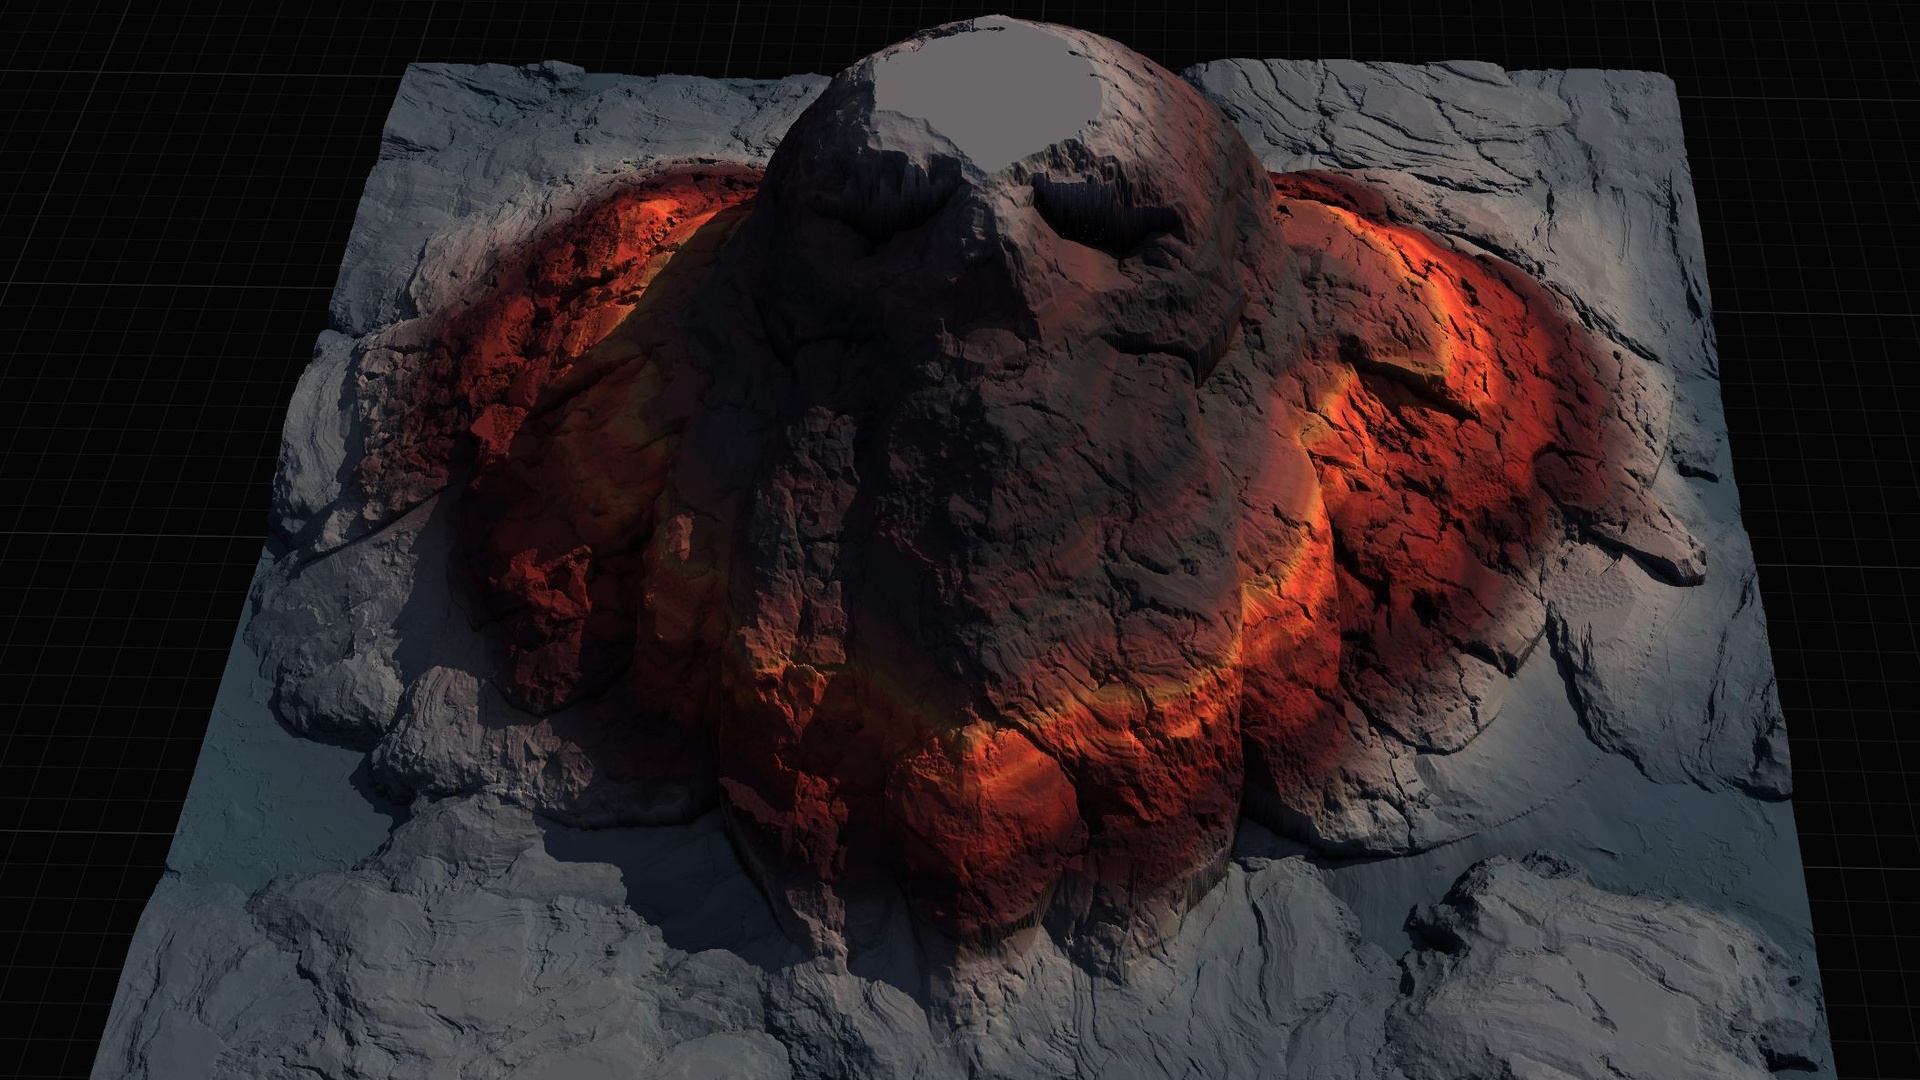
2. Assign the included AutoMaterial to the landscape's material slot. Expect the landscape to appear black at this point. That is normal and expected, not a broken import.
3. Open the 'Paint' tab, choose 'Create Layers from Assigned Material' to extract the target layers, then right-click the base layer and choose 'Fill Layer'. The terrain now paints itself by height and slope, using the placeholder textures.
4. In the 'Content Browser', locate the Material Instance applied to the landscape. Double-click it to open the instance editor. This is the single panel where the rest of this tutorial happens. Do not open the parent material; tick the override checkboxes in the instance instead.
Swapping base colour and normal per layer
The AutoMaterial is organised into named default layers that each correspond to a band of the terrain, such as the high snow caps, the steep cliffs, the mid-elevation slopes and the low ground. Every one of those layers exposes two texture parameters you care about: a base colour and a normal map. Re-theming is the act of pointing those two parameters at your own textures instead of the starter-content placeholders.
1. In the Material Instance, expand the parameter group for the layer you want to change first. Start with the most visible one, usually the base ground layer that covers the largest area.
2. Tick the override checkbox next to the base colour texture parameter, then assign your own tiling base colour texture from the dropdown or by dragging it in from the 'Content Browser'.
3. Tick the override checkbox next to that layer's normal map parameter and assign your matching normal map. Keeping the base colour and normal as a matched pair is what sells the surface; a mismatched normal reads as flat or noisy.
4. Repeat per layer. Work top to bottom through the elevation bands so you can judge how neighbouring surfaces meet. Theme each one deliberately: a mossy emerald ground for an enchanted forest, dark volcanic basalt for a cliff, ashen grey snow for a cursed peak.
Because you are only swapping textures, the auto-painting behaviour is untouched. Your new fantasy surfaces appear exactly where the placeholder ones did, driven by the same height and slope rules.
Tuning the height and slope thresholds
Swapping textures gets you the right look; tuning the thresholds gets you the right placement. The AutoMaterial auto-paints by configurable height and incline rules, so once your textures are in you will usually want to adjust where each band begins and how hard it blends into the next.
Height controls decide elevation. If your snow texture is creeping too far down a mountain, raise the height value that gates the snow layer so it only appears near the summit. If your low ground is not reaching far enough up gentle hills, lower the threshold for the layer above it. Small moves matter here, so change one value, let the landscape refresh, and judge before moving on.
Slope or incline controls decide steepness. The cliff layer is typically driven by slope rather than height, so it shows on steep faces regardless of elevation. If your rock texture is appearing on ground that should read as walkable, increase the slope angle the cliff layer requires. If sheer faces are still wearing grass, loosen it the other way.
Treat the blend or transition width as your softening dial. A wider transition feathers two surfaces together for a natural meadow-to-cliff handover; a narrower one gives a crisp shoreline or snow line. After every change, save the Material Instance and look at the landscape in the viewport rather than trusting the thumbnail, because lighting and tiling scale only read true in the level.
Using the five custom layers for hand-painting
The height and slope automation covers the broad strokes, but a believable fantasy world needs intentional touches the rules cannot guess: a worn dirt path winding to a shrine, a scorched ring where a dragon landed, a patch of bloom around a ruin. That is what the five custom layers are for. They are reserved for painting your own textures by hand and are not applied automatically.
1. After assigning textures to a custom layer's base colour and normal parameters in the Material Instance, open the 'Paint' tab in the Landscape tool.
2. Select the custom layer as your active paint target. Unlike the default layers, you do not fill it; you brush it on exactly where you want it.
3. Set your brush size, falloff and strength, then paint directly onto the terrain. Build up trails, clearings, burnt ground or magical overgrowth on top of the auto-painted base.
4. Use the remaining custom layers for additional hand-placed surfaces. Five gives you room for a path, two accent ground types, and a couple of story-specific effects without crowding the automatic bands.
Hand-painting on top is what turns a procedurally textured terrain into a designed level. The automation handles the kilometres of mountainside; the custom layers handle the few square metres a player will actually remember.
Where to go from here
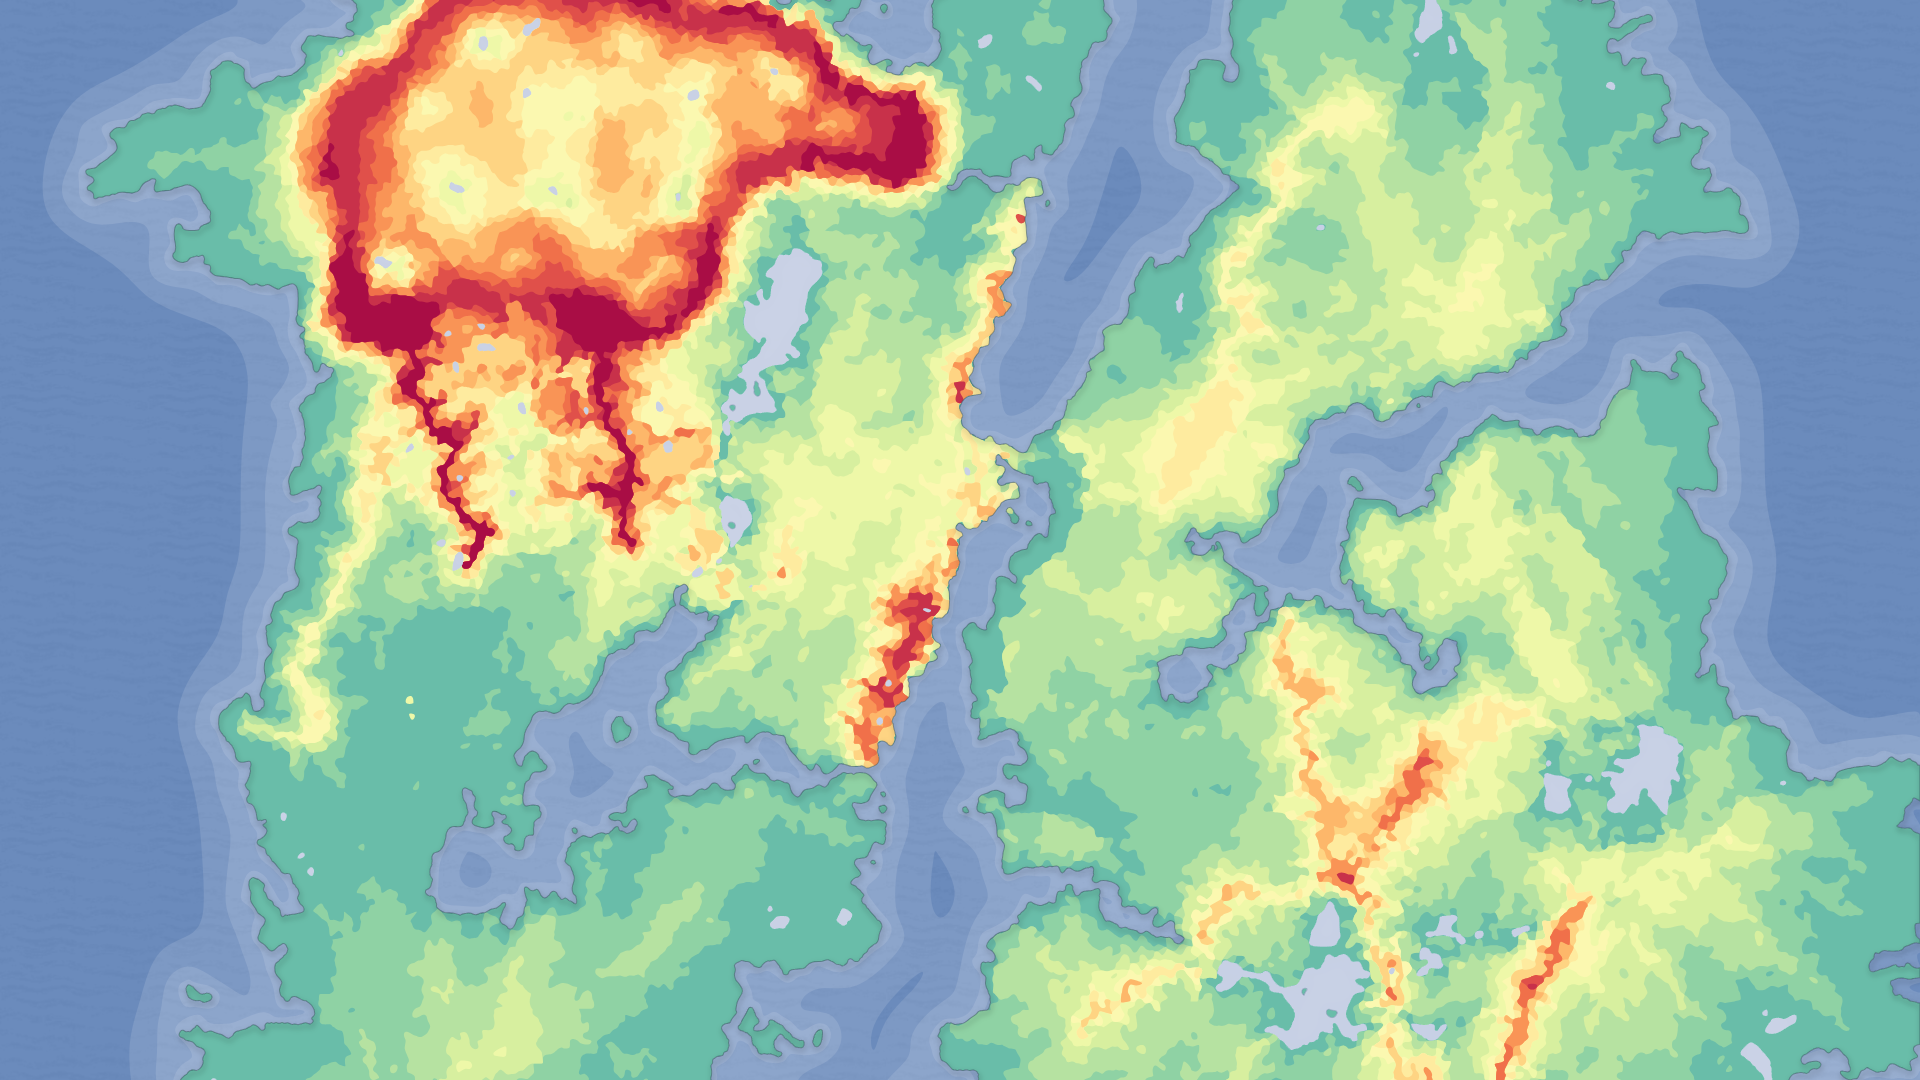
Once one map is re-themed, the textures and threshold values you settled on carry across the rest of the pack. The Fantasy Landscape Pack ships fifteen maps spanning multiple biomes, so you can apply the same themed Material Instance to an isolated island, a mountain pass or a canyon and get a consistent art style across very different terrain shapes.
It also helps to open the included demo project to see each map already textured, lit and with oceans added where appropriate. The demo is your reference for how the layers were intended to sit before you swapped them, and a quick way to sanity-check your own threshold tuning against the original. If you need to change the terrain shape itself rather than just its textures, the included Gaea source files let you re-edit any landscape and re-import the grayscale heightmap.
From there, the same theming workflow scales straight into the wider MythicLemon landscape line, so the next biome or the next world is just another Material Instance away.
FAQ
How do I change the landscape auto material textures in Unreal to my own textures?
Open the Material Instance applied to the landscape, not the parent material. Each named height/slope layer exposes a base colour and a normal map parameter. Tick the override checkbox on each, assign your own tiling textures, and the AutoMaterial will auto-paint your surfaces in place of the starter-content placeholders. Then tune the height and slope thresholds per layer to control where each texture appears.
Why is my landscape black after I apply the AutoMaterial?
That is expected, not a bug. Apply the AutoMaterial, then open the Paint tab, choose Create Layers from Assigned Material, and use Fill Layer on the base layer. The terrain then paints itself by height and slope and the black goes away.
Do I have to edit the material graph to re-theme the terrain?
No. Everything needed for re-theming is exposed in the Material Instance as parameters: per-layer base colour, per-layer normal map, and the height and slope thresholds. Edit the instance and leave the parent material graph untouched so your changes stay isolated and reversible.
What are the five custom layers for?
They are reserved for hand-painting your own textures and are not applied automatically. After assigning textures to a custom layer in the Material Instance, select it in the Paint tab and brush it onto the terrain wherever you want, for example a dirt path, a burnt ring or magical overgrowth on top of the auto-painted base.
Will this workflow work on the other MythicLemon landscape packs?
Yes. Every pack in the line ships the same height/slope AutoMaterial with the same named default layers and five custom layers, so the swap-textures-and-tune-thresholds workflow is identical across the Fantasy Landscape Pack, Mythic Relic Landscape Pack and Massive Open World Landscape Pack.
Fantasy Landscape Pack
A collection of diverse fantasy heightmap landscapes across multiple biomes — drop-in terrains for RPGs and open worlds, ready to dress and play.