tutorial · 2026-04-05
Trigger a Torch-Lit Hieroglyph Reveal in UE5 (Step by Step)
Build the classic tomb moment: glyphs that ignite on the wall the instant the player's torch comes near.
The effect you're building
You want the moment every tomb level lives or dies on: the player edges down a dark passage, the torch swings round, and a line of hieroglyphs flares to life on the wall as the light reaches them. It is the single most requested Unreal Engine reveal effect when player approaches geometry, and most attempts get it wrong by faking it with a material that is either always on or snaps on like a switch.
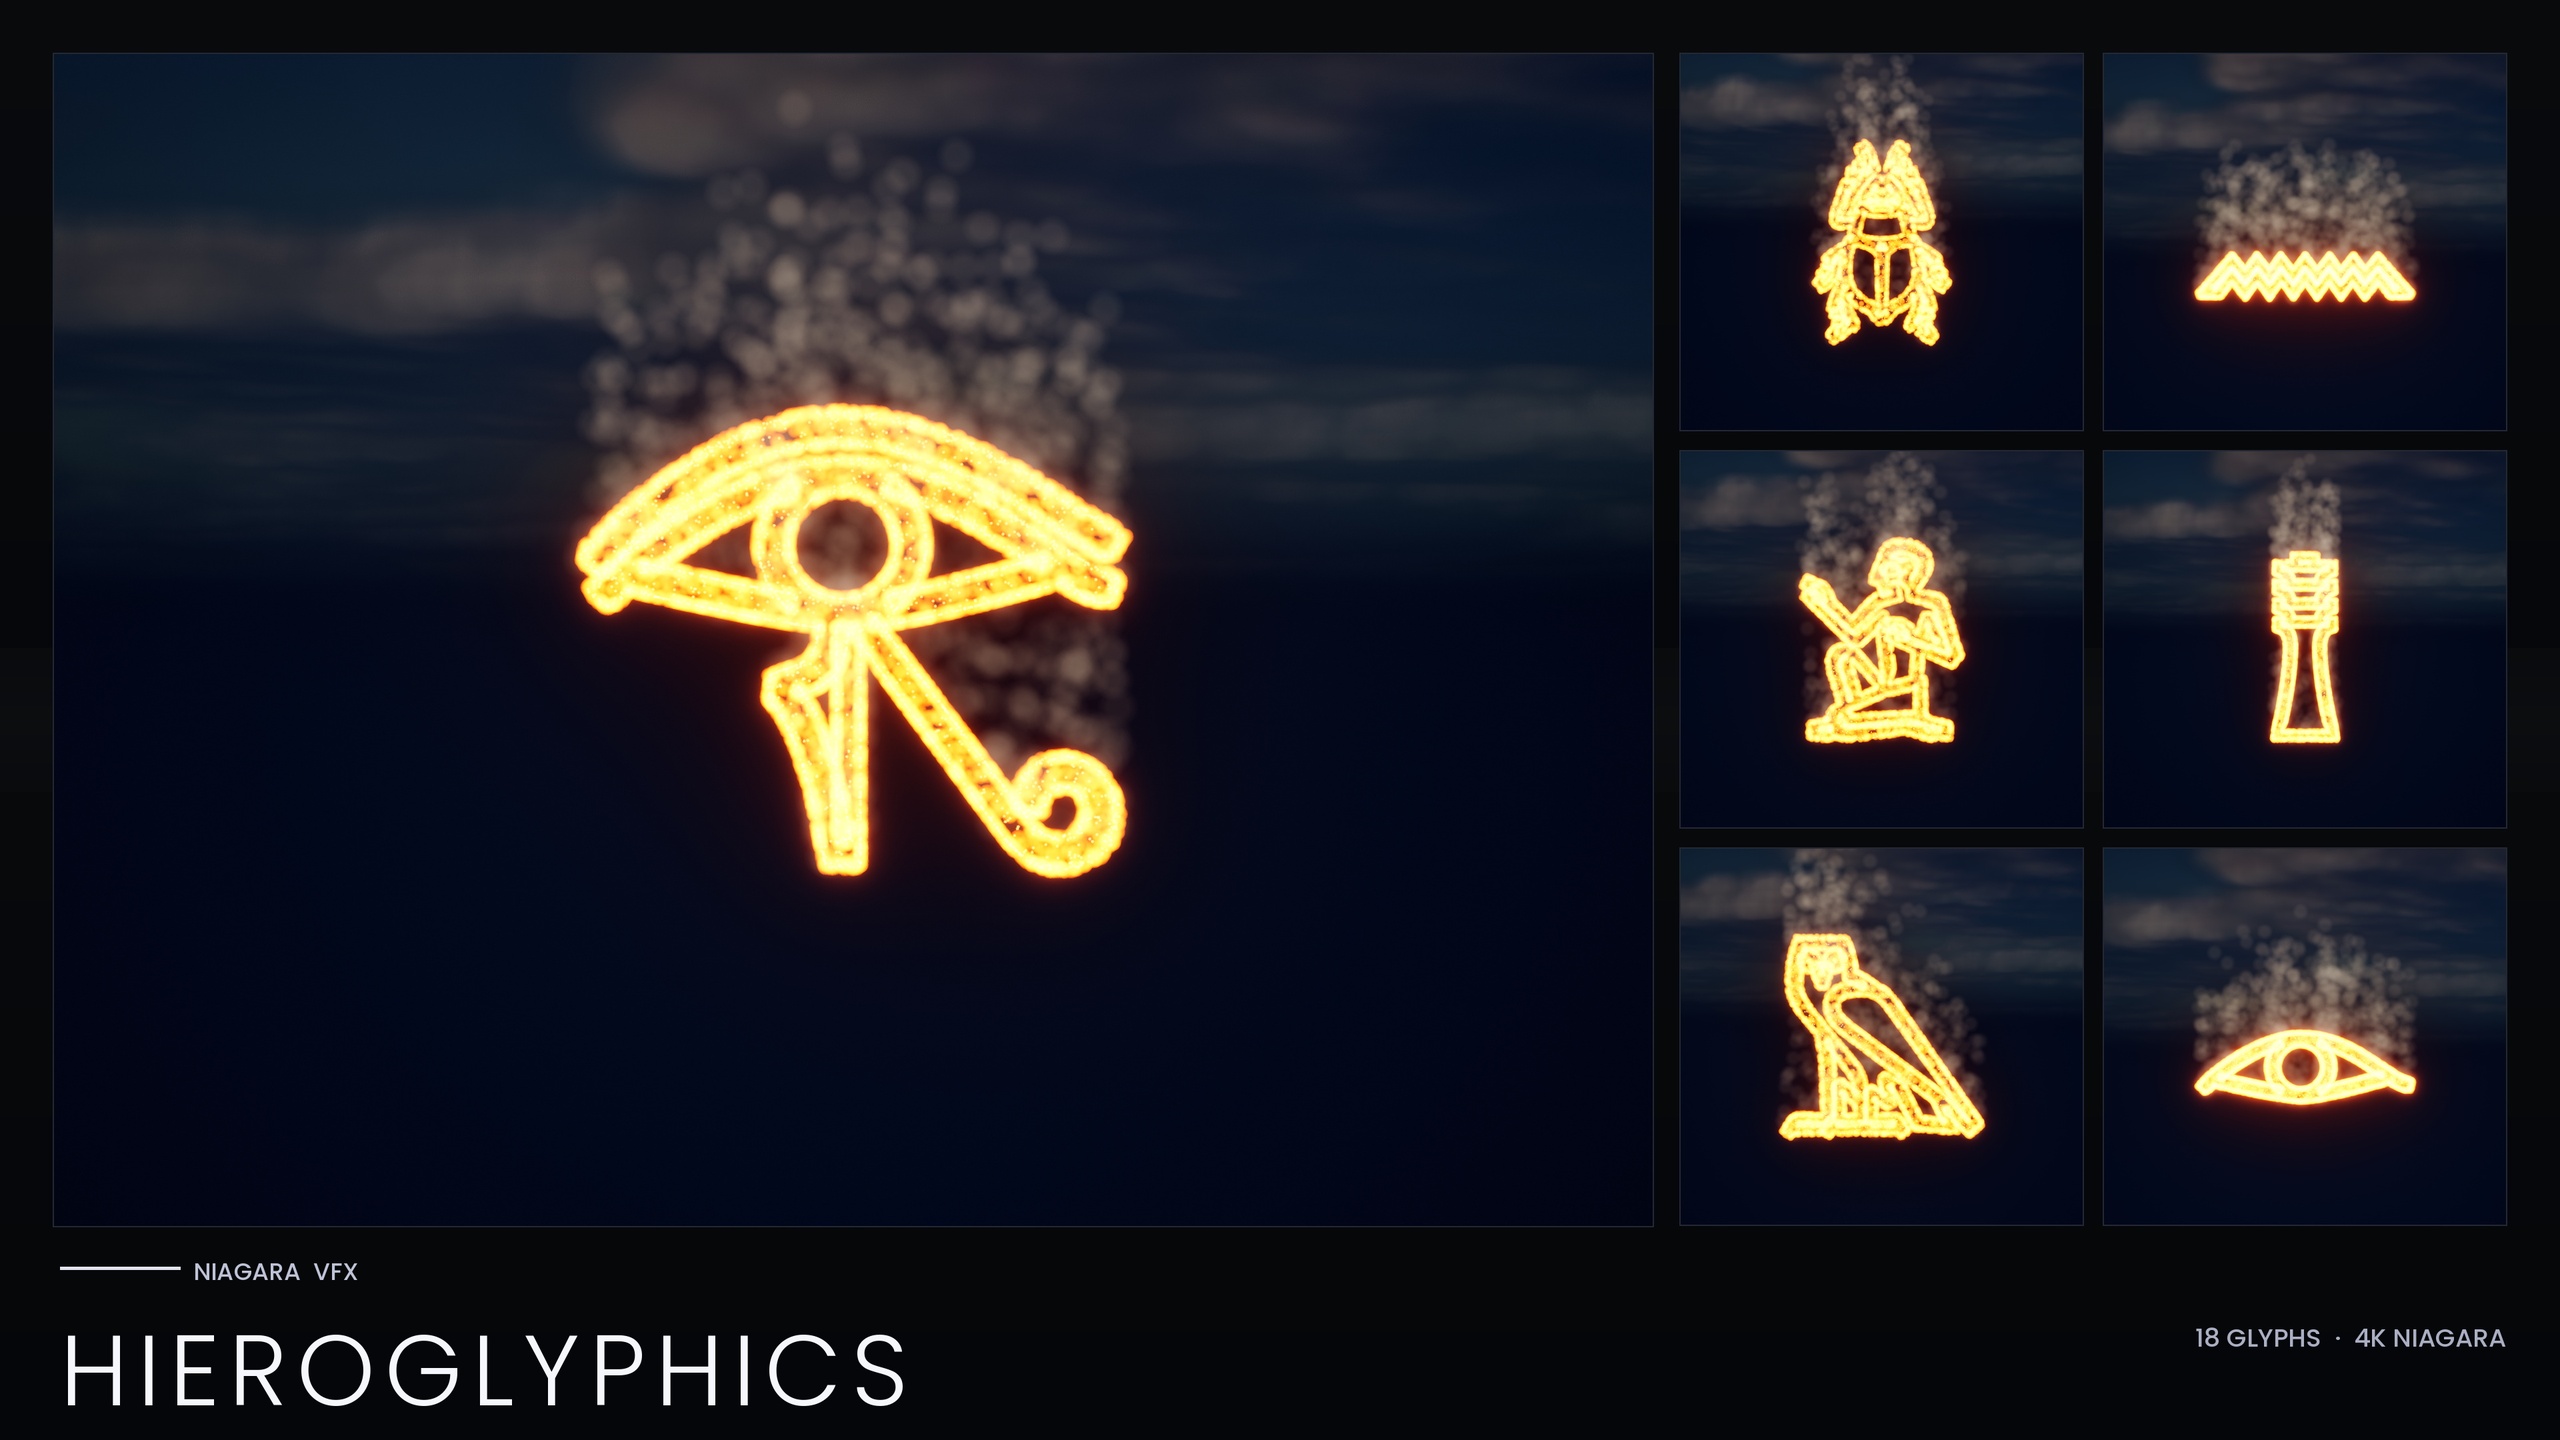
This guide does it properly. The glyphs stay dormant until the player crosses a trigger, then fade in over a second or two, and their glow tracks the torch so the inscription feels lit rather than self-illuminated. We build it with the Niagara Hieroglyphics Pack, which ships 18 Egyptian hieroglyph Niagara systems and 18 matching static meshes, each one an independently spawnable CPU system. That independence is the whole trick: because every glyph is its own system, you can place, time and brighten them individually instead of wrestling one monolithic effect.
You'll need a UE5 project with the content pack imported and bloom enabled in your post-process settings. The glow in this pack comes from HDR sprite colour driving the engine's bloom, so with bloom off the glyphs will look flat and dull. Open the pack's included demo map first to see all 18 hieroglyphs lit and arranged before you start carving up your own scene.
Step 1 - Place the hieroglyph systems on the wall
Each hieroglyph in the pack is a Niagara system named NS_hieroglyph_glyph_X<hex>, where the hex is the Unicode code point of that glyph. Decide which glyphs spell your inscription, then drag the corresponding NS_ systems from the Content Browser onto the wall, one per character.
1. In the Content Browser, locate the NS_hieroglyph_glyph_ systems and drag the ones you want into the level, positioning each against the wall surface where the carving should appear.
2. Rotate each system so its emitters face out from the wall toward the player. The three emitters that make up every glyph - 'EmberCore', 'EmberGlow' and 'Smoke' - sample the glyph mesh, so the orientation of the system determines which way the embers and the slow dust column read.
3. If you want a physically carved look behind the particles, also place the matching static mesh, named SM_Glyph_NotoSansEgyptianHieroglyphs_Regular_X<hex>, into the wall and light it with an emissive material. The pack ships every glyph as both a spawnable system and a static mesh precisely so you can combine a real carved cartouche with the live particle glow.
4. Select all the glyph systems you just placed and group them, or parent them under a single empty actor. You'll reference this group from the trigger Blueprint in the next step so the whole inscription activates together.
Step 2 - Activate the systems from a trigger volume
The reveal needs the glyphs to start switched off and ignite only when the player arrives. The cleanest way to do that is an overlap volume that deactivates the systems on begin play and reactivates them when the player steps in.
1. Drag a 'Box Trigger' (or a 'Trigger Volume') into the level and size it to cover the floor area in front of the inscription - the spot where the player's torch would first reach the wall.
2. Open the Level Blueprint, or a small dedicated Blueprint actor, and add a reference to each hieroglyph Niagara component (or to the parent actor you grouped them under in Step 1).
3. On 'Event BeginPlay', call 'Deactivate' on each Niagara component so the wall starts dark and silent. This is what makes it a reveal rather than an effect that is simply always running.
4. Select your trigger in the level, then in the Level Blueprint add the 'On Component Begin Overlap' event for it. From that event, branch on whether the overlapping actor is your player pawn or character so a stray physics object can't fire the reveal.
5. When the player is confirmed, call 'Activate' on each glyph's Niagara component. The systems begin spawning immediately. If you want the inscription to read left to right as the torch sweeps across it, add a short 'Delay' between successive 'Activate' calls so the glyphs light in sequence.
Step 3 - Fade in with spawn rate and lifetime
A hard on-switch looks cheap. What sells the reveal is the glyphs blooming up from nothing over a second or two, as if the heat is spreading through the carving. Because the pack drives its look through a Niagara Parameter Collection, you can ramp this fade without editing each of the 18 systems by hand.
The set reads its style from NPC_HieroglyphicsStyle, a single Niagara Parameter Collection exposing eight parameters: the ember, glow and smoke colours, their sizes, and the spawn rates. Editing this one asset retunes all 18 glyphs at once - this is the parameter you reach for whenever you want a global change rather than a per-glyph tweak.
1. To make the inscription fade in, start the relevant spawn rate parameter on NPC_HieroglyphicsStyle low (or at zero) and interpolate it up to its full value over your chosen fade time after the trigger fires. Driving the collection parameter from Blueprint with a timeline gives you a smooth ramp across the whole inscription in one move.
2. Pair the rising spawn rate with the emitters' natural particle lifetime so that as more embers spawn, the glyph visibly fills in rather than popping to full density. The 'Smoke' emitter helps here: it uses an in-cone 'Add Velocity' of roughly four centimetres per second with a little 'Gravity Force' and 'Drag' to waft a thin dust column upward, so the carving keeps breathing even once it is fully lit.
3. If a particular glyph needs to behave differently - say the final cartouche should linger brighter - pin that one glyph's colour or rate with a per-glyph override on its own system instead of changing the shared collection. The collection sets the house style; per-system overrides handle the exceptions.
Step 4 - Tie the brightness to the torch light
The last touch is what makes the effect feel diegetic: the closer and brighter the torch, the hotter the glyphs glow. You drive this by measuring the relationship between the torch and the wall each frame and feeding it into the colour parameters.
1. On your torch actor (the one carrying the 'Point Light' or 'Spot Light'), get the distance from the torch to the inscription each tick, or sample the light's current intensity if your torch flickers.
2. Map that distance or intensity into a 0-to-1 range with a clamp, so a far-off torch gives near zero and a torch right at the wall gives one. A 'MapRangeClamped' node is the simplest way to do this.
3. Multiply the EmberCoreColor and EmberGlowColor values on NPC_HieroglyphicsStyle by that factor and set them back on the collection. Because these are HDR colours and the glow comes from HDR colour driving bloom, scaling them above and below 1.0 makes the glyphs visibly flare and dim with the torch.
4. Keep bloom enabled in your post-process volume throughout. The entire glow of this pack depends on HDR colour pushing into bloom; without it the brightness link will barely register. Note also that NPC_HieroglyphicsStyle must exist at import for the linked parameters to resolve, so don't strip it from the pack.
Scaling up and where to go next
With the four steps above you have a complete, retunable tomb reveal: glyphs that stay dark until the player arrives, fade in believably, and brighten with the torch. Everything is CPU-simulated and uses Unreal's default materials with zero custom textures, so the footprint stays small and the look is driven almost entirely by colour and motion.
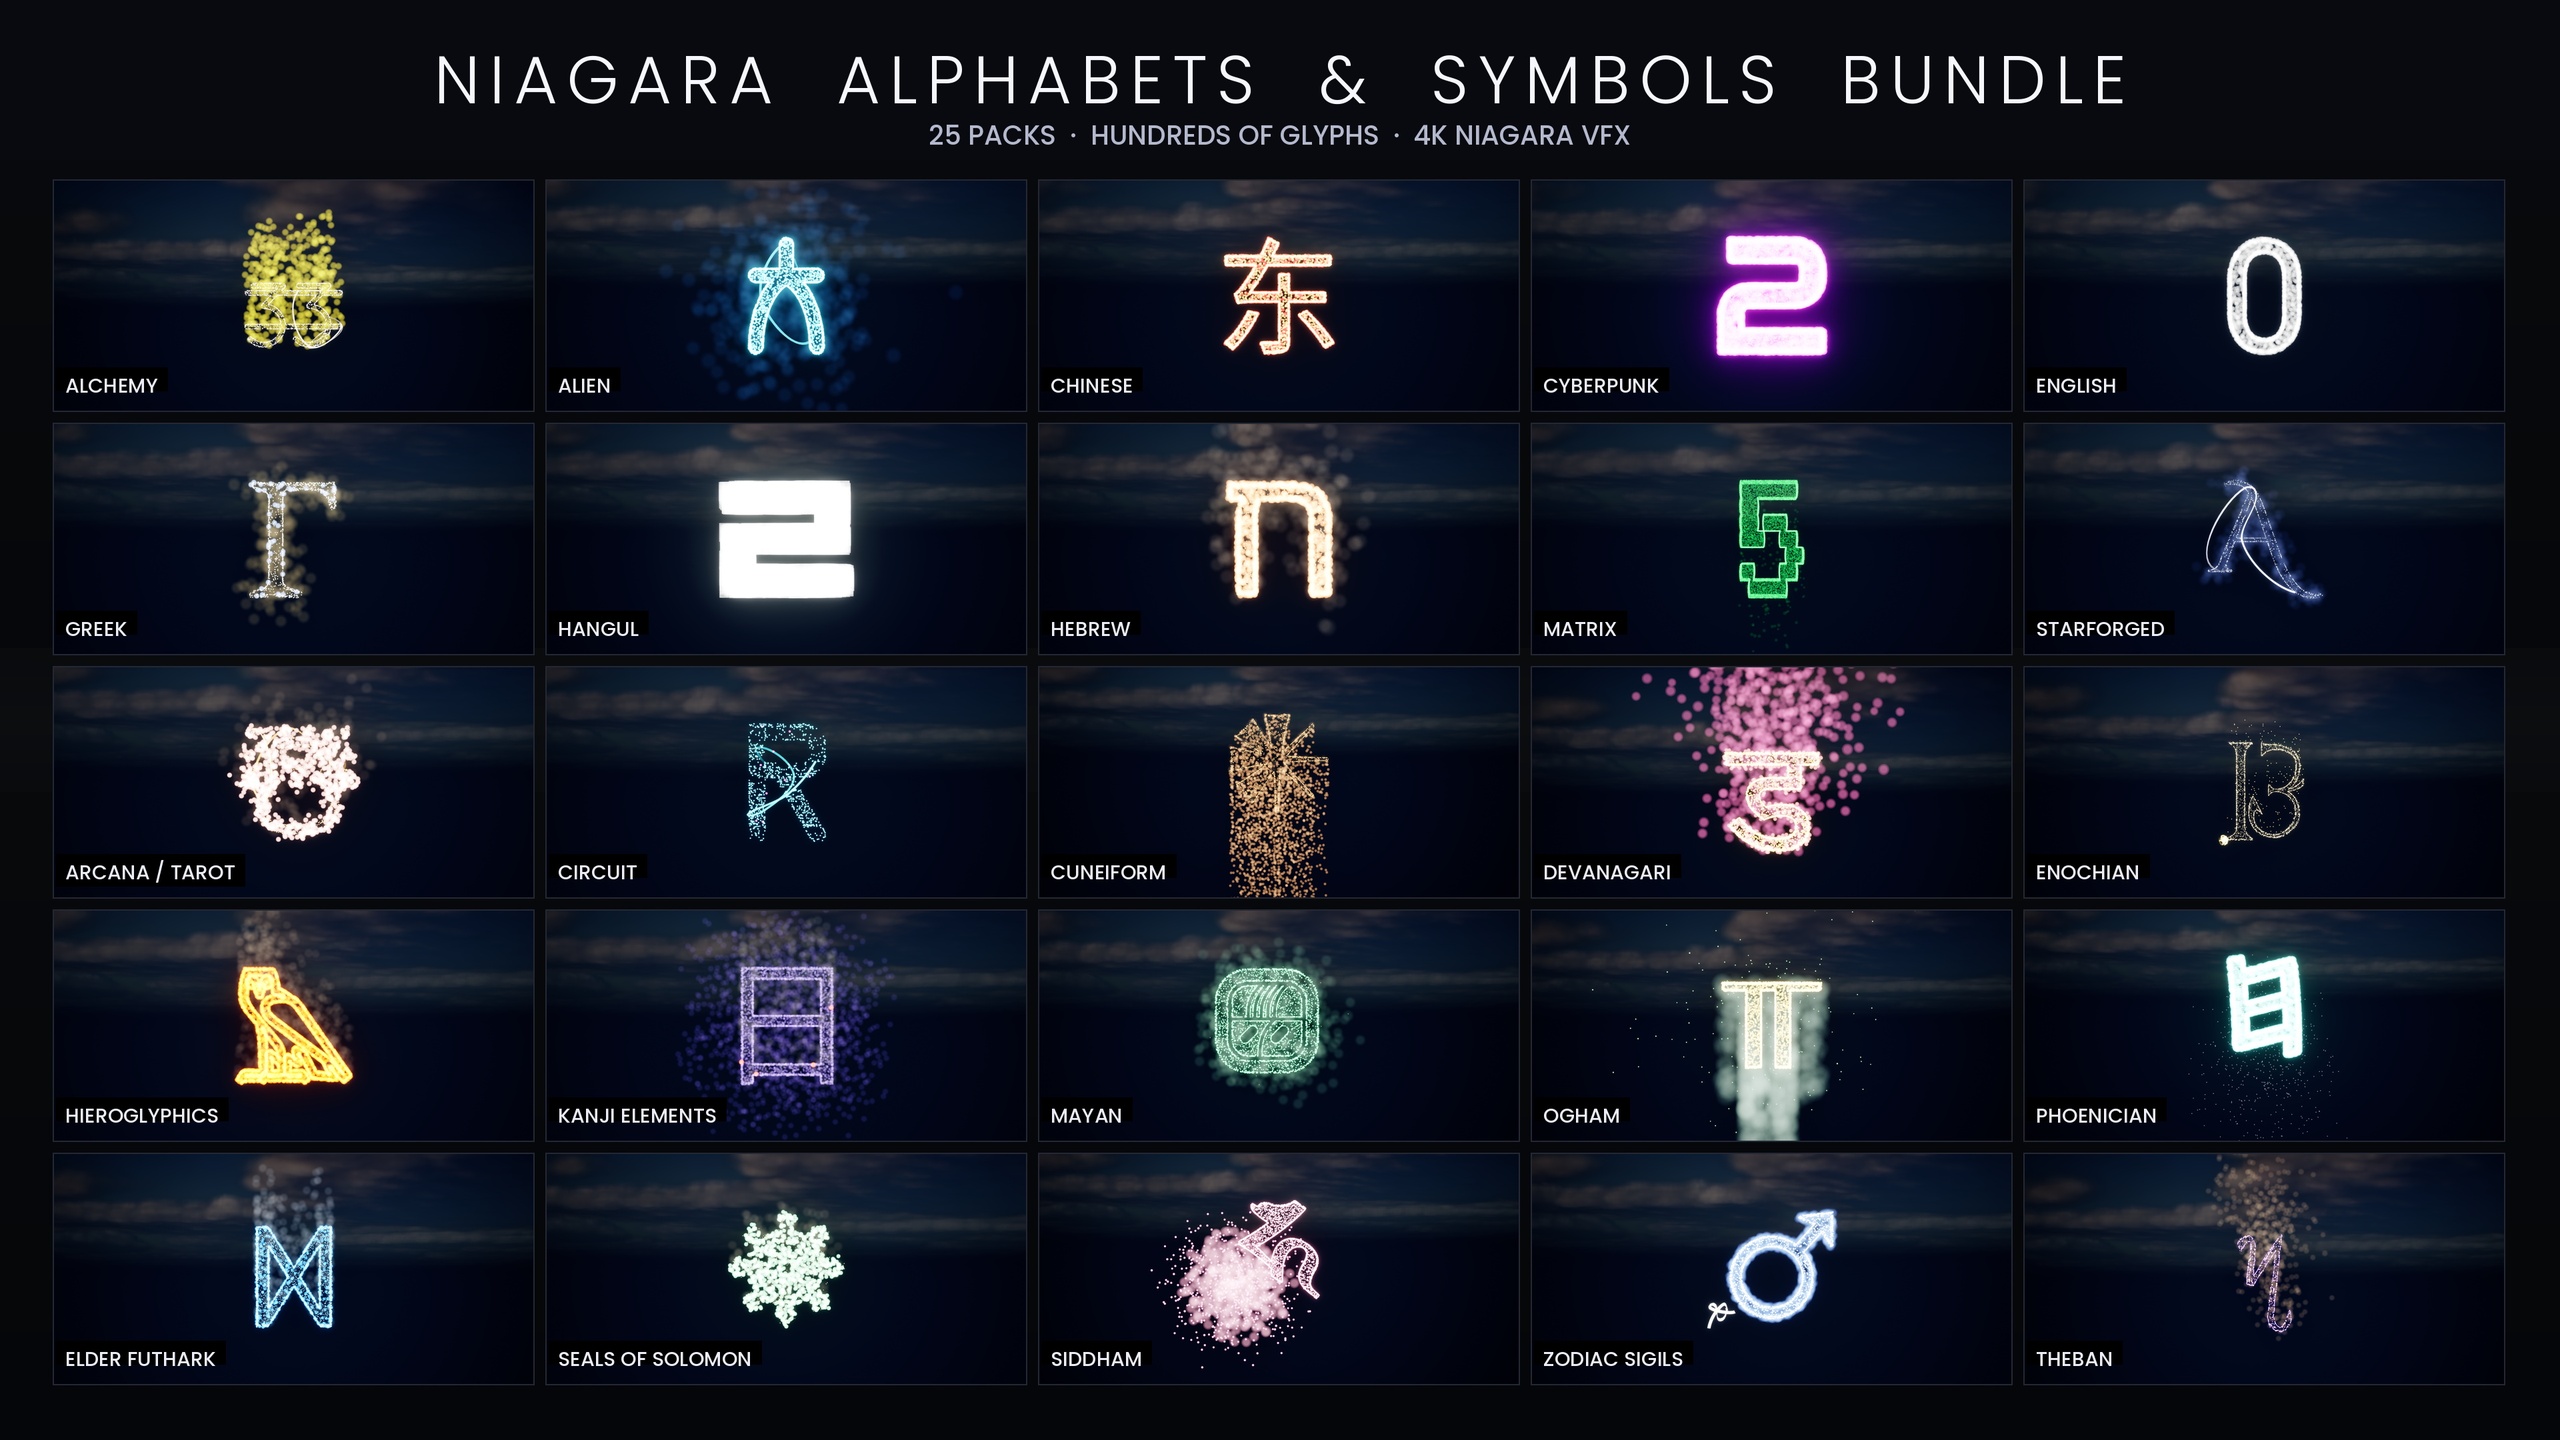
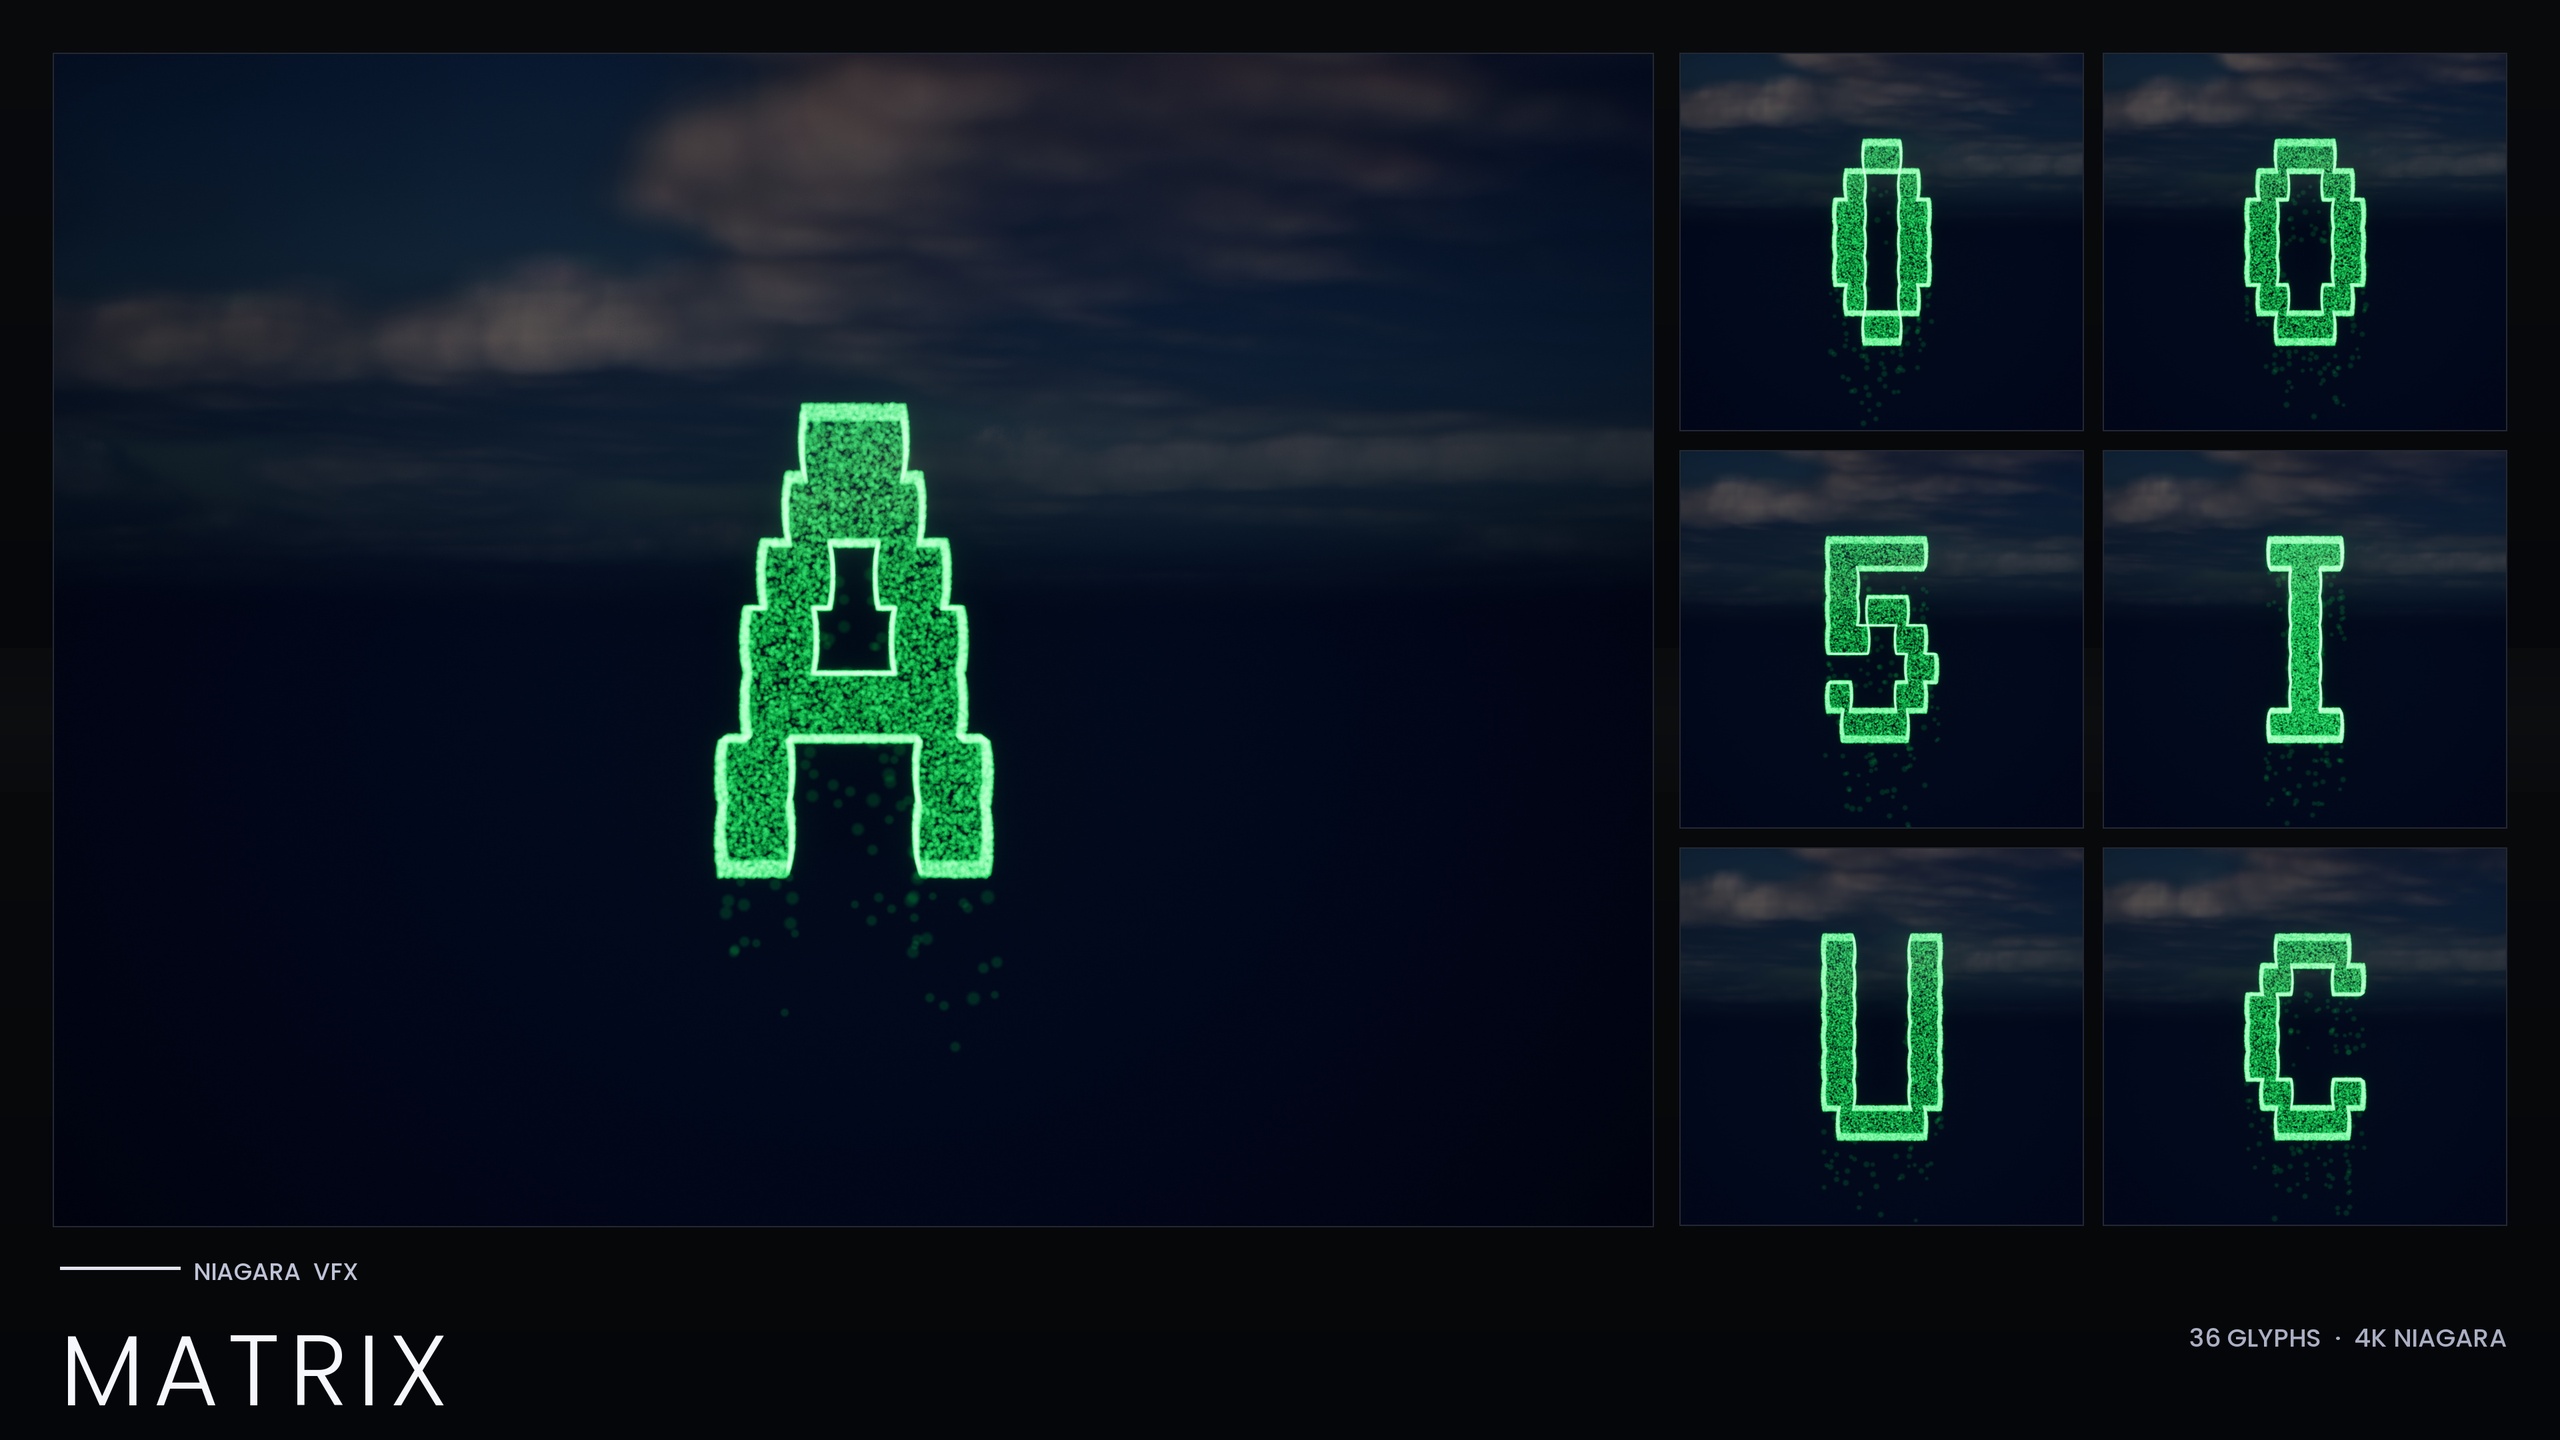
The Niagara Hieroglyphics Pack is the focused, 18-glyph entry point into a larger line and is also bundled into the broader products, so your trigger and torch logic carries straight over if you outgrow Egyptian glyphs. If you need other ancient scripts for the same kind of reveal - Cuneiform, Mayan, Ogham or Phoenician - the Niagara Ancient Scripts Pack covers all five writing systems with the same independently-spawnable, NPC-driven approach. For the entire glyph library across 25 themed sets, the Niagara Alphabet & Symbols Bundle is the superset. And if your project is a hacker terminal rather than a tomb, the Niagara Matrix Pack rebuilds this same reveal idea in falling code, though note it bakes its style as inline constants rather than a parameter collection, so you recolour it per system.
A good next step is to open the demo map again with your trigger logic in mind and rehearse the torch sweep: walk the player past the volume, watch the glyphs ramp, and tune the spawn-rate fade time and the torch distance clamp until the reveal lands exactly when the light reaches the wall.
Choosing a glyph pack for a torch reveal
| Pack | Systems | Coverage | Style control |
|---|---|---|---|
| Niagara Hieroglyphics Pack | 18 | Egyptian hieroglyphs | NPC_HieroglyphicsStyle (1 collection) |
| Niagara Ancient Scripts Pack | 114 | Egyptian, Cuneiform, Mayan, Ogham, Phoenician | Parameter Collection per script backbone |
| Niagara Alphabet & Symbols Bundle | 687 | 25 themed sets across 26 fonts | 4 Parameter Collections |
| Niagara Matrix Pack | 36 | Code-rain A-Z, 0-9 | Inline constants (no collection) |
All four are CPU-simulated, ship glyphs as both spawnable Niagara systems and static meshes, and list UE 5.4-5.7 in their product JSON. Counts are from each product's listing.
FAQ
How do I make an Unreal Engine reveal effect when the player approaches a wall?
Deactivate the glyph Niagara systems on Event BeginPlay, place a Box Trigger in front of the inscription, and on its On Component Begin Overlap event check that the overlapping actor is the player and then call Activate on each glyph component. Ramping the spawn rate up over a second or two turns the activation into a smooth reveal rather than a hard on-switch.
Do I have to edit all 18 glyphs to recolour or retime the inscription?
No. The pack drives all 18 glyphs from a single Niagara Parameter Collection, NPC_HieroglyphicsStyle, which exposes eight parameters covering the ember, glow and smoke colours, their sizes and the spawn rates. Editing that one asset retunes the whole set; for exceptions you can still pin an individual glyph with a per-glyph override on its own system.
Why do my hieroglyphs look flat instead of glowing?
The glow in this pack comes from HDR colour driving the engine's bloom. If bloom is disabled in your post-process settings the glyphs will look dull, so keep bloom enabled. Also make sure NPC_HieroglyphicsStyle is present at import, since the linked colour and spawn-rate parameters resolve through it.
How do I tie the glyph brightness to the torch?
Each tick, measure the distance from the torch to the inscription (or sample the light's intensity), map it into a 0-to-1 range with a MapRangeClamped node, and multiply the EmberCoreColor and EmberGlowColor on NPC_HieroglyphicsStyle by that factor. Because those are HDR colours feeding bloom, scaling them makes the glyphs flare as the torch nears and fade as it retreats.
Can I use the same setup for non-Egyptian scripts?
Yes. The trigger and torch logic is script-agnostic. For Cuneiform, Mayan, Ogham or Phoenician use the Niagara Ancient Scripts Pack; for the complete library across 25 themed sets use the Niagara Alphabet & Symbols Bundle. The Matrix Pack works too but recolours per system because it uses inline constants rather than a parameter collection.
Niagara Hieroglyphics Pack
Eighteen Egyptian hieroglyph Niagara systems for rituals, tombs and arcane UI — CPU-simulated, with a Parameter Collection and a demo map for instant preview.