article · 2026-02-14
Add a 'Record My Run' Video Feature to Your UE5 Game
Let players capture their gameplay to an MP4 with one button, using a runtime Blueprint capture API instead of telling them to open OBS.
Why players want a built-in capture button
Speedrunners, score-chasers and anyone who just pulled off something ridiculous all want the same thing: a clip of it. The usual answer is to tell them to install OBS, configure a scene, alt-tab, and hope they remembered to hit record before the moment happened. For a packaged game that is a terrible experience, and most players will never bother. If you want to let players record clips in game in Unreal Engine, the capture has to live inside your own UI, behind one button on the HUD or in the pause menu.
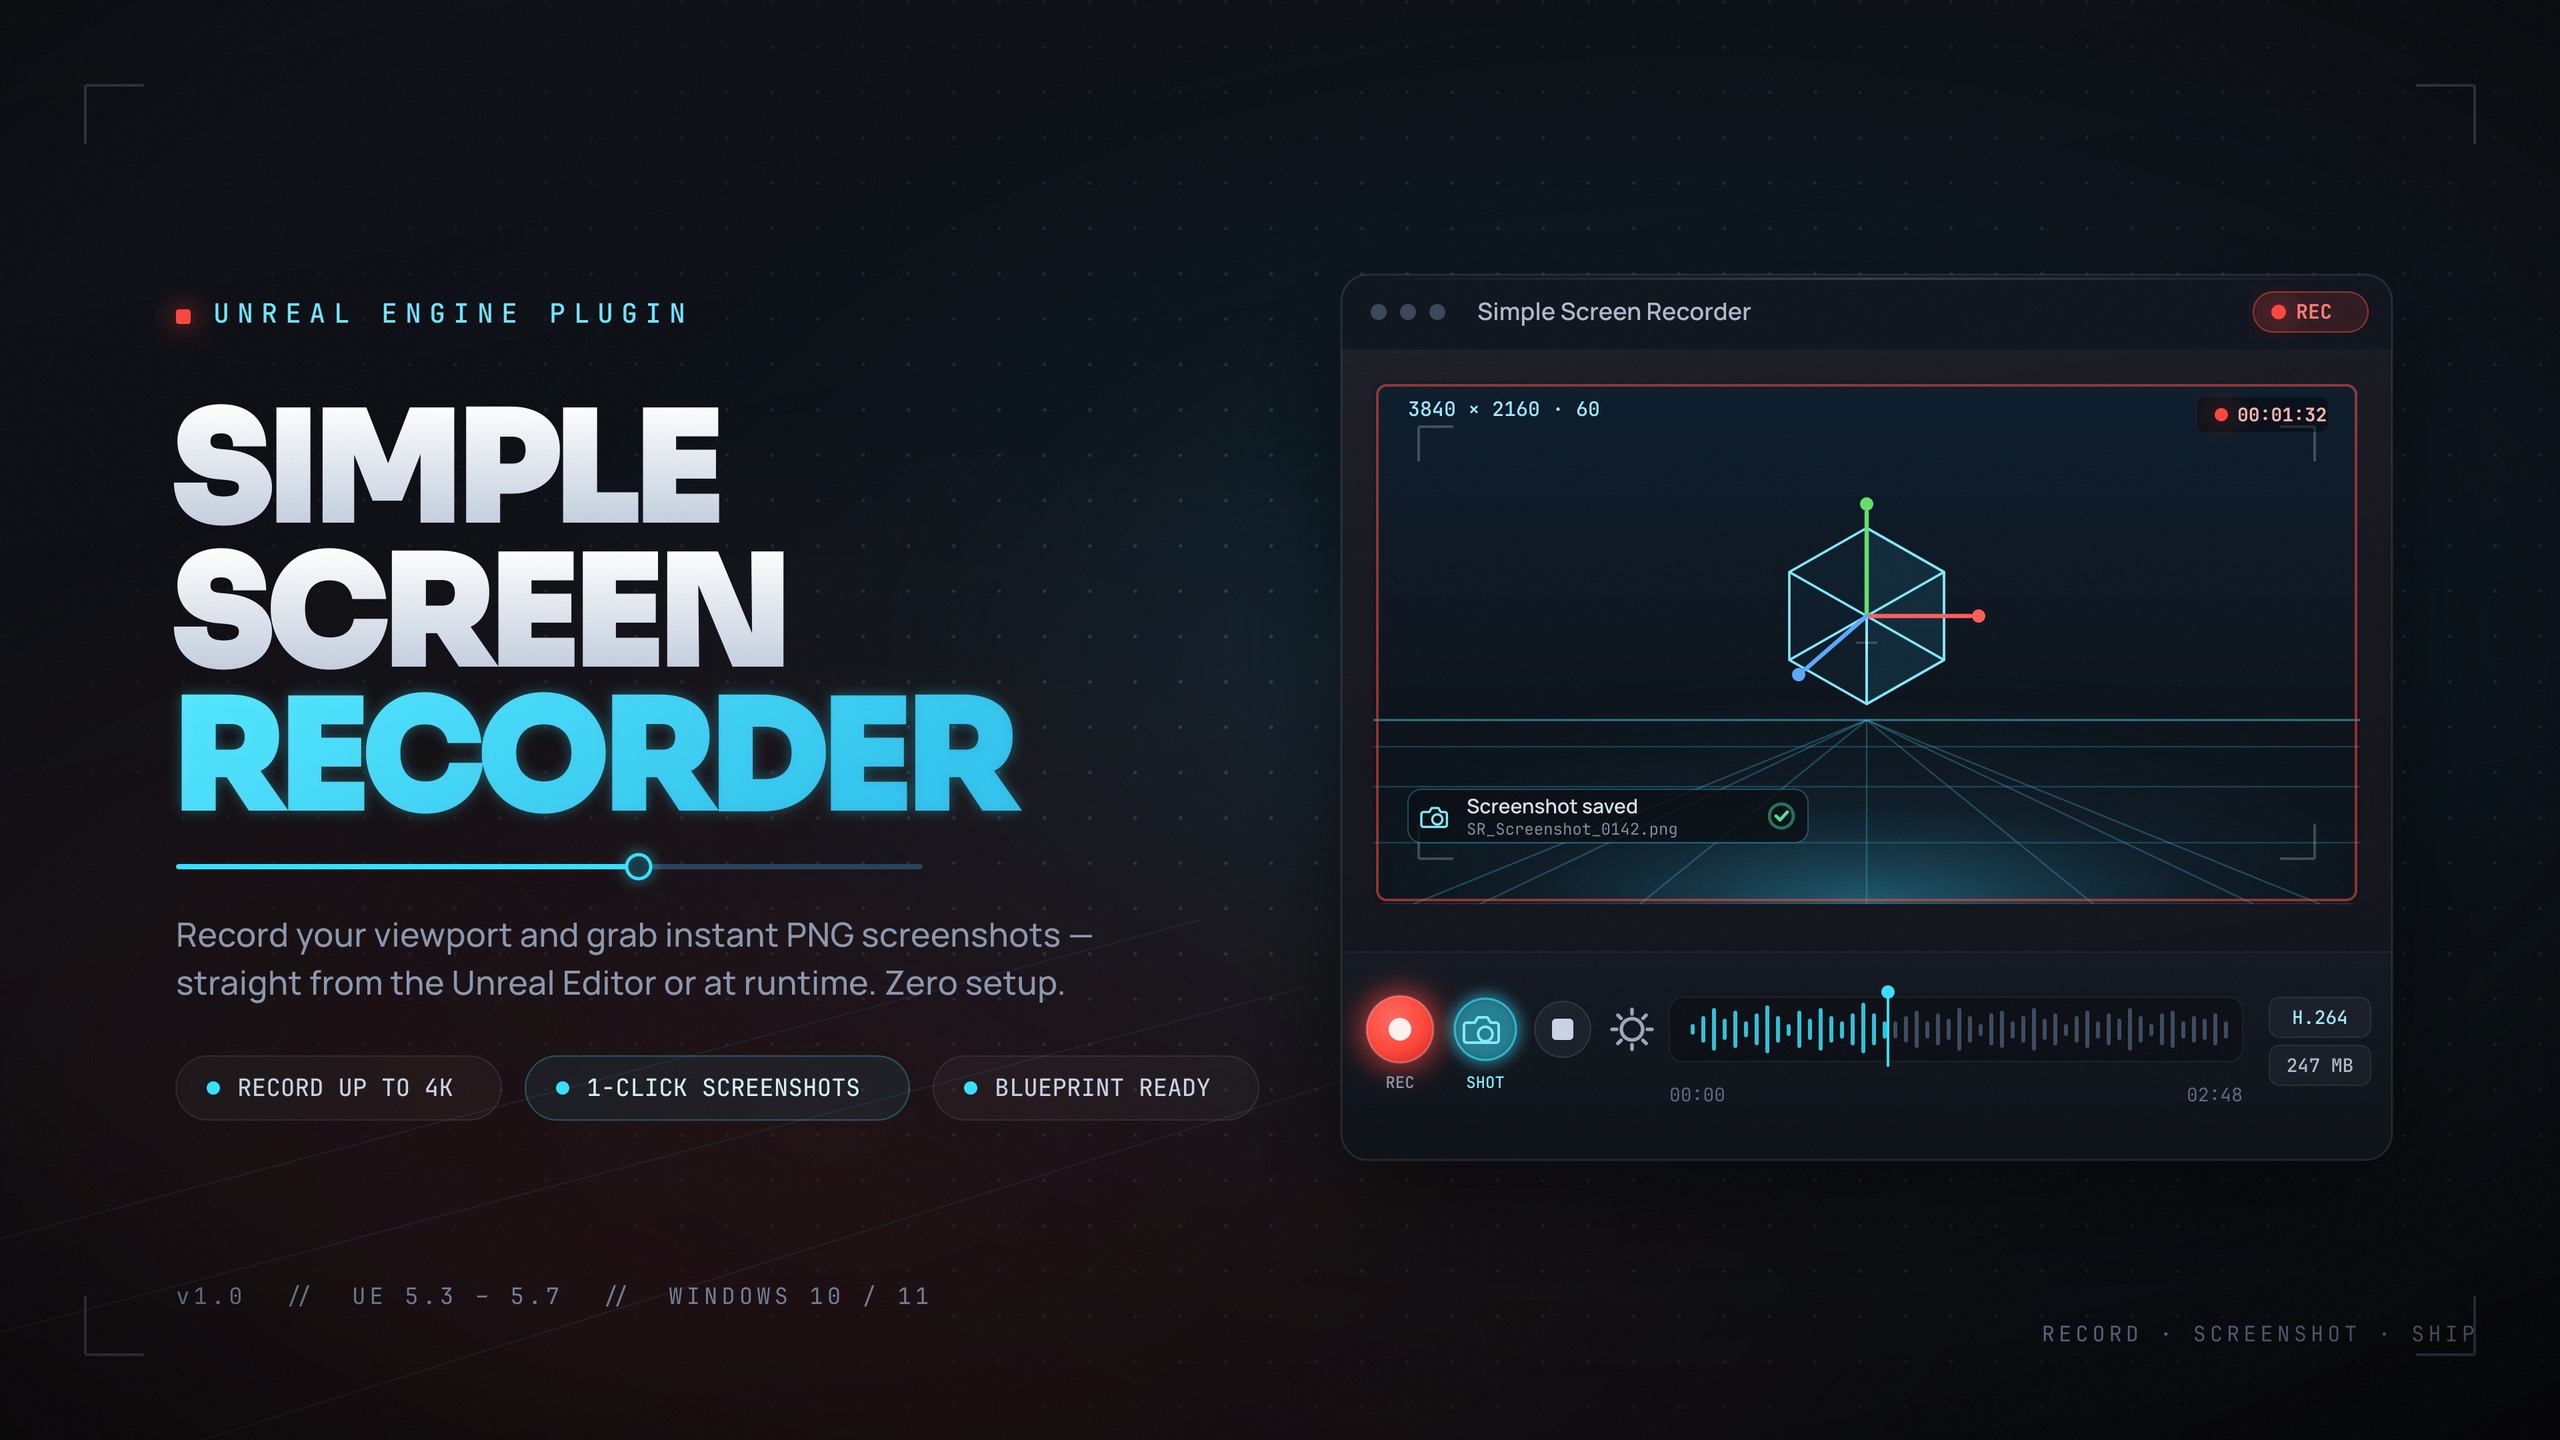
Doing that from scratch is more work than it looks. You need a frame source, a hardware-accelerated H.264 encoder, an MP4 muxer, audio capture, and a file naming and output scheme, all wired so it can be started and stopped from gameplay code rather than the editor. That is exactly the gap Simple Screen Recorder fills. It is a Windows-only UE5 capture plugin that encodes to H.264 MP4 (with AAC system audio) through Windows Media Foundation, with no external dependencies, and it exposes the whole capture pipeline to Blueprints so you can drive it from a player-facing button.
This article walks through building a 'record my run' feature end to end: the capture UX, wiring a record button to the Blueprint API, reflecting recording state on the HUD, and pointing players at the file once they stop. Everything here is grounded in what the plugin actually ships, so you can implement it as written.
Designing the player-facing capture UX
Before touching nodes, decide what the player sees. The smallest viable design is a single toggle: a 'Record' button that flips to 'Stop' while capture is running, plus a small REC indicator somewhere unobtrusive on the HUD so the player always knows whether they are being recorded. That is enough to ship.
Pick your recording source deliberately. Simple Screen Recorder supports three sources via the EScreenRecorderSource enum: Game Window, Editor, and Entire Screen. For a player-facing feature you want Game Window, so the clip captures your game and not whatever else is on the player's desktop. Note that the editor-only conveniences, the Ctrl+Shift+R toggle hotkey and the toolbar button, are not available in a packaged build, which is precisely why you are wiring your own button instead.
Decide your quality and resolution defaults up front, because players will not. The plugin offers resolution presets through EScreenRecorderResolution: Match Viewport, 720p, 1080p, 1440p, 4K, and a Custom option clamped to 320-7680 wide by 240-4320 tall. Frame rate is clamped 15-120 FPS and defaults to 30. Quality presets map to fixed bitrates: Small Files at 10 Mbps, Default at 20 Mbps, High Quality at 50 Mbps, and Professional at 100 Mbps. For a 'record my run' feature, 1080p at 30 or 60 FPS on the Default or High Quality preset is a sensible starting point.
One more UX decision: the mouse cursor. The plugin has a show-mouse-cursor toggle (bShowMouseCursor). For an action game you almost certainly want the cursor hidden in the video; for a strategy or cursor-driven game you may want it visible. Set this once in your recording settings rather than exposing it to the player.
Wiring a record button to the Blueprint API
There are two ways to drive capture from Blueprints, and for a player-facing feature the actor component is the cleaner of the two. Add a Screen Recorder component to a persistent actor, such as your player controller or game-mode-owned HUD manager actor, and configure its RecordingSettings: FrameRate, a resolution preset (or Custom), a Quality preset, the Source set to Game Window, bIncludeAudio, and bShowMouseCursor. Because the component holds your settings and state, you do not have to pass configuration on every call.
1. On the component, set RecordingSettings to your chosen defaults (Source = Game Window, Resolution = 1080p, FrameRate = 30 or 60, Quality = High Quality, bShowMouseCursor as desired). Leave bAutoStartOnBeginPlay off for a manual feature.
2. On your 'Record' button's clicked event, branch on whether you are already recording (read it from the component, see the HUD section below). If not recording, call the component's 'Start Recording' node; if recording, call 'Stop Recording'.
3. Bind the component's 'On Recording Started' and 'On Recording Stopped' events to update your button label between 'Record' and 'Stop' and to show or hide the REC indicator. Bind 'On Recording Error' to surface a brief message if capture fails to start, so the player is not left wondering.
4. The component also exposes 'Pause Recording' and 'Resume Recording' if you want a pause control, plus a MaxRecordingDuration you can set so a run clip caps itself automatically rather than filling the disk.
If you prefer a stateless call instead of a component, the plugin also offers a single SimpleScreenRecorder node that takes an Action (Start, Stop, Pause, or Resume) plus Resolution and FrameRate (both on Advanced Display) and returns the output path. That is handy for a quick prototype, but for a real feature the component's events and retained settings make the HUD wiring much simpler. There is also a SimpleScreenshot node if you want a 'photo mode' still alongside video.
Showing recording state on the HUD
Players need unambiguous feedback that capture is live. The plugin exposes recording state in two ways. For a simple boolean, call IsRecording (and IsPaused) to drive the visibility of a REC dot or a button label. For richer HUD readouts, call GetRecordingInfo, which returns an FScreenRecordingInfo struct containing bIsRecording, Duration, FramesCaptured, OutputFilePath, and the active Settings.
Poll GetRecordingInfo on a HUD tick or a slow timer while recording, then break the struct to drive your widgets. Use bIsRecording to toggle the indicator, Duration to show an elapsed-time readout (00:42) so the player knows how long the clip is, and FramesCaptured if you want a more technical overlay. Keep the indicator deliberately minimal so it does not bloat the very footage it is announcing.
A small but important detail: if you are recording the Game Window source, anything drawn into that window, including your REC indicator, will appear in the captured video. That is usually fine, players expect a recording badge, but if you want a clean clip you can hide the indicator from the capture by moving it to a separate overlay that is not part of the game window, or simply accept it as an honest marker that the clip was self-recorded.
If you want to go further and put real telemetry on screen, Fast Chart Widgets pairs naturally here: it is a runtime UMG charting plugin that can auto-collect engine metrics such as FPS and frame time, so a 'record my run' HUD can show a live performance sparkline that is captured into the clip alongside the action. Treat that as an optional flourish rather than a requirement.
Where clips are saved and how to open them
Once the player stops recording, the single most important follow-up is telling them where the file went. Simple Screen Recorder writes H.264 MP4 files (the container is always MP4) named with a timestamp pattern, [Prefix]_YYYYMMDD_HHMMSS.mp4, into a configurable output directory. You control the FilenamePrefix and OutputDirectory in the recording settings, so set a clear, branded prefix rather than leaving the default.
To surface the location to the player, read it back rather than guessing. After a stop, the component's recording info carries the OutputFilePath, and the stateless SimpleScreenRecorder node returns the output path directly. Call GetOutputDirectory to display the folder, and wire an 'Open Recordings Folder' control to OpenOutputFolder so a single click drops the player straight into Windows Explorer at their clips. That one button turns a buried file into a shareable trophy.
Audio is worth setting expectations on. Capture uses Windows WASAPI loopback and encodes AAC into the MP4 when bIncludeAudio is on. Because it is system loopback, it records whatever is playing through the system mix, so it cannot isolate your game's audio from, say, a Discord call or a music player running in the background. For most run clips that is acceptable, but if pristine game-only audio matters to you, document that caveat or leave audio off and let players add their own.
If your game uploads clips to a backend or leaderboard, EasyHTTP is the companion piece for that step: it is a Blueprint-friendly HTTP plugin with async request nodes and upload-progress callbacks, so you can POST the finished MP4's bytes to your server and drive a progress bar from the On Progress (BytesSent) callback. Capture the clip with Simple Screen Recorder, then hand the resulting file to EasyHTTP for the upload.
Platform and shipping caveats to plan around
Be honest with yourself and your players about the constraints, because they shape what you can ship. Simple Screen Recorder is Windows-only: it relies on Windows Media Foundation for encoding and WASAPI for audio, and both runtime and editor modules carry a Win64 platform allow-list. If your title ships on macOS, Linux, or console, the record button cannot exist on those platforms, so gate the UI accordingly rather than letting it appear and fail.
On engine support, the plugin ships packaged builds for Unreal Engine 5.3, 5.4, 5.5, 5.6, and 5.7, so it slots into a wide range of current projects. There are no external or third-party dependencies to license: Media Foundation and WASAPI are built into Windows, and encoding is hardware-accelerated when the player's hardware supports it.
Output is fixed to H.264 video and AAC audio in an MP4 container, which is exactly what you want for clips players will share, since MP4 plays everywhere and uploads cleanly to social platforms. There is no alternative codec or container to choose, so you can build your UX around a single known format.
Finally, set realistic defaults and a MaxRecordingDuration cap. A player who forgets to stop recording during a long session can otherwise generate a very large file. Capping the clip length, naming files clearly, and giving them a one-click 'open folder' button are the three small touches that turn a raw capture API into a feature players actually use.
Capture settings for a 'record my run' feature
| Setting | Recommended value | Why |
|---|---|---|
| Source | Game Window | Captures your game, not the player's whole desktop |
| Resolution | 1080p (or Match Viewport) | Shareable quality without huge files |
| Frame rate | 30 or 60 FPS | 60 for fast action; 30 for smaller clips |
| Quality | High Quality (50 Mbps) | Crisp clips; drop to Default (20 Mbps) for size |
| Show mouse cursor | Off for action games | Cleaner footage; turn on for cursor-driven games |
| Max recording duration | Set a cap | Stops a forgotten recording filling the disk |
Sensible defaults for a player-facing button, all configurable on the Screen Recorder component.
FAQ
Can I let players record clips in game in Unreal Engine without OBS?
Yes. Simple Screen Recorder exposes its capture pipeline to Blueprints, so you can wire a record button on your HUD or pause menu that starts and stops capture directly. Players never touch an external recorder; the clip is encoded to H.264 MP4 in the background and saved to your configured output folder.
What format are the recorded clips, and where are they saved?
Clips are H.264 video with AAC audio in an MP4 container, named [Prefix]_YYYYMMDD_HHMMSS.mp4. You set the FilenamePrefix and OutputDirectory in the recording settings, read the path back from the recording info or the node's output, and call OpenOutputFolder to drop the player into the folder in one click.
How do I show a REC indicator and elapsed time on the HUD?
Call GetRecordingInfo to get an FScreenRecordingInfo struct with bIsRecording, Duration and FramesCaptured, or use the simpler IsRecording and IsPaused queries. Poll it on a HUD timer while recording to drive a REC dot and an elapsed-time readout, and bind the component's OnRecordingStarted and OnRecordingStopped events to toggle your button label.
Does it work on Mac, Linux or consoles?
No. The plugin is Windows-only because it uses Windows Media Foundation for encoding and WASAPI for audio, and both modules carry a Win64 allow-list. If your game ships on other platforms, gate the record button so it only appears on Windows.
Can it record only my game's audio?
Audio is captured via Windows WASAPI system loopback and encoded as AAC, which means it records the whole system mix rather than isolating game audio. It cannot separate your game's sound from other apps playing at the same time, so set player expectations or leave audio off if pristine game-only sound matters.
Simple Screen Recorder
Record the editor viewport or runtime gameplay to H.264 MP4 with system audio — one click (Ctrl+Shift+R) from the toolbar, or Start/Stop/Pause/Resume from Blueprints. Resolution presets up to 4K, 15–120 FPS, no external dependencies.