tutorial · 2026-02-12
How to Automatically Record on Play in UE5 with the Screen Recorder Component
Drop one actor component into your level and capture every PIE session start to finish - no toolbar clicks, no OBS.
The problem: hands-off capture
If you want Unreal Engine to automatically record on play, the last thing you want is to remember to hit a hotkey every single time you press Play. QA needs a clean clip of a repro the moment a level loads. A demo kiosk needs to capture every run unattended. A 'record my run' feature has to start the instant gameplay begins, with no menu in the way. Reaching for an external recorder like OBS, or even tapping the editor toggle by hand, breaks that flow.
Simple Screen Recorder solves this with a runtime Screen Recorder actor component. Add it to an actor, tick two boxes, and the plugin starts capturing on 'BeginPlay' and stops on 'EndPlay' automatically. Capture is encoded to an H.264 MP4 with AAC system audio via Windows Media Foundation, so there are no external dependencies to install and nothing extra to license. This tutorial walks through wiring up that hands-off, record-on-play behaviour entirely in Blueprints.
One note before you start: Simple Screen Recorder is Windows-only. Encoding goes through Windows Media Foundation and audio through WASAPI loopback, so the workflow below assumes a Win64 editor or packaged build. The component and its Blueprint API are available at runtime; the Ctrl+Shift+R toggle and toolbar button are editor-only conveniences you do not need for automated capture.
Step 1: add the Screen Recorder component
Install Simple Screen Recorder into your project's Plugins folder (or Engine/Plugins to share it across projects) and enable it - it sits under the 'Media' category and is enabled by default. Restart the editor so both the runtime and editor modules load.
1. Decide which actor owns the recording. A Player Controller, the Game Mode, or a dedicated 'BP_Recorder' actor placed in the level all work well; pick something whose lifetime matches the window you want captured.
2. Open that actor's Blueprint, click 'Add Component' in the Components panel, and search for Screen Recorder. Add it. The component exposes a 'RecordingSettings' struct plus the auto-record options in its Details panel.
3. Expand 'RecordingSettings' and set how the capture should look: a resolution preset (Match Viewport, 720p, 1080p, 1440p, 4K, or Custom), a frame rate between 15 and 120 (the default is 30), and a quality preset (Default 20 Mbps, Small Files 10 Mbps, High Quality 50 Mbps, or Professional 100 Mbps). Choose the recording source - Game Window, Editor, or Entire Screen - and toggle 'bIncludeAudio' and 'bShowMouseCursor' to taste.
Step 2: auto-start on BeginPlay, auto-stop on EndPlay
This is the part that makes Unreal record automatically on play. The component carries two booleans for exactly this: 'bAutoStartOnBeginPlay' and 'bAutoStopOnEndPlay'.
1. In the component's Details panel, tick 'bAutoStartOnBeginPlay'. When the owning actor's 'BeginPlay' fires, the component calls its own 'StartRecording' using the configured 'RecordingSettings' - no Event Graph wiring required.
2. Tick 'bAutoStopOnEndPlay'. When the actor's 'EndPlay' fires - for example when you stop the PIE session or the level tears down - the component stops the recording cleanly and finalises the MP4.
3. Press Play. The capture begins the moment your chosen actor spawns and ends when the session does. The file is written to the configured output directory and named with your filename prefix followed by a timestamp, in the form Prefix_YYYYMMDD_HHMMSS.mp4. Call 'OpenOutputFolder' (or 'GetOutputDirectory') to find it, or set 'OutputDirectory' and 'FilenamePrefix' up front to keep things tidy.
If you would rather drive it manually instead of using the auto flags, leave both booleans unticked and call the component's 'StartRecording' and 'StopRecording' nodes from your own logic - 'PauseRecording' and 'ResumeRecording' are available too. All four are BlueprintCallable.
Step 3: cap the length with MaxRecordingDuration
Unattended capture can run away from you - a demo loop or a forgotten PIE session will keep recording until you remember it. The component's 'MaxRecordingDuration' property puts a ceiling on that.
Set 'MaxRecordingDuration' (in seconds) in the Details panel. When a recording reaches that length it stops on its own, even if 'EndPlay' has not fired yet. This pairs naturally with auto-start: BeginPlay kicks the capture off, and the duration cap guarantees a bounded clip - ideal for short bug-report captures or fixed-length demo loops where you want every run trimmed to the same window.
For stills, the plugin also exposes a SimpleScreenshot capture that writes a frame to the same output folder - handy for grabbing a thumbnail at a key moment without stopping the video.
Step 4: react to OnRecordingStarted, OnRecordingStopped and OnRecordingError
Automated capture should tell you what it is doing. The Screen Recorder component broadcasts three events you can bind in the Event Graph: 'OnRecordingStarted', 'OnRecordingStopped', and 'OnRecordingError'.
1. Select the component in the Components panel, scroll to the Events section of its Details, and click the green '+' next to each delegate to add a handler to the Event Graph - or drag off the component reference and choose 'Bind Event to On Recording Started' and friends.
2. Use 'OnRecordingStarted' to flip a 'REC' indicator on your HUD, and 'OnRecordingStopped' to clear it. Because auto-start fires the recording for you, binding these events is the cleanest way to keep your UI in sync rather than guessing the state.
3. Handle 'OnRecordingError' so a failed capture never fails silently - log it, show a toast, or fall back gracefully. For live HUD state you can also poll 'IsRecording' / 'IsPaused', or read the full 'FScreenRecordingInfo' via 'GetRecordingInfo', which reports 'bIsRecording', 'Duration', 'FramesCaptured', 'OutputFilePath', and the active 'Settings'.
With those bound, you have a fully hands-off pipeline: the component starts on BeginPlay, caps itself at your chosen duration, stops on EndPlay, and keeps your interface and logs honest the whole way through.
Where this fits in a real project
The same component covers several jobs. For QA, an actor that auto-records on BeginPlay with a 'MaxRecordingDuration' cap turns every repro into a shareable MP4 with zero operator input. For a player-facing 'record my run' feature, you can expose 'StartRecording' / 'StopRecording' to a menu while still using the auto flags for an automatic demo mode. For marketing, point the source at the Game Window or Editor and capture clean PIE footage straight to MP4 without standing up OBS.
If you are building the surrounding tooling, a few sibling plugins pair well. EasyHTTP lets you POST the resulting file path or a telemetry event to a backend from Blueprints - useful for an automated bug-report flow that captures a clip and pings your tracker. Fast Chart Widgets can draw a live FPS or frame-time overlay during the same session if you want diagnostics on screen while you record. And Markdown 4 Blueprints, an editor-only documentation tool, is handy for keeping your capture-setup notes attached to the recorder Blueprint itself.
Next step: drop the Screen Recorder component on a test actor, tick 'bAutoStartOnBeginPlay' and 'bAutoStopOnEndPlay', set a sensible 'MaxRecordingDuration', press Play, and open the output folder to confirm your first automatic clip.
Auto-record properties on the Screen Recorder component
| Property | Type | What it does |
|---|---|---|
| bAutoStartOnBeginPlay | bool | Starts recording automatically when the owning actor's BeginPlay fires |
| bAutoStopOnEndPlay | bool | Stops and finalises the MP4 when the actor's EndPlay fires |
| MaxRecordingDuration | float (seconds) | Caps the clip length; recording stops on its own at this duration |
| RecordingSettings | struct | Resolution preset, frame rate (15-120), quality preset, source, audio and cursor options |
Set these in the component's Details panel for hands-off capture.
Capture presets at a glance
| Setting | Options |
|---|---|
| Resolution | Match Viewport, 720p, 1080p, 1440p, 4K, Custom (320-7680 x 240-4320) |
| Frame rate | 15-120 FPS (default 30) |
| Quality | Default 20 Mbps, Small Files 10 Mbps, High Quality 50 Mbps, Professional 100 Mbps |
| Source | Game Window, Editor, Entire Screen |
All output is H.264 video with AAC audio in an MP4 container.
FAQ
How do I make Unreal Engine automatically record on play with a component?
Add the Screen Recorder actor component from Simple Screen Recorder to an actor in your level, then tick 'bAutoStartOnBeginPlay' and 'bAutoStopOnEndPlay' in its Details panel. The component starts recording when the actor's BeginPlay fires and stops on EndPlay - no Event Graph wiring needed.
Where are the recordings saved?
Files are written to the component's configured output directory and named with your filename prefix plus a timestamp, in the form Prefix_YYYYMMDD_HHMMSS.mp4. Call 'OpenOutputFolder' to jump to it, or 'GetOutputDirectory' to read the path; you can set 'OutputDirectory' and 'FilenamePrefix' to control both.
Can I stop an automatic recording after a fixed time?
Yes. Set 'MaxRecordingDuration' (in seconds) on the component. The recording stops automatically once it reaches that length, even before EndPlay, which keeps unattended demo loops and bug-report captures bounded.
How do I know when recording starts, stops or fails?
Bind the component's 'OnRecordingStarted', 'OnRecordingStopped' and 'OnRecordingError' events in the Event Graph to update a HUD indicator or log problems. You can also poll 'IsRecording' / 'IsPaused' or read the full 'FScreenRecordingInfo' via 'GetRecordingInfo'.
Does this work on macOS or Linux?
No. Simple Screen Recorder is Windows-only - it encodes through Windows Media Foundation and captures audio via WASAPI loopback. Output is always H.264 video with AAC audio in an MP4 container.
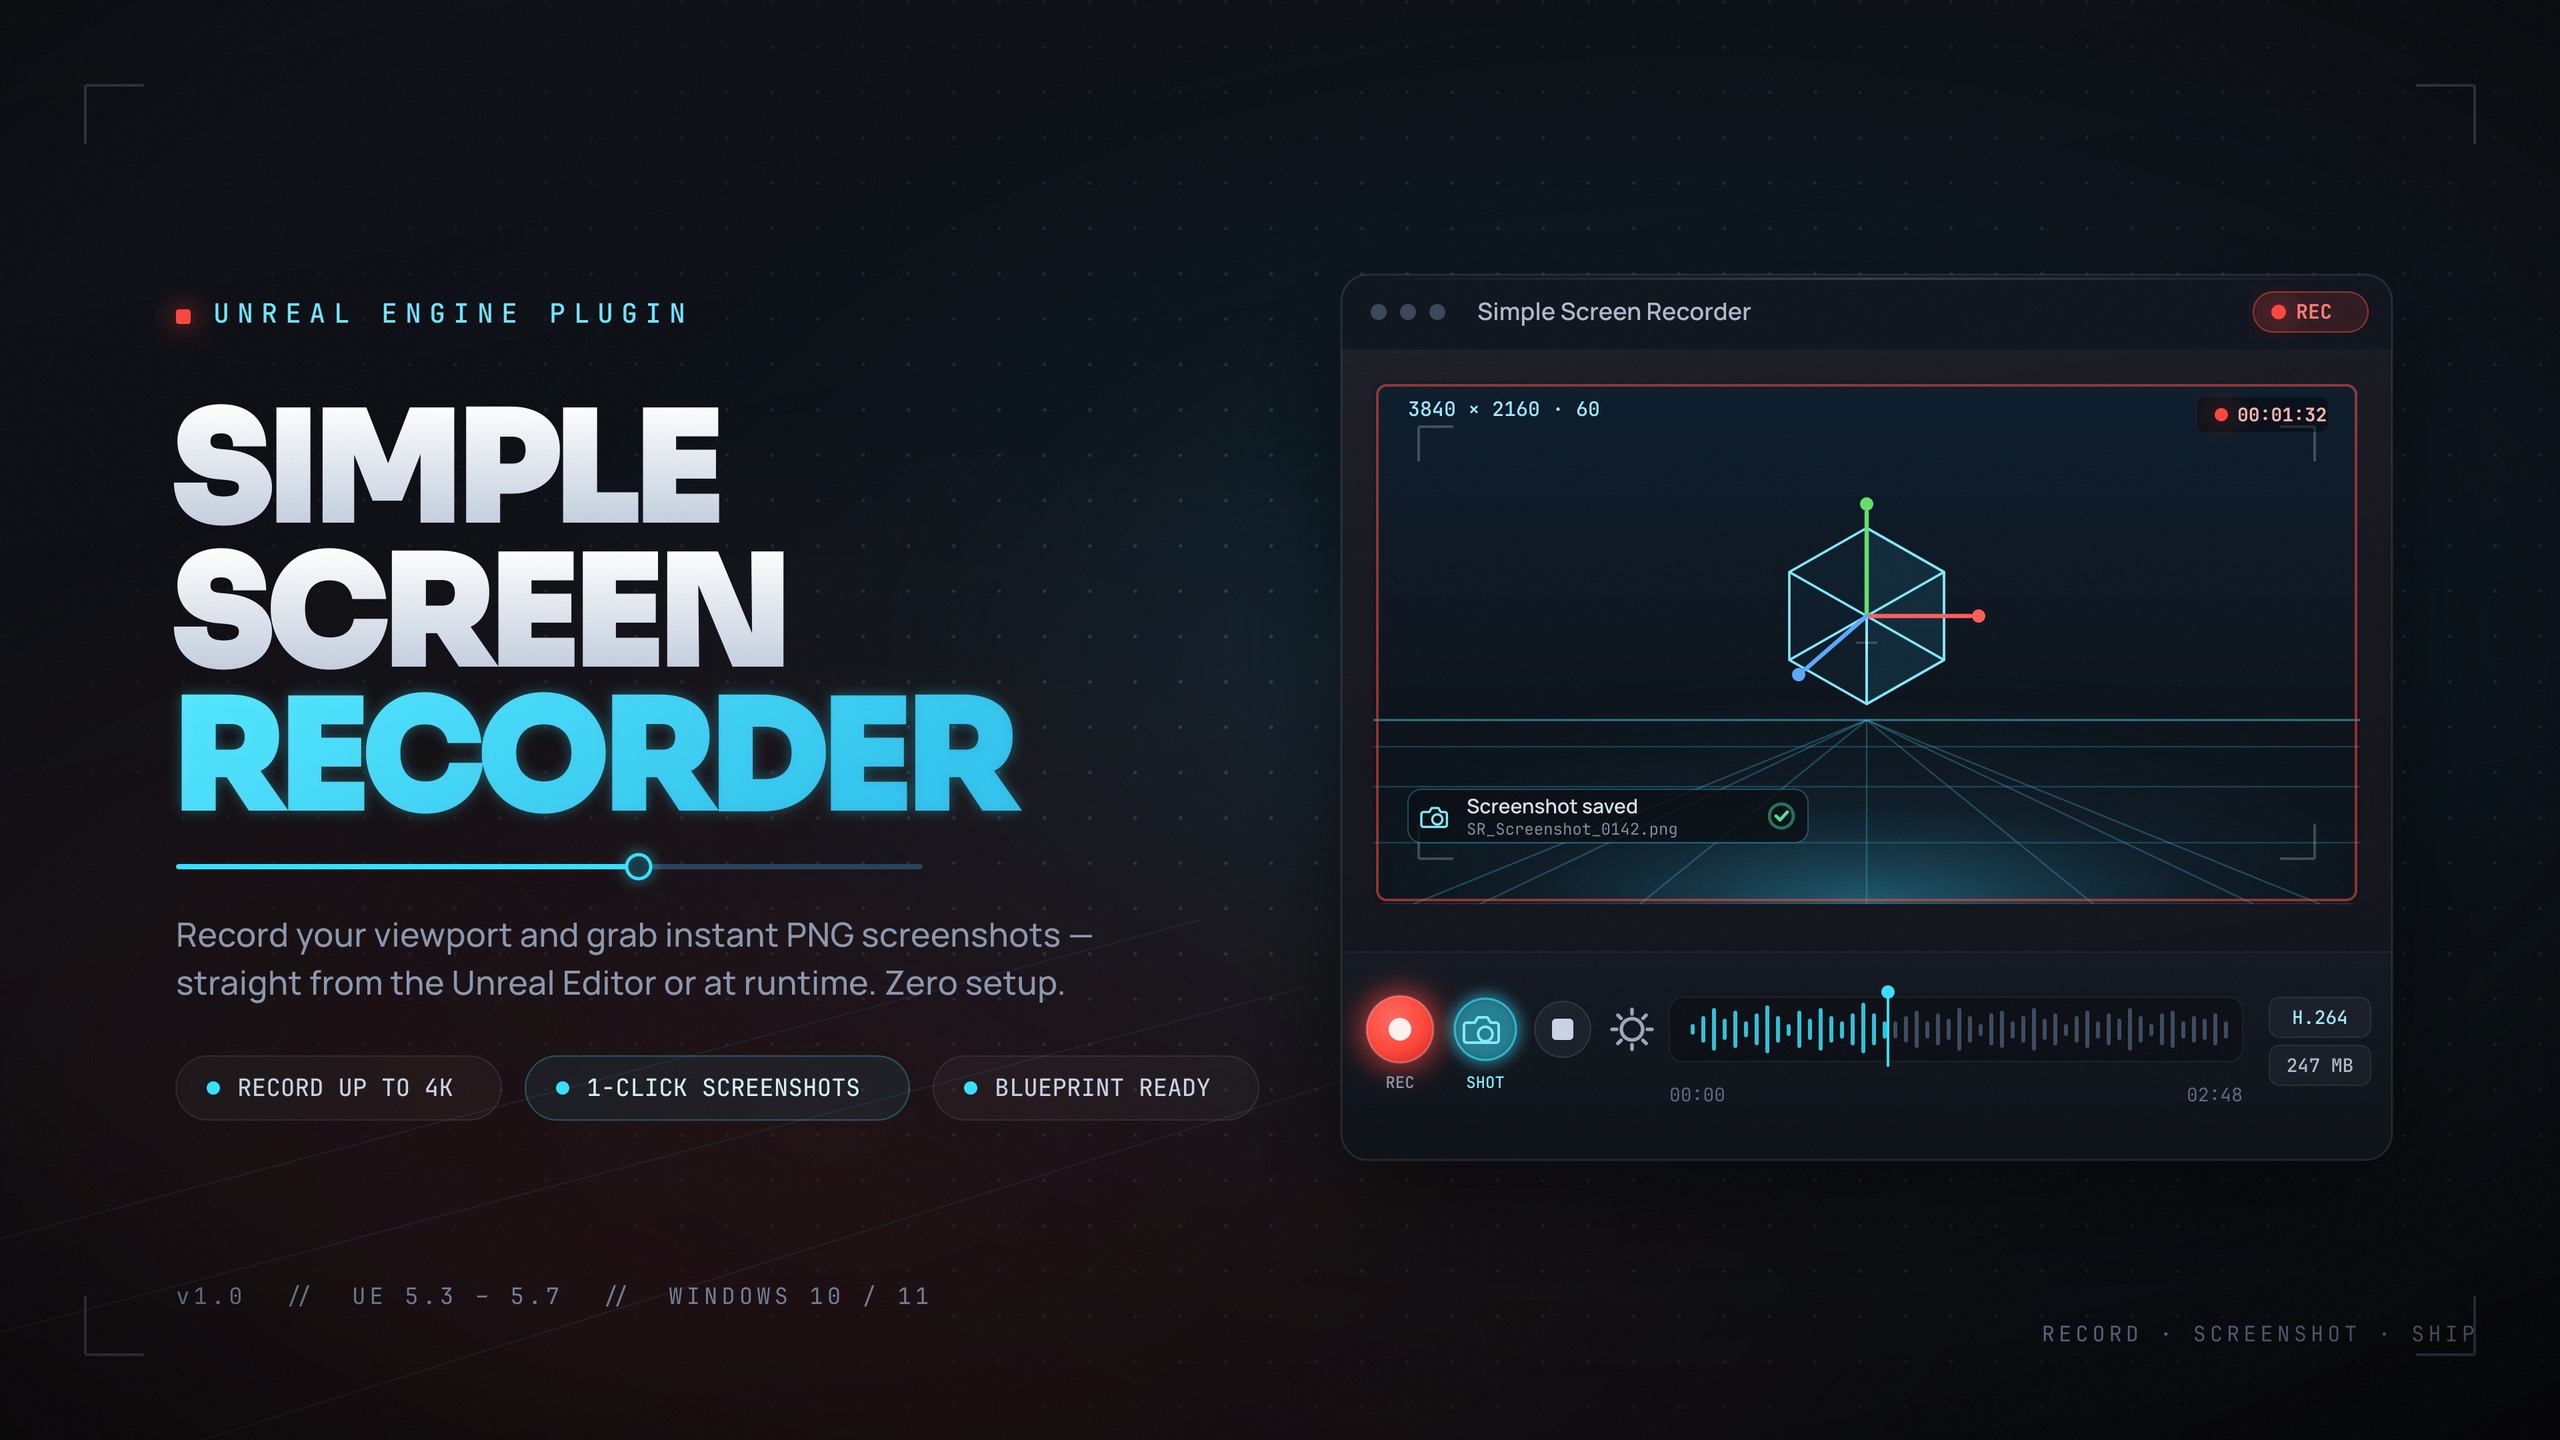
Simple Screen Recorder
Record the editor viewport or runtime gameplay to H.264 MP4 with system audio — one click (Ctrl+Shift+R) from the toolbar, or Start/Stop/Pause/Resume from Blueprints. Resolution presets up to 4K, 15–120 FPS, no external dependencies.