tutorial · 2026-05-15
How to Start and Stop Screen Recording from Blueprints in UE5
A practical guide to driving runtime MP4 capture from your Blueprint graphs with Simple Screen Recorder.
Why drive recording from Blueprints at all
Toggling the editor recorder with a hotkey is fine when you are the one sitting at the keyboard, but plenty of jobs need capture to happen on its own. You might want a 'record my run' button in your game, an automated QA loop that captures a repro every time a level loads, or a demo build that records itself for marketing. For all of those, you need to know how to start recording from a Blueprint in Unreal Engine rather than reaching for an external tool like OBS.
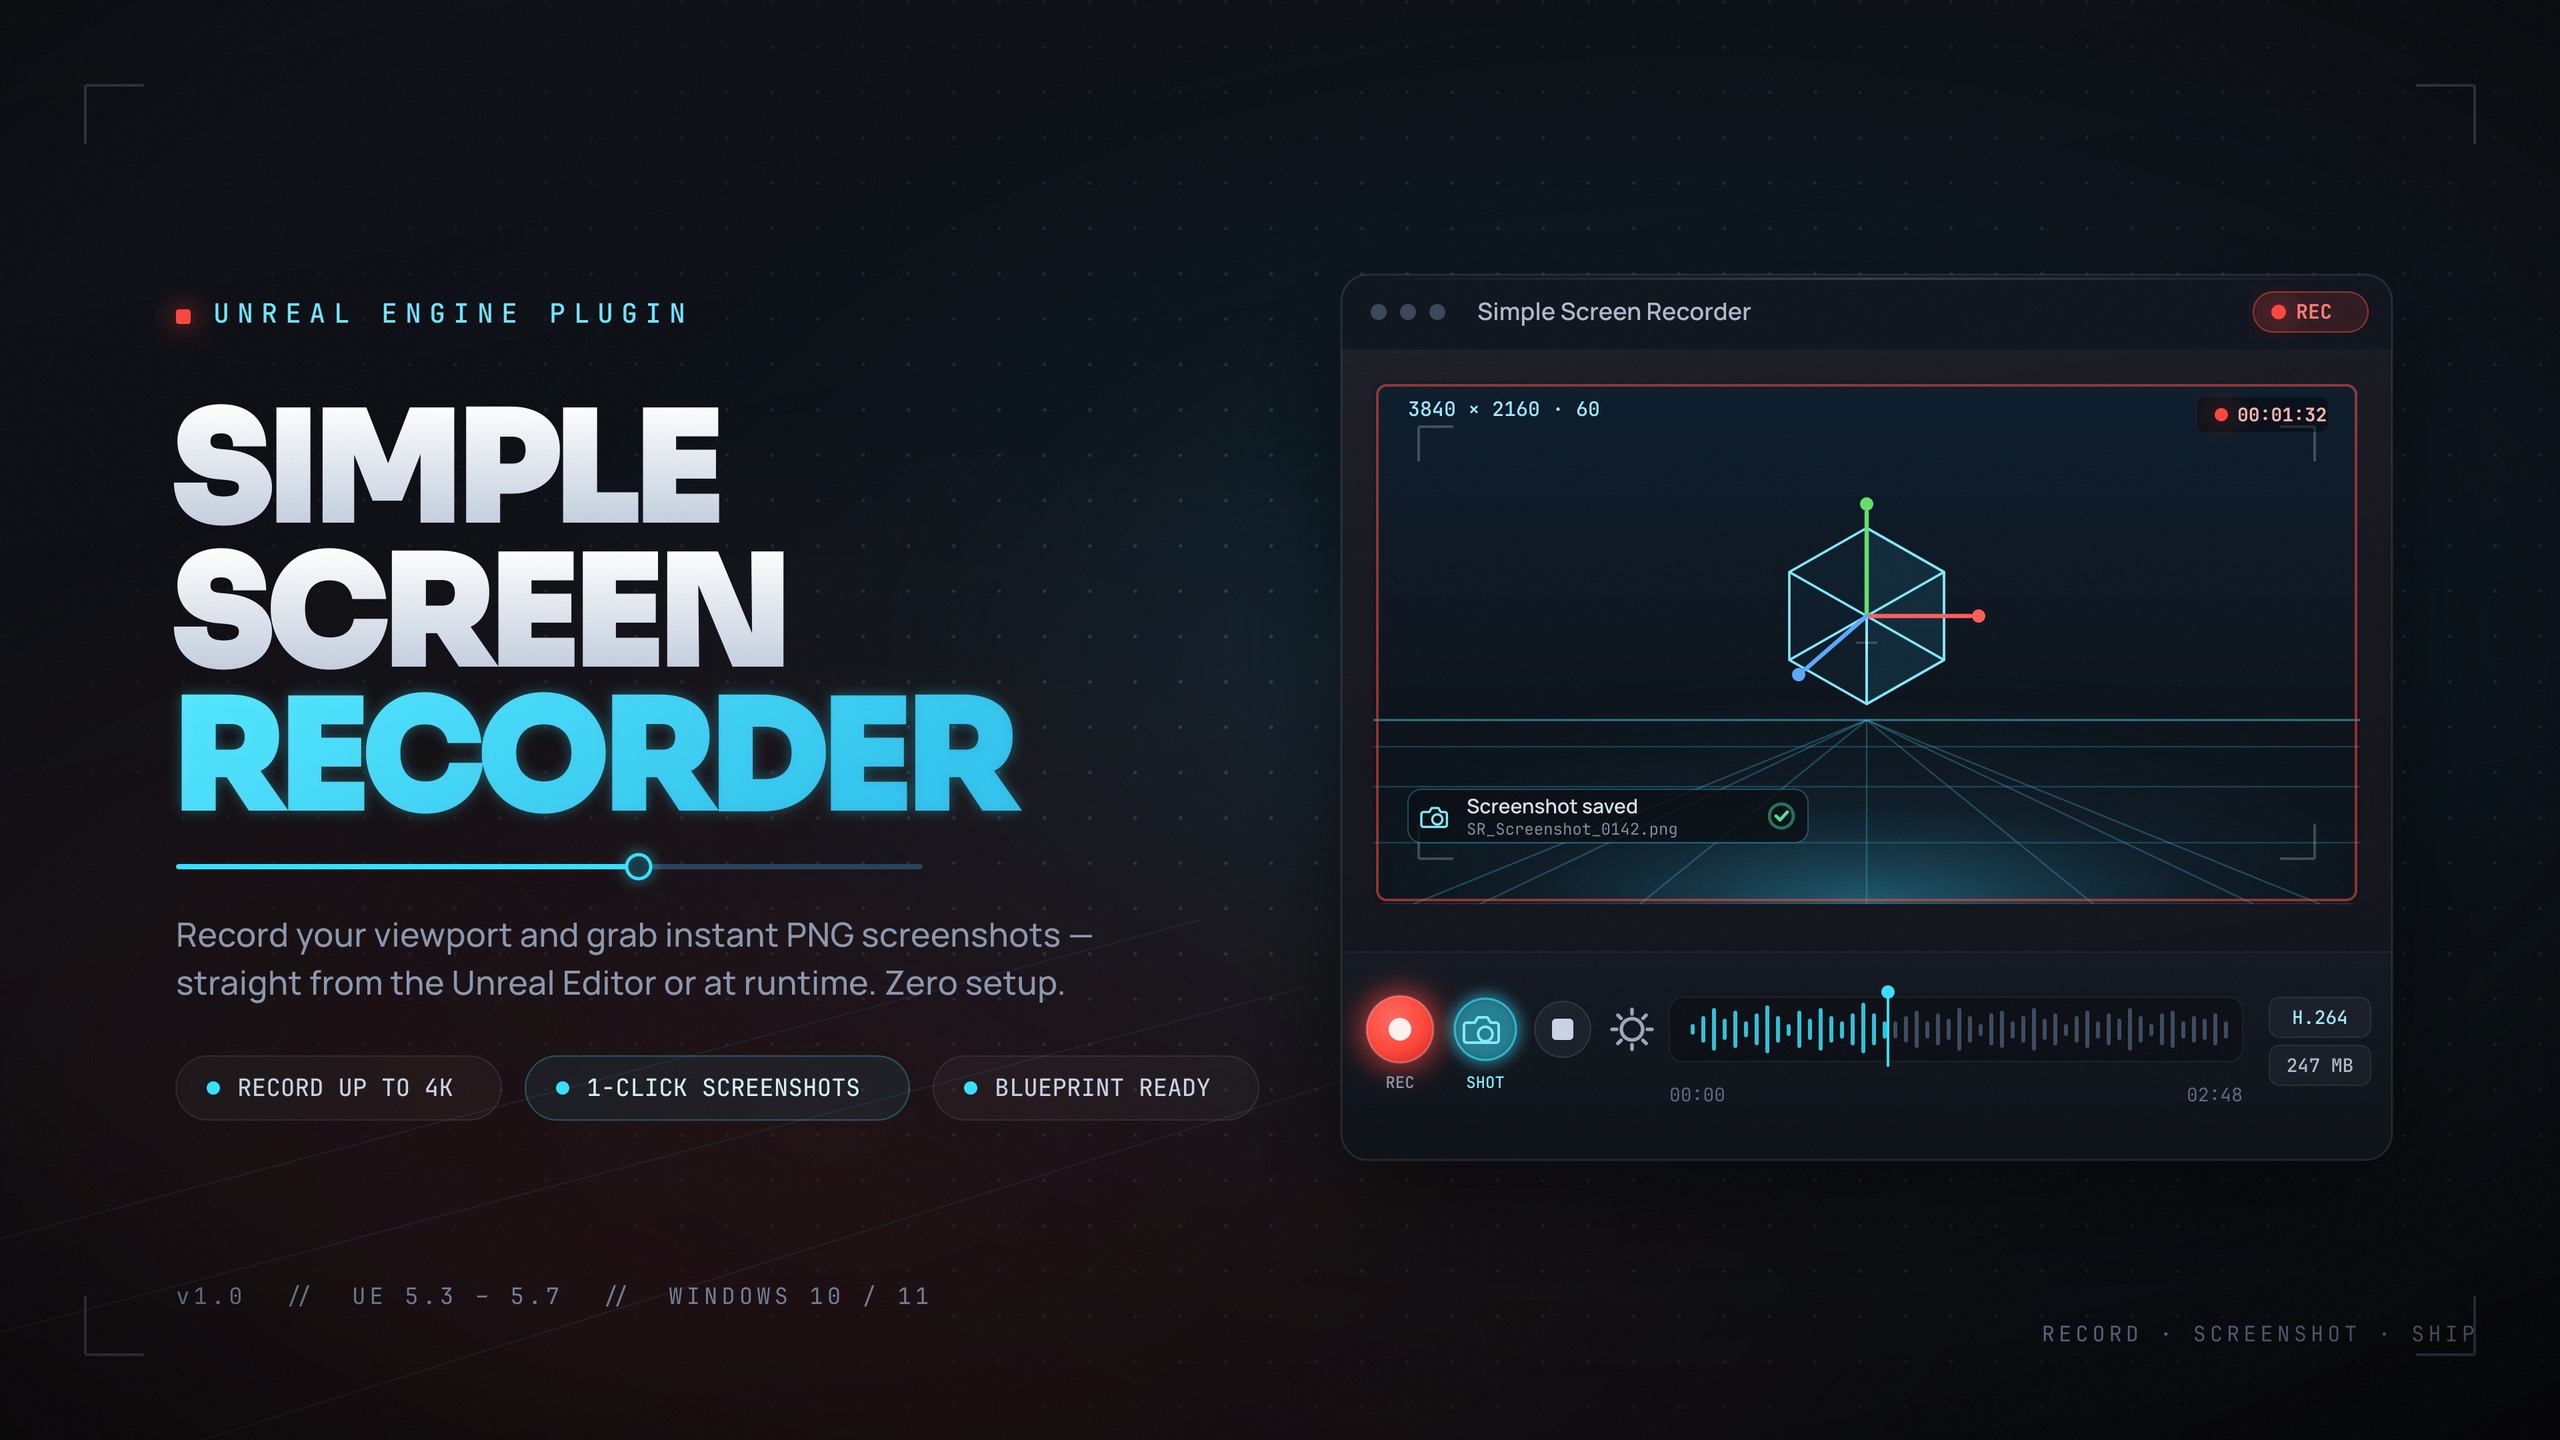
Simple Screen Recorder is built for exactly this. It is a lightweight, Windows-only capture plugin for UE5 that records the editor viewport, PIE sessions, and runtime gameplay to H.264 MP4 using Windows Media Foundation, with no external dependencies. Alongside the one-click editor toolbar button and the Ctrl+Shift+R toggle, it exposes a full Blueprint API so your gameplay code can control recording directly.
This tutorial focuses on the runtime Blueprint workflow: the single action node, the Start, Stop, Pause and Resume actions, reading back where the file landed, and querying whether you are currently recording. Everything described here comes from the plugin's actual node set.
The single SimpleScreenRecorder action node
Rather than scatter a dozen separate nodes across your graph, Simple Screen Recorder concentrates the core workflow into one node. In any Blueprint graph, right-click and add the 'Simple Screen Recorder' node. It takes an Action input, plus Resolution and FrameRate, and returns the output path as an OutFilePath value.
The Action input is the EScreenRecorderAction enum, with four values: Start, Stop, Pause and Resume. The Resolution and FrameRate pins are surfaced under Advanced Display, so they are hidden by default; expand the node to set them when you start a recording. Resolution accepts the built-in presets from EScreenRecorderResolution: Match Viewport, 720p (1280x720), 1080p (1920x1080), 1440p (2560x1440), 4K (3840x2160), or Custom. FrameRate is clamped to the supported 15 to 120 FPS range and defaults to 30.
Because one node covers all four actions, the mental model is simple: you call the same node every time and just change the Action pin. Start when you want capture to begin, Stop when you are done, and Pause or Resume to bracket out sections you do not want in the final file.
Start, Stop, Pause and Resume in practice
Here is the minimal flow for a runtime 'record my run' feature wired entirely in Blueprints.
1. On the input that should begin capture (a button press, a Begin Play, or a custom event), add the 'Simple Screen Recorder' node and set its Action pin to Start. Expand Advanced Display and choose a Resolution preset, such as 1080p, and a FrameRate, such as 30 or 60. This kicks off the recording.
2. To suspend capture without finishing the file, call the node again with Action set to Pause. This is useful for cutting out a loading screen or a menu the player does not want in the clip.
3. To pick capture back up exactly where it left off, call the node once more with Action set to Resume.
4. When the run is over, call the node a final time with Action set to Stop. This finalises the MP4 and writes it to disk.
If you prefer an object-oriented setup over the standalone node, the plugin also ships a Screen Recorder actor component. Add it to an actor and you get StartRecording, StopRecording, PauseRecording and ResumeRecording as discrete calls, configurable RecordingSettings (resolution preset or Custom, FrameRate, Quality preset, Source, bIncludeAudio, bShowMouseCursor), plus the bAutoStartOnBeginPlay and bAutoStopOnEndPlay flags and a MaxRecordingDuration cap. That component route is the easiest way to build an automated capture loop that starts on Begin Play and stops itself after a fixed duration.
Reading back the output path
Once a recording finishes, you usually need to know where the file went, whether that is to show a 'saved to...' message, open the folder, or hand the path off to another system. The action node returns OutFilePath for precisely this. Files are written as an MP4 named with the pattern [Prefix]_YYYYMMDD_HHMMSS.mp4, where the prefix and output directory are both configurable.
If you are working from the actor component instead, you can call GetOutputDirectory to find the folder, or OpenOutputFolder to pop it open in Windows Explorer. For richer detail there is GetRecordingInfo, which returns an FScreenRecordingInfo struct containing bIsRecording, Duration, FramesCaptured, OutputFilePath and the Settings used. Break that struct to drive a confirmation UI or to log exactly how long the capture ran and how many frames it grabbed.
Output is always H.264 video with AAC system audio in an MP4 container. The bitrate follows the chosen Quality preset from EScreenRecorderQuality: Small Files at 10 Mbps, Default at 20 Mbps, High Quality at 50 Mbps, or Professional at 100 Mbps. Audio, when enabled via bIncludeAudio, is captured through Windows WASAPI loopback, which means it records the system mix rather than isolating game audio specifically.
Querying IsRecording and IsPaused for HUD state
A record button should know whether it is currently recording so it can flip its label, tint a REC indicator red, or disable itself mid-capture. Simple Screen Recorder exposes IsRecording and IsPaused as BlueprintPure queries, so you can read them anywhere without an execution wire and without side effects.
Bind IsRecording to the visibility or colour of an on-screen indicator, and use IsPaused to show a distinct 'paused' state. Because both are pure, they are cheap to poll from a HUD's tick or a widget binding. For everything beyond a simple boolean, fall back to GetRecordingInfo and read Duration and FramesCaptured to build a live timer or frame counter overlay.
If you would rather react to events than poll, the actor component broadcasts OnRecordingStarted, OnRecordingStopped and OnRecordingError. Binding to these lets you update UI, trigger a sound, or handle a failure the moment it happens instead of checking state every frame.
Things to keep in mind before you ship it
Simple Screen Recorder is Windows-only. Both of its modules carry a Win64 platform allow-list, and capture relies on Windows Media Foundation for encoding plus Windows WASAPI loopback for audio. There is no macOS or Linux support, and the output is always H.264/AAC in an MP4 container, so do not build a pipeline that expects other codecs or platforms.
The Ctrl+Shift+R toggle and the toolbar button are editor features; at runtime in a packaged game it is your Blueprint calls that drive capture. The plugin ships live packaged builds for Unreal Engine 5.3 through 5.7, and it has no external or third-party dependencies because Media Foundation and WASAPI are already part of Windows.
Audio is system loopback only, meaning it captures whatever Windows is mixing rather than just your game's audio bus, so plan around that if you need clean per-source audio. With those constraints understood, you have everything required to start recording from a Blueprint, pause and resume around the parts you care about, read back the saved MP4 path, and reflect recording state in your UI.
Resolution presets (EScreenRecorderResolution)
| Preset | Dimensions |
|---|---|
| Match Viewport | Follows the active viewport |
| 720p | 1280 x 720 |
| 1080p | 1920 x 1080 |
| 1440p | 2560 x 1440 |
| 4K | 3840 x 2160 |
| Custom | 320-7680 x 240-4320 |
Custom resolution is clamped to 320-7680 wide and 240-4320 tall.
Quality presets (EScreenRecorderQuality)
| Preset | Bitrate |
|---|---|
| Small Files | 10 Mbps |
| Default | 20 Mbps |
| High Quality | 50 Mbps |
| Professional | 100 Mbps |
Bitrates as exposed by the plugin's quality presets.
FAQ
How do I start recording from a Blueprint in Unreal Engine?
Add the 'Simple Screen Recorder' node to any Blueprint graph, set its Action pin to Start, expand Advanced Display to pick a Resolution preset and FrameRate, and execute the node. To stop, call the same node again with Action set to Stop, which finalises the MP4.
Can I pause and resume a recording mid-capture?
Yes. The single action node accepts Pause and Resume in addition to Start and Stop. Call it with Action set to Pause to suspend capture, then with Action set to Resume to continue exactly where you left off, all without finishing the file.
How do I find out where the recording was saved?
The action node returns OutFilePath. You can also call GetOutputDirectory or OpenOutputFolder from the actor component, or GetRecordingInfo for an FScreenRecordingInfo struct that includes OutputFilePath, Duration and FramesCaptured. Files are named [Prefix]_YYYYMMDD_HHMMSS.mp4.
How can my HUD tell whether a recording is in progress?
Use the BlueprintPure queries IsRecording and IsPaused. Because they are pure, you can bind them straight to widget visibility or colour without an execution wire. The actor component also fires OnRecordingStarted, OnRecordingStopped and OnRecordingError events for an event-driven approach.
Does this work on macOS or Linux?
No. Simple Screen Recorder is Windows-only. It uses Windows Media Foundation for H.264 encoding and Windows WASAPI loopback for audio, and both modules carry a Win64 platform allow-list. Output is always H.264/AAC in an MP4 container.
Simple Screen Recorder
Record the editor viewport or runtime gameplay to H.264 MP4 with system audio — one click (Ctrl+Shift+R) from the toolbar, or Start/Stop/Pause/Resume from Blueprints. Resolution presets up to 4K, 15–120 FPS, no external dependencies.