tutorial · 2026-02-02
A Beginner's Guide to Unreal Engine 5 Landscapes
From heightmaps to auto-materials to World Partition - the complete first-day workflow for terrain in UE5.
What a landscape actually is in UE5
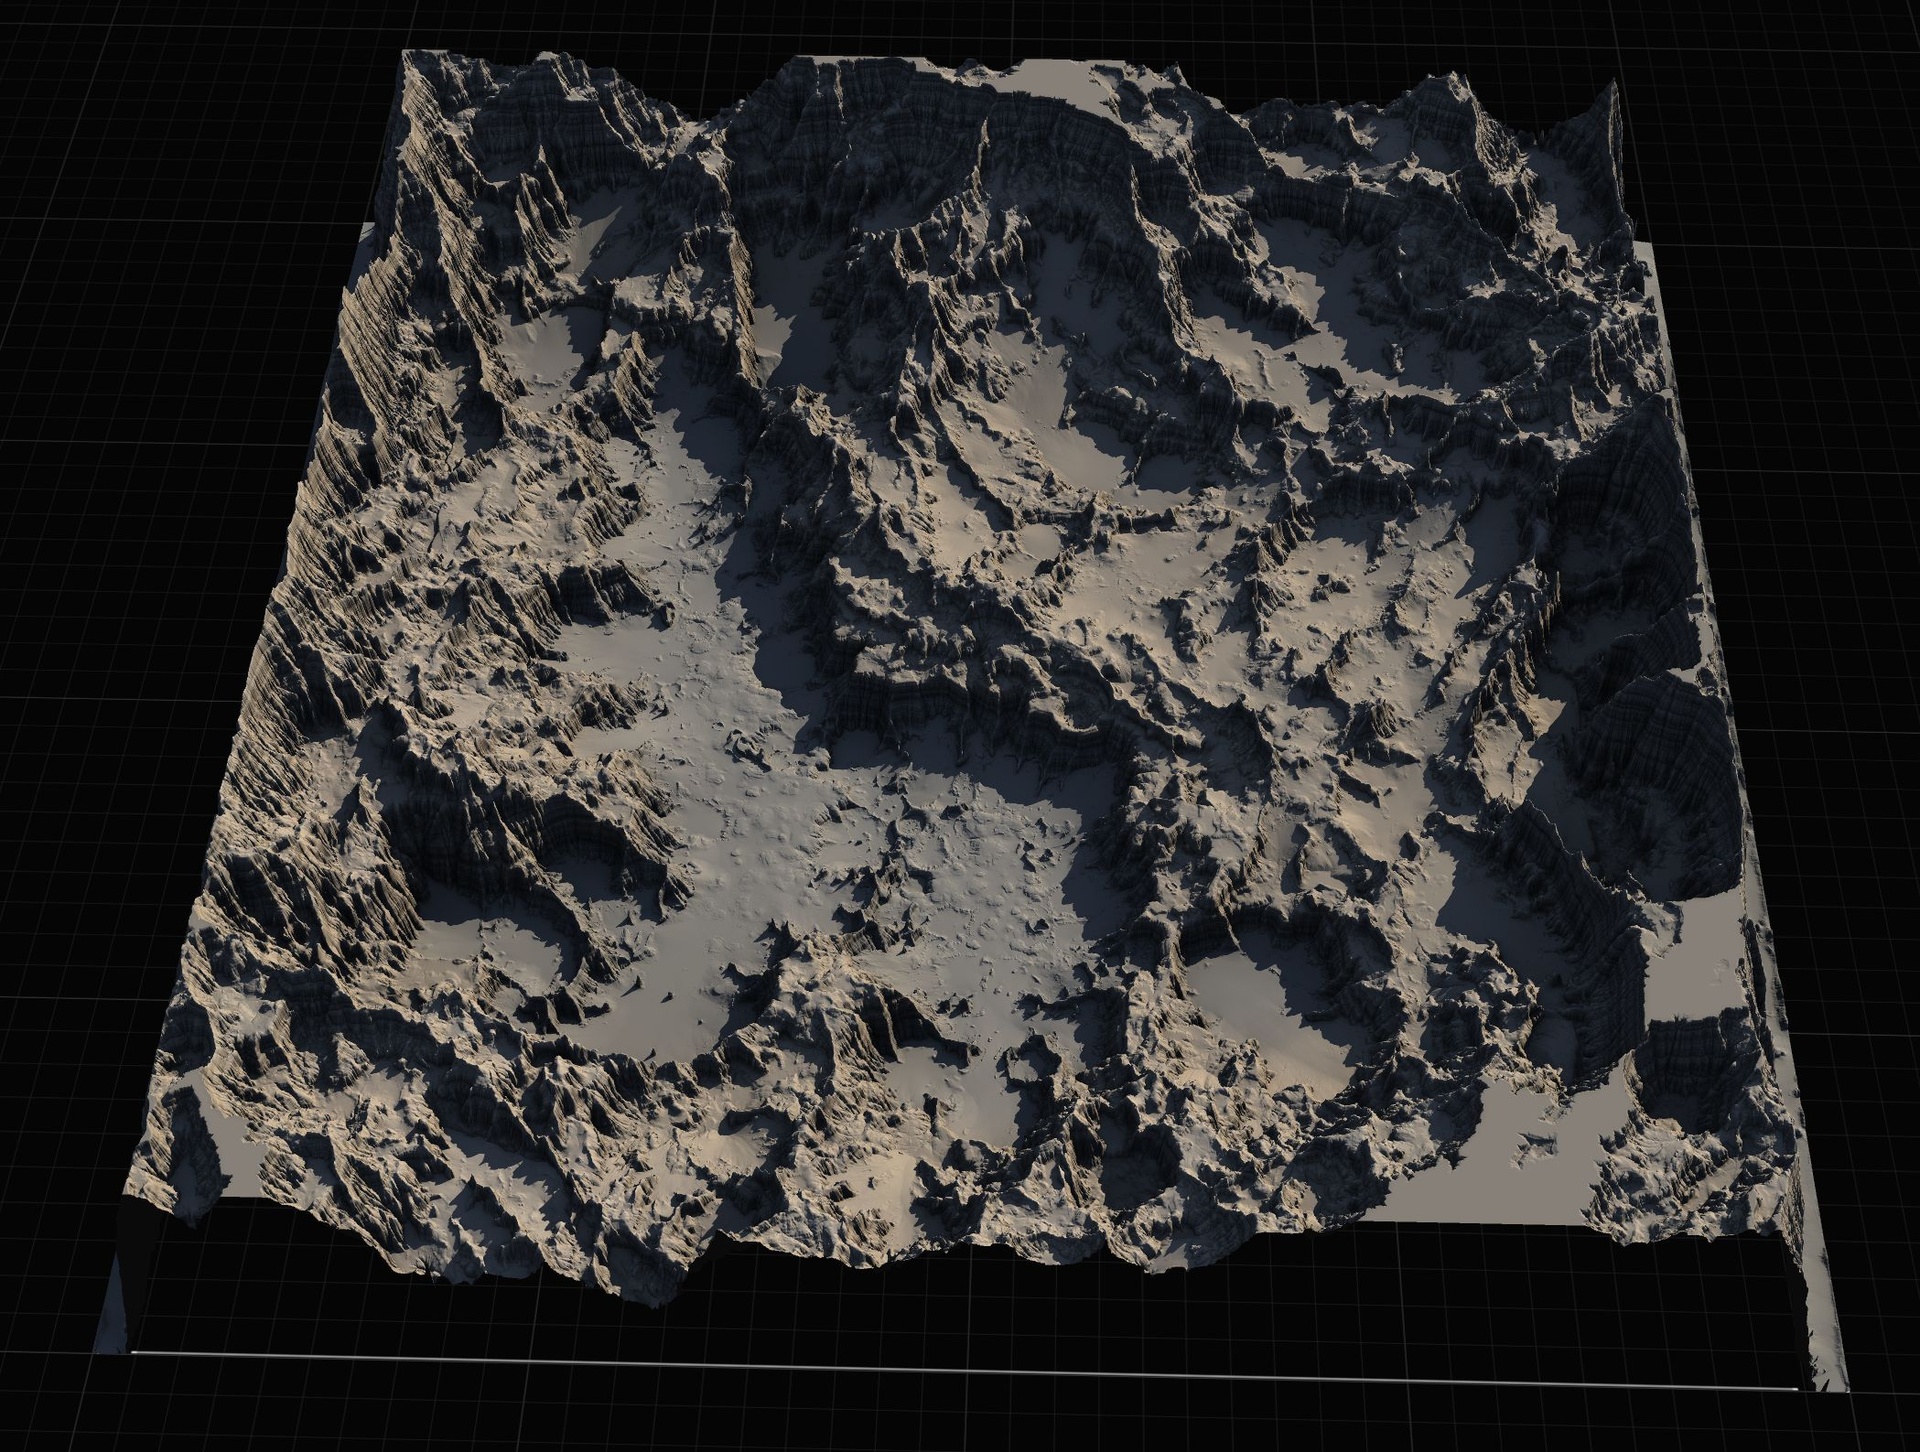
If you are looking for an Unreal Engine 5 landscape tutorial for beginners, the first thing to get straight is what a landscape really is under the hood. A UE5 Landscape is not a static mesh you sculpted in another application and dropped into the level. It is a specialised terrain actor: a regular grid of vertices whose heights the engine stores and edits efficiently, broken into components and sections so it can stream, cull and level-of-detail across kilometres of ground without grinding the editor to a halt.
Because it is a grid, every point on a landscape has a fixed X and Y position and a single Z (height) value that you are free to move up or down. That single constraint shapes everything else in this guide. You cannot make caves, overhangs or vertical cliffs that fold back on themselves from a landscape alone - one height per grid cell does not allow it. What you can do is build rolling hills, mountains, valleys, coastlines and plateaus quickly and cheaply, then add meshes for the overhangs later.
The landscape also owns its own material and a set of paint layers, which is why the texturing workflow feels different from texturing a mesh. Understanding those two ideas - a grid of heights, plus a layered material painted onto it - is enough to make sense of the entire rest of the pipeline.
Heightmaps explained
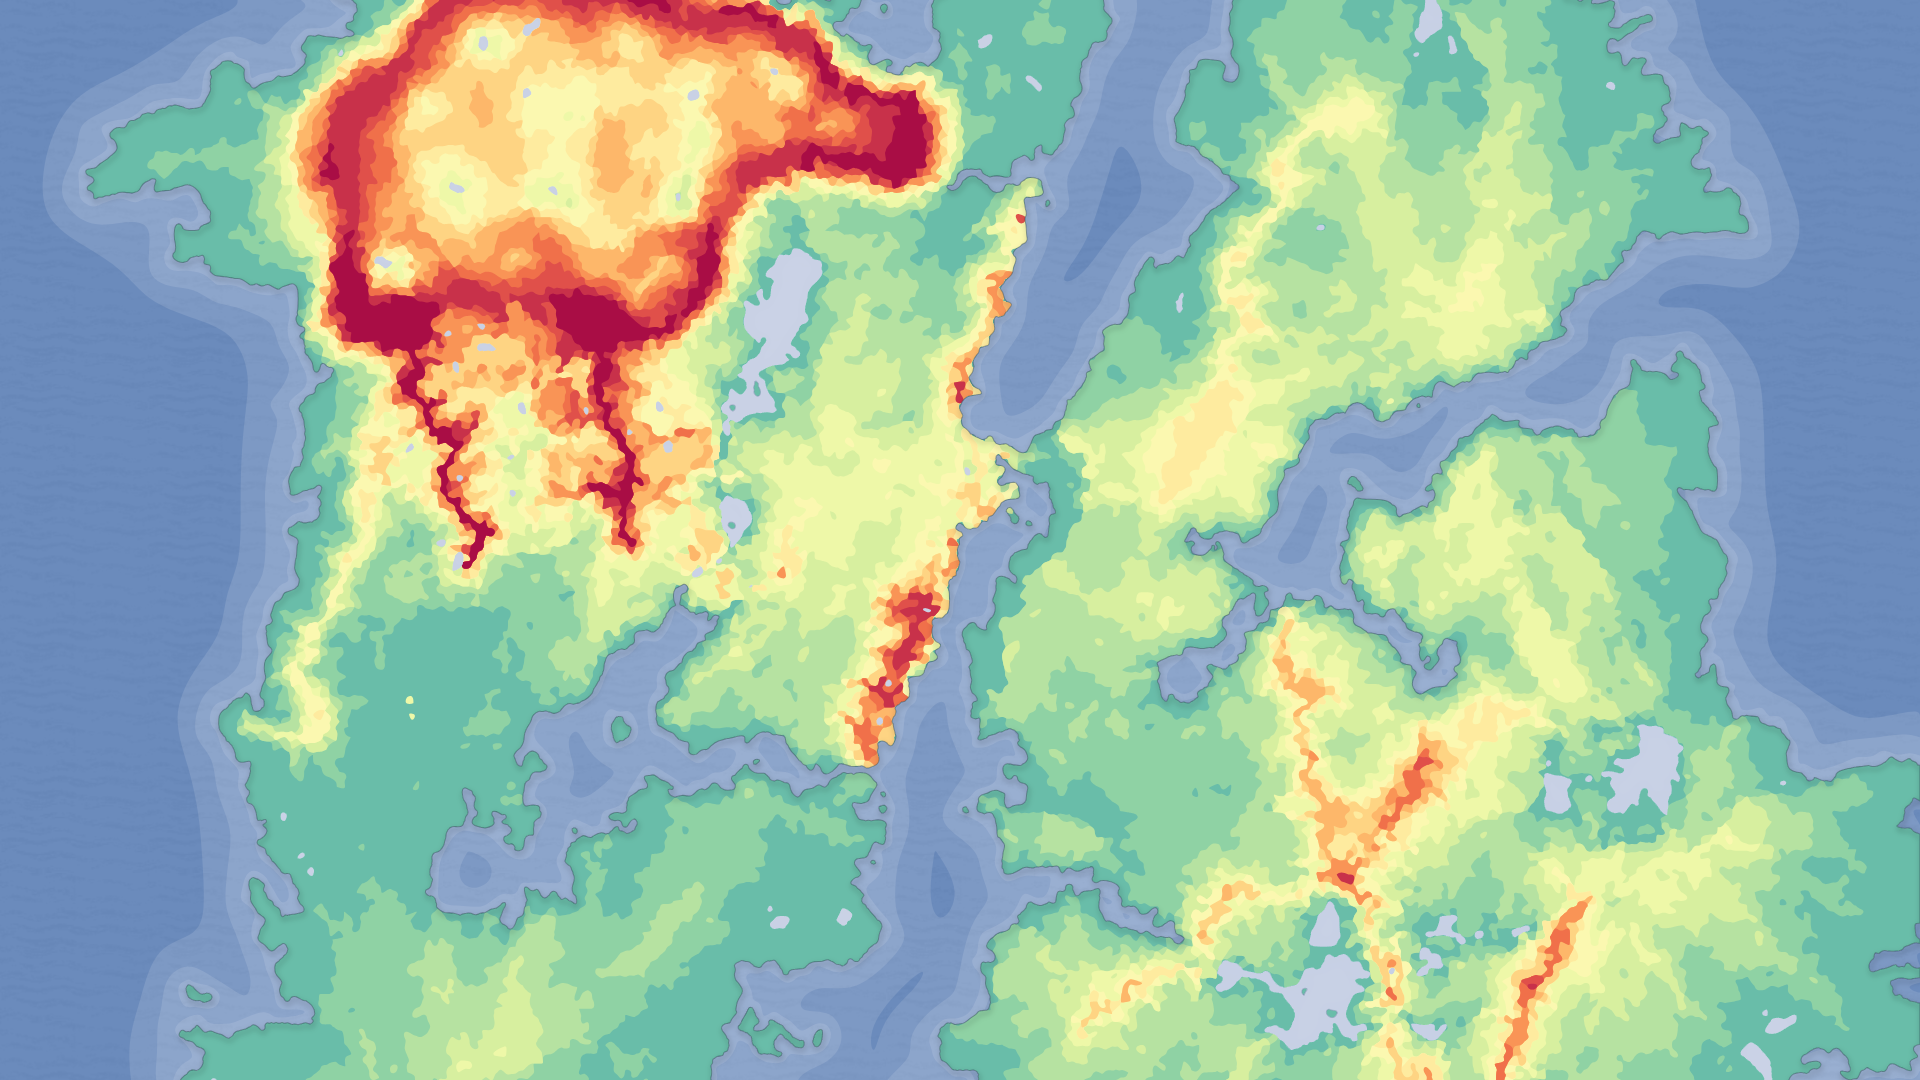
A heightmap is the file format that the landscape's grid of heights is stored in. It is simply a grayscale image where the brightness of each pixel encodes elevation: black is the lowest ground, white is the highest peak, and every grey in between is a height in proportion. Whiter means higher. That is the whole concept.
The detail that trips beginners up is bit depth. An ordinary 8-bit grayscale image only has 256 brightness steps, which produces visibly terraced, stair-stepped terrain. Production heightmaps are 16-bit grayscale, giving 65,536 height steps and smooth slopes. When you buy or build heightmaps, check they are 16-bit. The Massive Open World Landscape Pack, for example, ships 16-bit grayscale heightmaps for exactly this reason.
Resolution is the other half of the story. A heightmap's pixel dimensions decide how large and how detailed a landscape it can drive. Unreal prefers specific, landscape-friendly dimensions rather than tidy round numbers - a so-called 1K map is actually 1009 by 1009 pixels, a 2K is 2017 by 2017, a 4K is 4033 by 4033 and an 8K is 8129 by 8129. The 1K/2K/4K/8K labels are convenient shorthand, not exact powers of two. As a rule of thumb, use a small map for a focused, single-level environment and an 8K map for a full open world you intend to explore.
Importing your first landscape
With a 16-bit grayscale heightmap in hand, importing it is a short, repeatable sequence. The exact panel names below are what you will click in UE5.
1. Open the level you want the terrain in, then switch to the Landscape tool from the editor mode dropdown (it sits near 'Selection Mode' at the top of the viewport).
2. In the Landscape panel, go to the 'Manage' tab and choose to create a new landscape 'From File'.
3. Select your grayscale heightmap. Pick the resolution that matches your goal - a 512 or 1K map for a sub-region, up to 8K for the largest worlds.
4. Confirm the import. Unreal builds the grid, sets the components and sections automatically, and drops the new landscape actor into your level.
At this point you have terrain you can fly over, but it will look plain or even pure grey. That is normal - you have imported geometry, not yet any surface art. Texturing is the next step, and it is where the single most common beginner panic happens.
Auto-materials and why black landscapes happen
An auto-material is a landscape material that paints itself based on the shape of the terrain rather than by hand. It reads each point's height and slope and chooses a texture accordingly: snow on the high peaks, exposed rock on steep cliffs, grass or ground on the gentle low areas. You assign one material and the whole continent textures itself in seconds, which is exactly what you want when you are starting out.
Here is the part that confuses almost every beginner. The first time you assign an auto-material to a fresh landscape, the terrain often turns completely black. This is expected behaviour, not a bug. A layered landscape material has no pixels to draw until its paint layers actually exist on the landscape, and a brand-new import has none, so it renders black.
The fix is two clicks once you know where to look. In the Landscape tool, open the 'Paint' tab and use 'Create Layers from Assigned Material' to extract the material's target layers onto the landscape. Then right-click the base layer - in the MythicLemon packs this is the 'AutoMaterial Base Layer' - and choose 'Fill Layer' to paint it across the whole terrain by height and slope. The black vanishes and your auto-textured landscape appears.
From there you tune the look in the material instance, never in the extracted layers directly. The Massive Open World Landscape Pack's auto-material, for instance, exposes named tiers - Snow, Cliff, Mid-High, Mid-Low and Ground - each with its own base colour, normal map and height/slope thresholds, plus material functions for snow masks, puddles, colour variation, tiling variation and runtime virtual texture blending. Swap those textures for your own art and the same automatic logic re-paints with your materials. Five extra dynamic layers are left free for hand-painting paths, mud or anything the rules miss. A golden rule: edit the material instance and re-create layers if needed, but do not edit the extracted layers by hand.
World Partition basics
World Partition is UE5's system for big worlds. Instead of loading an entire level at once, it divides the world into a grid of cells and streams them in and out around the player or the editor camera, so a continent-sized map stays workable. For landscapes specifically, this is what makes 8K terrain and multi-tile worlds practical rather than a memory disaster.
For a beginner the important consequences are simple. First, when you work in a World Partition level you are usually only loading the region around your camera, which keeps the editor responsive even on a huge map. Second, you can build a world larger than any single heightmap by creating several landscapes and patching them together within the same World Partition level - use a smaller 1K or 2K heightmap as one tile and assemble a region from a handful of them. The Massive Open World Landscape Pack is built around exactly this idea, shipping each of its 14 maps at four sizes so you can use small maps for sub-regions and an 8K for the full world.
You do not need to master World Partition's streaming settings on day one. Know that it exists, know that it is why your big landscape does not crash the editor, and know that it lets you compose larger worlds from multiple landscapes when one heightmap is not enough.
Sculpting vs stamping
Once you have terrain on screen you will want to change it, and there are two broad ways to do that. The first is sculpting: using the landscape's own brushes - raise, lower, smooth, flatten, erosion and so on - to push the heights around by hand. Sculpting is direct and gives total control, but it is slow, it is destructive (the heights are baked as you go), and it rewards artistic skill most beginners have not built yet.
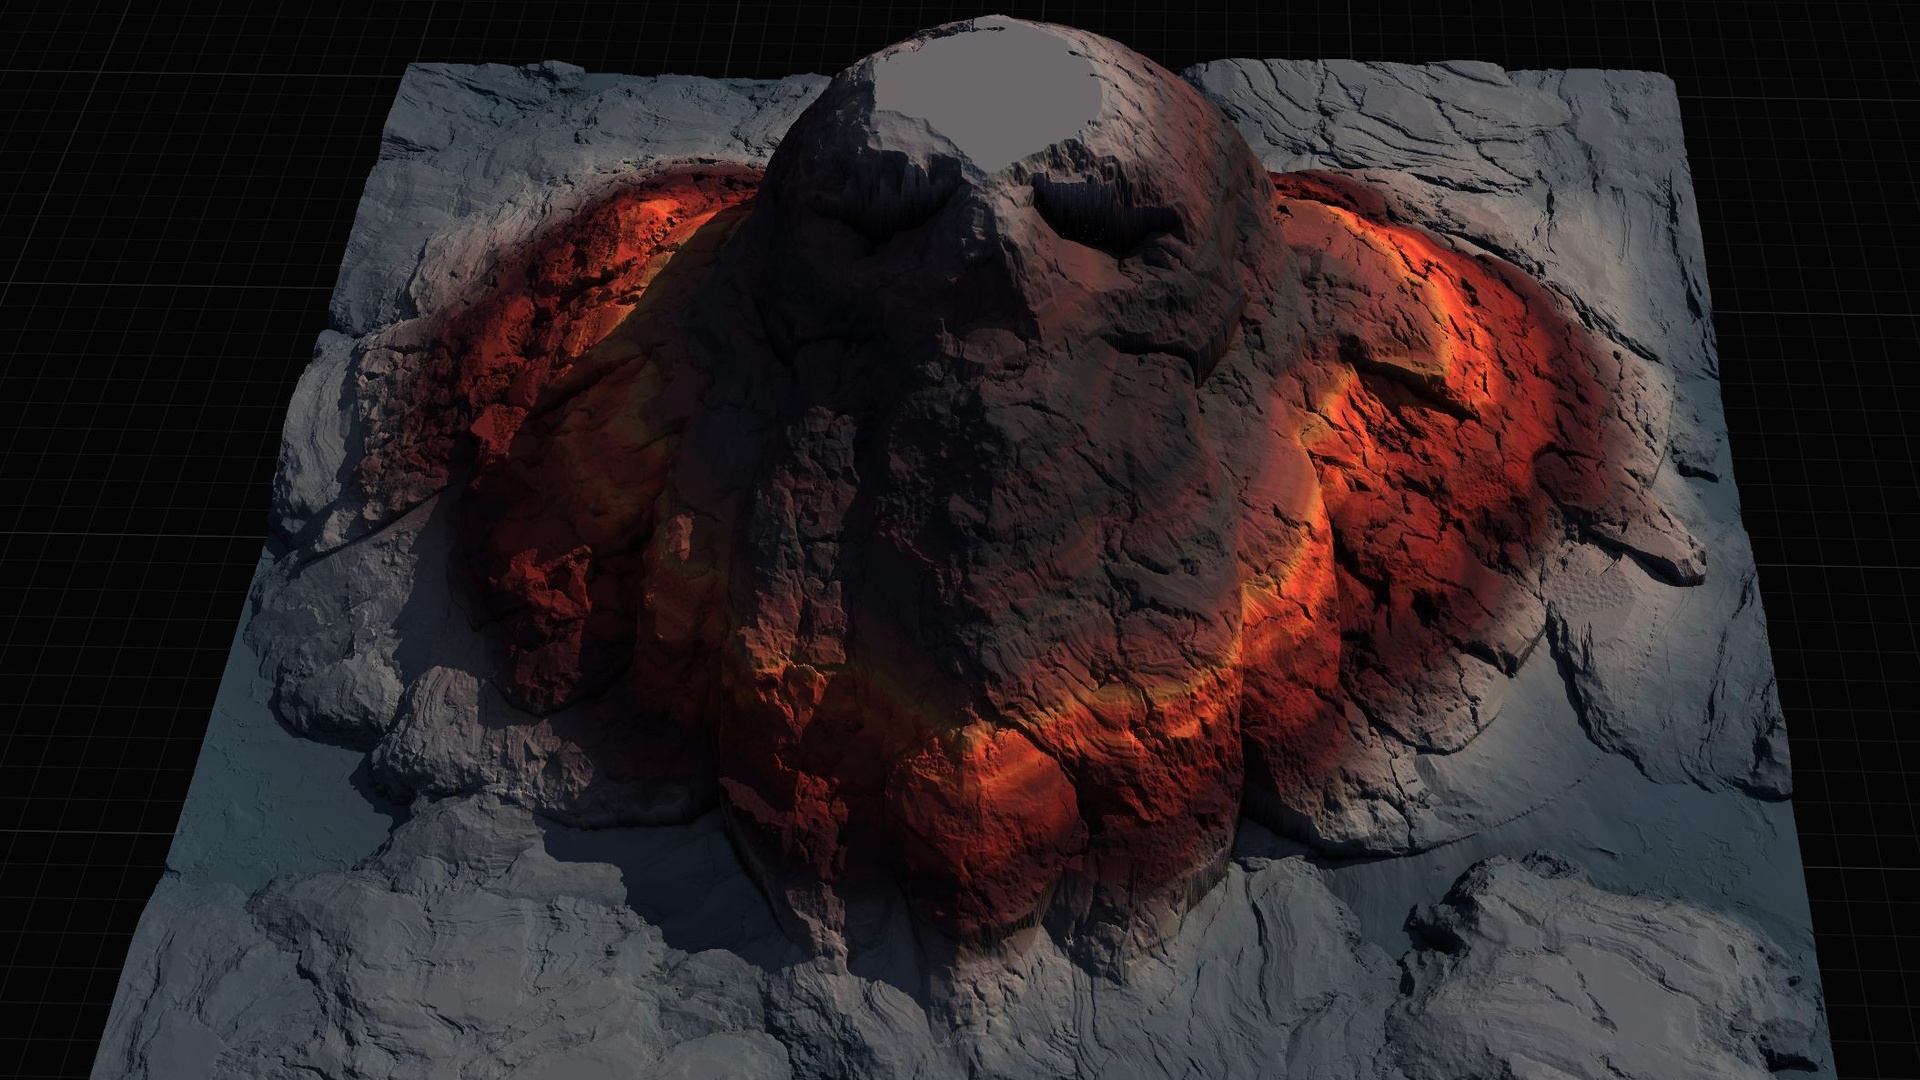
The second way is stamping. A stamp is a heightmap applied to a region of the terrain to add or carve a specific landform - a mountain, a canyon, a crater, a river bed - in one action. Stamping is faster, more repeatable, and far friendlier to newcomers because the shape is pre-made; you place it, scale it and blend it rather than sculpting it from scratch.
Modern UE5 stamping is built on the engine's Landscape Patch system, which makes stamps non-destructive: the landform stays an editable patch you can move, rescale or re-blend later instead of a permanent edit baked into the heights. This is the single biggest reason stamping suits beginners - mistakes are cheap, because nothing is committed until you want it to be. The MythicLemon line offers two stamping tools at different levels: a Blueprint-only Landscape Stamp Tool for developers who never want to touch C++, and the heavier C++ Landstamp Pro for a much larger library and finer control. Both are compared below.
Where ready-made packs save time
You can absolutely build every landscape by hand, and learning to is worthwhile. But when you are starting out, a ready-made pack collapses days of work into minutes and, just as importantly, gives you a correctly-built auto-material to study and reverse-engineer. There are two kinds of pack in the MythicLemon landscape line, and they solve different problems.
Heightmap packs give you finished terrain. The Massive Open World Landscape Pack ships 14 distinct open-world landscapes - islands, highlands, mountain passes and volcanic terrain - each at 1K, 2K, 4K and 8K, with a demo level per map, a Gaea source file for re-editing, and the AutoMaterial that auto-paints by height and slope. Some demo maps add oceans via UE's Water plugin. The Fantasy Landscape Pack spans 15 maps across many biomes - alpine mountains, canyons, spiral mountains, ringed islands - with eleven regular maps at 512/1K/2K/4K and four huge open-world maps at 8K. The Mythic Relic Landscape Pack is the budget, lore-flavoured entry: 14 landscapes whose terrain forms iconic shapes (a giant stone hand, a skull island, a broken sword), each at 1K to 8K, and it even bundles relic-themed FBX statue meshes to dress the scenes. All three share the same import-and-auto-material workflow described above, so learning one teaches you all of them.
Stamping tools give you building blocks instead. The Landscape Stamp Tool is a Blueprint-only set of geological stamps - canyon, crater, directional path, hill, mountain, river and volcano - that you drag into a World Partition level to morph the terrain in place, with no code required. Landstamp Pro is the C++ editor plugin for when you want a serious library and control: a Stamp Browser, blend modes, falloff shapes, a ten-level priority system for overlapping stamps, and a tool that turns any static mesh into a custom heightmap stamp. Pick a heightmap pack when you want finished worlds fast; pick a stamping tool when you want to compose your own terrain non-destructively.
MythicLemon landscape line - which one to pick
| Product | Type | Contents | Resolutions | Best for |
|---|---|---|---|---|
| Massive Open World Landscape Pack | Heightmap pack + AutoMaterial | 14 open-world maps, demo level + Gaea source per map | 1K / 2K / 4K / 8K (16-bit) | Large explore-the-continent worlds and islands |
| Fantasy Landscape Pack | Heightmap pack + AutoMaterial | 15 maps (11 regular + 4 huge open-world), demo level + Gaea source | 512 / 1K / 2K / 4K, plus 8K open-world | Sampling many biomes from one pack |
| Mythic Relic Landscape Pack | Heightmap pack + AutoMaterial + bonus FBX | 14 lore-shaped maps, relic statue meshes, demo level + Gaea source | 1K / 2K / 4K / 8K (16-bit) | Recognisable, story-driven set-pieces on a budget |
| Landscape Stamp Tool | Blueprint-only stamping tool | 8 tool blueprints (7 geological types), ~109 heightmap textures | 512 / 1K / 2K / 4K per stamp | Composing terrain without touching C++ |
| Landstamp Pro | C++ editor plugin | 370+ stamp assets, Stamp Browser, mesh-to-heightmap extractor | Up to 4K stamp textures | Serious stamping with blend modes and priority |
Heightmap packs give finished terrain; stamping tools give editable building blocks. Counts and resolutions are from each product's contents.
Landscape Stamp Tool vs Landstamp Pro
| Aspect | Landscape Stamp Tool | Landstamp Pro |
|---|---|---|
| Implementation | Blueprint only, no C++ | C++ editor plugin (Runtime + Editor modules) |
| Stamp library | ~109 heightmap textures across 7 tool types | 370+ stamp data assets, 100+ heightmap textures |
| Custom stamps | Custom stamp blueprint for your own heightmaps | Mesh-to-heightmap extractor turns any static mesh into a stamp |
| Browser / placement | Drag tool blueprint into a World Partition level | Stamp Browser with search, categories and drag-and-drop |
| Engine versions | UE 5.6 - 5.7 | UE 5.5 / 5.6 / 5.7+ |
| Platform | Windows, editor | Windows 64-bit, editor |
The two MythicLemon stamping tools side by side. Both build on UE's Landscape Patch system for non-destructive edits.
FAQ
Where should a beginner start with an Unreal Engine 5 landscape tutorial?
Start by importing a finished 16-bit grayscale heightmap rather than sculpting from scratch. Use the Landscape tool's 'Manage' tab to create a landscape 'From File', assign an auto-material, then use the 'Paint' tab to create layers from the assigned material and fill the base layer. That single round trip teaches you the whole core workflow in a few minutes, and a ready-made pack gives you a working auto-material to learn from.
Why does my landscape turn black after I apply the material?
This is expected, not a bug. A layered landscape material has nothing to draw until its paint layers exist on the landscape, and a fresh import has none. Open the Landscape tool's 'Paint' tab, choose 'Create Layers from Assigned Material', then right-click the base layer and 'Fill Layer'. The terrain will texture itself by height and slope and the black will disappear.
What is the difference between sculpting and stamping?
Sculpting pushes terrain heights around by hand with brushes - total control but slow and skill-dependent. Stamping applies a pre-made heightmap to add or carve a landform like a mountain or canyon in one action. Modern stamping uses UE's Landscape Patch system, so stamps stay editable and non-destructive, which makes it far friendlier for beginners.
What size heightmap should I use?
Match the map to the job. Use a small heightmap (512 or 1K) for a single focused level, and an 8K map for a full open world you intend to explore. In a World Partition level you can also patch several smaller 1K or 2K landscapes together to build a region larger than any one heightmap.
Do I need C++ to use landscape stamping tools?
No. The Landscape Stamp Tool is entirely Blueprint - you drag a tool blueprint into a World Partition level and it morphs the terrain with no code. If you later want a much larger stamp library, a Stamp Browser, blend modes and a mesh-to-heightmap extractor, Landstamp Pro is the C++ editor plugin that adds all of that.
Massive Open World Landscape Pack
Fourteen ready-to-play open-world landscapes with an auto-material setup — 56 heightmaps from 1K to 8K, including volcanic islands and oceans. Drop in, paint your own textures and build your world.
Related on Fab