tutorial · 2026-06-20
Virtual Production in UE5: LED Walls, ICVFX and In-Camera Cinematics
A practical guide to shooting virtual production scenes inside Unreal Engine 5 with LED walls, real-time lighting and sequencer-driven camera moves.

Why virtual production matters for UE5 developers in 2026
Virtual production (VP) and in-camera visual effects (ICVFX) let you shoot final-pixel footage on set with real actors, real cameras, and real-time Unreal environments on LED walls. The knight-and-dragon scene that went viral on YouTube was not a post-heavy composite; the background, lighting and reflections were rendered live in UE5 and captured in camera.
For indie and mid-size teams this changes the economics of cinematics. Instead of weeks of match-move and roto, you get lighting that is physically correct on the day, actor reactions that match the final world, and dailies that already look like the trailer. The same engine you use for gameplay can drive the shoot.
This guide walks through the practical loop: stage and wall basics, nDisplay/ICVFX setup, sequencer camera and timecode sync, live lighting with emissive and VFX cards, and the gotchas that bite first-time teams. It assumes you already have a UE5 project and a rough environment; the focus is the VP-specific workflow.
Stage, wall and nDisplay fundamentals
A minimal VP stage needs three things: a high-refresh LED wall (or volume), a camera tracking system (OptiTrack, Vicon, or cheaper solutions like Vive + calibration), and a render node driving the wall via nDisplay.
In UE5, enable the nDisplay and VirtualProduction plugins. Create a new nDisplay configuration that describes your wall layout (typically a front wall plus floor or side wings). The configuration file tells the cluster which viewport maps to which physical panel and at what resolution and refresh rate.
Test the wall first with a simple unlit scene at 60 or 120 Hz before you put actors or complex VFX in front of it. Color calibration and black levels are critical; a wall that looks great in the editor can crush blacks or clip highlights on set. Bring a waveform monitor and a decent light meter.
Syncing real cameras with UE5 Sequencer
The magic of ICVFX is that the engine sees the same camera move the physical camera is making. Use Live Link or the camera tracking plugin of your choice to pipe focal length, position, rotation and focus into the engine in real time.
Create a Sequencer level sequence for the shot. Add a Cine Camera Actor that is driven by the Live Link subject rather than keyframed. This way the in-engine camera follows the operator's move while you still have full control over cuts, focus pulls and timecode.
Lock the frame rate of the sequence and the wall to the camera's shutter. Mismatched rates cause judder or rolling shutter artefacts that are expensive to fix later. If your wall runs at 120 Hz but the camera is 24 fps, use the correct shutter angle and genlock everything to the same reference.
Lighting the set from the engine
The biggest win of VP is that the LED wall becomes the dominant light source. Place bright emissive surfaces in your scene (skylight, practicals, glowing props) and the real actors will catch the correct bounce and colour. This is why the knight-and-dragon clip felt so grounded.
Add low-cost practical LED panels around the stage for fill and rim when the wall alone is not enough. Drive their intensity from the same Level Sequence using DMX or simple Blueprint-exposed scalars so you can animate practicals in sync with in-engine events.
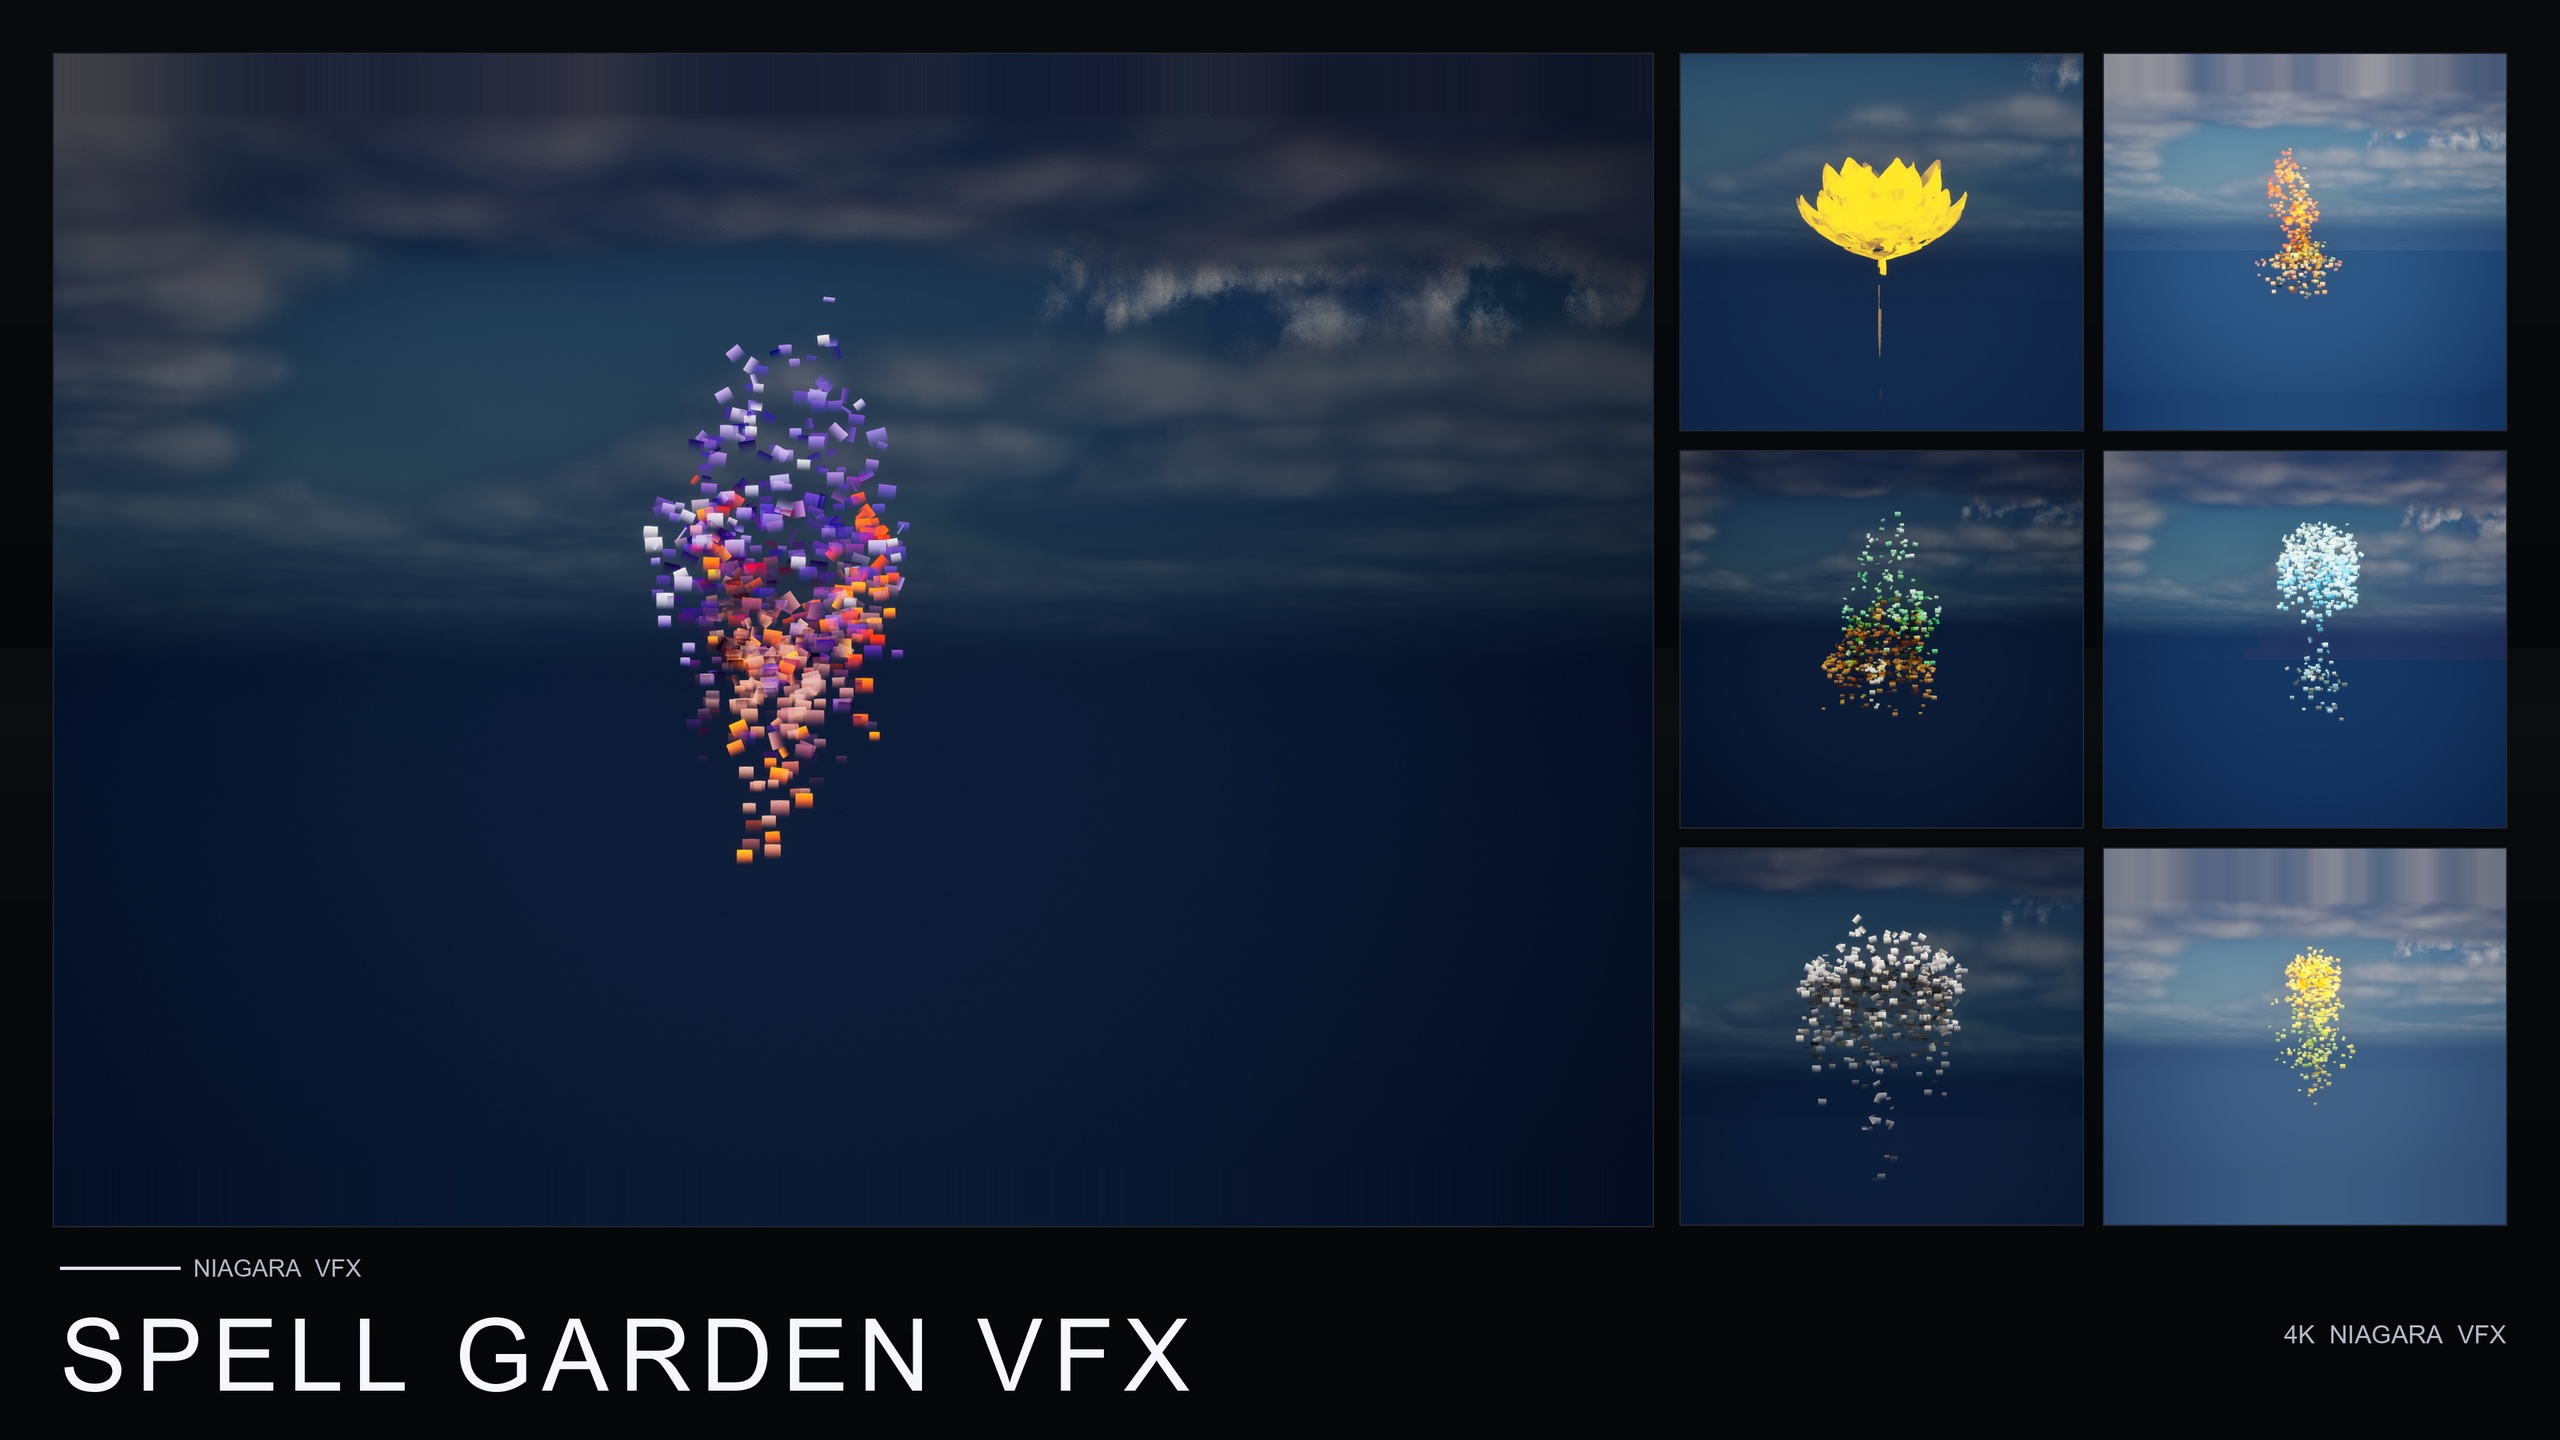
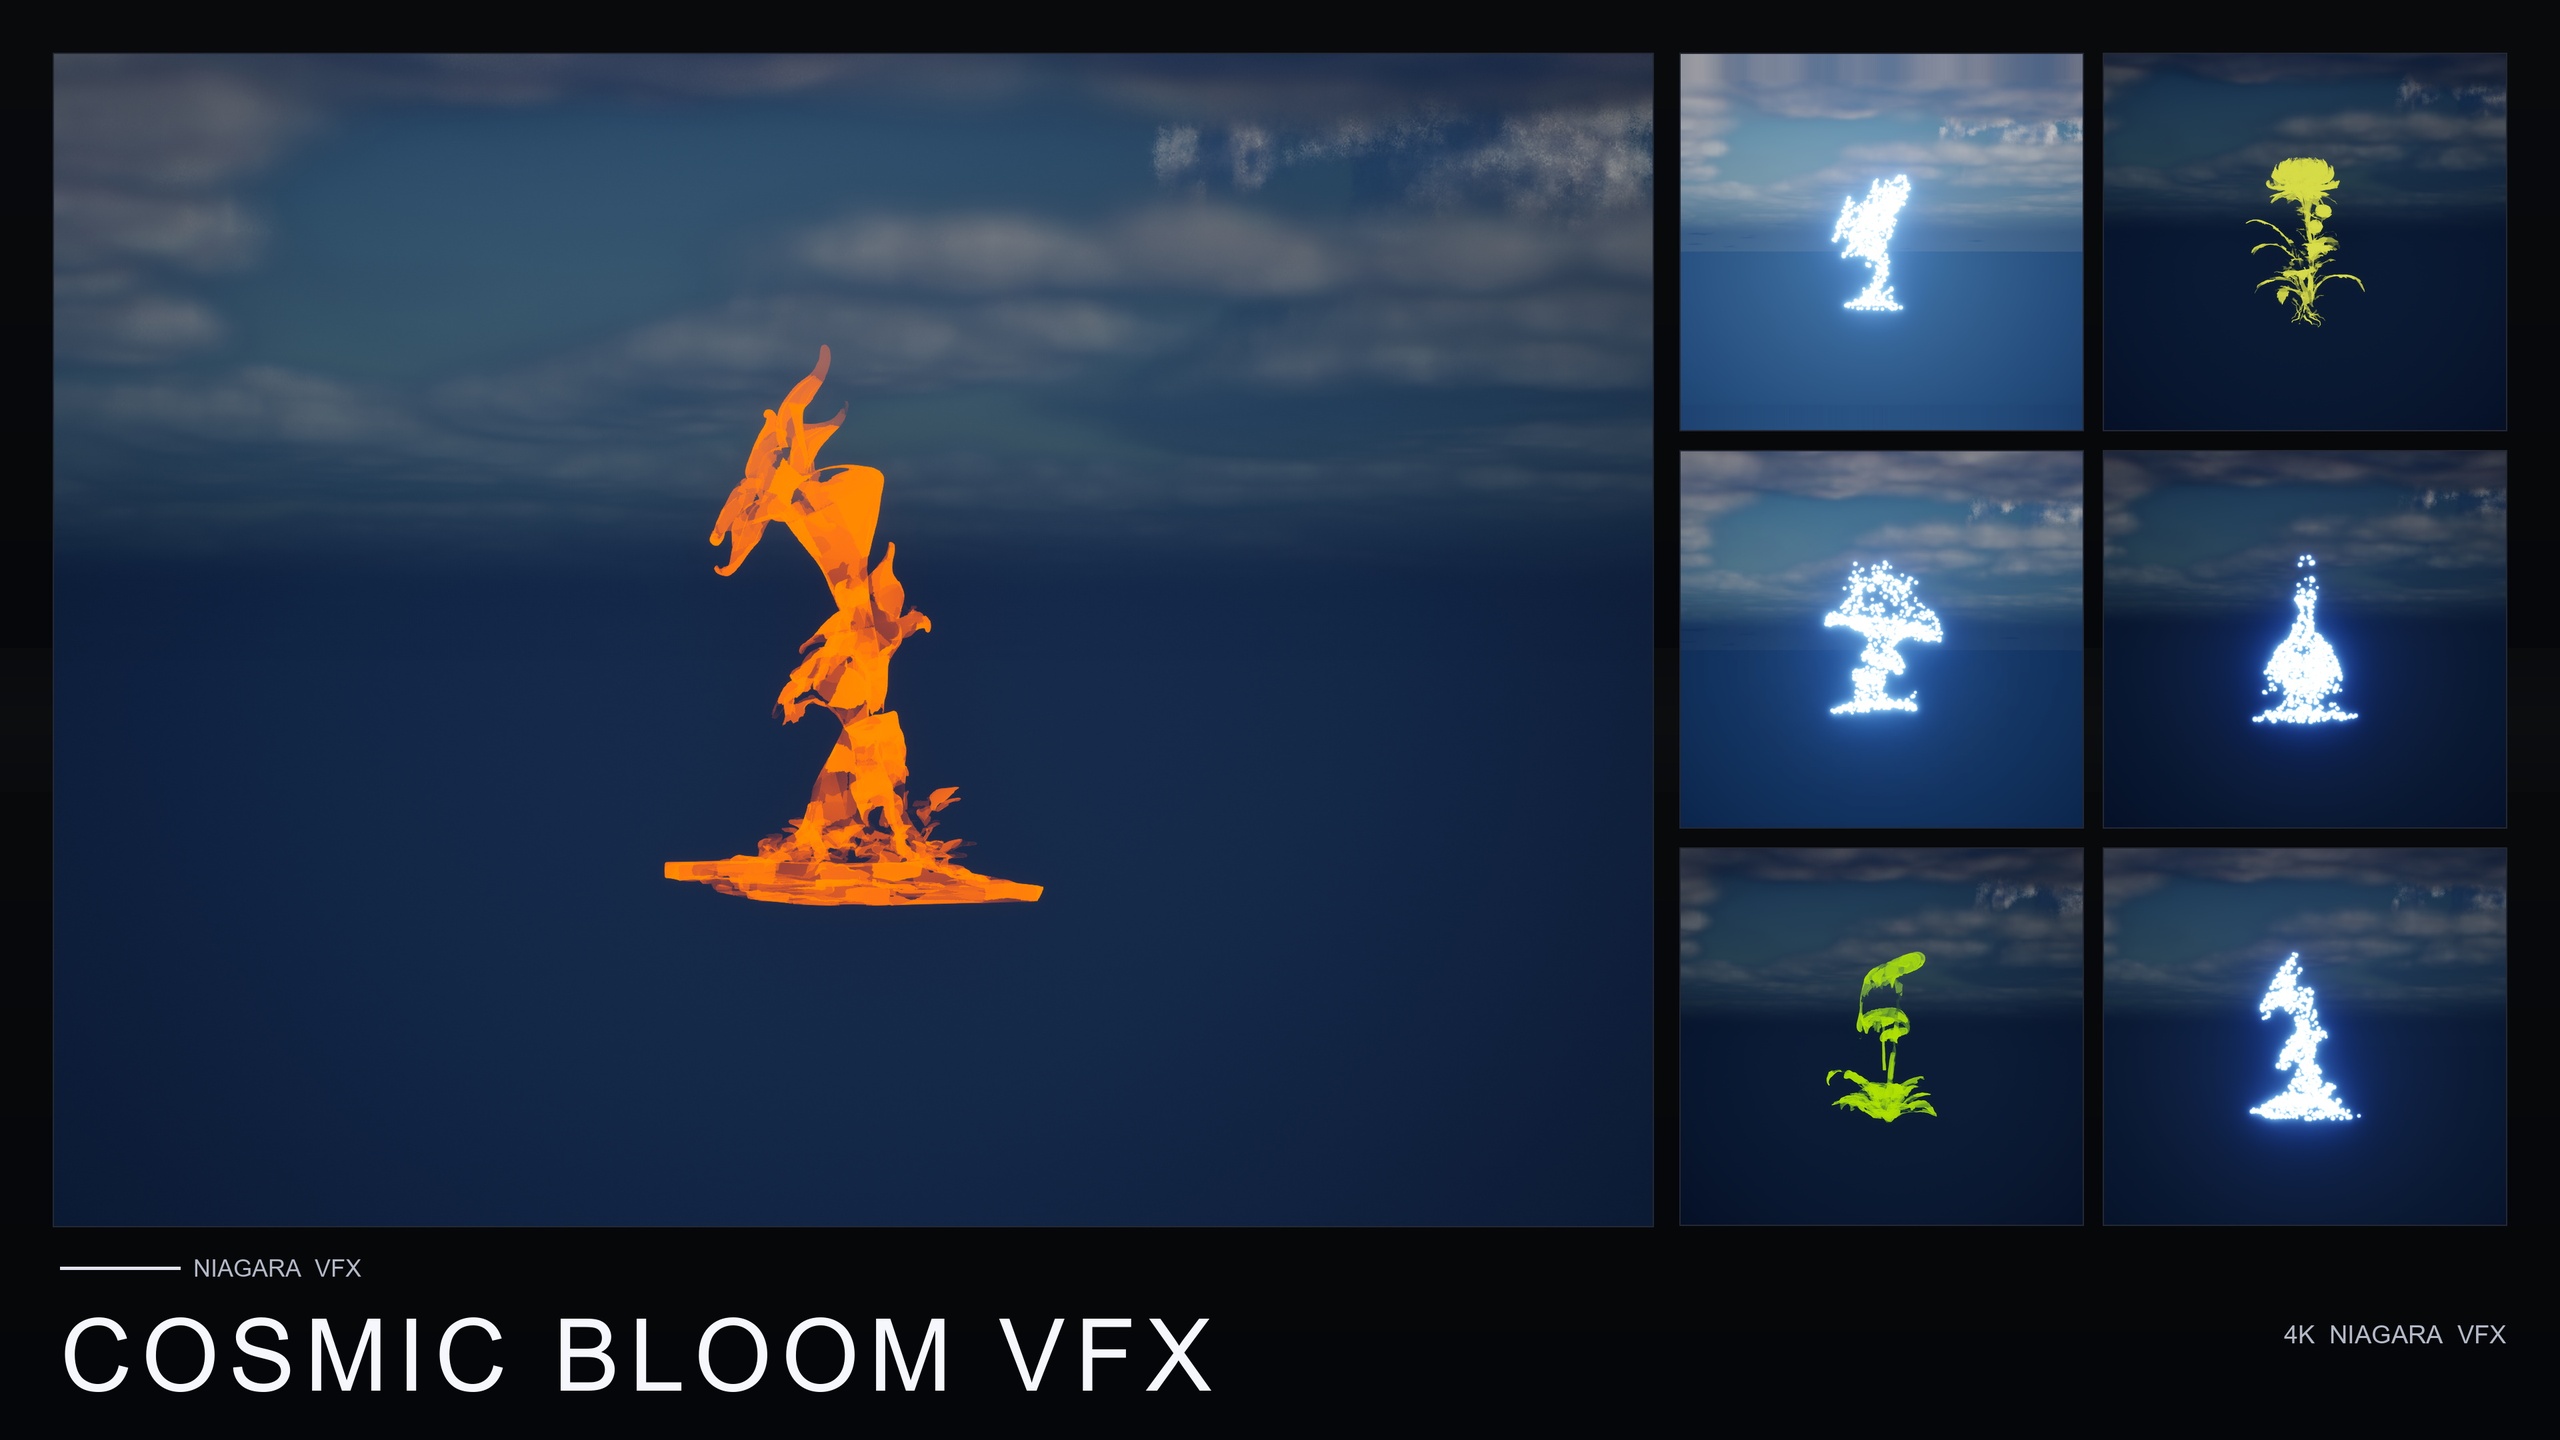
For magic or VFX moments, spawn Niagara systems on the wall or as floating cards just off camera. Use the same VFX packs you ship in the game (Spell Garden, Cosmic Bloom, etc.) so the look is consistent between gameplay and cinematics. Because they are real-time, you can tweak colour and intensity between takes without a relight pass.
Performance and iteration on set
A VP stage is not a 60 fps gameplay target. You are often rendering at 4K+ per panel at high refresh. Profile early with Unreal Insights and the GPU Visualizer. Nanite and Lumen help, but dense foliage or heavy Niagara can still kill frame time. Use the same scalability settings you plan to ship, plus a 'VP High' preset for the shoot day.
Keep a stripped 'stage proxy' level that contains only the geometry and lighting the wall actually needs. Swap in hero assets only for final beauty passes or when the camera is tight. This is the same discipline as console optimisation, just applied to the volume.
Have a fast iteration loop: change a material or spawn a new VFX card, push to the wall, roll camera, review on a reference monitor that matches the final deliverable. The faster you can do this, the more creative the shoot becomes.
Next steps and common pitfalls
Start small. Shoot a 10-second test with one actor, one moving camera, and a simple environment before you commit to a full dialogue scene. Common first-day failures are colour space mismatch between wall and camera, dropped Live Link frames, and focus breathing that the virtual camera does not replicate.
Document your nDisplay config, tracking calibration, and the exact sequencer settings that worked. You will need them again on the next shoot or when the rental house changes the wall.
If you want to generate hero VFX cards quickly for the volume, AI Flipbook Generator lets you describe an effect, bake it to a Niagara system, and drop it into the stage level in minutes. The same assets then travel back into the game so the cinematic look is not a one-off.
VP roles and UE5 responsibilities
| Role | Owns in UE5 | Key gotcha |
|---|---|---|
| Virtual Production Supervisor | nDisplay config, wall calibration, overall fps | Colour pipeline between wall and camera |
| Unreal Technical Artist | Scene optimisation, Niagara cards, lighting | Keeping stage proxy in sync with hero level |
| Sequencer / Cinematics | Level Sequence, camera cuts, Live Link subject | Timecode drift and focus breathing |
| VFX Artist (on set) | Spawning and tuning real-time effects | Performance on wall vs final render |
Who owns what on a small VP shoot using UE5.
FAQ
Do I need a full LED volume to do virtual production in UE5?
No. Many teams start with a single large LED wall plus floor or side panels. The key is good tracking and nDisplay setup; the wall can grow later.
Can I use the same Niagara VFX from my game on the VP stage?
Yes. Real-time systems from packs like Spell Garden or Cosmic Bloom work on the wall. Profile them; the wall is usually higher resolution and refresh than gameplay.
How do I keep lighting consistent between the stage and final game render?
Use the same HDR environment maps, the same skylight intensity, and the same post-process volume settings. Shoot an HDR reference ball on set and match it in the engine.
AI Flipbook Generator
Type a prompt, get a game-ready effect. AI Flipbook Generator turns text into flipbook spritesheets via OpenAI image models, then bakes them to Texture2D, Material Instance and a ready-to-drop Niagara System — with a 55-entry effect library, style presets and multi-variant batching. Uses your own OpenAI API key; nothing is proxied through us.
Related on Fab
Related reading