Landscapes & Worlds · Beginner · 18 min
Import Your First Landscape from a Heightmap
Turn a grayscale image into real 3D terrain, auto-paint it by height and slope, and fix the infamous "black landscape" — the fastest way to get a believable world on screen.
Before this: Navigate the UE5 Viewport Like You've Done It for Years
- Explain what a heightmap is and why it beats sculpting by hand
- Import a grayscale heightmap as a Landscape actor
- Assign a landscape material and fix the black-landscape problem
- Walk your terrain at player height
Why start from a heightmap?
If you've ever opened the Landscape tool and tried to sculpt a mountain by pushing a flat plane around with a brush, you know it's slow and rarely convincing. The fastest way to get believable terrain on screen — especially as a beginner — is to import one that's already shaped: a grayscale heightmap.
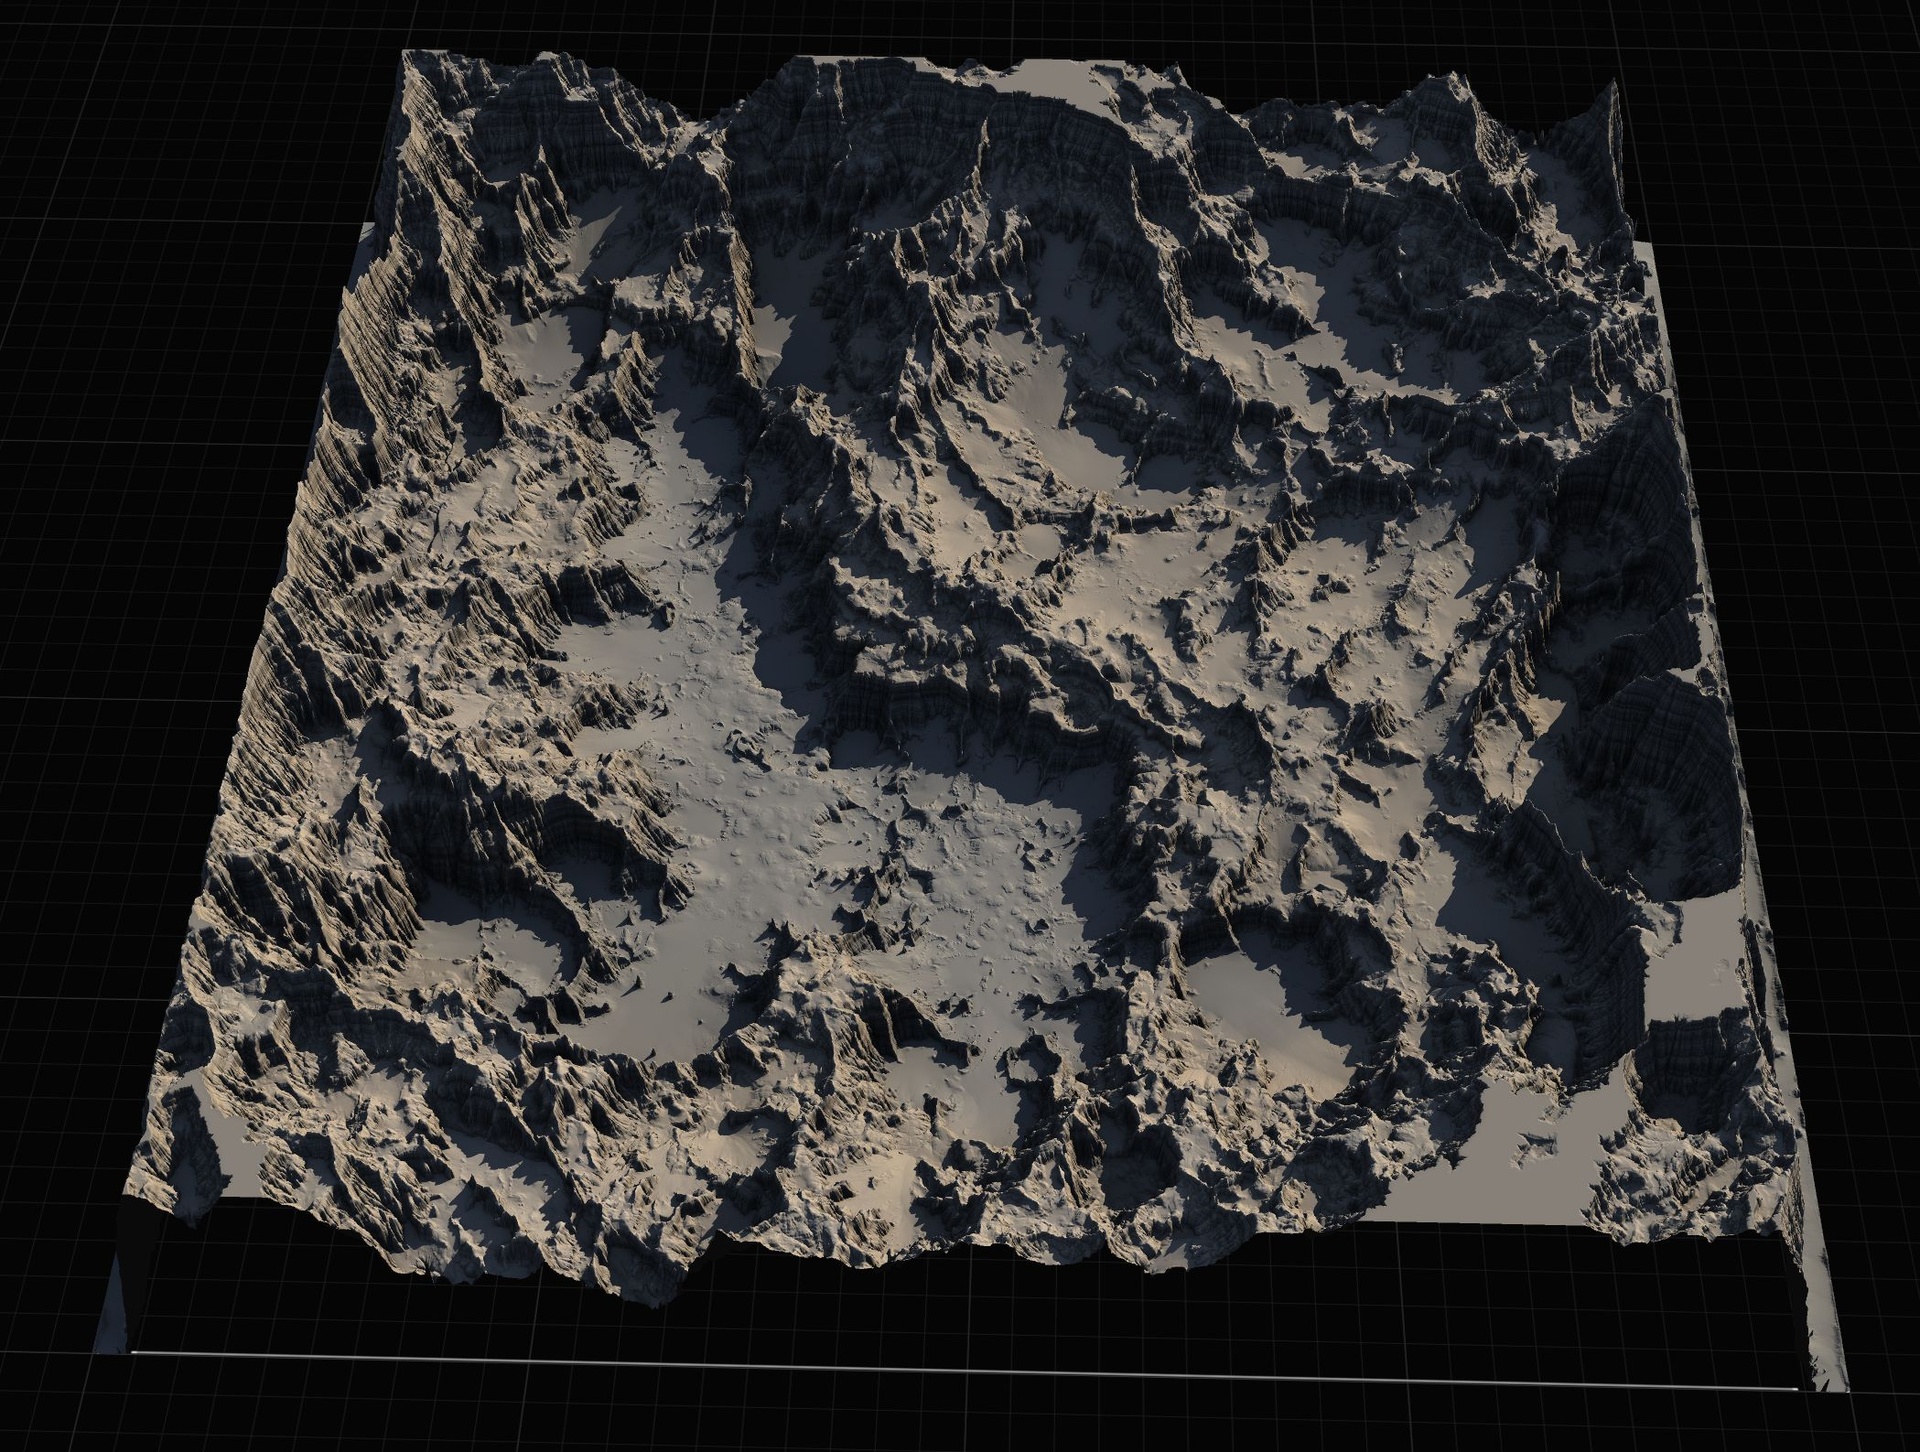
A heightmap is just a grayscale image where the brightness of each pixel is elevation. White is high, black is low. Unreal reads that image and builds the terrain mesh from it. Import one, texture it, and you have a whole landscape in minutes.
Three terms to lock in first
Tap a card to flip it
You'll need
Tick these before importing:
- An open level (the Third Person template from the navigation lesson is fine, or a new Basic level)
- A 16-bit grayscale heightmap saved as PNG, at an Unreal-friendly resolution (e.g. 1009×1009 or 2017×2017)
- Five quiet minutes — the auto-paint step has one gotcha that catches everyone
Import the heightmap as a Landscape
Follow in order. Tick each step so you can step away and come back.
- 1Switch to Landscape mode
At the top-left of the level editor there's a mode dropdown (it says 'Selection' by default). Open it and choose 'Landscape'. The left panel changes to the Landscape tool.
- 2Open Manage → Import from File
In the Landscape panel, click the 'Manage' tab. Under 'New Landscape', switch the mode from 'Create New' to 'Import from File'. A 'Heightmap File' field appears.
- 3Pick your heightmap PNG
Click the '...' next to 'Heightmap File' and browse to your 16-bit grayscale PNG. Unreal reads the image dimensions and auto-fills the section and component counts for you — leave those at the suggested values.
TipIf the importer rejects the file, it's almost always because the image isn't 16-bit grayscale or isn't a supported size. Re-export it as 16-bit grayscale PNG.
- 4Import
Leave location, rotation and scale at their defaults for your first import, then click 'Import' at the bottom of the panel.
Unreal builds the terrain. You'll see its shape in the viewport — almost certainly rendered flat grey or solid black. That's expected; we fix it next.
- 5Assign a landscape material
Switch the mode dropdown back to 'Selection', click the landscape in the viewport, and in the Details panel find the 'Landscape Material' slot. Assign an auto-material (or, better, a Material Instance of one).
The terrain will very likely turn solid black now. Do not panic — this is the normal state for an auto-painted landscape that has no layer data yet.
- 6Fix the black landscape: create and fill layers
Go back into Landscape mode and click the 'Paint' tab. In the Layers list, click 'Create Layers from Assigned Material' (sometimes a right-click option) — this extracts the material's target layers.
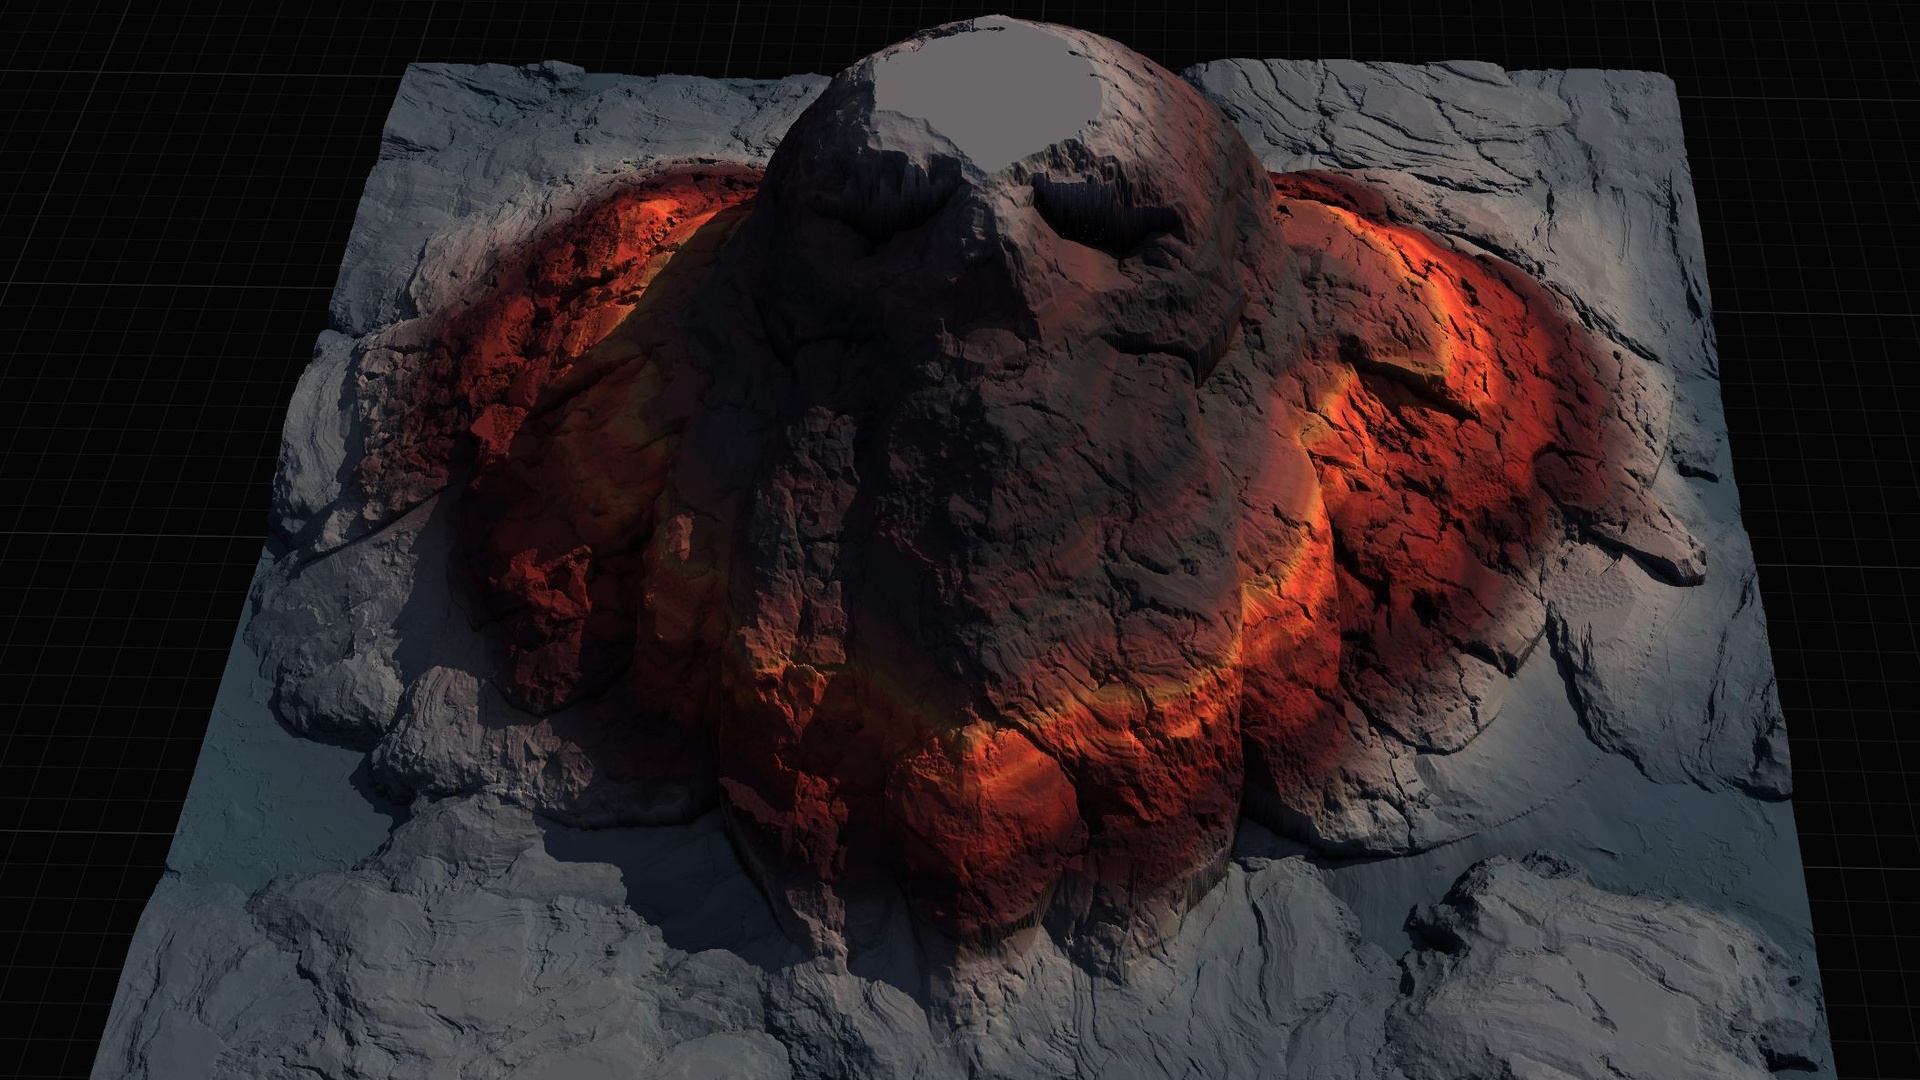
Right-click the base layer and choose 'Fill Layer' to paint it across the whole terrain at full weight. The auto-material springs to life and the black vanishes — low ground gets ground textures, steep faces get cliff, peaks pick up snow.
- 7Walk it
Switch back to Selection mode and press 'Play' (or Alt+P) to drop in at player height and walk your terrain. A landscape always reads differently at eye level than from the editor camera.
Two console commands worth knowing
stat fps      ; show frames-per-second
stat unit     ; show frame, game and GPU timings
show Landscape ; toggle landscape rendering on/off to confirm what you're seeingTwo routes to terrain
Best when you have a shaped terrain already (from a tool like Gaea, or a pack of ready-made maps). You get a believable landscape instantly and just texture it.
Great for learning, set-pieces, and any time you don't want to sculpt from scratch.
In Manage → New Landscape, choose 'Create New' instead. You get a flat plane and raise/lower it with the Sculpt tools.
More control and fully hand-made, but slow and hard to make convincing as a beginner. Most people import first, then sculpt small tweaks on top.
You did everything and the landscape is STILL black after filling the layer. What are the two things to check?
First, confirm you actually assigned the material to the 'Landscape Material' slot (an empty slot also renders black) and that it's an auto-material with target layers.
Second, confirm the Paint tab's 'Create Layers from Assigned Material' actually populated the Layers list before you tried to fill — if the list was empty, there was nothing to fill. Re-create the layers, then fill the base layer again.
Re-import the same heightmap at a different resolution (e.g. swap a 1K map for a 2K one), assign the same material, and get it painting. Then open the Material Instance and change one layer's tint — for example make the ground layer more golden.
Hint 1
Re-importing is the same Manage → Import from File flow; just pick the higher-resolution PNG.
Hint 2
To recolour a layer, you edit the Material Instance (not the landscape directly). Double-click the Material Instance in the Content Browser.
Hint 3
Look for the layer's base-colour or tint parameter and nudge it. Changes apply live.
Switch to Landscape mode → Manage → Import from File → pick the 2K PNG → Import. Back in Selection mode, assign the same auto-material instance, then Paint → Create Layers from Assigned Material → right-click base layer → Fill Layer.
Double-click the Material Instance in the Content Browser, find the ground layer's colour/tint parameter, and shift it toward gold. Because everything downstream of a Material Instance updates live, the terrain recolours without re-importing.
QuizCheck yourself
1In a heightmap, which pixels become the high ground?
Brightness encodes elevation: whiter = higher, darker = lower.
2Your terrain turns solid black right after you assign the auto-material. The correct reaction is to…
Black means the layers have no weight data yet. Create the layers and fill the base layer to give the auto-material something to paint.
3Why is 'Import from File' usually better for a beginner than 'Create New'?
Importing a ready-shaped heightmap lets you focus on learning the workflow rather than fighting to sculpt convincing terrain by hand.
Mark this lesson complete
We'll remember it on your Academy page and unlock the next lesson below.
Questions beginners ask
Where do I get heightmaps to practise with?
You can author them in free tools like Gaea or World Machine, find free 16-bit grayscale heightmaps online, or use a ready-made pack. The Mythic Relic Landscape Pack, for example, ships 14 fantasy terrains as 16-bit grayscale PNGs at 1K–8K with an included auto-material, so you can practise this exact workflow on interesting shapes.
What resolution heightmap should I start with?
Start small — 1009×1009 (1K) or 2017×2017 (2K). They import fast and are light on memory while teaching the same workflow. Move up to 4K/8K only when you genuinely need a large region or a full open world.
Why must the heightmap be 16-bit grayscale?
8-bit only has 256 height steps, which produces visible 'terracing' on slopes. 16-bit gives 65,536 steps for smooth terrain. Grayscale (not colour) is what Unreal's importer expects for elevation data.