tutorial · 2026-06-24
Keystone Kit Mode: Tile Your Own Modular Meshes in UE5
A practical walkthrough of Kit Mode in Keystone — tiling your own log, brick, stone or sci-fi modular meshes (and marketplace or Megascans kits) onto a generated UE5 building, slot by slot, with honest notes on what it does and does not do.
What Kit Mode actually is — and what it is not
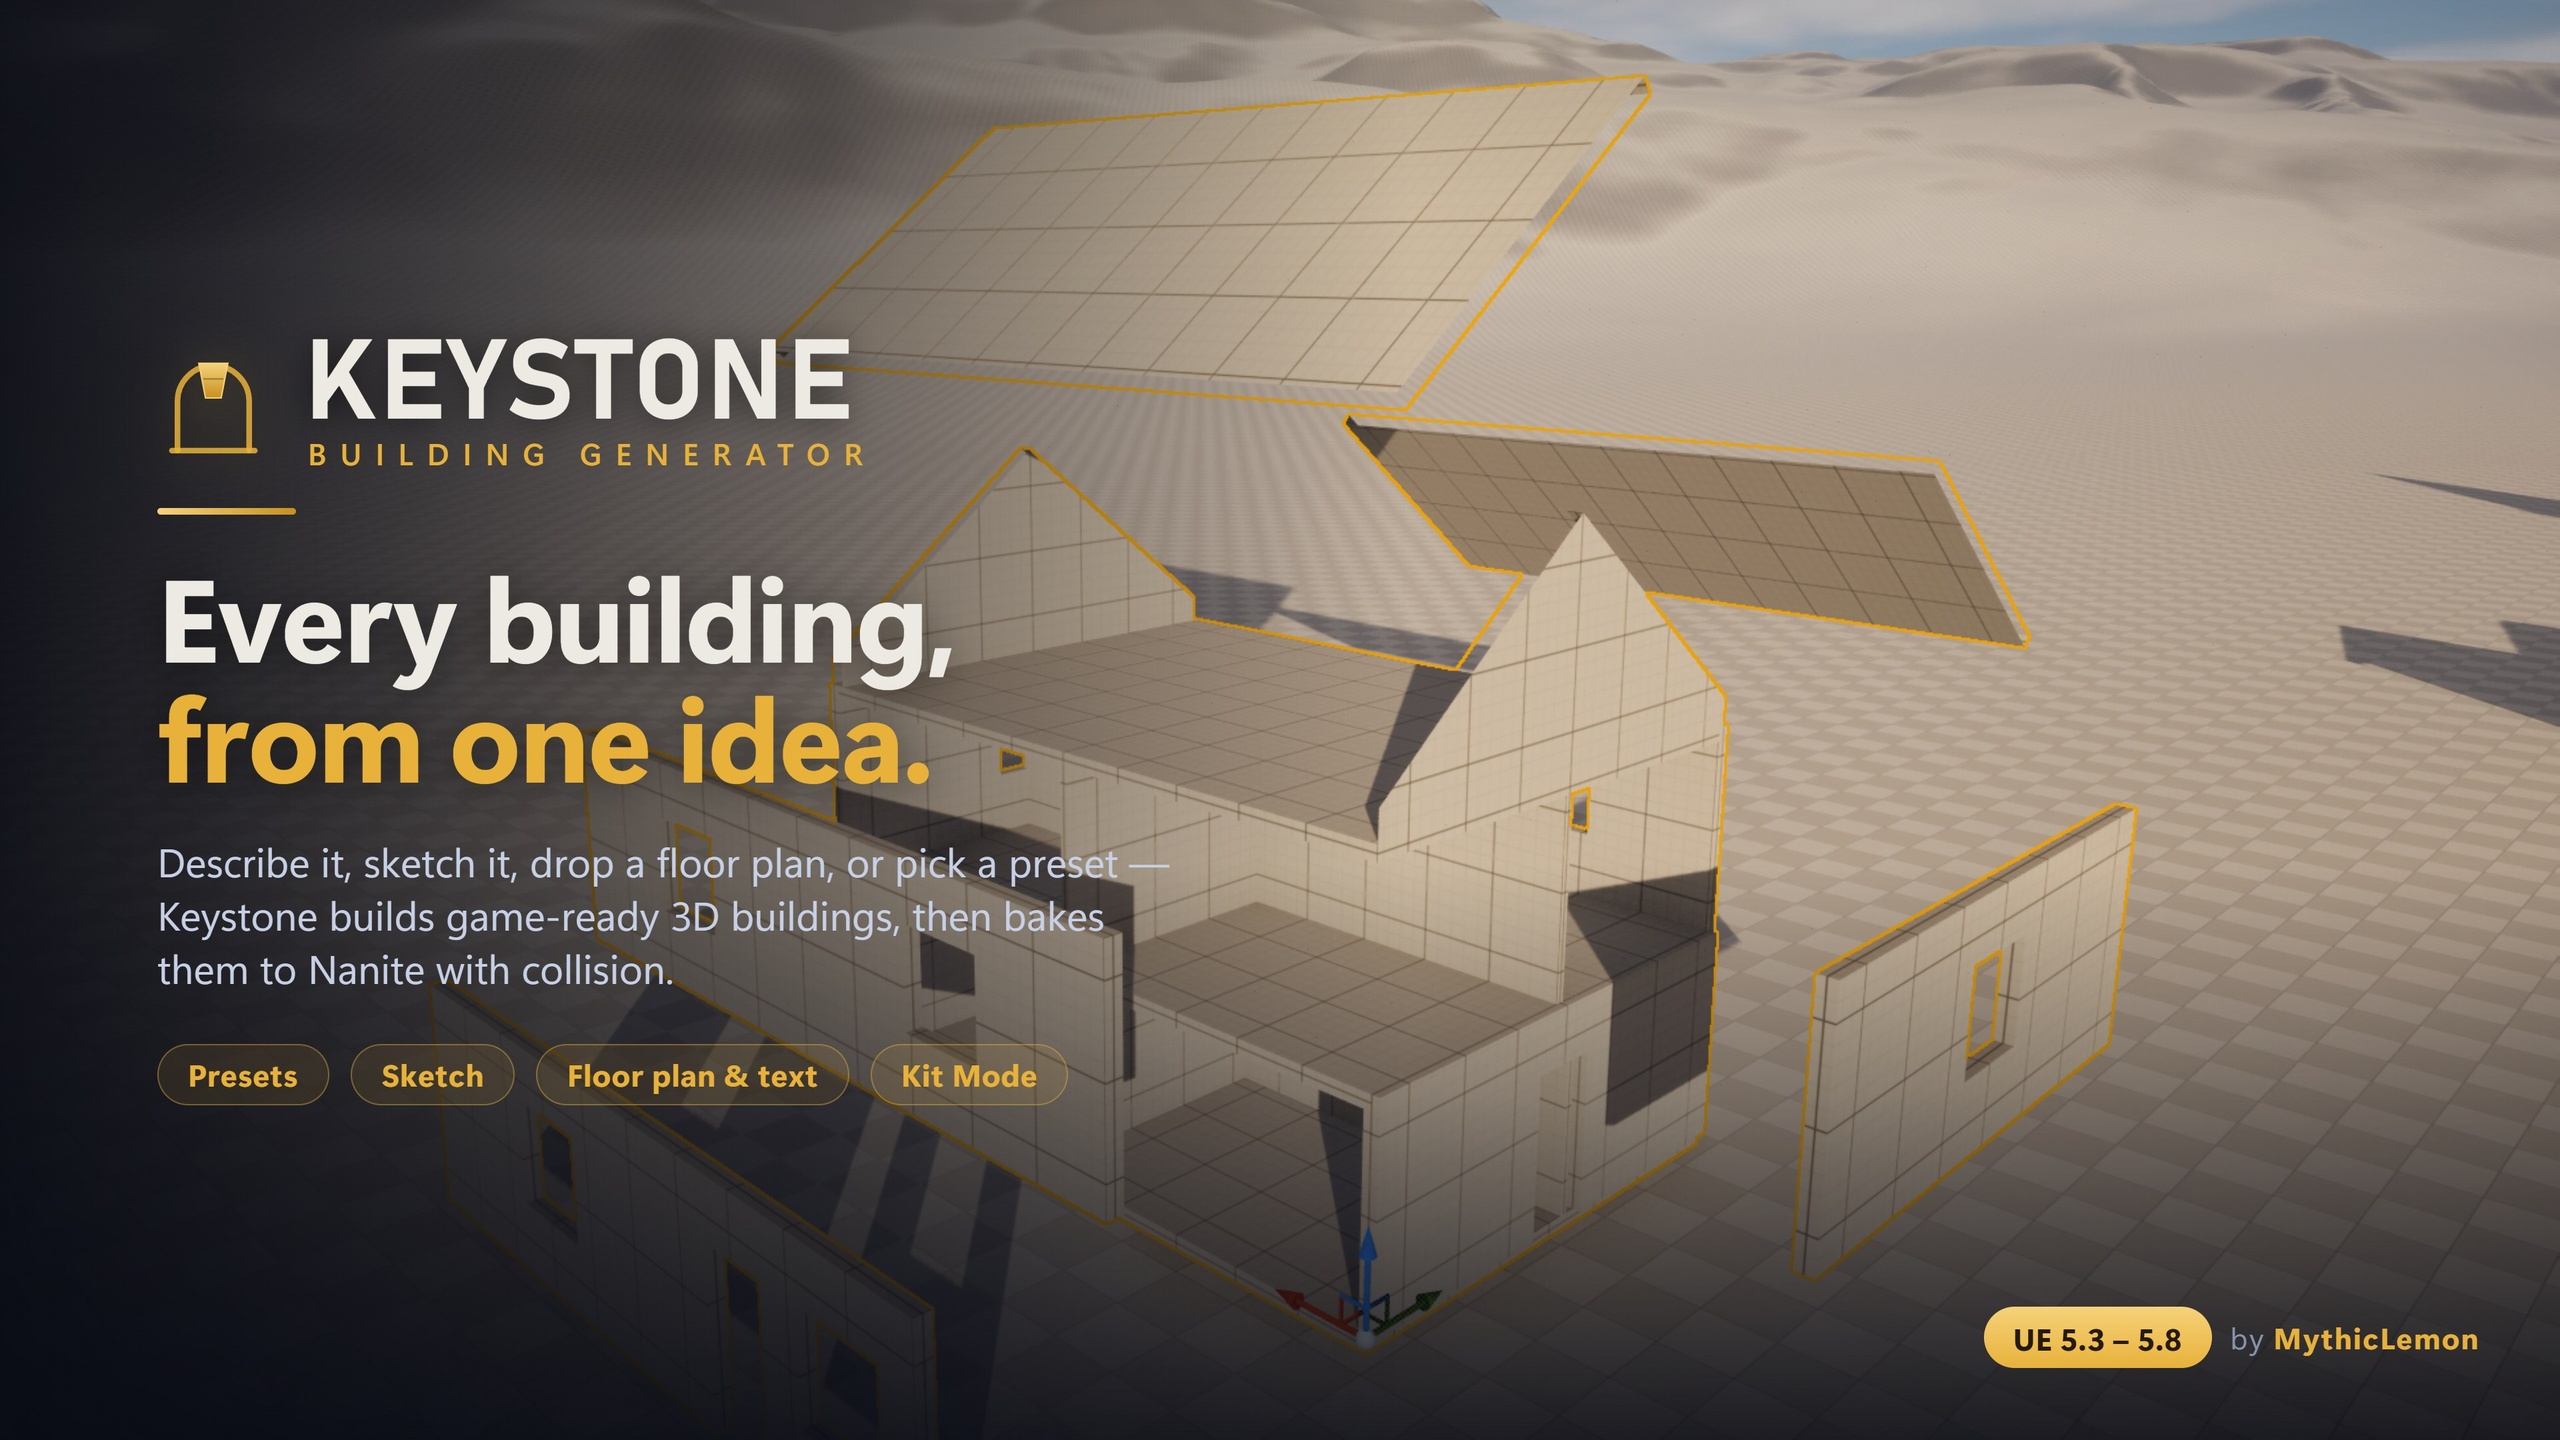
Most procedural building tools build geometry in one particular look, and if that look does not match your project you are stuck. Kit Mode is Keystone's answer to that. It is one of five ways to start or shape a building in Keystone — alongside the eight one-click presets, the true-to-scale 2D Sketch canvas, the floor-plan image reader and the plain-English text description — and it is the one that lets you put your own art on the structure. You take a modular mesh kit you already own (a log set, a brick wall set, a hewn-stone set, a sci-fi panel set, a marketplace pack, or Quixel/Megascans pieces) and Keystone tiles those meshes across the building it has worked out, placing each instance with the correct position and pivot.
It helps to be precise about the shape of the feature before you start, because the name 'Kit Mode' can suggest more than it delivers. Kit Mode is a per-element mesh tiler, not a full kitbash editor. You are not dragging individual modules around a 3D scene, snapping corner pieces to wall pieces by hand, or hand-authoring a bespoke arrangement. Instead, you assign a mesh to a building element — Walls, Floors, Ceilings, or Interior Walls — and Keystone repeats or scales that mesh to cover the element. That is a real constraint and a real strength at the same time: it is far faster than hand-kitbashing a whole building, and it keeps the result consistent, but it will not give you the artist-directed, piece-by-piece control of laying a kit out manually.
One more framing point worth keeping in mind throughout. Keystone is a deterministic procedural geometry engine: it builds the structure itself, and Kit Mode is the layer that dresses that structure in your meshes. There is no AI involved in Kit Mode at all — it needs no API key, nothing leaves your machine, and the only AI features in Keystone (drafting a building from text or from a floor-plan image) are entirely separate, optional, and bring-your-own-key. Even when you do use those AI inputs, the AI only interprets your text or image into editable building parameters — the geometry is always built by the deterministic engine, and no AI-generated meshes are ever shipped. Kit Mode itself is pure, local, repeatable mesh placement.
Which elements accept meshes, and which stay procedural
Kit Mode does not apply to every part of the building, and knowing the split up front saves confusion. Four element types accept your meshes: Walls (the exterior walls), Floors, Ceilings, and Interior Walls. For each of these you can point a slot at one of your modular meshes and Keystone will tile it across that element with correct placement and pivots. These are the surfaces where a repeating modular kit reads naturally — a run of log courses along a wall, a tiled stone floor, a panelled ceiling, a brick partition inside.
Two parts of the building deliberately stay procedural and do not take a Kit Mode mesh: the Roof and the Trim. The reason is geometric closure. A roof has to meet the walls cleanly at every eave and ridge, and trim has to wrap corners and openings without gaps; Keystone keeps building those itself so they always close up tidily rather than leaving you to fight seams where a tiled kit mesh would not quite meet the procedural structure. So even a fully kitted building keeps a procedurally generated roof and procedural trim, and that is by design, not a missing feature.
There is a second, quieter rule that makes Kit Mode forgiving: any slot you leave empty stays procedural. You do not have to kit the whole building. You can assign your own stone mesh to the exterior Walls and leave Floors, Ceilings and Interior Walls empty, and those empty elements simply keep Keystone's own procedural geometry. That means you can mix your art with the engine's output freely — kit the parts the camera will see, leave the rest procedural — and you are never forced into an all-or-nothing decision.
Step 1 — Get a building in front of you
Kit Mode dresses an existing building, so the first move is to have a building to dress. Open Keystone from the Level Editor toolbar button (it is labelled Keystone) or from the Tools menu; if you prefer the console, BG.OpenPanel does the same. Then get a structure into the live 3D preview by whichever of Keystone's starting points suits you. The fastest is a preset: there are eight one-click starter buildings — House, L-Shape, Gable Cottage, 3-Storey Block, Setback Tower, Castle, Log Cabin and Round Tower — and you can also spawn any of them from the console with BG.Spawn followed by a number from 0 to 7.
If you want the footprint to match something specific, use the Sketch canvas instead. It is a true-to-scale 2D canvas working in real Unreal units (centimetres), with snapping and orthogonal guides, where you draw the footprint, set storeys and place doors, windows and interior walls. This matters for Kit Mode because the dimensions you sketch are the dimensions your tiled meshes will have to fill — drawing to scale now means your kit tiles sensibly later. The two optional AI starting points (text description and floor-plan image) are available too, but they are bring-your-own-key, produce a first draft that benefits from a review pass, and need no part in a Kit Mode workflow.
Whatever you start from, everything converges on a single editable building file shown in the live preview before you bake anything. Spend a moment getting the massing right — number of storeys, footprint, where the openings sit — because Kit Mode is about cladding that massing, and it is much easier to settle the shape first and apply your meshes to a structure you are happy with than to re-kit after a big structural change. One geometry rule to settle early: an edge curved into a round tower or bay by an arc does not carry openings, so place any doors and windows on straight edges from the outset.
Step 2 — Assign your meshes to slots
With a building in the preview, open Kit Mode and assign meshes to the elements you want clad. For each of the four supported elements — Walls, Floors, Ceilings, Interior Walls — there is a slot you can point at one of your StaticMesh assets. Pick the mesh from your project's Content Browser the same way you would assign any mesh reference: your own modular kit, a pack you bought on the marketplace, or a Quixel/Megascans piece all work, because Kit Mode just needs StaticMesh assets to tile. Keystone handles the placement and pivots, so you are not manually positioning each copy.
A practical note on preparing kit meshes pays off here. Keystone tiles a mesh at its natural size and relies on its pivot for placement, so meshes that were authored as clean modular units — sensible real-world dimensions, a pivot at a logical corner or base, geometry that reads correctly when repeated edge to edge — will tile predictably. Most purpose-built modular kits and Megascans surface pieces already meet that bar. If a mesh tiles oddly, the usual cause is an unexpected pivot or an unusual bounding size rather than anything Keystone is doing wrong, so it is worth sanity-checking a mesh's pivot before assigning it.
Remember the empty-slot rule as you go: only fill the slots you actually want to override. If you are after a log-cabin exterior over an otherwise standard interior, assign your log mesh to Walls and leave the other three slots empty so Floors, Ceilings and Interior Walls keep Keystone's procedural geometry. Build up the kitting incrementally, watching the live preview update, rather than assigning all four at once and trying to diagnose the result.
Step 3 — Choose the fit mode: Tile or Stretch
Each kitted slot has a fit mode that controls how the mesh fills its element, and there are two: Tile and Stretch. Tile repeats the mesh at its natural size, fitting a whole number of copies along each run so that nothing is clipped — Keystone works out how many instances fit and lays them down without cutting the last one off mid-mesh. Stretch does the opposite: it places one instance of the mesh and scales it to fill the entire element. The two produce very different looks and suit different kinds of art, so choosing the right one per slot is most of the craft in Kit Mode.
Use Tile when the mesh is a genuine modular unit meant to repeat — a single log, a brick course, a stone block, a sci-fi wall panel. Because Tile fits a whole number of instances at natural size, the mesh keeps its intended proportions and detail density, and the building reads as a real modular structure rather than a stretched texture. The trade-off is that the element's length will be filled by whole units, so the apparent module size is what dictates the look; meshes designed to tile seamlessly edge to edge will give the cleanest runs.
Use Stretch when you have a single piece meant to cover a whole surface, or when keeping the mesh's exact natural size matters less than filling the element with one continuous instance — for example a bespoke wall panel you want sized to the wall rather than repeated. The thing to watch with Stretch is distortion: because it scales one instance to fit, a mesh stretched far from its authored proportions can look squashed or pulled, so it is best on meshes that tolerate scaling or on elements whose size is close to the mesh's natural size. As a rule of thumb: repeating modular pieces want Tile; single fill pieces want Stretch.
Step 4 — Bake, with honest limits and where to take it next
Before baking, it is worth knowing how a kitted building is realised, because it affects performance planning. A Kit-Mode tiled slot is implemented as one InstancedStaticMeshComponent per slot — an efficient choice, because the many repeated copies of your wall mesh are drawn as instances of a single mesh rather than as separate actors. When you are happy with the kitting and the fit modes, you bake. Keystone bakes to standard Unreal StaticMeshes with collision; both 'Enable Nanite' and 'Generate collision' are on by default, and you choose the Content Browser folder the output lands in. The output is baked as separable pieces — each exterior wall, each roof panel, each floor and ceiling slab — so you can later detach a wall to cut in a doorway, swap a single roof panel, or delete a section for a ruin without disturbing the rest. Baked buildings are ordinary StaticMesh assets that you own outright: platform-agnostic, no runtime generation, no tick cost, and no runtime dependency on Keystone, so they run on any target platform even though Keystone itself is a Windows editor tool. Every time you Generate, the building is also saved to your project's Content Browser as a clickable thumbnail in the building Library, and generating again adds a new entry rather than overwriting, so your kitting iterations accumulate and nothing is lost.
A few limits are worth stating plainly so there are no surprises. Kit Mode is a per-element tiler, not a kitbash editor — fast, consistent cladding per element, not hand-placed piece-by-piece arrangement. The Roof and Trim always stay procedural and cannot take a kit mesh, by design, so they close cleanly. Interiors in Keystone are approximate — excellent for blockout and for the kind of mid-ground and exterior buildings Kit Mode shines on, but not a substitute for a hand-built close-up hero interior set, so kit your Interior Walls for blockout value rather than for a camera pressed against them. The separable-piece baking also favours editability over raw draw-call count; if you place a great many identical kitted buildings, plan to merge or instance them at the scene level. Keystone is also a Windows (Win64) editor tool — the building you bake runs anywhere, but the tool that makes it runs in the Windows editor — and it ships no Blueprints and no runtime generation API: it is editor tooling whose output is baked assets. And one geometry rule from the wider detailing toolkit is easy to trip over: an edge curved by an arc into a round tower or bay does not carry openings, so place doors and windows on straight edges and treat arced walls as solid kitted surfaces.
From here, the productive next steps are to settle on the right fit mode per element, prepare your kit meshes with clean pivots so they tile predictably, and lean on the building Library and JSON import/export to version and share designs — the building file is a single human-readable JSON file, and the same file always reproduces the same building, so a teammate who imports your JSON gets the identical structure to re-kit. You can combine Kit Mode with the rest of the detailing toolkit too — stacked-log and timber-frame wall styles, crenellation and cornice detail bands, arcs and round towers, and the subtle seeded 'stylize' deformation — with the multi-volume Castle preset (a crenellated keep with round corner towers, curtain walls and a gatehouse) as the showcase of how far composition goes. If you are weighing the editions, note that the AI inputs are full-only — Keystone Lite has no AI at all — so a Kit Mode workflow, which uses no AI, works the same regardless. Kit Mode is the piece that turns Keystone from a building generator into a building generator that wears your art. Keystone is a one-time purchase ($29.99) with lifetime updates.
Which building elements take a kit mesh
| Element | Accepts a kit mesh? | Behaviour |
|---|---|---|
| Walls (exterior) | Yes | Tiled or stretched with your mesh, correct placement and pivots |
| Floors | Yes | Tiled or stretched across the floor element |
| Ceilings | Yes | Tiled or stretched across the ceiling element |
| Interior Walls | Yes (interiors are approximate) | Clad for blockout; not a hero close-up interior |
| Roof | No | Always procedural so eaves and ridge close cleanly |
| Trim | No | Always procedural so corners and openings wrap without gaps |
Empty slots, and Roof and Trim, stay procedural — so a kitted building always keeps a clean procedural roof and trim, and you can clad only the elements you want.
Tile vs Stretch — which fit mode to choose
| Fit mode | What it does | Best for | Watch out for |
|---|---|---|---|
| Tile | Repeats the mesh at natural size, fitting a whole number along each run so nothing is clipped | Genuine modular units: a log, a brick course, a stone block, a sci-fi panel | Element length is filled in whole units; use meshes that tile seamlessly edge to edge |
| Stretch | Places one instance of the mesh and scales it to fill the whole element | A single piece meant to cover a surface, or where one continuous instance is wanted | Distortion — a mesh scaled far from its natural proportions can look squashed |
Set the fit mode per slot. The rule of thumb: repeating modular pieces want Tile; single fill pieces want Stretch.
The Kit Mode workflow at a glance
| Stage | What you do | What Keystone handles |
|---|---|---|
| Start a building | Use a preset, the 2D Sketch canvas, or another input to get a structure in the live preview | Builds the structure deterministically and shows it before you bake |
| Assign meshes | Point Walls / Floors / Ceilings / Interior Walls slots at your StaticMesh assets | Places instances with correct position and pivots |
| Choose fit mode | Set Tile or Stretch per slot; leave unwanted slots empty | Tile fits whole units; Stretch scales one instance; empty slots stay procedural |
| Bake | Pick a Content Browser folder and bake (Nanite and collision on by default) | Outputs separable StaticMesh pieces with no runtime dependency on Keystone |
Kit Mode dresses an existing Keystone building; settle the massing first, then clad it slot by slot, then bake.
FAQ
Which building elements can I put my own meshes on in Kit Mode?
Four element types accept kit meshes: Walls (exterior), Floors, Ceilings and Interior Walls. The Roof and Trim always stay procedural — by design, so they close up cleanly at eaves, ridges, corners and openings. Any slot you leave empty also stays procedural, so you can clad only the elements you want and let Keystone keep generating the rest. Bear in mind interiors are approximate, so kit Interior Walls for blockout value rather than for close-up hero shots.
What is the difference between Tile and Stretch fit modes?
Tile repeats the mesh at its natural size, fitting a whole number of copies along each run so nothing is clipped — use it for genuine modular pieces like a log, a brick course or a wall panel. Stretch places one instance and scales it to fill the whole element — use it for a single piece meant to cover a surface, watching for distortion if you scale far from the mesh's natural proportions.
Can I use marketplace packs or Quixel/Megascans meshes with Kit Mode?
Yes. Kit Mode tiles your own StaticMesh assets, whether that is your own modular kit, a marketplace pack, or Quixel/Megascans pieces — log, brick, stone or sci-fi. Keystone handles placement and pivots. Meshes authored as clean modular units with sensible pivots tile most predictably; if a mesh tiles oddly the usual cause is an unexpected pivot or bounding size.
Is Kit Mode a full kitbash editor, and does it use AI?
No to both. Kit Mode is a per-element mesh tiler: you assign a mesh to a building element and Keystone repeats or scales it to cover that element. It is much faster and more consistent than hand-kitbashing a whole building, but it does not give you piece-by-piece, hand-placed control of laying a kit out manually. It also involves no AI and needs no API key — the only AI features in Keystone (drafting from text or a floor-plan image) are separate, optional and bring-your-own-key, and they never produce AI-generated meshes.
How does a kitted building bake, and does it cost performance at runtime?
Each Kit-Mode tiled slot is realised as one InstancedStaticMeshComponent, so repeated copies are efficient instances rather than separate objects. On bake you get standard Nanite StaticMeshes with collision (both on by default) as separable pieces you own, with no runtime dependency on Keystone and no tick cost. The separable-piece baking favours editability over raw draw-call count, so for many identical buildings, plan to merge or instance them at the scene level.
Keystone
Keystone generates game-ready 3D buildings — walls, floors, roofs and approximate interiors — directly inside the Unreal Editor. Start from one of eight presets, draw a footprint on a true-to-scale 2D canvas, drop in a floor-plan image, describe a building in plain English, or tile your own modular meshes with Kit Mode. Every input converges on one editable building file, shown in a live 3D preview, and bakes to Nanite static meshes with collision — as separable pieces — that you own outright. The geometry is built by a deterministic procedural engine: no subscription, no credits, and no AI-generated meshes. The optional Draft-from-Text and Draft-from-Image features use your own API key (Anthropic, OpenAI, Google, or local Ollama) only to read your words or plan into editable parameters.
Related reading