
tutorial · 2026-06-22
Floor Plan to Unreal Geometry: ArchViz Blockout with Keystone
Take a client floor-plan PNG, calibrate its scale with the alignment overlay, draft an editable building, then correct it by hand — a grounded UE5 archviz workflow that treats AI as a starting point, not a tracer.
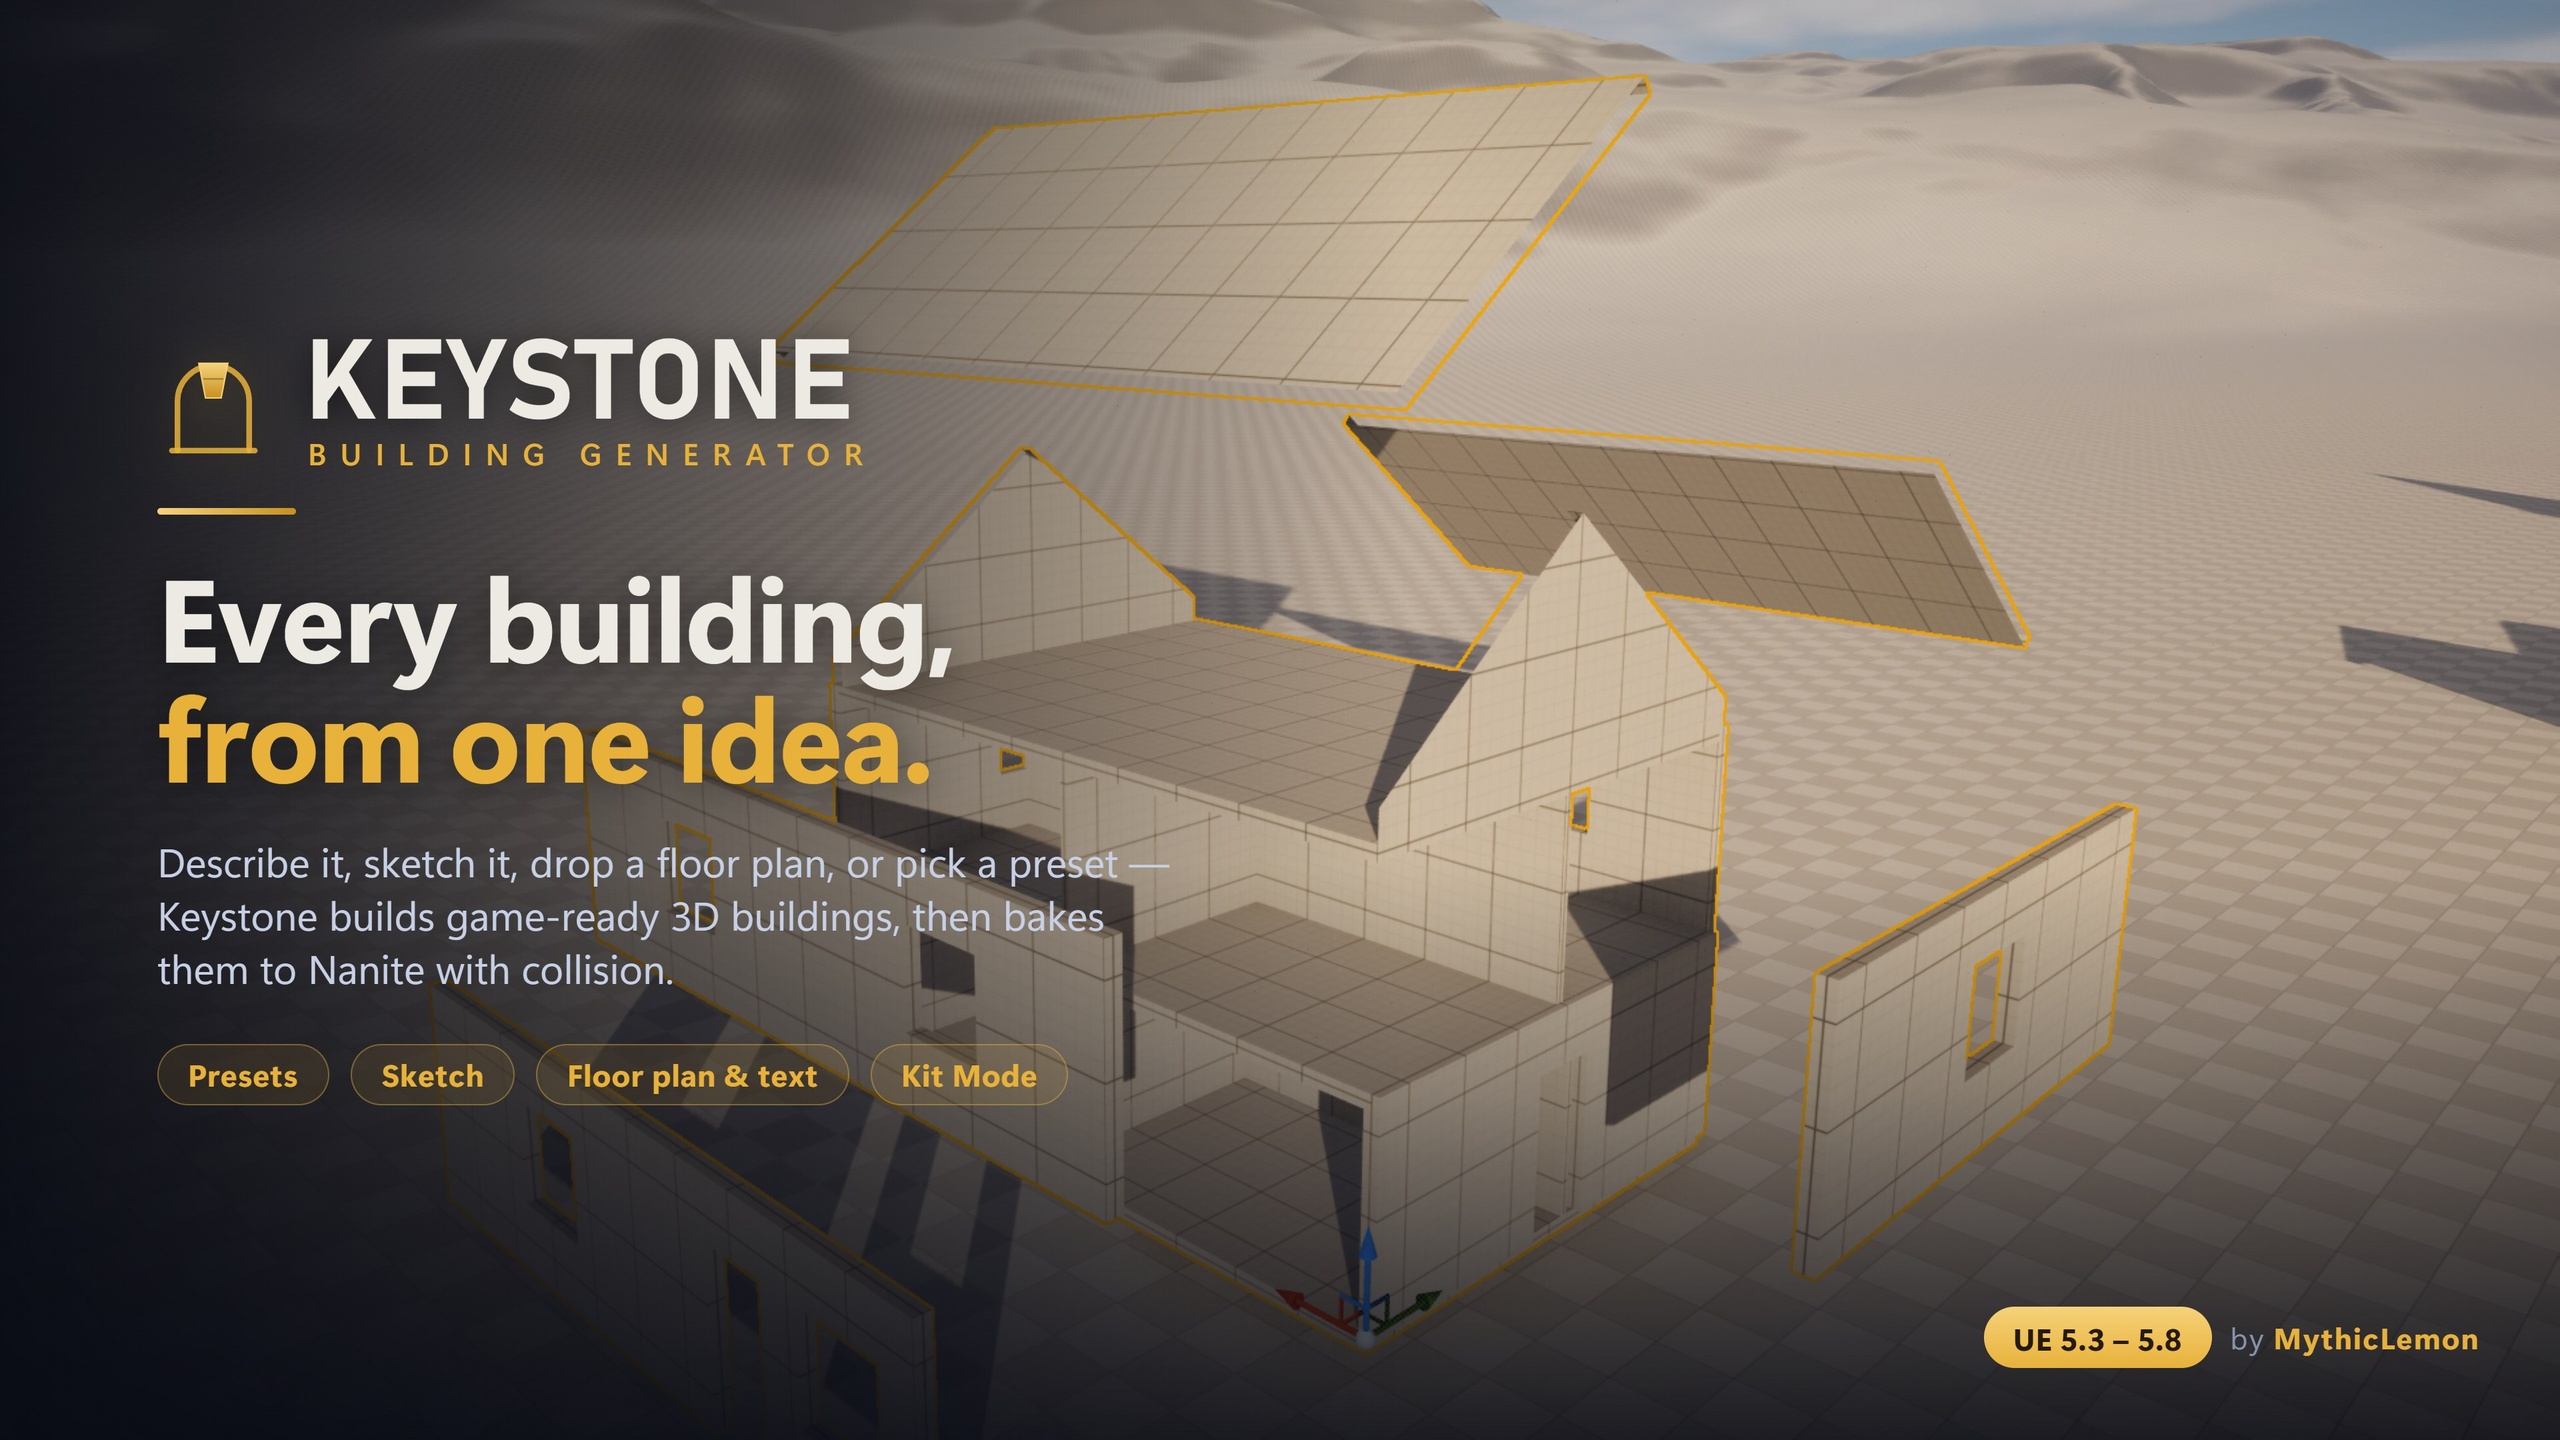
Why a floor plan is the right starting point for archviz blockout
Most architectural visualisation jobs begin with a drawing, not a model. A client hands you a floor-plan image — usually an exported PNG or a flattened PDF page — and your first task is to turn that flat outline into something you can move a camera through in Unreal. Doing that by hand means tracing the footprint with a spline or a modelling tool, extruding walls to the right height, cutting openings, and constantly checking your scale against the drawing. It is slow, fiddly, and easy to get subtly wrong, which is exactly the kind of work worth accelerating when the goal is a blockout rather than a final hero set.
Keystone's floor-plan-image input is built for this opening move. You load the PNG, calibrate its scale so the building comes out at the correct real-world size, and let the tool read the plan into a first-draft building you can then edit. The output is a deterministic procedural building — walls, floors, a roof and approximate interiors — shown in a live 3D preview before you commit, and ultimately baked to standard Nanite static meshes with collision that you own outright.
Be clear about what this is and is not. The floor-plan reader uses AI, and that AI only interprets your image into editable building parameters — it does not generate any mesh, and no AI-made geometry is ever shipped or sold. The geometry is always built by Keystone's deterministic engine. What you get from the image is a strong starting point: a building at roughly the right footprint and proportions that saves you the tedious first pass. It is not a pixel-perfect trace of the drawing, and you should plan for a review-and-correct pass before you bake.
What you need before you start
This is a Windows editor-only tool, so you need Keystone installed into a UE5 project on Win64, on one of engine versions 5.3 through 5.8 (download the build matching your engine, as each version has its own compile-verified build). Keystone's only dependencies — Geometry Scripting and Modeling Tools — ship with Unreal and auto-enable, so there is nothing else to install. Open the tool from the Keystone button on the Level Editor toolbar, or from the Tools menu.
The floor-plan-image input is one of Keystone's two AI-assisted workflows, which means it is bring-your-own-key. You supply credentials for a provider you choose — Anthropic (Claude), OpenAI (GPT), or Google (Gemini) — or run a local Ollama model, in which case no key is needed and nothing leaves your machine. The key is resolved from an environment variable or a key file under the project's Saved/ folder; it never enters source control or a packaged build. Your image is sent only to the provider you pick; nothing is sent to MythicLemon. Note that AI lives in the full edition — Keystone Lite has no AI at all, so the floor-plan and text inputs require the full build.
On the input itself: a clean, high-contrast PNG works best. A plan where the walls read clearly against the background, with a visible dimension or a scale bar, gives the reader and your scale calibration the best chance. If your source is a PDF, export the relevant page to PNG first. Have one known real-world measurement to hand — an overall building width, a room dimension, or a printed scale — because you will use it to calibrate.
Step 1 — Load the plan and calibrate scale with the alignment overlay
Open Keystone, choose the floor-plan-image input, and load your PNG. The plan appears with an alignment overlay you use to set scale. This step matters more than any other, because Keystone works in true Unreal units — centimetres — and a building read in at the wrong scale will be the wrong size everywhere downstream: doors won't match a character's height, furniture won't fit, and a camera at eye level will feel off.
To calibrate, align the overlay against a feature on the plan whose real-world length you know — typically an overall wall run or a dimension line — and set that length in centimetres. The overlay then fixes the relationship between pixels in the image and centimetres in the scene, so the rest of the footprint is derived at the correct size. If the drawing carries a scale bar, calibrate against that; if it carries a written dimension, use it. The aim is simple: when calibration is right, the building's footprint should measure what the drawing says it measures.
Take the time to get this correct before generating. It is far cheaper to fix scale here, against a flat overlay, than to discover after baking that the whole structure is ten per cent too small. Because Keystone is deterministic, a correctly calibrated plan will reproduce the same correctly sized building every time you generate from it.
Step 2 — Generate the editable first draft
With scale calibrated, generate the draft. Keystone sends your image to your chosen AI provider, which reads the plan into editable building parameters — the footprint, storeys, and the openings and interior walls it can infer — and those parameters populate one editable building file. That file is the single source of truth for every Keystone workflow; whether you started from a preset, a sketch, a sentence or an image, you converge on the same editable description, shown in a live 3D preview.
Look at the preview as a draft, not a deliverable. The AI's job was interpretation, and interpretation of a flat drawing has limits: it gives you a building at sensible proportions with walls in roughly the right places, but it will not perfectly reproduce every nuance of the plan. This is the honest framing to keep in mind — a strong head start that removes the tedious first pass, followed by a human review. The generation step itself adds the draft to your building Library: every time you Generate, the building is saved to the project's Content Browser as a clickable thumbnail, and generating again adds a new entry rather than overwriting, so your iterations accumulate and nothing is lost (entries can be deleted if you want to tidy up).
If the draft is clearly off — a misread footprint, a wrong storey count — you have two honest options. Re-run with a cleaner image or a tighter scale calibration, or simply take the draft as a base and correct it directly. For a blockout, the second route is usually faster, which is what the next step is for.
Step 3 — The review-and-correct pass
This is where a draft becomes a usable building. Every parameter the reader produced is editable in the details panel, so you correct the building against the original drawing rather than re-tracing it. Walk the plan room by room: check the footprint matches, set the correct number of storeys and their heights, and move, add or remove doors, windows and interior walls until the layout reads true to the client's drawing. Because the building file is fully editable, none of this requires going back to the AI — you are now in the deterministic, no-AI part of the tool.
A few of Keystone's own rules shape how you correct. Openings — doors and windows — belong on straight edges; an edge that you curve into an arc or a round tower does not carry openings, so keep glazing on the straight runs. If the real building has bays, round corners or an apse, you can curve a wall outward into a round tower or bay, or inward into a niche, and you can compose more complex shapes from several volumes — each with its own storey stack and its own roof, joined by abutment (a union) rather than a boolean cut. For most archviz floor plans, though, the bulk of the correction is straightforward: footprint, storeys, and openings.
Set the interior expectation honestly here too. Keystone's interiors are approximate. That is exactly right for a blockout, for exteriors, and for mid-ground buildings a camera passes rather than dwells inside — it is not a substitute for a hand-built, close-up hero interior set. If the brief calls for a detailed interior the client will linger in, treat Keystone's interior as a scaffold to dress and detail by hand, not as the finished room.
Step 4 — Bake to Nanite static meshes, then carry on in Unreal
When the building reads correctly, bake it. You choose the Content Browser folder, and Keystone outputs standard Unreal static meshes with collision; Enable Nanite and Generate collision are both on by default. The output is baked as separable pieces — each exterior wall, each roof panel, each floor and ceiling slab as its own asset — so after baking you can detach a wall to cut in a doorway, swap a single roof panel, or delete a section for a partial or ruined view without disturbing the rest of the building.
Baked buildings are ordinary StaticMesh assets: platform-agnostic, with no runtime generation, no tick cost, and no runtime dependency on Keystone. That means the building you blocked out from a Windows editor tool can be used on any target platform, and it behaves like any other mesh you would hand to a lighting or material artist. Assign materials through the six slots — Wall, Floor, Ceiling, Roof, Trim and Interior — using the colour-coded starter materials Keystone ships, or any project material, before or after baking.
One trade-off to plan around: separable-piece baking favours editability over raw draw-call count. For a single archviz building that is exactly what you want, since you will be editing it. If a scene needs many identical copies of the same building, merge or instance them downstream as you normally would. Finally, you can export the building file as a single human-readable JSON — the complete description from footprint to roof — to version the design in source control or hand the identical building to a teammate, who imports it and reproduces it exactly.
The floor-plan-to-Unreal workflow at a glance
| Step | What you do | Uses AI? | Output |
|---|---|---|---|
| 1. Load and calibrate | Load the PNG, align the overlay to a known dimension, set its length in cm | No | Correct real-world scale |
| 2. Generate draft | Read the plan into editable parameters via your chosen provider | Yes (BYO key) | First-draft building file + Library entry |
| 3. Review and correct | Fix footprint, storeys and openings in the details panel against the drawing | No | Accurate, editable building |
| 4. Bake | Choose a folder and bake to static meshes | No | Separable Nanite meshes with collision |
Steps 1 and 2 use the optional, bring-your-own-key AI; steps 3 and 4 are deterministic and need no key.
What the floor-plan input is — and is not
| It is | It is not |
|---|---|
| A strong first-draft starting point | A pixel-perfect trace of the drawing |
| AI reading the plan into editable parameters | AI generating any mesh (no AI meshes ship) |
| Bring-your-own-key and optional | Required — every non-AI workflow needs no key |
| Ideal for blockout, exteriors and mid-ground | A substitute for hand-built hero interiors |
| Sent only to your chosen provider | Sent to MythicLemon (nothing is) |
The honest framing for AI inputs in Keystone.
FAQ
Do I need an AI key to use the floor-plan input?
Yes. The floor-plan-image and text-description inputs are the two AI-assisted workflows, and both are bring-your-own-key. You supply credentials for Anthropic, OpenAI or Google, or run a local Ollama model with no key at all. Your image goes only to the provider you choose; nothing is sent to MythicLemon. Every other Keystone workflow — presets, the 2D sketch canvas and Kit Mode — needs no AI. Note that AI is in the full edition; Keystone Lite has no AI.
Will Keystone trace my floor plan exactly?
No, and it does not claim to. The AI reads the plan into editable building parameters as a first draft — a strong starting point that gives you the footprint, storeys and openings in roughly the right places. It is not a guaranteed pixel-perfect trace. Plan for a review-and-correct pass in the details panel, where you adjust the footprint, storey count and openings against the original drawing. The geometry itself is always built by Keystone's deterministic engine.
Are the generated interiors good enough for an archviz client?
It depends on the shot. Keystone's interiors are approximate, which is well suited to blockout, exteriors and mid-ground buildings a camera passes rather than lingers inside. They are not a replacement for a hand-built, close-up hero interior set. If the brief calls for a detailed room the client will dwell in, use Keystone's interior as a scaffold and dress it by hand.
How do I make sure the building is the right size?
Calibrate before you generate. Keystone works in centimetres, so use the alignment overlay to match a feature on the plan whose real length you know — an overall wall run, a dimension line, or a scale bar — and enter that length in cm. The overlay fixes the pixel-to-centimetre relationship, so the footprint comes out correctly sized. Because Keystone is deterministic, a correctly calibrated plan reproduces the same correctly sized building every time.
What do I actually get out of Keystone, and can I use it anywhere?
You bake standard Unreal static meshes with collision, with Nanite and collision on by default. They come out as separable pieces — each wall, roof panel, floor and ceiling slab — so you can detach a wall for a doorway or delete a section for a ruin. Baked buildings are ordinary StaticMesh assets with no runtime dependency on Keystone, so although the tool is a Windows editor-only tool, the meshes it bakes run on any target platform.
Keystone
Keystone generates game-ready 3D buildings — walls, floors, roofs and approximate interiors — directly inside the Unreal Editor. Start from one of eight presets, draw a footprint on a true-to-scale 2D canvas, drop in a floor-plan image, describe a building in plain English, or tile your own modular meshes with Kit Mode. Every input converges on one editable building file, shown in a live 3D preview, and bakes to Nanite static meshes with collision — as separable pieces — that you own outright. The geometry is built by a deterministic procedural engine: no subscription, no credits, and no AI-generated meshes. The optional Draft-from-Text and Draft-from-Image features use your own API key (Anthropic, OpenAI, Google, or local Ollama) only to read your words or plan into editable parameters.
Related reading